Creating GUI Applications with PyQt and Qt Designer -
20
Creating GUI Applications with PyQt and Qt Designer David Boddie [email protected] PyCon UK 2007, Birmingham Qt, Qtopia and Trolltech are registered trademarks of Trolltech ASA
Transcript of Creating GUI Applications with PyQt and Qt Designer -

Creating GUI Applicationswith PyQt and Qt Designer
David [email protected]
PyCon UK 2007, Birmingham
Qt, Qtopia and Trolltech are registered trademarks of Trolltech ASA

Contents
1. What are Qt, PyQt and Qt Designer?
2. PyQt Basics
3. A Simple Example
Widgets and layouts
Signals and slots
4. A More Useful Example
Actions and resources
Auto-connection of signals and slots
5. Custom Widgets
What is Qt?
Cross-platform framework
Used for (but not limited to) GUI applications
Supported on Windows®, Mac OS X®, Linux® and other Unix® platforms
Dual licensed:
Available under the GNU GPL
Also available under a Commercial License for closed source applications
Mature, well-used, well-tested (KDE, Qtopia, commercial applications)

What is PyQt?
Python bindings to the Qt libraries
Comprehensive API coverage
Dual licensed in the same way as Qt
Community mailing list with around 500 members
Wiki at http://www.diotavelli.net/PyQtWiki
A solid foundation for other projects (PyQwt, PyKDE, etc.)
Used a lot in scientific/visualisation domains

What is Qt Designer?
Graphical form designer (not an IDE)
Preview facilities
Generates XML descriptions
You can also use pyuic4 to convert them to Python
Or you can use the Python uic module to generate the GUI at run-time
This presentation was created with Qt Designer.
The GUI is shown using PyQt4.

PyQt Basics
Widgets and layouts
Signals and slots

A Simple Example(PyPI Information)
We will
Create a form
Generate some code
Write the application logic
Run the application
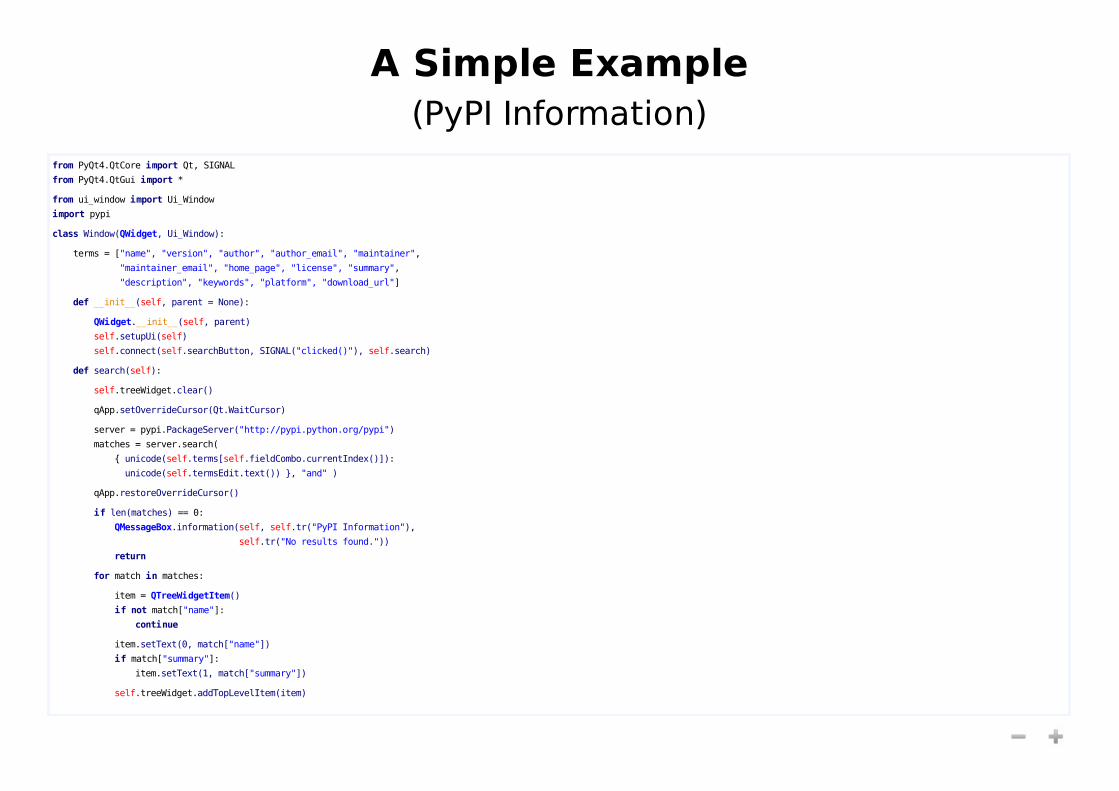
A Simple Example(PyPI Information)
from PyQt4.QtCore import Qt, SIGNAL
from PyQt4.QtGui import *
from ui_window import Ui_Window
import pypi
class Window(QWidget, Ui_Window):
terms = ["name", "version", "author", "author_email", "maintainer",
"maintainer_email", "home_page", "license", "summary",
"description", "keywords", "platform", "download_url"]
def __init__(self, parent = None):
QWidget.__init__(self, parent)
self.setupUi(self)
self.connect(self.searchButton, SIGNAL("clicked()"), self.search)
def search(self):
self.treeWidget.clear()
qApp.setOverrideCursor(Qt.WaitCursor)
server = pypi.PackageServer("http://pypi.python.org/pypi")
matches = server.search(
{ unicode(self.terms[self.fieldCombo.currentIndex()]):
unicode(self.termsEdit.text()) }, "and" )
qApp.restoreOverrideCursor()
if len(matches) == 0:
QMessageBox.information(self, self.tr("PyPI Information"),
self.tr("No results found."))
return
for match in matches:
item = QTreeWidgetItem()
if not match["name"]:
continue
item.setText(0, match["name"])
if match["summary"]:
item.setText(1, match["summary"])
self.treeWidget.addTopLevelItem(item)

A Simple Example(PyPI Information)
Form creation
We placed widgets first
Then applied layouts
Connected signals and slots (close, return pressed)
Source code
We ran pyuic4 to generate code
Then imported the module into our code
We “mixed in” the generated class

A More Useful Example(MathTran Equation Editor)
As before, we will
Create a form
Generate some code
Write the application logic
Run the application

A More Useful Example(MathTran Equation Editor)
from PyQt4.QtCore import *from PyQt4.QtGui import *from PyQt4.QtNetwork import *from ui_mainwindow import Ui_MainWindow
class MainWindow(QMainWindow, Ui_MainWindow):
def __init__(self, parent = None):
QMainWindow.__init__(self, parent) self.setupUi(self)
self.path = QString() self.mathSize = 3 self.http = QHttp() self.connect(self.http, SIGNAL("done(bool)"), self.updateForm)
self.connect(self.exitAction, SIGNAL("triggered()"), qApp, SLOT("quit()")) self.connect(self.aboutQtAction, SIGNAL("triggered()"), qApp, SLOT("aboutQt()"))
# See example code for more details.
A More Useful Example(MathTran Equation Editor)
We added some actions (decrease math size, about Qt)
Some of these used images listed in a resource file
We created a toolbar and some menus
The actions were placed in the menus and toolbar
We ran pyuic4 to generate code
We ran pyrcc4 to generate a resource module
We used decorators to indicate which methods were slots
Signals were auto-connected to slots

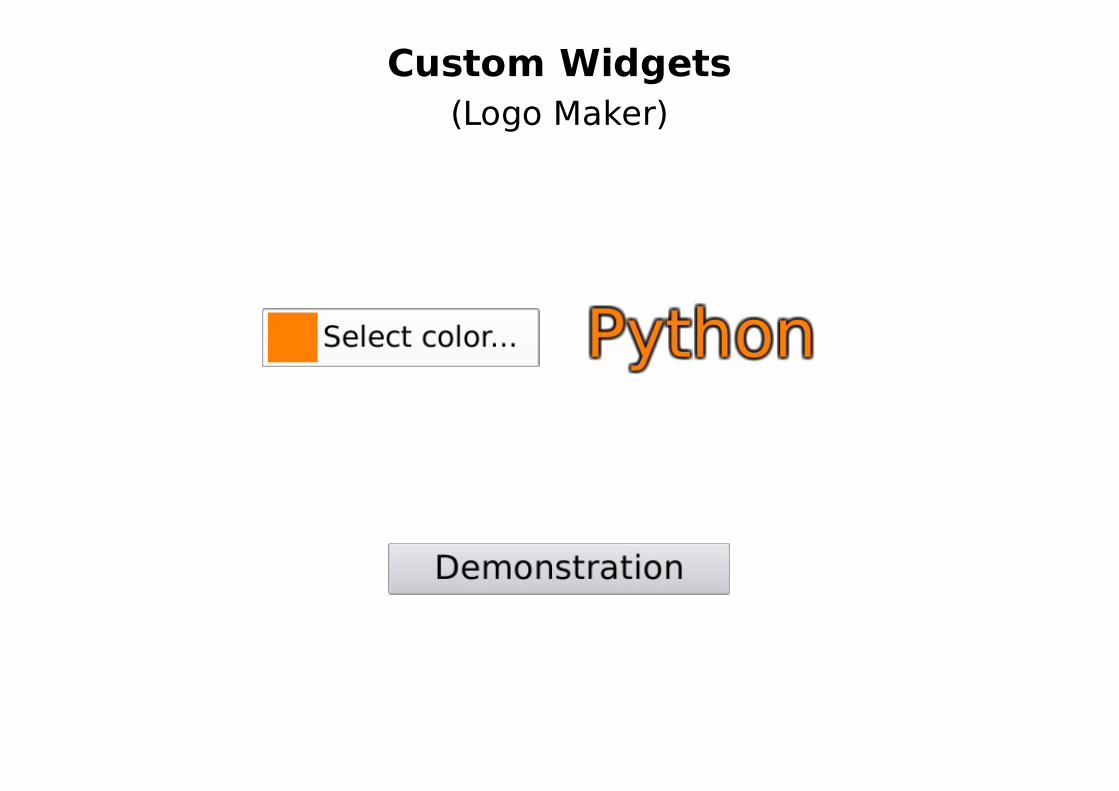
Custom Widgets(Logo Maker)
Two custom widgets:
1. EffectWidget
One signal
Lots of properties
Lots of slots
2. ColorButton
One signal: colorChanged(QColor)One slot: setColor()One property: color
Custom Widgets(Logo Maker)

Custom Widgets(Logo Maker)
from PyQt4.QtCore import *
from PyQt4.QtGui import *
class ColorButton(QToolButton):
__pyqtSignals__ = ("colorChanged(QColor)",)
def __init__(self, parent = None):
QToolButton.__init__(self, parent)
self.connect(self, SIGNAL("clicked()"), self.chooseColor)
self._color = QColor()
def chooseColor(self):
rgba, valid = QColorDialog.getRgba(
self._color.rgba(), self.parentWidget())
if valid:
color = QColor.fromRgba(rgba)
self.setColor(color)
def color(self):
return self._color
@pyqtSignature("QColor")
def setColor(self, color):
if color != self._color:
self._color = color
self.emit(SIGNAL("colorChanged(QColor)"), self._color)
pixmap = QPixmap(self.iconSize())
pixmap.fill(color)
self.setIcon(QIcon(pixmap))
color = pyqtProperty("QColor", color, setColor)

Custom Widgets(Logo Maker)
__pyqtSignals__ declares signals to other components:
class ColorButton(QToolButton):
__pyqtSignals__ = ("colorChanged(QColor)",)
@pyqtSignature() marks methods as slots and declares type information to Qt:
@pyqtSignature("QColor") def setColor(self, color):
if color != self._color: self._color = color
pyqtProperty() creates a Qt property:
color = pyqtProperty("QColor", color, setColor)

Custom Widgets(Logo Maker)
from PyQt4 import QtGui, QtDesigner
from colorbutton import ColorButton
class ColorButtonPlugin(QtDesigner.QPyDesignerCustomWidgetPlugin):
def __init__(self, parent = None):
QtDesigner.QPyDesignerCustomWidgetPlugin.__init__(self)
self.initialized = False
def initialize(self, core):
if self.initialized:
return
self.initialized = True
def isInitialized(self):
return self.initialized
def createWidget(self, parent):
return ColorButton(parent)
def name(self):
return "ColorButton"
def group(self):
return "PyQt Examples"
def icon(self):
return QtGui.QIcon(_logo_pixmap)
def toolTip(self):
return ""
def whatsThis(self):
return ""
def isContainer(self):
return False
def domXml(self):
return '<widget class="ColorButton" name=\"colorButton\" />\n'
def includeFile(self):
return "colorbutton"

Custom Widgets(Logo Maker)
createWidget() returns a new instance of the widget:
def createWidget(self, parent): return ColorButton(parent)
name() returns the class name of the custom widget (for making new copies):
def name(self): return "ColorButton"
includeFile() returns the custom widget's module path:
def includeFile(self): return "colorbutton"
Custom Widgets(Logo Maker)
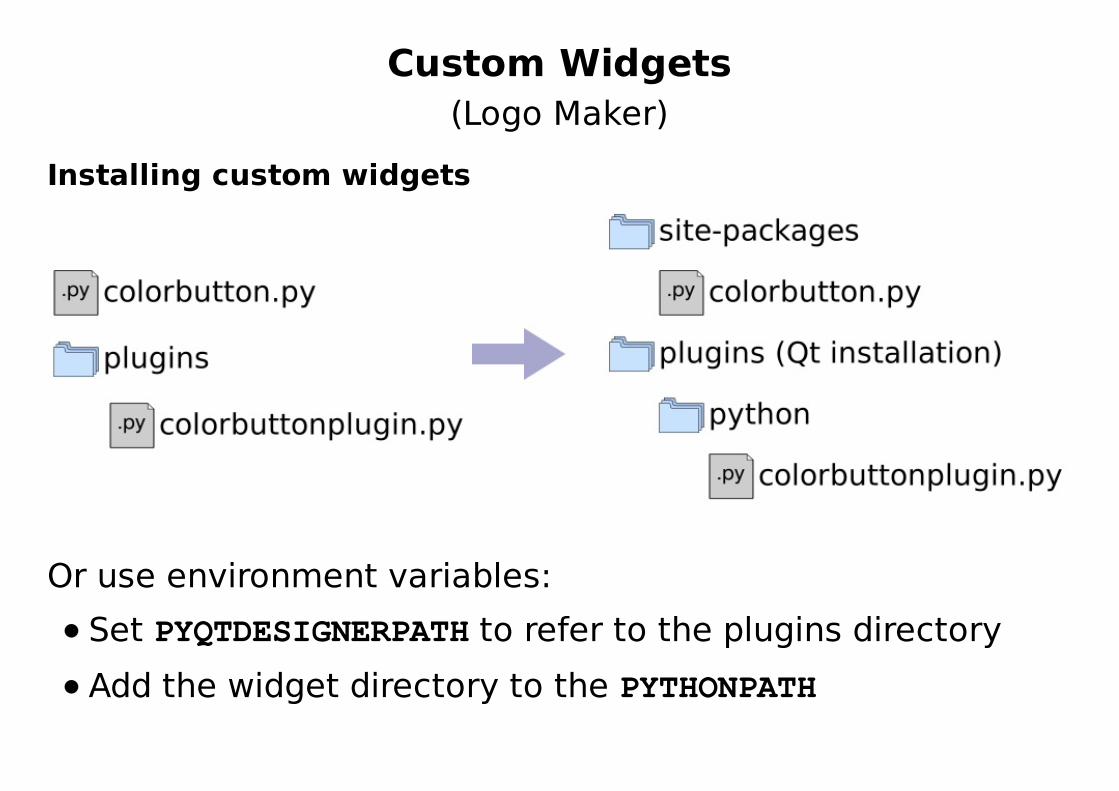
Installing custom widgets
Or use environment variables:
Set PYQTDESIGNERPATH to refer to the plugins directory
Add the widget directory to the PYTHONPATH
Resources
Trolltech: http://www.trolltech.com
Riverbank Computing: http://www.riverbankcomputing.com/
PyQt Wiki at http://www.diotavelli.net/PyQtWiki