Japanese Beadwork - Creative Craft Ideas & Free Craft Projects
Explorers & Moonbeams - Craft badge - 2012 - 1
Australia Eastern Territory
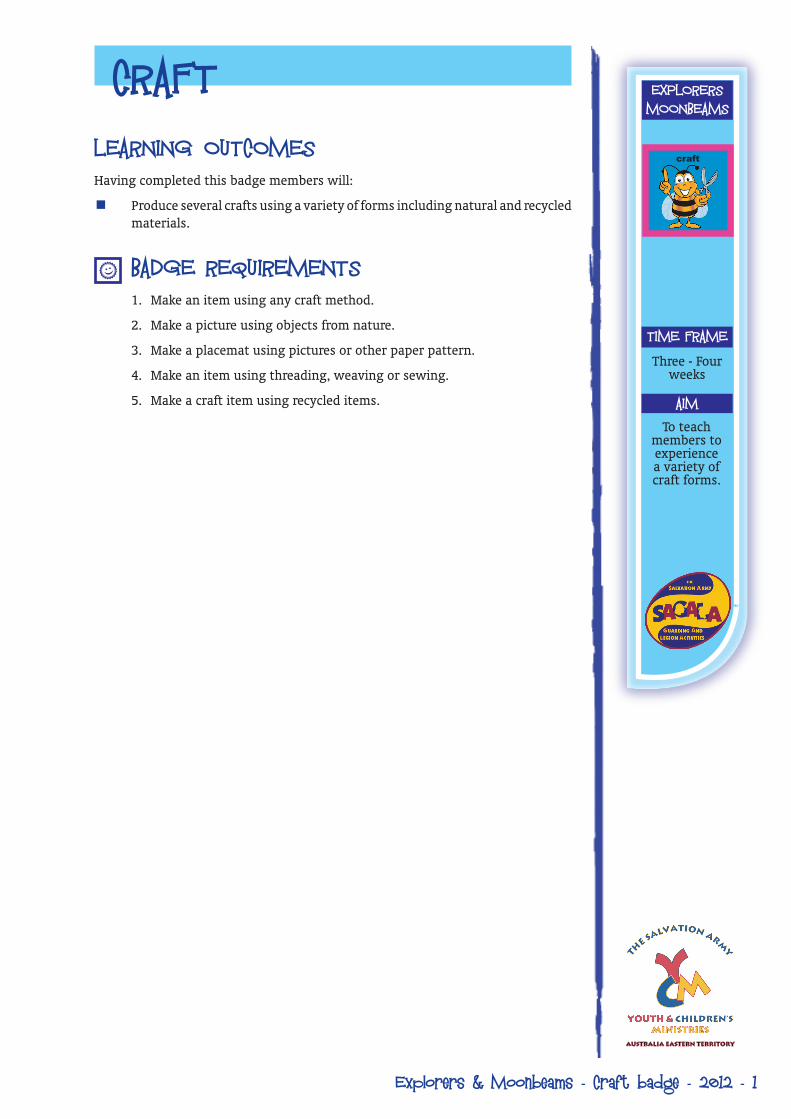
CRAFTLEARNING OUTCOMESHaving completed this badge members will:
Produce several crafts using a variety of forms including natural and recycled materials.
BADGE REQUIREMENTS1. Make an item using any craft method.
2. Make a picture using objects from nature.
3. Make a placemat using pictures or other paper pattern.
4. Make an item using threading, weaving or sewing.
5. Make a craft item using recycled items.
EXPLORERS MOONBEAMS
TIME FRAME
AIM
Three - Four weeks
To teach members to experience a variety of craft forms.
,
craft

2 - Explorers & Moonbeams - Craft badge - 2012
Teaching ideas1. Make an item using any craft method.
Your local library will have craft book for kids.
2. Make a picture using objects from nature.The picture should include items like leaves, bark, and sand.
3. Make a placemat using pictures or other paper pattern.The placemat should be covered in either magazine pictures chosen by members or coloured paper in a design of the member’s choice. Members should cut and paste the pictures or paper. Drawing/colouring tools (e.g. textas) should not be used on the placemat.
4. Make an item using threading, weaving or sewing.
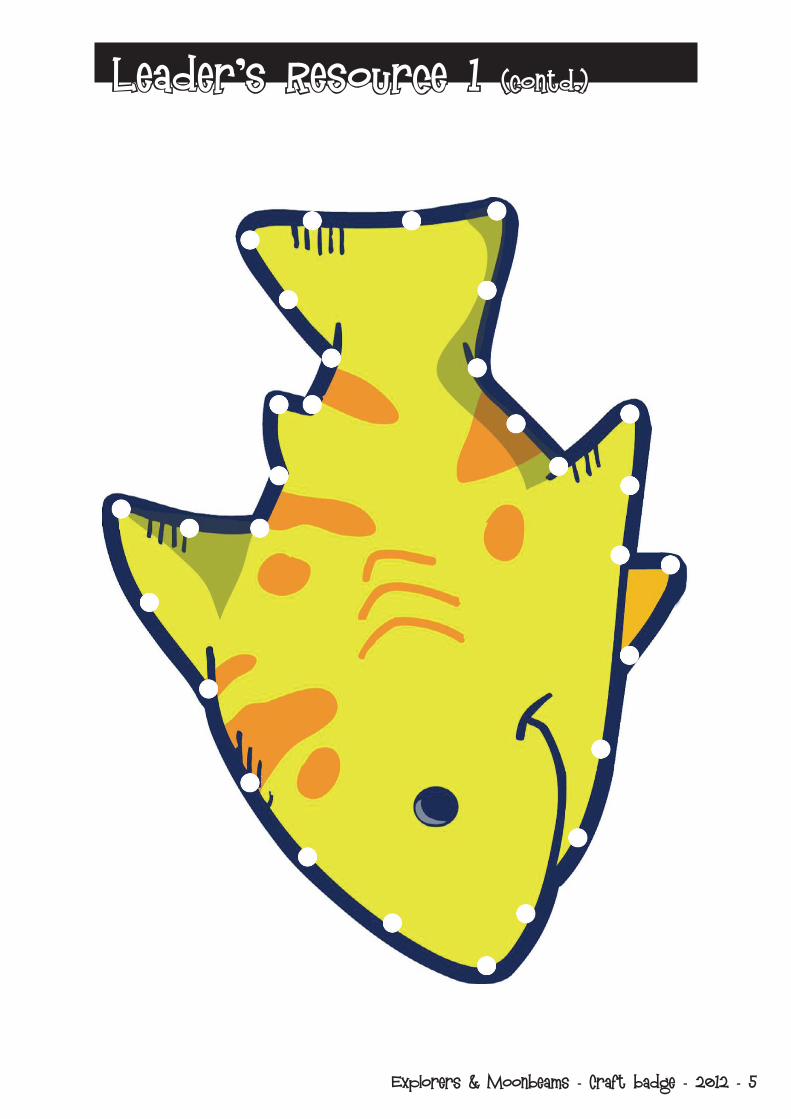
ThreadingUse a threading template such as Leader’s Resource 1 for members to thread wool, cotton, lace or leather. Reusable threading cards may be purchased from a craft retailer or school supplier. If using needles be sure members are given large needles with a blunt point. Wool may be prepared for threading by taping the end with sticky tape to provide an end to thread through the hole.
If using cardboard templates holes may need to be punched first.
Felt WeavingWhat you’ll need: at least 2 felt rectangles scissors glue
DirectionsPick one felt for the base, and another for the weaving stripes. Cut slits in the base felt about 5 cm apart. Be sure to leave a border of about 1 cm at the edges. Cut the other sheet of felt in 2.5 cm strips. Weave the strips through the base one at a time. Make sure to alternate strips over and under as new ones are added. Push each strip close to the last strip so as to not leave spaces. Finish off the ends that stick up with a little glue. It can be used as a placemat or as a wall hanging.
TEACHINGIDEAS
,
,
,
,

Explorers & Moonbeams - Craft badge - 2012 - 3
Teaching ideasSewingGingham or checked tea-towels make a good base to learn simple stitching. Use the squares as guidelines for running stitch. Extend this activity for more confident members into diagonal stitching or cross stitches. These can then be sewn into little bags with draw strings once the stitching has been finished.
Felt can be used to make Christmas decorations. Use a tree, angel, heart or stocking picture as a template. Cut the felt and give members two pieces to sew around the edges, when almost all the way stuff with wadding or cotton wool. Or allow members to sew across the felt with silver thread to decorate their ornament.
5. Make a craft item using recycled items.Ask parents to assist with cardboard rolls, plastic or cardboard containers (e.g. milk containers), magazines, old cloth (e.g. clothing). You’ll need to have done this a few weeks in advance.
Many ideas can be found on the internet for recycled crafts. Leader’s Resource 2 has some ideas to start you off.
,

4 - Explorers & Moonbeams - Craft badge - 2012
Leader’s Resource 1
Explorers & Moonbeams - Craft badge - 2012 - 5
Leader’s Resource 1 (contd.)

6 - Explorers & Moonbeams - Craft badge - 2012
Leader’s Resource 2Juice Box Dolls
What you’ll need:• Emptyrectangularjuiceboxcontainer
• Constructionpaperinyourfavouritecolours
• Yarnorwool
• 2largewiggleeyes(foreachdoll)
• Feltscraps(forpigtailties)
• Blackmarker
• Gluestick
• Cleartape
• Whitecraftglue
• Scissors
How to make it:1. Startingatthestrawopening,carefullycutopenthetopofthejuicebox,butdonotcutoffthe
top.
2. Wash out the juice box and let it dry completely before moving on to the next step.
3. Cover the juice box container with construction paper using a glue stick. Try wrapping the box as if you were wrapping a birthday present! Tape both ends of the box if the glue stick will not hold.
4. Cut strips from construction paper for arms and legs, about 20 cm long for legs and 15 cm long for arms.
5. Fold strips accordion style then use glue stick to attach the arms to the sides of the container and legs to the bottom of the container.
6. Cut squares from black construction paper to make shoes and glue to the end of the legs.
7. Use white craft glue to attach the wiggle eyes to the front of the container.
8. For the girl dolls, cut yarn into 15 cm lengths. Put white glue all over the top of the container and centre the strands across it.
9. Use small strips of scrap felt to gently tie (felt rips easily, be careful) sides of hair into pigtails. Trim ends of yarn so that they are even.
10. Cut 2 cm lengths of yarn for girl’s hair and glue in place.
11. For the boy doll, cut yarn into short pieces about 1cm long. Put glue on the top of the container and add pieces to the glue, covering the container top.
12. Draw smiles on with black marker.
Tips:• Insteadoffelt,youcanusescrapsofribbontotiethepigtails.
• Decoratedollshoweveryoulike.Attachbuttons,bowties,andflowers–letyourimaginationrunwild!
• Placetheseadorabledollsonashelfsothattheirlegshangovertheedge
Explorers & Moonbeams - Craft badge - 2012 - 7
Leader’s Resource 2
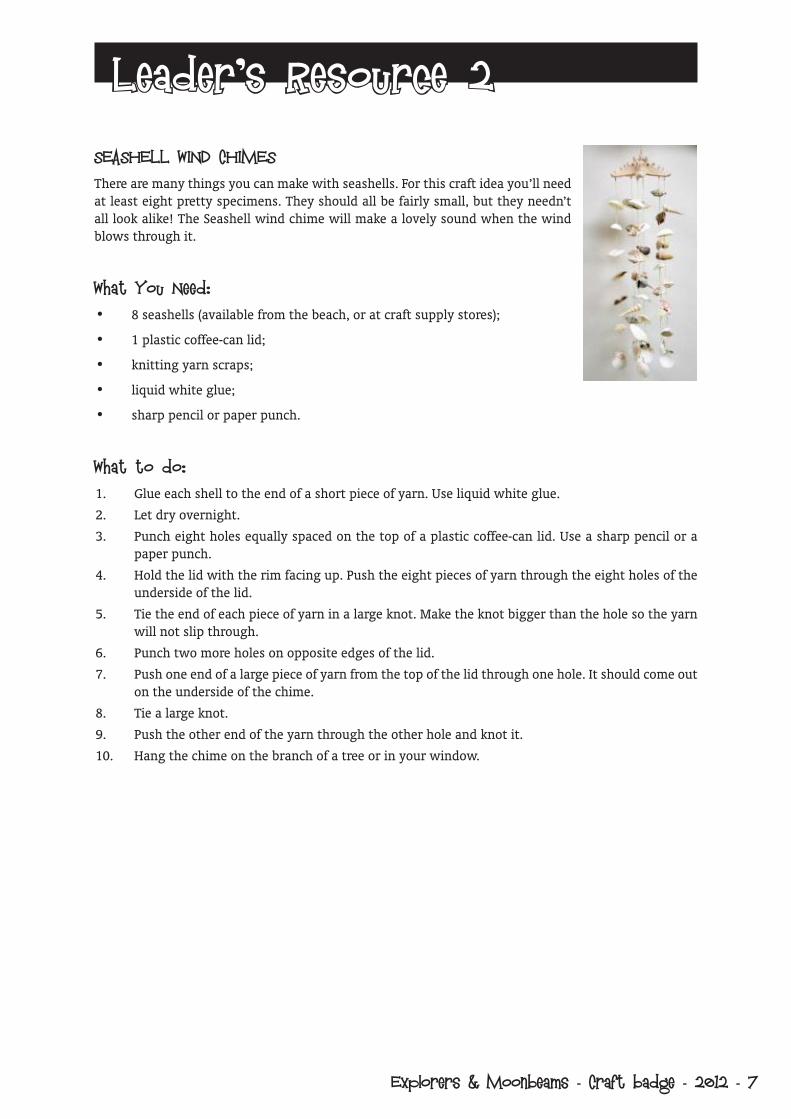
SEASHELL WIND CHIMESThere are many things you can make with seashells. For this craft idea you’ll need at least eight pretty specimens. They should all be fairly small, but they needn’t alllookalike!TheSeashellwindchimewillmakealovelysoundwhenthewindblows through it.
What You Need: • 8seashells(availablefromthebeach,oratcraftsupplystores);
• 1plasticcoffee-canlid;
• knittingyarnscraps;
• liquidwhiteglue;
• sharppencilorpaperpunch.
What to do:1. Glue each shell to the end of a short piece of yarn. Use liquid white glue.
2. Let dry overnight.
3. Punch eight holes equally spaced on the top of a plastic coffee-can lid. Use a sharp pencil or a paper punch.
4. Hold the lid with the rim facing up. Push the eight pieces of yarn through the eight holes of the underside of the lid.
5. Tie the end of each piece of yarn in a large knot. Make the knot bigger than the hole so the yarn will not slip through.
6. Punch two more holes on opposite edges of the lid.
7. Push one end of a large piece of yarn from the top of the lid through one hole. It should come out on the underside of the chime.
8. Tie a large knot.
9. Push the other end of the yarn through the other hole and knot it.
10. Hang the chime on the branch of a tree or in your window.

8 - Explorers & Moonbeams - Craft badge - 2012
Leader’s Resource 2Block HeadsA wood square serves as the base, but the individuality comes from all the extras. Gather up bottle tops, buttons, paddle pop sticks, erasers and what ever else may be available.
1. Prepare Your Base
Find a small block of wood, sand if needed, and then coat it with acrylic paint.
2. Gather Up Your Goods
Collect items for appendages, features, hair, and tails. Use items such as fun wire, beads, bottle tops.
3. Prepare the Materials
Paint any items you’ll be attaching. Use scissors to cut plastic cutlery and ice cream lids.
4. Put It All Together
With a hammer and nail, make pilot holes to attach screws or wires. Dab glue in the holes before inserting the wires. To glue on other items use strong craft glue.
5. Hang Your Block Head
Use a soft drink can pull tab as the hook to hang the Block Head or use him as a paper weight

Explorers & Moonbeams - Craft badge - 2012 - 9
Leader’s Resource 3

10 - Explorers & Moonbeams - Craft badge - 2012
Devotional ideas1. Title: ShineforJesus
Bible: Proverbs 13:9
Supplies: Candle, pieces of white candles, wax crayons, pan (old saucepans can be used) string, skewer, paper cup or paper tube with bottom sealed
Read the Bible verse. It says that righteous, good people are like a shining light. This is what we should be –alightshiningforJesusalwaysdoingwhatisgoodandrightsothatweshowJesusbywhatwedoandwhatwe don’t do. Ask members to give examples of what we should do and whatweshouldnotdotoshowJesus’loveandlightinourlives.WecanshowothersthewaytoJesusbylettingourlightshine.Iftheyseethatwe have the light, they will want it too. Make candles with members.
Activity:Put the candles and the wax crayons into a pan. Ask an adult to melt them slowly over low heat and stir gently to mix together. Different pans can be used for different colours. Or a rainbow effect can be made by carefully placing pieces of crayon into the cup as the wax is being poured. Or layer the wax into the cups a different colour in each layer.
While the wax is melting, ask members to make a small hole in the bottom of the cup with a skewer. Thread a piece of string through it and tie a knot underneath on the outside of the cup.
Ask an adult to pour the wax into the cup with the piece of string dangling outside it. Place a stick or straw over the top to keep the string taut and straight. Allow the wax to cool and set.
2. Title: Building Bridges
Theme: Living in harmony
Bible: Romans 13:10
Supplies: Bible, use craft sticks to make a fence or a bridge
Tell members the following story:-Once upon a time, there were two brothers. Their father had a large farm and when he became too old to work, he called his sons to him. ‘I am too old to work anymore,’ he said. ‘I will divide my farm in half and give each of you one half. I know that you will always work together and will be good friends.’
When the brothers first started farming on their adjoining farms, they were the best of friends and would share everything together. Then, one day there was an argument between the two brothers and they stopped speaking to one another. For many years, not a word was spoken between them.
DEVOTIO AIDEAS
N L

Explorers & Moonbeams - Craft badge - 2012 - 11
Devotional ideasOne day, one of the brothers was at his house when a carpenter came to his door and said, ‘I would like to do some work. Do you have any work that I can do?’ The brother thought for a moment and then replied, ‘I would like for you to build a fence on my property. Build it down near the stream there that separates my farm from my brother’s. I don’t want to see my brother any more and I would like for you to build a high fence there please. I’m going into town and I’ll be back this evening’.
When he came back that evening, he was shocked to see that the carpenter had not followed his instructions. Instead of building a high fence there, he had built a bridge over the stream. The man walked down to take a look at the bridge, and as he did, his brother walked toward him from the other side. His brother said, ‘After all the terrible things I’ve done to you over the years, I can’t believe that you would build a bridge and welcome me back.’ He reached out to his brother and gave him a big hug.
The brother then walked back up to his farmhouse to talk to the carpenter. ‘Can you stay?’ he asked. ‘I have more work for you to do.’ The carpenter answered, ‘I’m sorry but I can’t stay. I have to go, for I have many other bridges to build.’
Sometimeswehaveadisagreementorfightwithourfriends,brothersor sisters. When that happens, we often build a fence between ourselves and them. It’s not a real fence it’s our behaviour. We stop talking to them. We don’t want to see them. We don’t want to be around them. Thatisn’twhatJesuswantsustodo.Insteadoffences,hewantsustobuild a bridge of love between us. Read the Bible verse and make the craft stick bridge.
3. Title: The One Who Unites Hearts
Theme: Jesusisabletohelpusloveallpeople.Hecanjointwo different hearts with the bonds of friendship and love.
Bible: John13:34-35
Supplies: Bible, coloured pencils, scissors, Leader’s Resource 3
God knows that it is important for us to love and respect each other. He also knows that if we love other people we will be kind and caring. Sometimesitishardtoloveotherpeople.WeneedtofollowwhatJesussaid in theBible.Read theBibleverse.And Jesuswillhelpus to loveother people all we need to do is read the Bible and ask God for help when we pray.
How to make the craft: Cut out the pattern along the outer contour. Colour the craft on both sides or have it printed on coloured paper. Ask members to write their own name on one heart. The second heart represents those people who we need to love. They may write the name on the second heart at home. RemindmembersthatitistheloveofJesusthatwillhelpuslovethosepeople.
Fold the craft on the dotted lines so that the hearts will join.
DEVOTIO AIDEAS
N L