CPS 022 MA E - Kleinwächter GmbH€¦ · 2 Manual CPS 022 Product Description In combination with...
4
MANUAL Charg Fo ge Plate Set CPS 022 or Electrostatic Field Meter EFM 022 2
Transcript of CPS 022 MA E - Kleinwächter GmbH€¦ · 2 Manual CPS 022 Product Description In combination with...

MANUAL
Charge Plate Set
For
Charge Plate Set CPS 022
For Electrostatic Field Meter EFM 022
022
2 Manual CPS 022
Product Description
In combination with the Charge-Plate-Set CPS 022 the EFM 022 becomes a Charge-Plate-Monitor
suited to supervise air ionizers according to EN 61340-5-1 and EOS/ESD S.3.1.
The charge electrode’s capacity1 corresponds to the above-mentioned norms, but not its
dimensions2. Although reproducible measurements can be performed, for standardized
measurements the Kleinwächter Charge Plate Monitor CPM 374 has to be used.
The device determines the discharging time from +1.000V ... +100V or -1.000V ... -100V with its
integrated timer. Charging is performed by an external high voltage converter.
Kindly note that in CPS mode only voltages < 2000V are displayed!
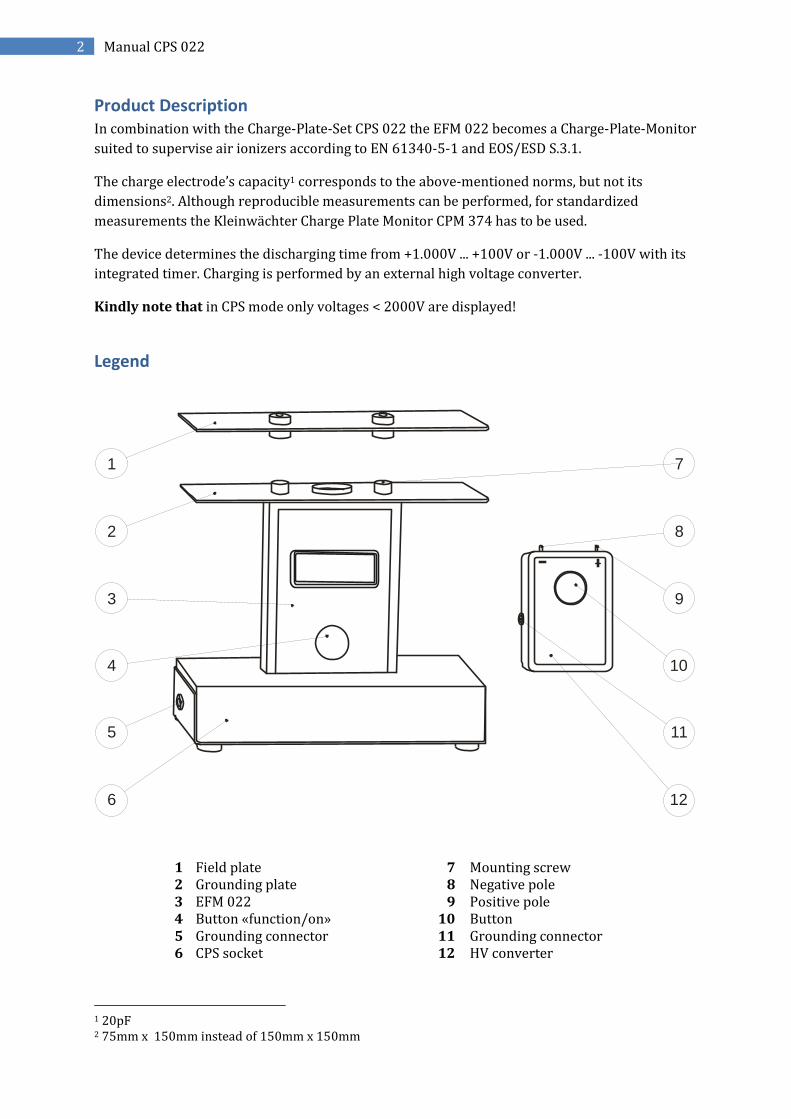
Legend
1
2
3
4
5
6 12
10
9
8
7
11
1 Field plate 7 Mounting screw
2 Grounding plate 8 Negative pole
3 EFM 022 9 Positive pole
4 Button «function/on» 10 Button
5 Grounding connector 11 Grounding connector
6 CPS socket 12 HV converter
1 20pF 2 75mm x 150mm instead of 150mm x 150mm
Specifications
HV converter
Dimensions (L x W x H):
Weight :
Charging potential:
Battery:
Operating time:
Plate capacitor
Dimensions (L x W):
Plate distance:
Capacity :
CPS socket
Dimensions (L x W x H):
Material:
Grounding:
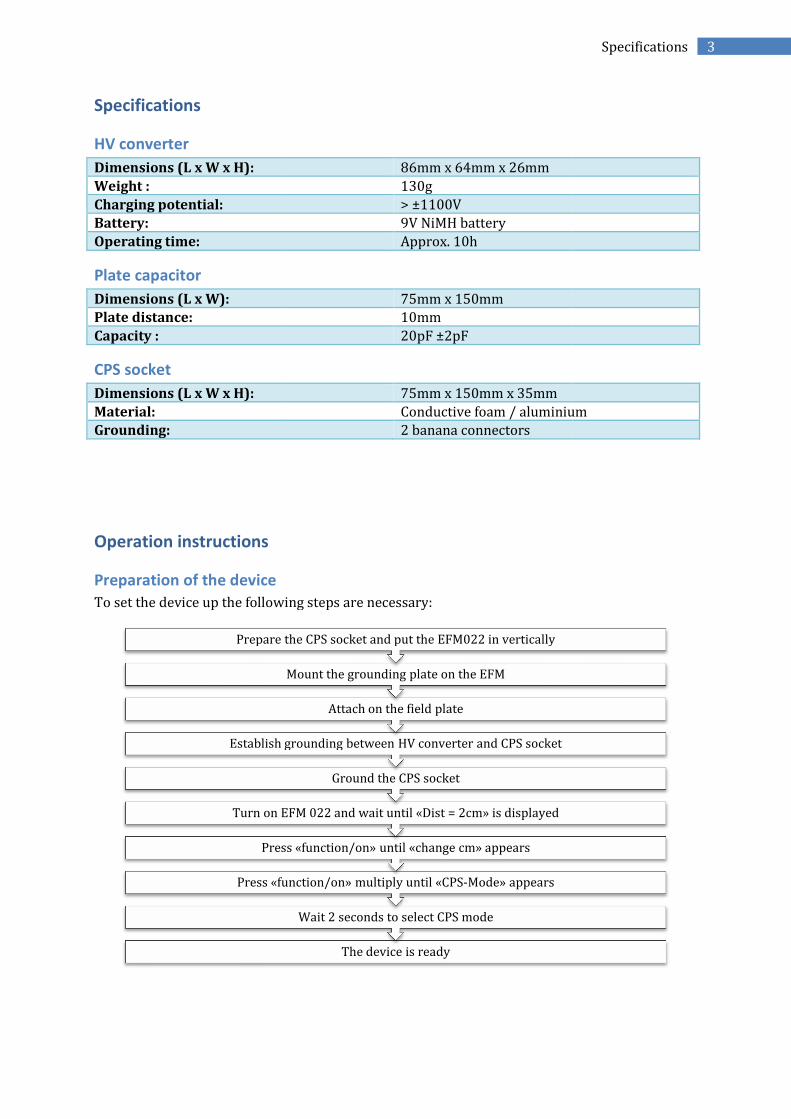
Operation instructions
Preparation of the device
To set the device up the following steps are necessary
Press «function/on» multiply until «CPS
Press «function/on» until «change cm» appears
Turn on EFM 022 and wait until «Dist = 2cm» is displayed
Establish grounding between HV converter and CPS socket
Prepare the CPS socket and put the EFM022 in vertically
86mm x 64mm x 26mm
130g
> ±1100V
9V NiMH battery
Approx. 10h
75mm x 150mm
10mm
20pF ±2pF
75mm x 150mm x 35mm
Conductive foam / aluminium
2 banana connectors
To set the device up the following steps are necessary:
The device is ready
Wait 2 seconds to select CPS mode
Press «function/on» multiply until «CPS-Mode» appears
Press «function/on» until «change cm» appears
Turn on EFM 022 and wait until «Dist = 2cm» is displayed
Ground the CPS socket
Establish grounding between HV converter and CPS socket
Attach on the field plate
Mount the grounding plate on the EFM
Prepare the CPS socket and put the EFM022 in vertically
3 Specifications
aluminium

4 Manual CPS 022
Measuring procedure
To measure the discharging time
Scope of delivery
CPS022
• HV converter
• 9V-NiMH battery
• Plug-in charger EC109
• CPS socket
• Plate capacitor
• Grounding cable 1m und 1,5m
• Alligator clip
• Carrying case
The device is ready for further measurement
Pressing «function/on» resets the display
By pressing «function/on» the voltage in the lower line is stored as the offset value
In the lower line the current voltage is displayed
In the upper line the positive resp. negative discharging time is displayed
Time measurement stops by reaching
The internal timer starts by passing
The device detects the polarity and is ready
Charge the upper plate by contacting with the positive or negative pole
Press the HV converter button to generate voltage >
discharging time follow the steps below:
1m und 1,5m
EFM 022 CPS Same as CPS 022, but additionally with
• EFM 022
• Two 9V-NiMH-batteries
• 2 spacers 2cm
©2008 Kleinwächter GmbH
The device is ready for further measurement
Pressing «function/on» resets the display
By pressing «function/on» the voltage in the lower line is stored as the offset value
In the lower line the current voltage is displayed
In the upper line the positive resp. negative discharging time is displayed
Time measurement stops by reaching ±100V
The internal timer starts by passing ±1000V
The device detects the polarity and is ready
Charge the upper plate by contacting with the positive or negative pole
Press the HV converter button to generate voltage > ±1100V
but additionally with
batteries
©2008 Kleinwächter GmbH
By pressing «function/on» the voltage in the lower line is stored as the offset value
In the upper line the positive resp. negative discharging time is displayed
Charge the upper plate by contacting with the positive or negative pole