
Course 102: Lecture 25: Devices and Device Drivers
35
Linux For Embedded Systems For Arabs Ahmed ElArabawy Course 102: Understanding Linux
-
Upload
ahmed-el-arabawy -
Category
Technology
-
view
92 -
download
2
Transcript of Course 102: Lecture 25: Devices and Device Drivers
Linux For Embedded Systems For Arabs
Ahmed ElArabawy
Course 102: Understanding Linux
Lecture 25:
Devices & Device Drivers

What is a Device Driver ??
Hardware devices (processor, memory, storage, peripherals)
Initialization
(bootloader)
Operating System
(Linux Kernel)
Device drivers
Applications Utilities
C Library Other Libraries
What is a Device Driver ?
• A device driver is a kernel module responsible for handling a hardware device in order to isolate the operating system and the user application from the details of this hardware device
• This way, the Linux Kernel and the user applications running on top of it don’t have to know about the details of the hardware device
• For example, the user application deals with a hard disk (of any kind) and a flash drive the same way, although the internal handling of them is completely different
• This leads to possibility for the introduction of new hardware devices everyday, and the Linux Kernel can support them using the proper device driver without the need to modify the kernel

Correct but not Complete ….
• This definition represent only some of the device drivers and not all of them
• device drivers are not limited to the support of hardware devices
• Some device drivers perform a complete software function and don’t perform any hardware device interaction
• Examples are the device drivers supporting these devices, • Random number generator (/dev/random & /dev/urandom)
• Zeros generator (/dev/zero)
• Output Sink (/dev/null)
• We need to understand the more general definition of Devices and Device Driver

The Extendable Architecture of Linux
• Linux kernel is under continuous development with thousands of developers with different objectives
• It supports a lot of fancy and advanced features
• Not all of these features are required by all users
• It also has support for tons of hardware devices (printers, scanners, cameras, storage devices, …. )
• To build the kernel with all of its features and hardware device support will result in a very large image (unnecessarily) and some times with conflicting functions
• With such a large image, Linux may not be able to run on a lot of systems including embedded systems, and will need too much resources (again unnecessarily)

The Extendable Architecture of Linux
• The solution for that problem, is that a lot of the advanced features, and the hardware devices support functionality are considered optional features
• When building the kernel, we go through a configuration phase, to set for each optional feature, • Enable: to build the code for that feature and include it in the kernel image
build in a static way • Disable: To bypass the build the code for that feature, and hence the kernel
would not support it • Module: The code is built as a separate module, resulting in a separate binary
(*.ko), which can be dynamically added/removed to/from the kernel at run time on need basis
• Also, kernel modules can be developed and built independent of the kernel build and then added to the kernel tree for future load/unload
• A lot of the kernel features can be built as a “Kernel Loadable Modules” to keep the kernel image smaller, and to add the flexibility of adding or removing them when needed

Kernel Loadable Module (KLM)
• A KLM is a binary file (*.ko) that can be created as an additional step when building the Linux Kernel, or as a completely separate procedure
• KLM’s reside in the Linux tree in,
/lib/modules/{kernel release}/
• KLM’s can be loaded or unloaded to/from the Linux Kernel at run time (after the kernel has booted)
• Using KLM enables the following,
• No need to rebuild the kernel every time a new KLM is introduced
• No need to reboot the kernel every time we need to load/unload a KLM
• The KLM runs inside the kernel
Loading Kernel Modules
• Kernel Modules can be activated as follows,
• Kernel modules can be loaded in the kernel on demand based on user commands (we will go this later in this lecture)
• The Linux kernel supports automatic discovery of new hardware devices, and this may result in the automatic load of the associated kernel modules (using the udev subsystem in the kernel). An example is when inserting a USB flash drive
• The Linux kernel has a list of kernel modules to load at startup (via some startup scripts)
• Some Kernel Modules are needed in the boot process of the Linux Kernel, and hence they are statically built in the kernel
• Other modules are necessary for system operation, and it is decided to build them statically in the kernel (they can not be unloaded, since they are becoming part of the kernel image)
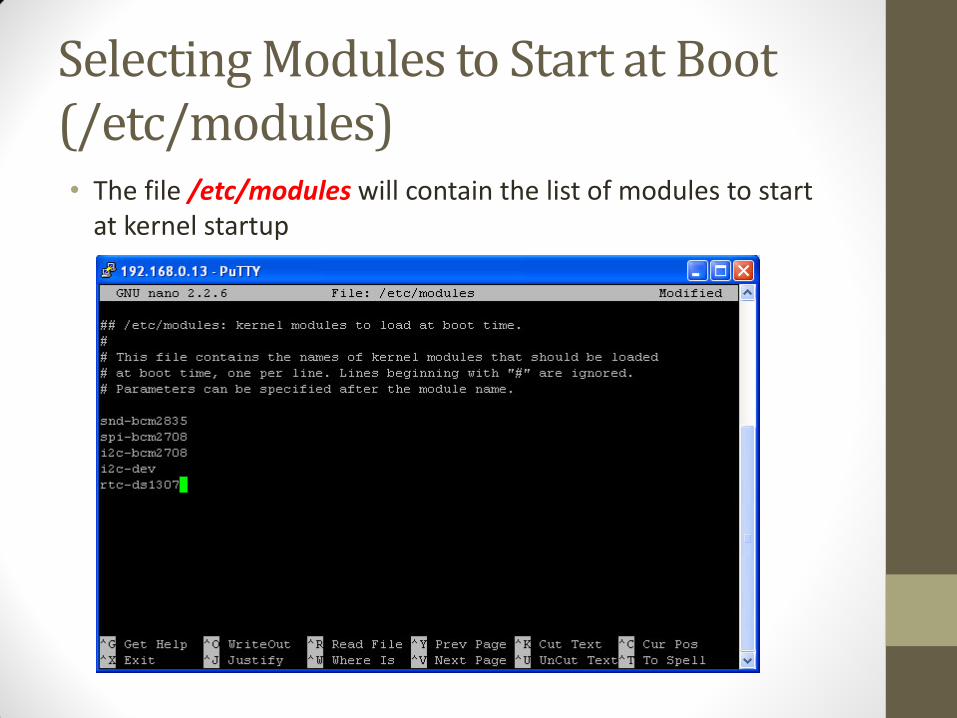
Selecting Modules to Start at Boot (/etc/modules) • The file /etc/modules will contain the list of modules to start
at kernel startup

KLM Utilities

Inserting a Module (insmod Command) $ insmod <module file>
$ insmod <module file> <arguments>
• This command inserts a module in the kernel
$ sudo insmod /lib/module/`uname –r`/my-driver.ko
• Note that the module full path needs to be specified
• You can pass parameters to the module, these parameters are processed by the module code $ sudo insmod /lib/module/`uname –r`/my-device.ko debug_enable=1
• Sometimes, a kernel module would require another module to be loaded first, the user has to take care of this dependency, otherwise, the insmod command may fail

Removing a Module (rmmod Command) $ rmmod <kernel module>
• This command removes the kernel module from the kernel
$ sudo rmmod my-driver
• Since we are addressing now the kernel module inside the kernel and not its binary file inside the Linux tree, no path is specified. Just the module name

Load/Unload a Module (modprobe Command)
$ modprobe <kernel module name > $ modprobe -r <kernel module name> • This command replaces both insmod and rmmod Commands
$ sudo modprobe my-driver $ sudo modprobe –r my-driver
• It is a much richer command, because, • It has the capability of understanding the module dependencies, and load
any modules needed (if not already loaded) before loading the desired module
• When removing a module, any dependencies that are not used by other modules, will be removed as well
• It also has a means to find the modules, so we don’t need to specify the full path of the module file. The module name should be enough
• The modprobe command also performs other special features such as setting default parameter options in its configuration files, and using these options when loading the specified module • Default module parameters are specified in,
• /etc/modprobe.conf • /etc/modprobe.d/*.conf
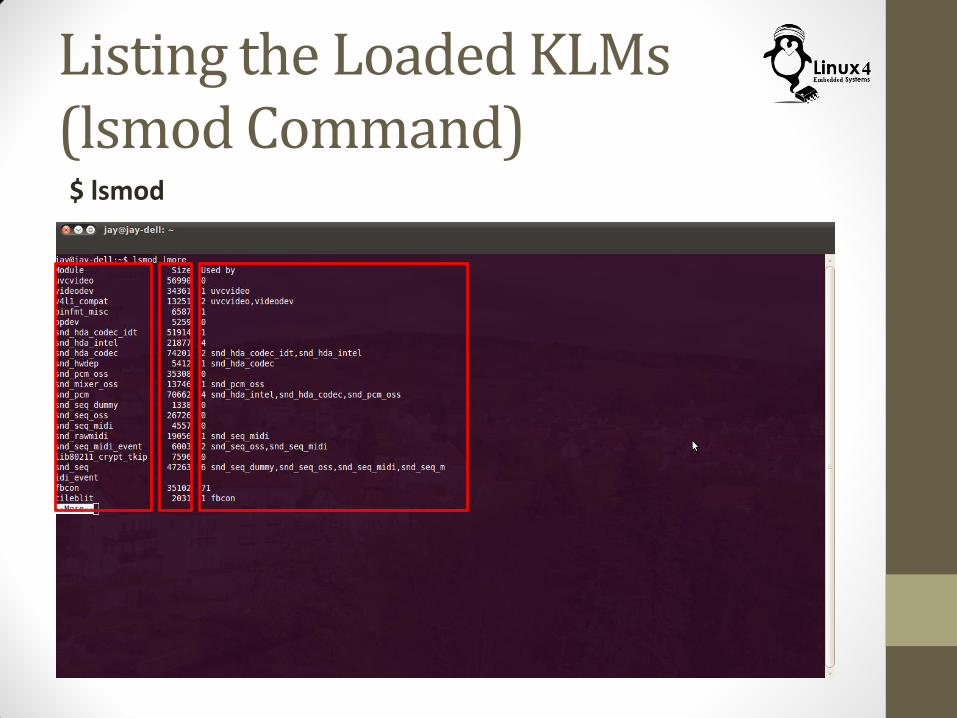
Listing the Loaded KLMs (lsmod Command) $ lsmod

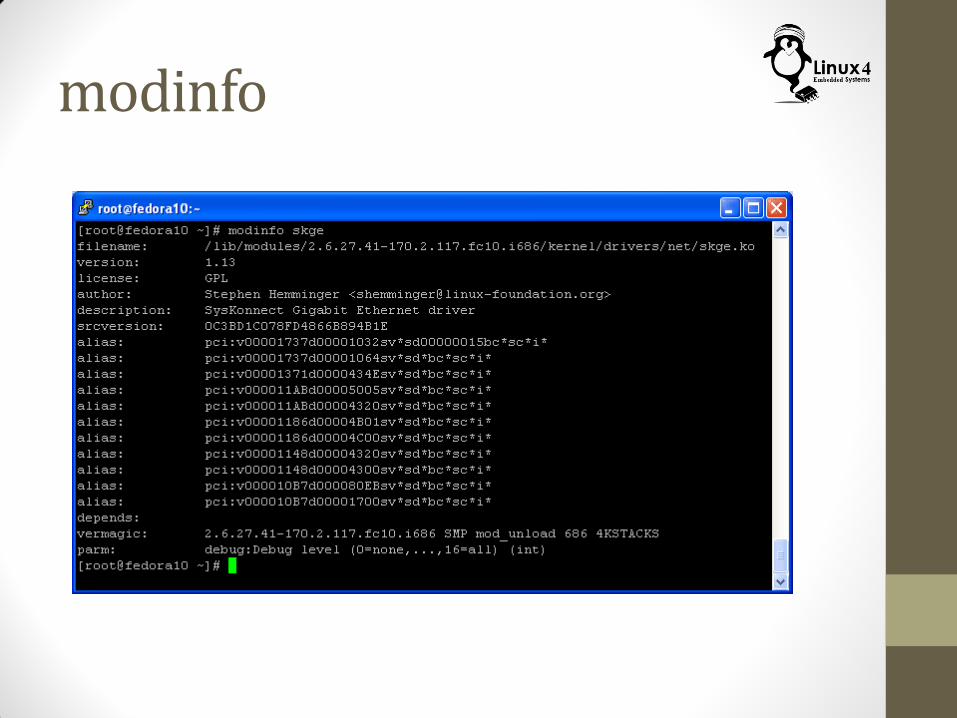
Displaying Kernel Module info (modinfo Command) $ modinfo <kernel module name>
• This command shows information about the module
$ modinfo my-driver
• This includes,
• Full path for the .ko file
• Author
• License type
• Description of the module function
• Valid parameters
• Dependencies on other modules
modinfo
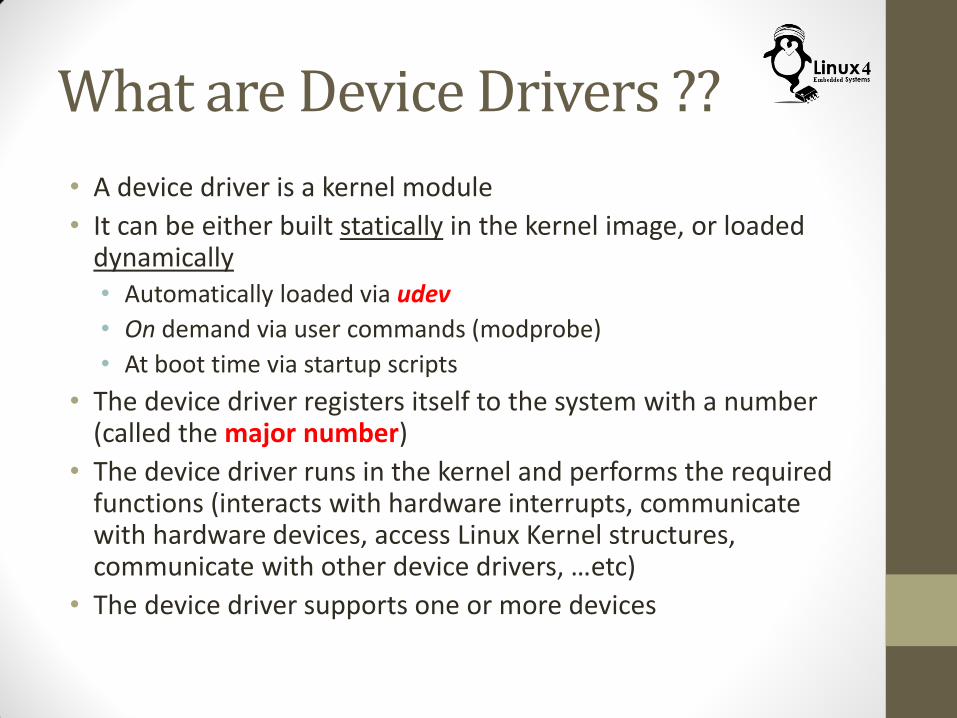
What are Device Drivers ??
• A device driver is a kernel module
• It can be either built statically in the kernel image, or loaded dynamically • Automatically loaded via udev
• On demand via user commands (modprobe)
• At boot time via startup scripts
• The device driver registers itself to the system with a number (called the major number)
• The device driver runs in the kernel and performs the required functions (interacts with hardware interrupts, communicate with hardware devices, access Linux Kernel structures, communicate with other device drivers, …etc)
• The device driver supports one or more devices

What are Devices ??
• A device is a special file (also called device node) representation located in /dev
• The file is not a real file. It does not reside on the disk, it is just a place holder (that just lives in memory)
• Each device binds to a specific device driver at device creation time
• It is just an abstraction to enable the user plane to access the device driver as if it is normal file
• It is the way the Linux kernel uses to establish the statement “Everything is a file”, so you can,
• Request information from the device driver by reading from the device file
• Send information to it by writing to the device file
• One or more devices can bind with the same device driver (they must have the same Major Number), but each one has to pick a unique number (called the Minor Number)
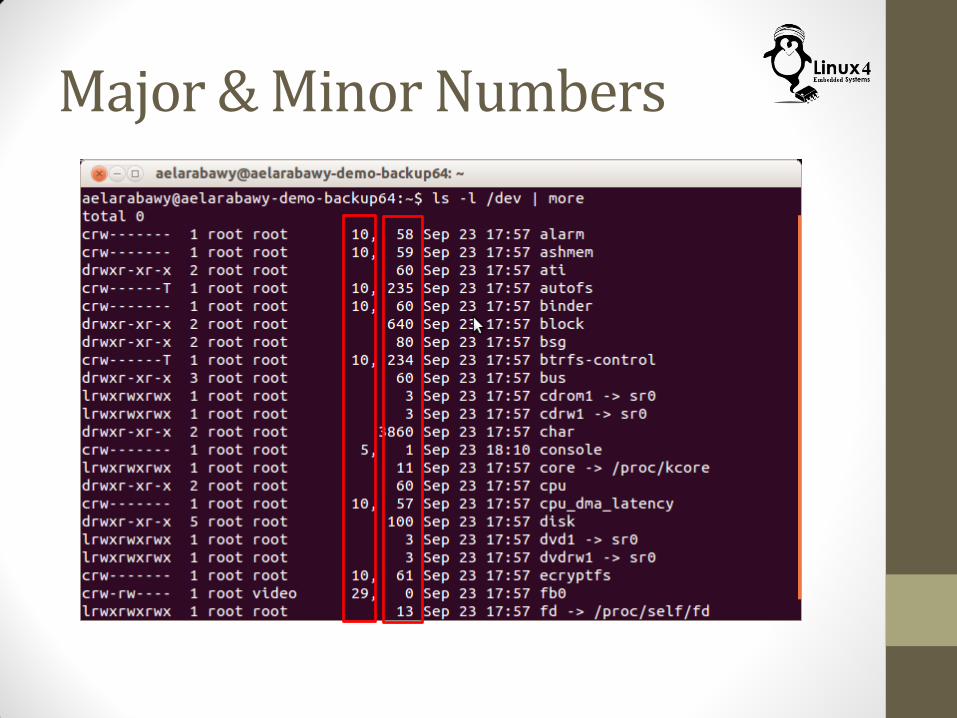
Major & Minor Numbers
• Each Device will have a pair of numbers,
• Major Number:
• This is the number that identify the device driver associated with this device
• The Major number is reserved and registered by the device driver when it is loaded in the kernel
• Minor Number:
• This number is associated with the device file
• It is the way to differentiate the different device files that are associated with the same device driver
• It is also the way that the device driver file to know which device is communicating with it
Major & Minor Numbers

Device Classification • Two main classes of devices:
• Character devices • Serial streams of data • Read and Write operations are done in a serial manner • Examples:
• Keyboard • Mouse • /dev/ones • /dev/tty1 • /dev/ttyS1
• Represented by a file with type “c” • Most common devices
• Block devices • Read and Write are performed in Blocks • Blocks are addressable, and hence can read in a non sequential way • Examples are:
• Storage devices (hard disk, flash) • /dev/sda1
• Represented by a file with type “b”

Device Classification

Hardware Device, Device Driver, & Device File
Hardware
Kernel
User Plane
Creating a Device file (mknod Command)
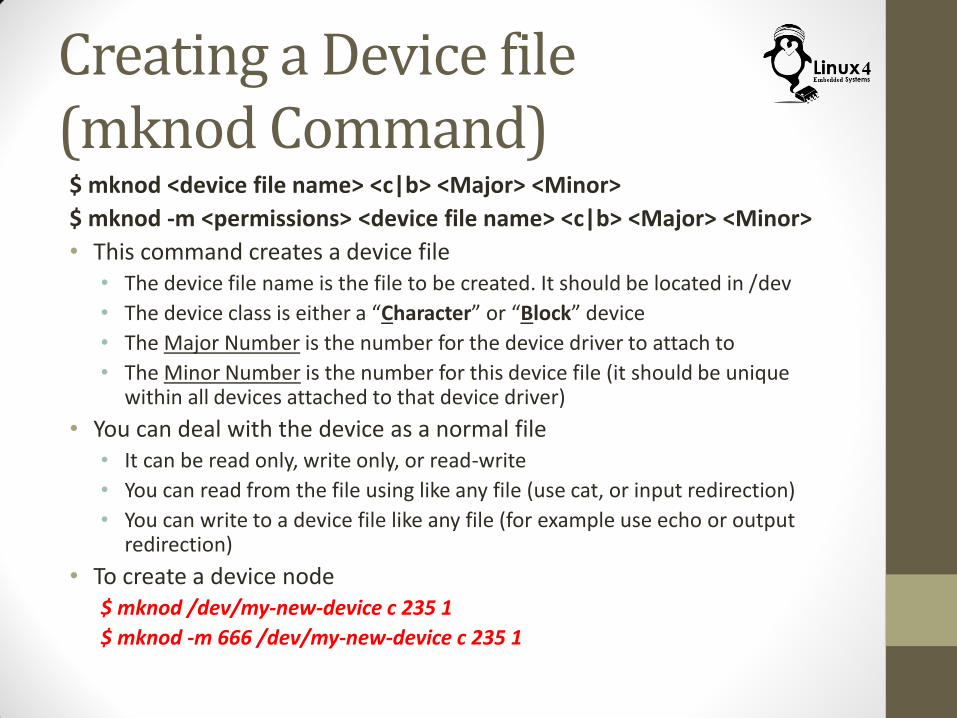
$ mknod <device file name> <c|b> <Major> <Minor>
$ mknod -m <permissions> <device file name> <c|b> <Major> <Minor>
• This command creates a device file • The device file name is the file to be created. It should be located in /dev
• The device class is either a “Character” or “Block” device
• The Major Number is the number for the device driver to attach to
• The Minor Number is the number for this device file (it should be unique within all devices attached to that device driver)
• You can deal with the device as a normal file • It can be read only, write only, or read-write
• You can read from the file using like any file (use cat, or input redirection)
• You can write to a device file like any file (for example use echo or output redirection)
• To create a device node $ mknod /dev/my-new-device c 235 1
$ mknod -m 666 /dev/my-new-device c 235 1

Examples of Commonly Used Devices

SCSI Disk Drive Devices
• All SCSI Disk drive devices (such as those used for SCSI Hard-disks) are attached to the sd driver which registers the Major Number of 8
• The naming of the device files:
• /dev/sd[a-z][1-15]
• The number at the end is the partition number
• The device file without a number refers to the whole disk

TTY Terminals & Serial Interfaces
• All Linux virtual terminals have devices names
• /dev/tty[n] (example /dev/tty1 )
• All Linux Serial Interfaces use the device names
• /dev/ttyS[n] (example /dev/ttyS1)

Device Utilities

Configuration of Serial Interfaces (setserial Command) $ setserial <options> <serial device file> <parameters to set>
• This command is used to read/write configuration of serial ports
• This includes,
• Setting the I/O port used by the serial interface
• Setting the IRQ channel used by the serial interface
• Baud rate
• Other info
• Example:
$ sudo setserial -a /dev/ttyS1
$ sudo setserial /dev/ttyS1 baud_base 115200
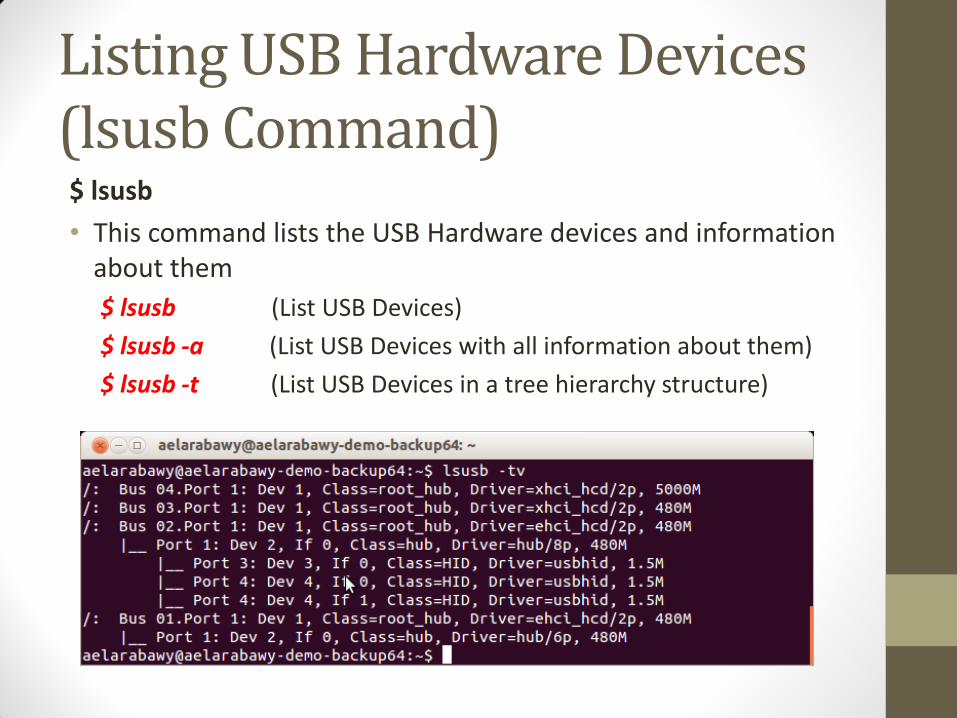
Listing USB Hardware Devices (lsusb Command) $ lsusb
• This command lists the USB Hardware devices and information about them
$ lsusb (List USB Devices)
$ lsusb -a (List USB Devices with all information about them)
$ lsusb -t (List USB Devices in a tree hierarchy structure)

Listing PCI Hardware Devices (lspci Command) $ lspci
• This command lists the PCI Hardware devices and information about them
$ lspci
$ lspci -tv (Use tree hierarchical Structure with detailed info)
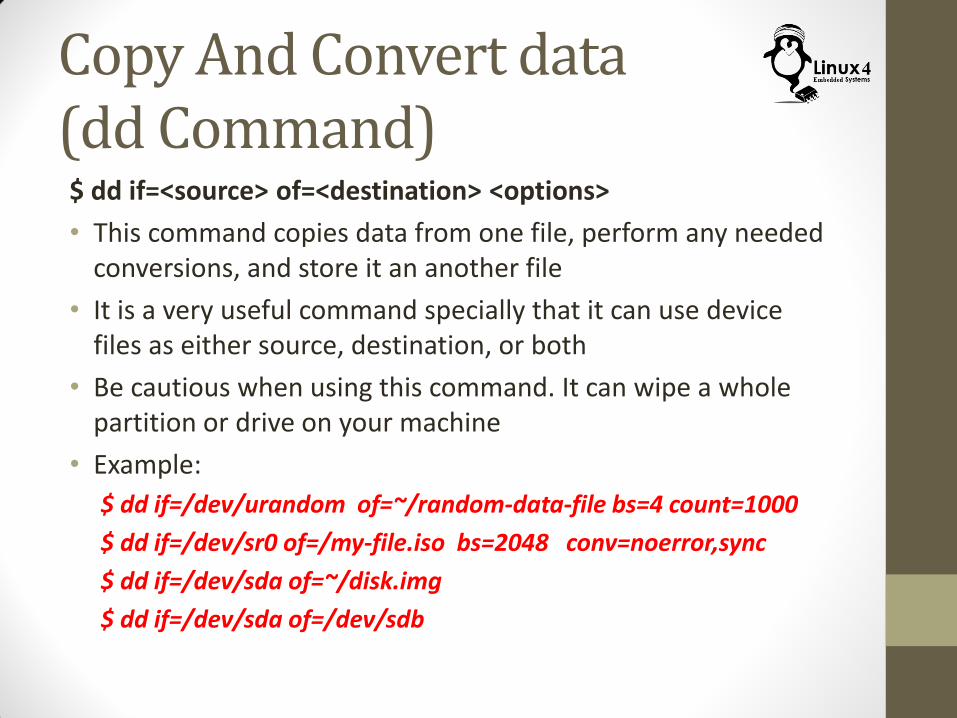
Copy And Convert data (dd Command) $ dd if=<source> of=<destination> <options>
• This command copies data from one file, perform any needed conversions, and store it an another file
• It is a very useful command specially that it can use device files as either source, destination, or both
• Be cautious when using this command. It can wipe a whole partition or drive on your machine
• Example:
$ dd if=/dev/urandom of=~/random-data-file bs=4 count=1000
$ dd if=/dev/sr0 of=/my-file.iso bs=2048 conv=noerror,sync
$ dd if=/dev/sda of=~/disk.img
$ dd if=/dev/sda of=/dev/sdb
Dump of a File (od Command) $ od <Options> <file>
• This command dumps files in different formats
• Examples:
$ od -x file.img (output the file in Hexadecimal format)
$ od -s file.img (output the file in decimal format)