Couched Yarn & Loopy Edge. Machine Setup Size 90/14 universal point, embroidery (preferred),...
19
Couched Yarn & Loopy Edge
-
Upload
lily-golden -
Category
Documents
-
view
214 -
download
0
Transcript of Couched Yarn & Loopy Edge. Machine Setup Size 90/14 universal point, embroidery (preferred),...

Couched Yarn & Loopy Edge

Machine Setup
• Size 90/14 universal point, embroidery (preferred), topstitch or jeans needle
• Purple variegated (preferred) or regular thread in top• Dark blue / purple cotton or polyester thread in bobbin• Presser foot for Baby Lock:
- Edge Joining foot (preferred) -or- "N" foot • Presser foot for Bernina in order of preference:
- #10D / #10C / #10 (Edge Stitch)- #34D / #34C / #34 (Clear Zig Zag)- #1D / #1C / #1 (Regular Zig Zag)

• Fold Gold Fabric so that the long raw edges meet in the center and press
• Choose some sort of Serpentine stitch
• Change width to as wide as possible

• Sew so that the stitch catches both the fabric edge on the left and the yarn that is placed to the right of the fabric edge

• Choose Blind Hem stitch

• Mirror Image if possible. If you can’t mirror image, you will need to hold fabric and yarn in the opposite direction later while sewing.
• Increase Width to as wide as possible

• Move Needle Position if necessary (especially if using the Edge Stitch or Edge Joining Foot)
• Sew so that the straight part of the stitch is on the edge of the fabric and the needle swings over the edge of the yarn
• To make the yarn edge “loopy,” pull a loop of yarn out before the needle swings each time


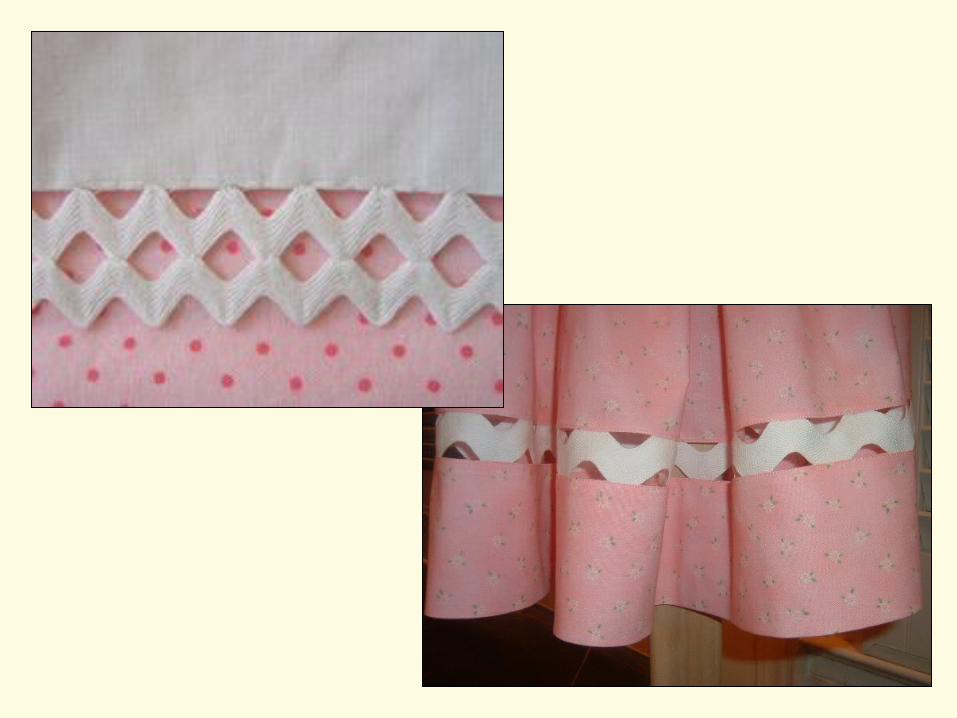
Floating Rick Rack
• The following pictures and technique were found on www.WeAllSew.com

Machine Setup
• Size 80/12 or 90/14 universal point needle (or the one from the last technique is fine for today)
• Dark blue / purple cotton or polyester thread in top• Dark blue / purple cotton or polyester thread in
bobbin• Presser foot for Baby Lock:
- Open Toe (preferred) -or- "N" foot • Presser foot for Bernina in order of preference:
- #20D / #20C / #20 (Open Toe)- #34D / #34C / #34 (Clear Zig Zag)- #1D / #1C / #1 (Regular Zig Zag)

• Choose the Blind Hem stitch• Go back to default settings for this stitch
(Touch CLR on Bernina. Choose different stitch and then go back to Blind Hem on most Baby Locks)

Machine Setup
• Change stitch length and width so that the left-hand swing of the stitch will catch the points of the rick rack

• Fold back the fabric so that rick rack “floats”
• To make a rick rack insertion, attach the free edge of the rick rack to a second piece of fabric as shown
Very wide stitch width