Core Image: The Most Fun API You're Not Using, CocoaConf Atlanta, December 2014
64
Core Image The Most Fun API You’re Not Using Chris Adamson • @invalidname CocoaConf Atlanta, December 2014
-
Upload
chris-adamson -
Category
Technology
-
view
1.339 -
download
3
Transcript of Core Image: The Most Fun API You're Not Using, CocoaConf Atlanta, December 2014
Core Image The Most Fun API You’re Not UsingChris Adamson • @invalidname
CocoaConf Atlanta, December 2014
“Core Image is an image processing and analysis technology designed to provide near
real-time processing for still and video images.”
Agenda
• Images, Filters, and Contexts
• The Core Image Filter Gallery
• Neat Tricks with Built-In Filters
• Core Image on OS X
Core Image, Core Concepts
• Core Image is not about pixels… at least not most of the time
• A chain of filters describes a “recipe” of processing steps to be applied to one or more images
• “Stringly typed”
• You only get pixels when you render
Typical Workflow• Start with a source CIImage
• Apply one or more filters
• Render resulting CIImage to a CIContext, or convert CIImage out to another type
• A few filters take or produce types other than CIImage (CIQRCodeGenerator)
CIImage• An image provided to or produced by Core Image
• But no bitmap of pixel data!
• Immutable
• -imageByCroppingToRect,-imageByApplyingTransform
• -extent — a CGRect of the image’s size
CIImage sources• NSURL
• CGImageRef
• Bitmap or JPEG/PNG/TIFF in NSData
• OpenGL texture
• Core Video image/pixel buffer

CIContext• Rendering destination for a CIImage (-
[drawImage:inRect:fromRect:])
• This is where you get pixels (also, this is the processor-intenstive part)
• On iOS, must be created from an EAGLContext. On Mac, can be created with CGContextRef
• Can also produce output as a CGImageRef, bitmap data, or a CVPixelBuffer (iOS only)
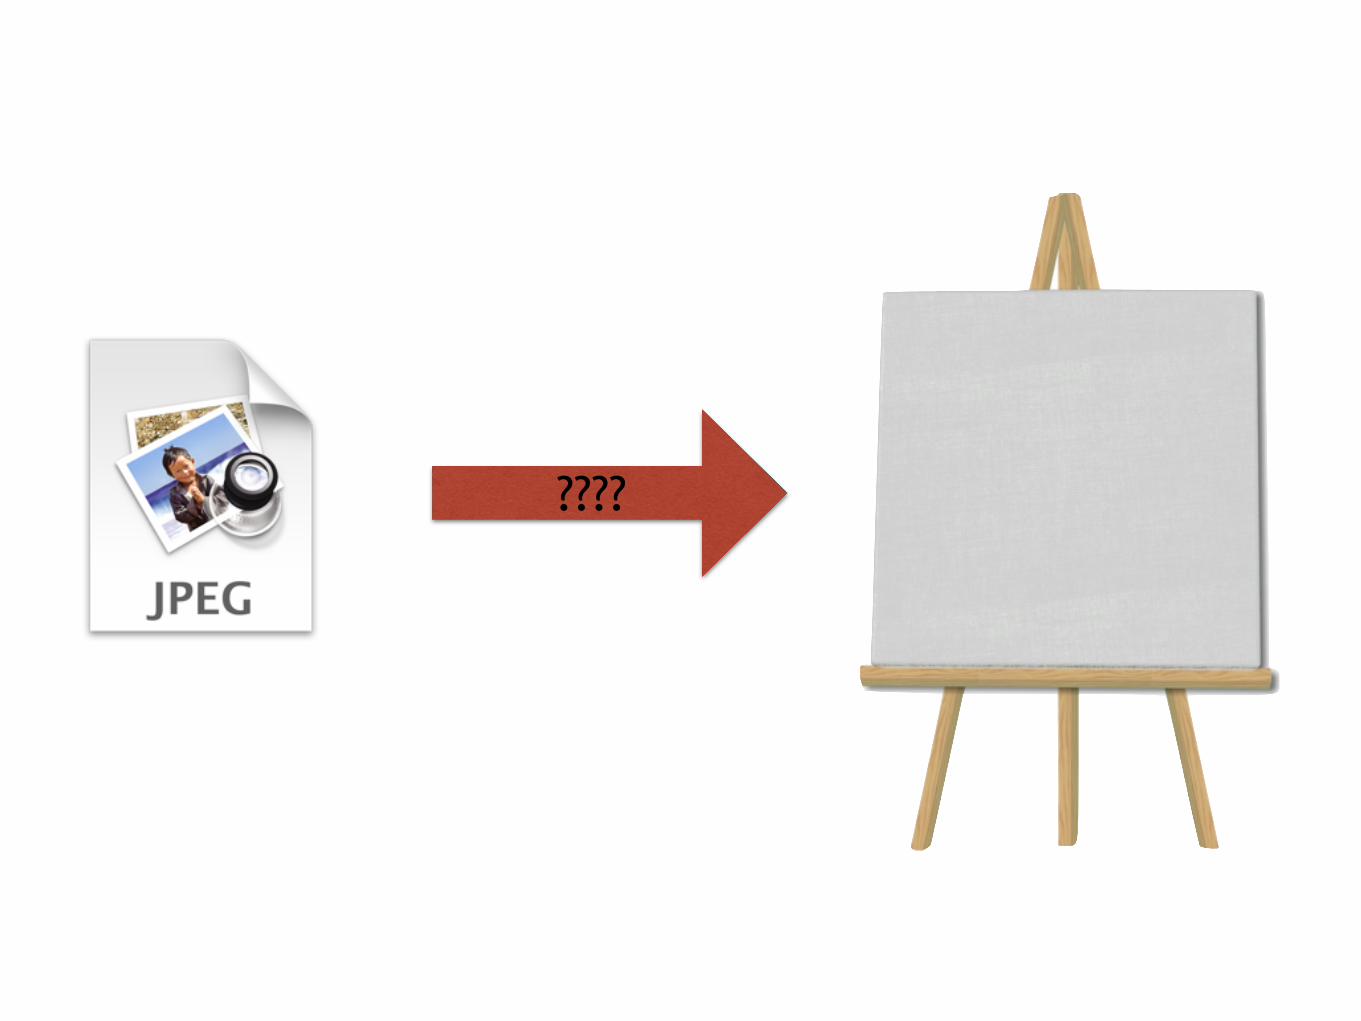
????
CIFilter• Performs an image processing operation
• Typically takes and produces a CIImage
• All parameters are provided via -[setValue:forKey:]
• Stringly-typed!
• Output is retrieved -[outputImage] (or -[valueForKey:kCIOutputImageKey])
–Core Image Cat
“I can haz filters?”
Yes, you can has Filterz!
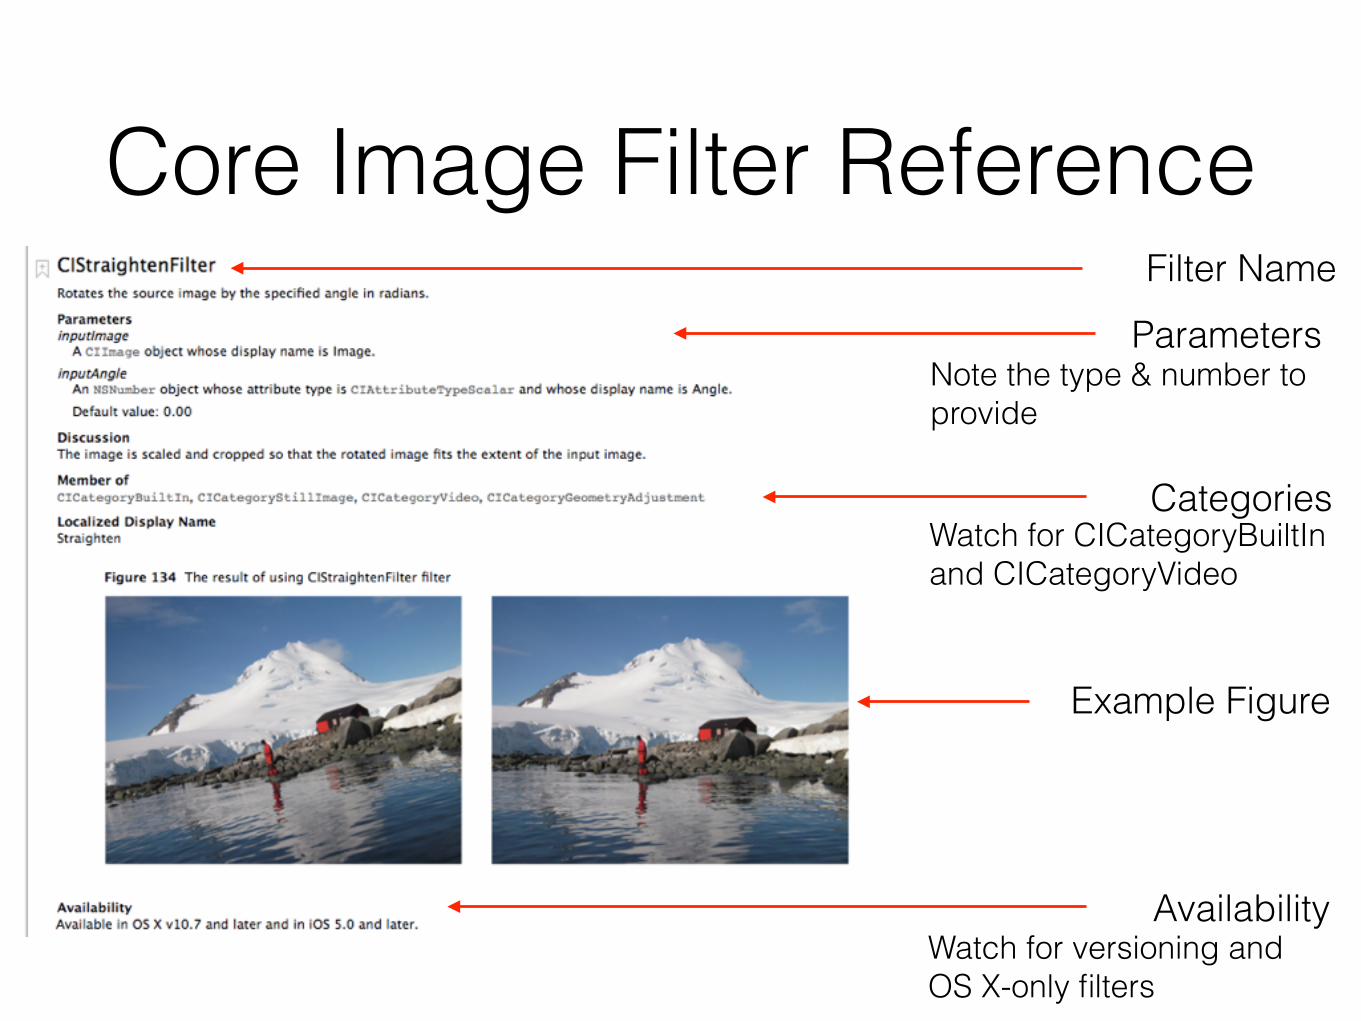
Core Image Filter ReferenceFilter Name
ParametersNote the type & number to provide
CategoriesWatch for CICategoryBuiltIn and CICategoryVideo
Example Figure
AvailabilityWatch for versioning and OS X-only filters
Filter Categories
• Group filters by functionality: CICategoryBlur, CICategoryGenerator, CICategoryCompositeOperation, etc.
• Also group filters by availability and appropriateness: CICategoryBuiltIn, CICategoryVideo, CICategoryNonSquarePixels
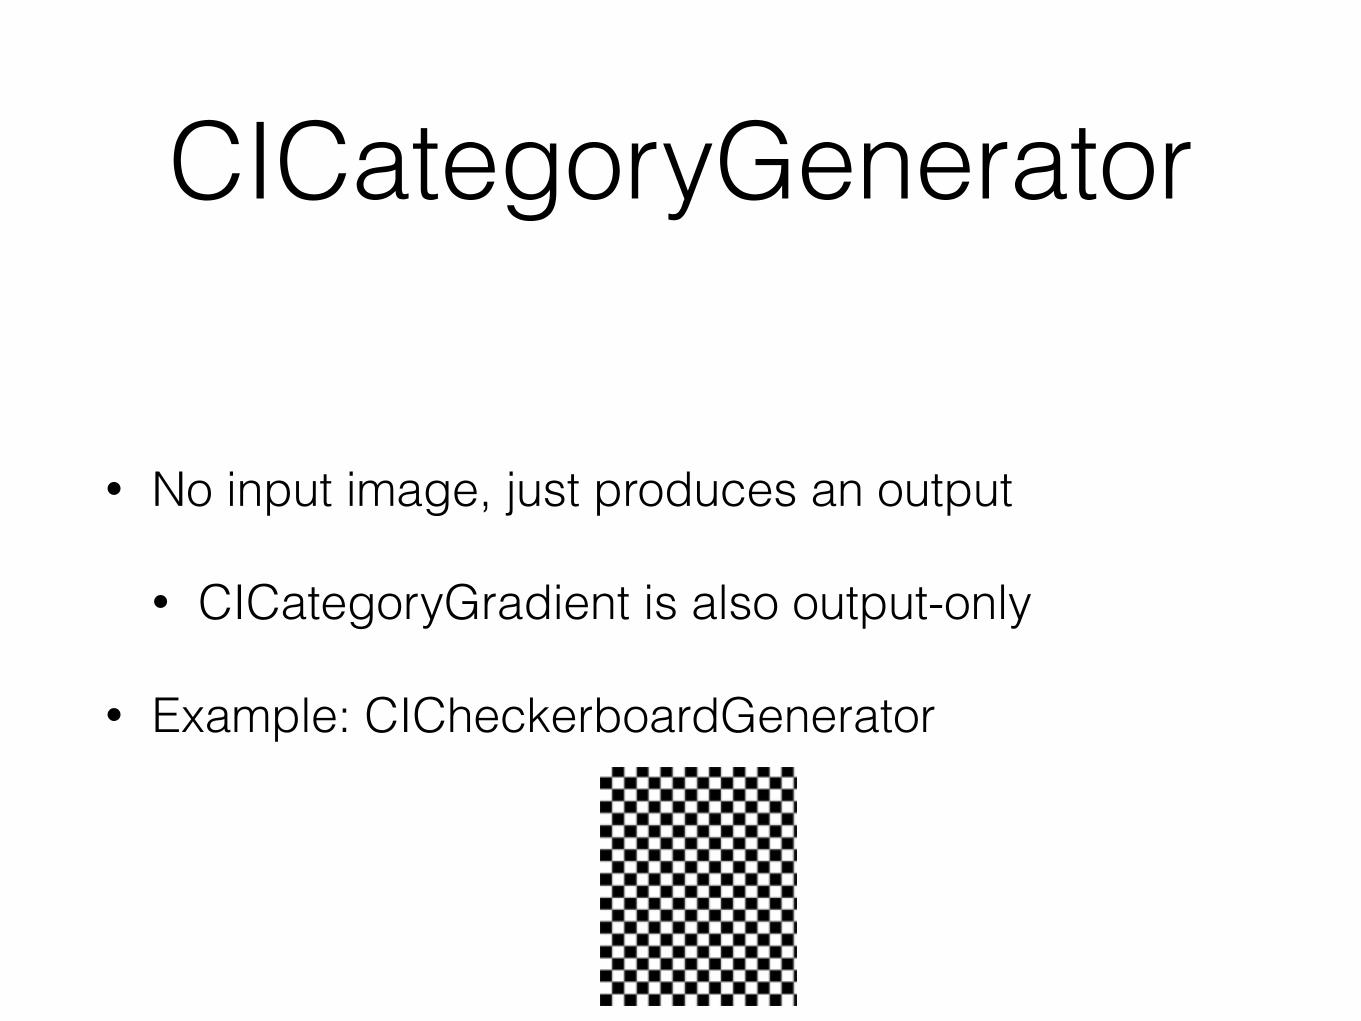
CICategoryGenerator
• No input image, just produces an output
• CICategoryGradient is also output-only
• Example: CICheckerboardGenerator
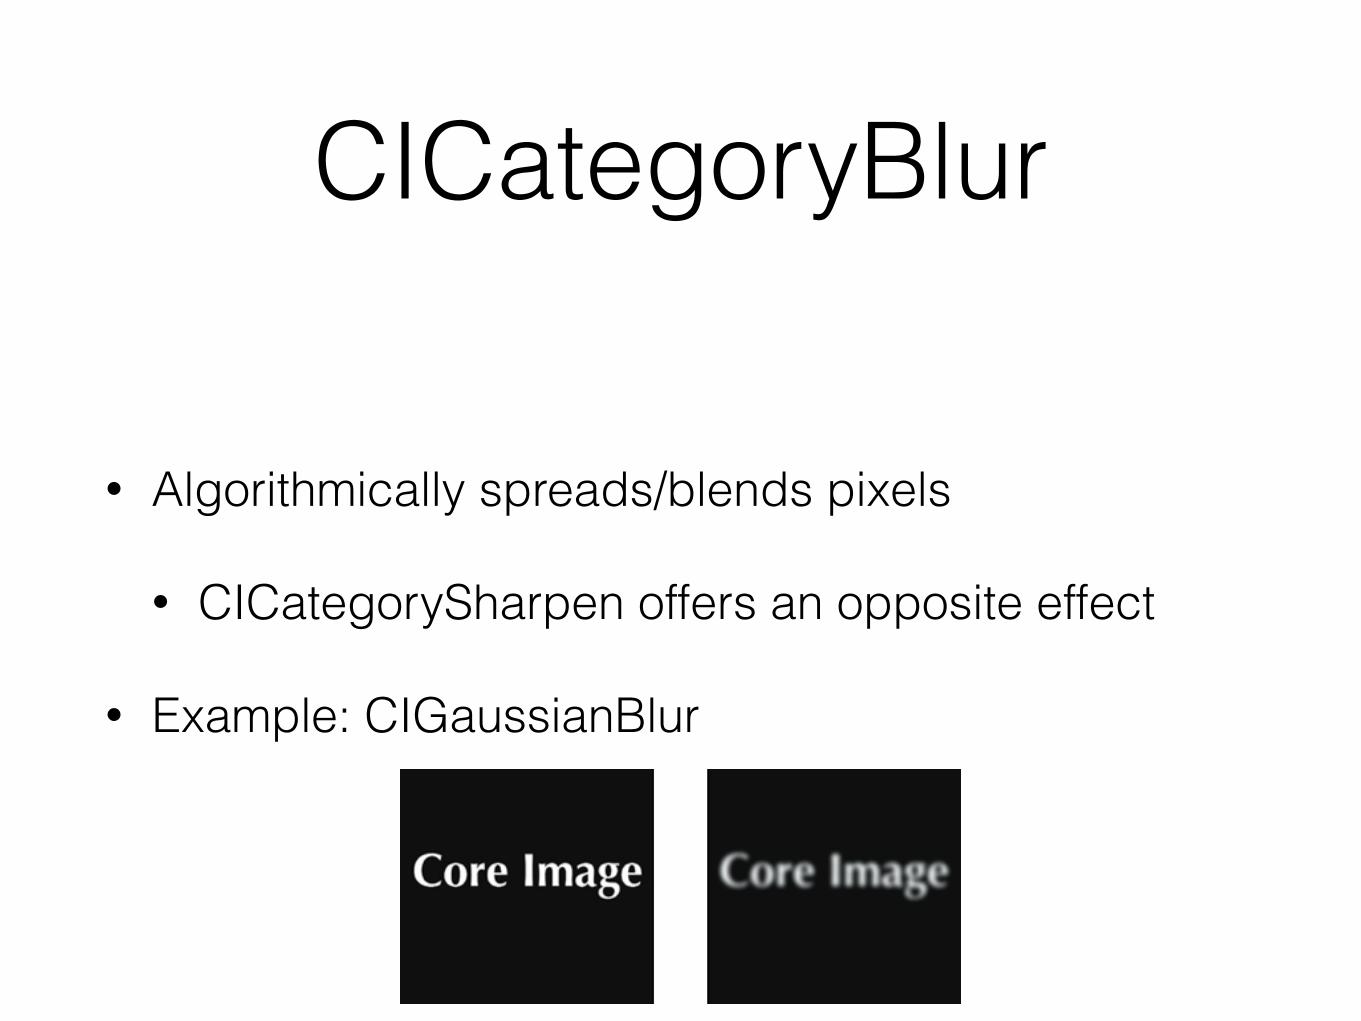
CICategoryBlur
• Algorithmically spreads/blends pixels
• CICategorySharpen offers an opposite effect
• Example: CIGaussianBlur
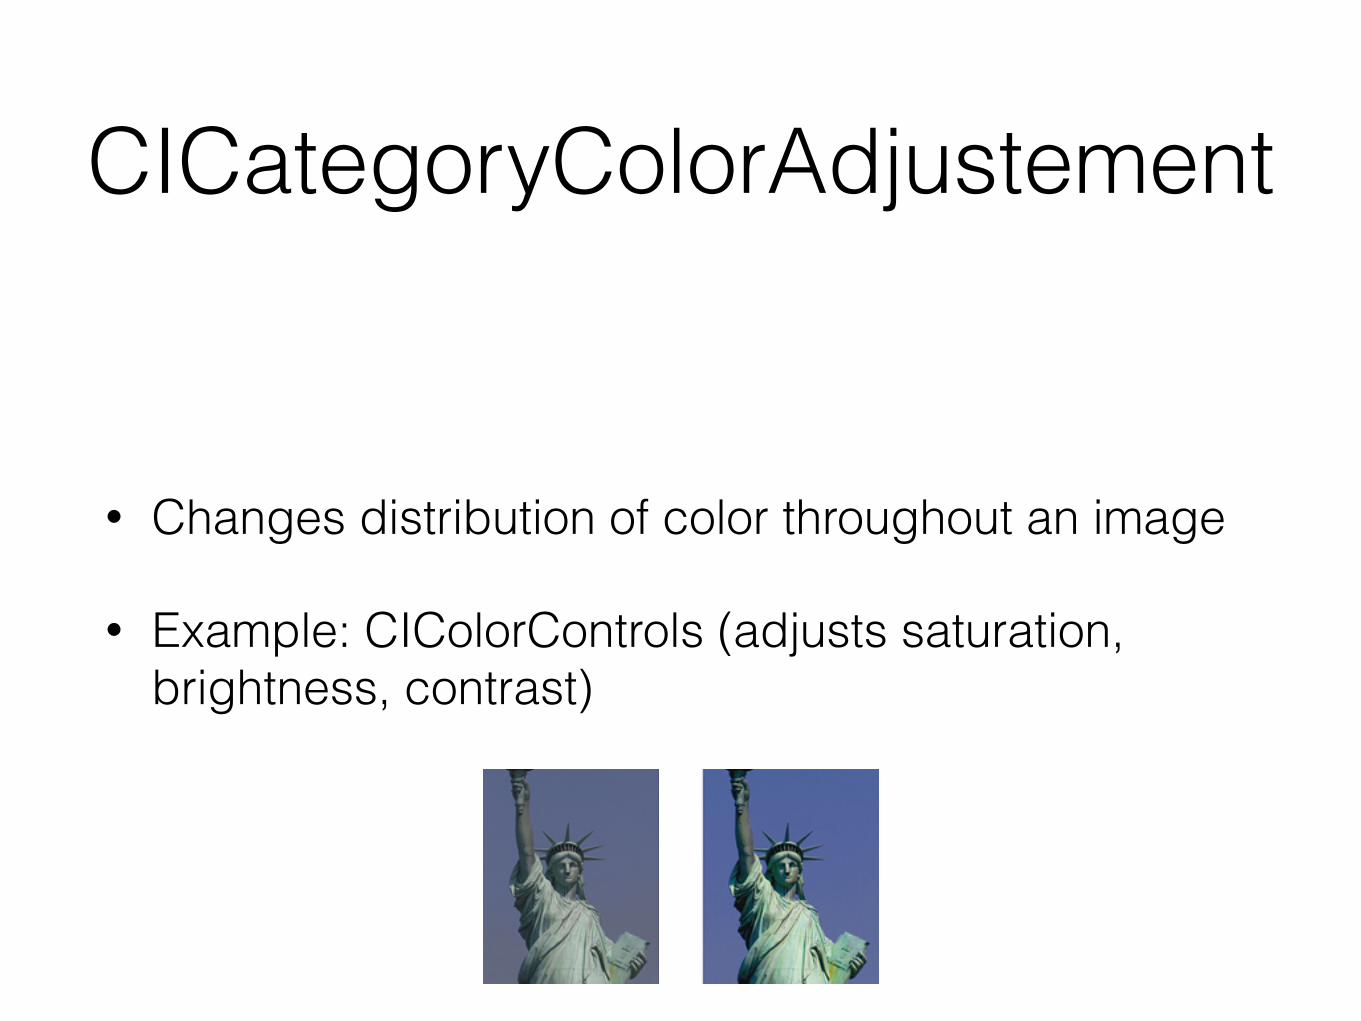
CICategoryColorAdjustement
• Changes distribution of color throughout an image
• Example: CIColorControls (adjusts saturation, brightness, contrast)
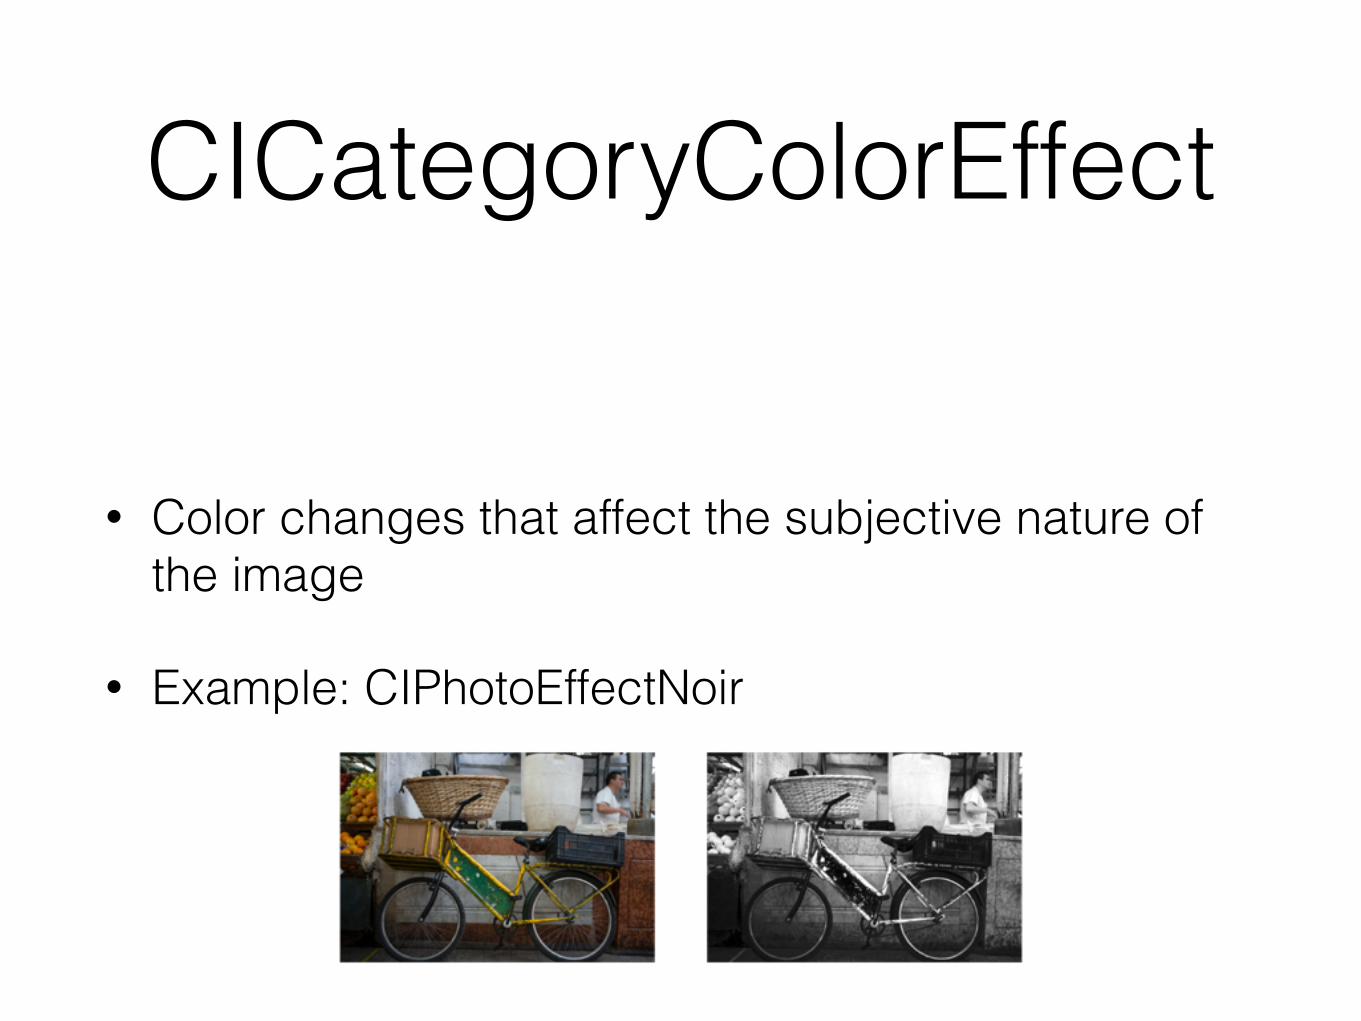
CICategoryColorEffect
• Color changes that affect the subjective nature of the image
• Example: CIPhotoEffectNoir
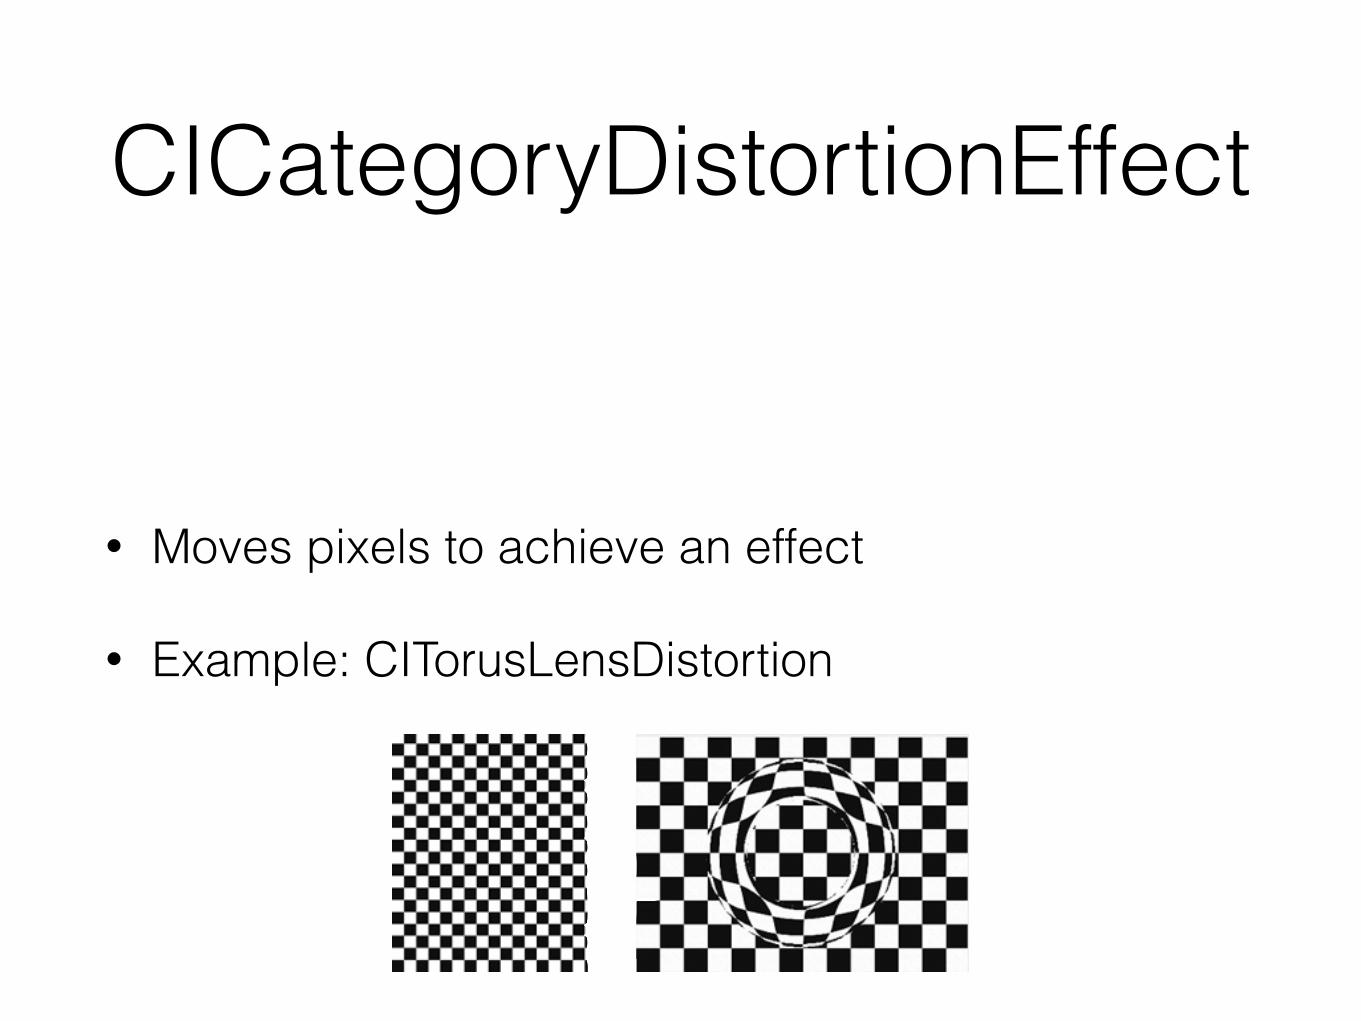
CICategoryDistortionEffect
• Moves pixels to achieve an effect
• Example: CITorusLensDistortion
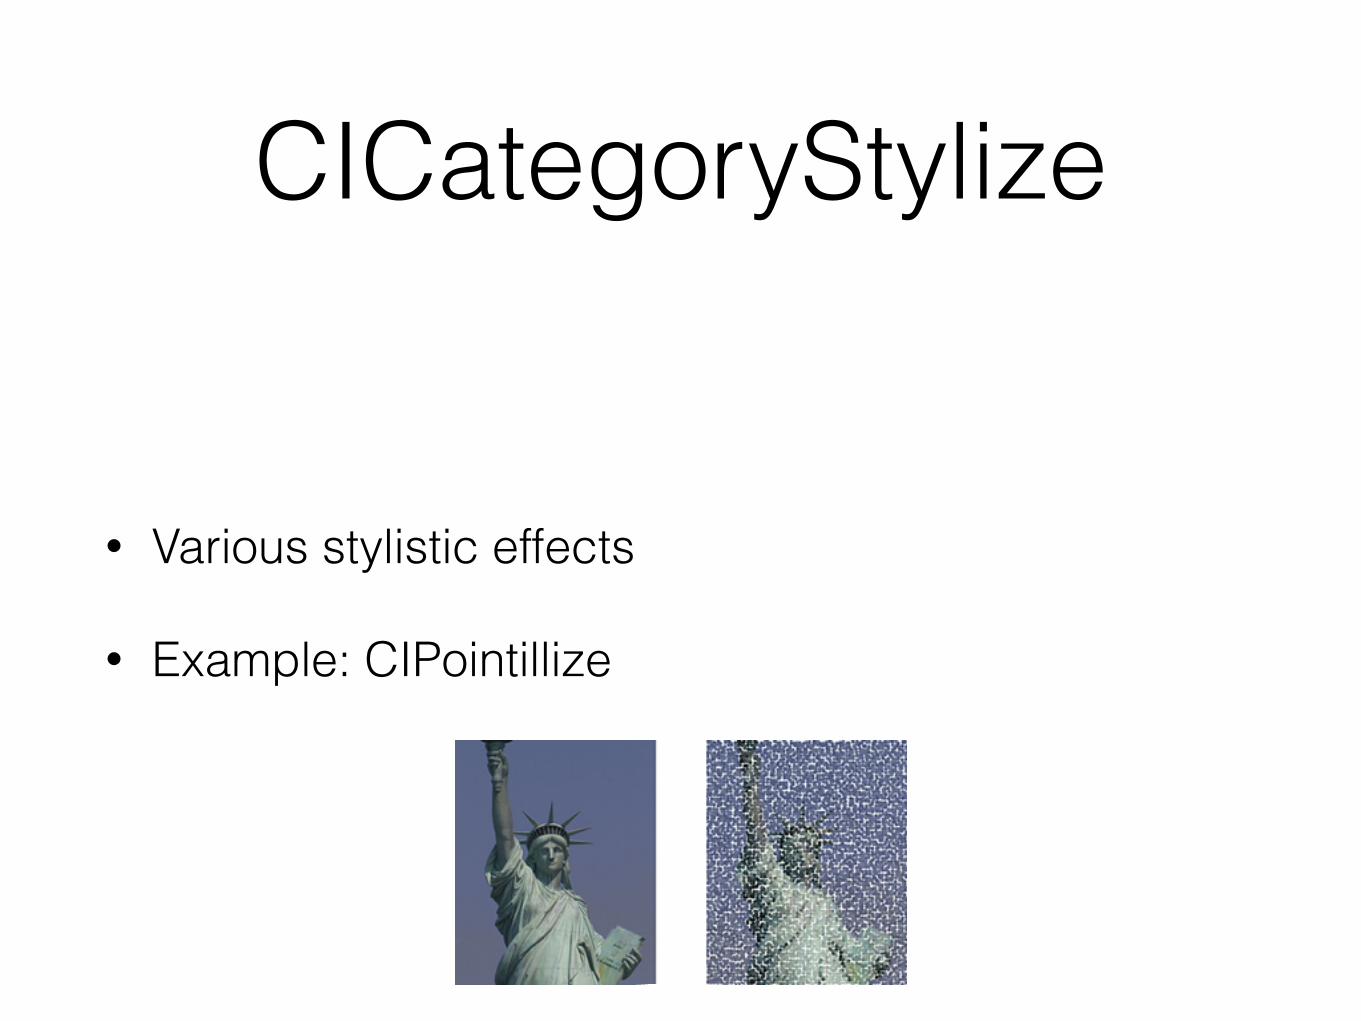
CICategoryStylize
• Various stylistic effects
• Example: CIPointillize
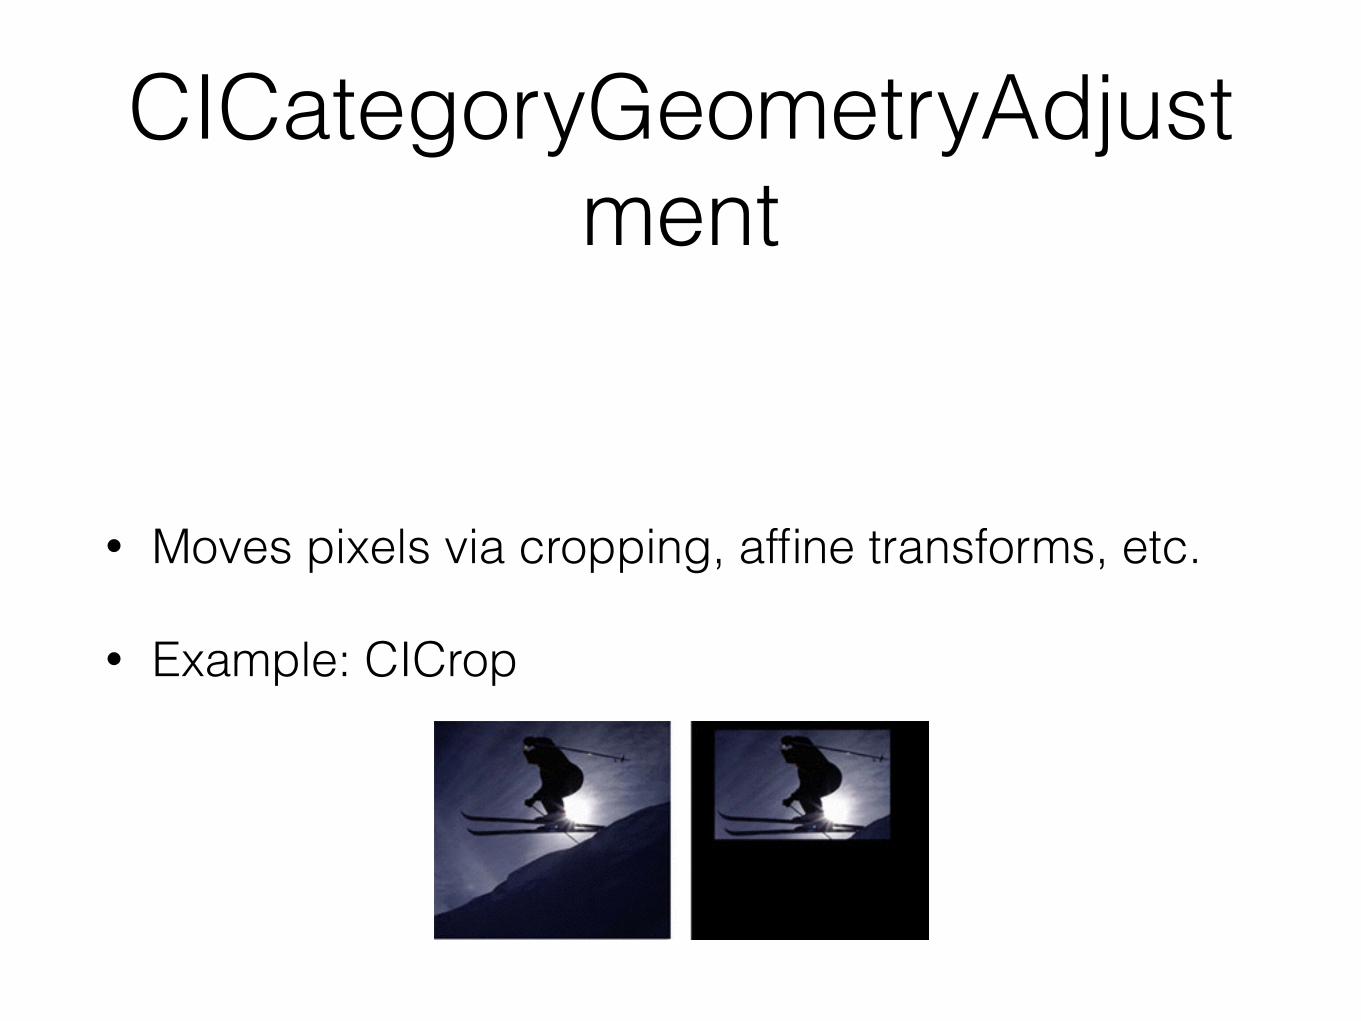
CICategoryGeometryAdjustment
• Moves pixels via cropping, affine transforms, etc.
• Example: CICrop
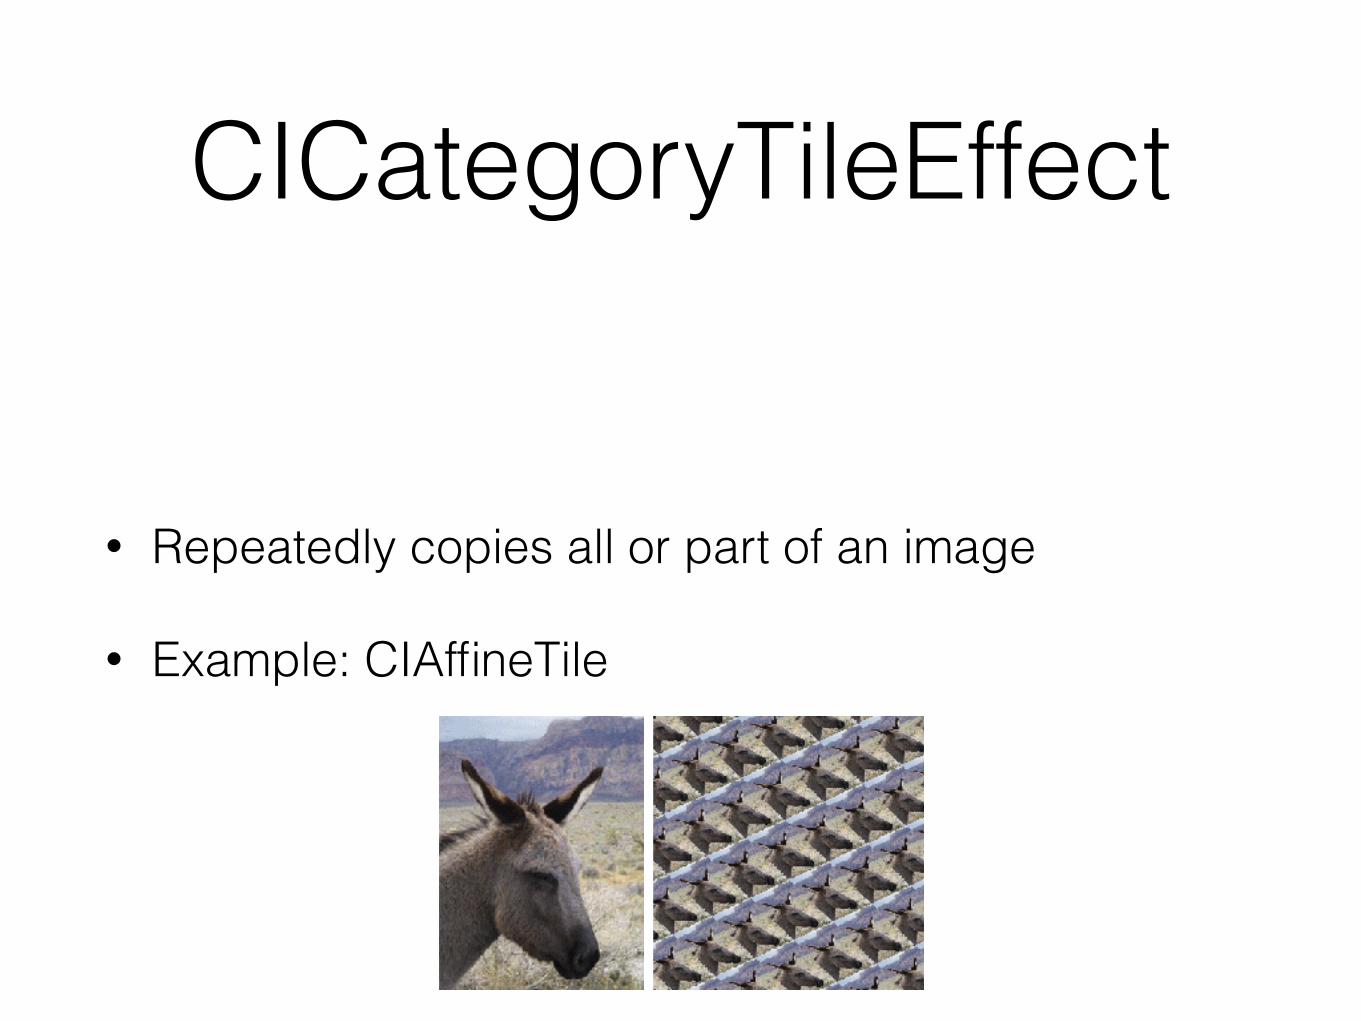
CICategoryTileEffect
• Repeatedly copies all or part of an image
• Example: CIAffineTile
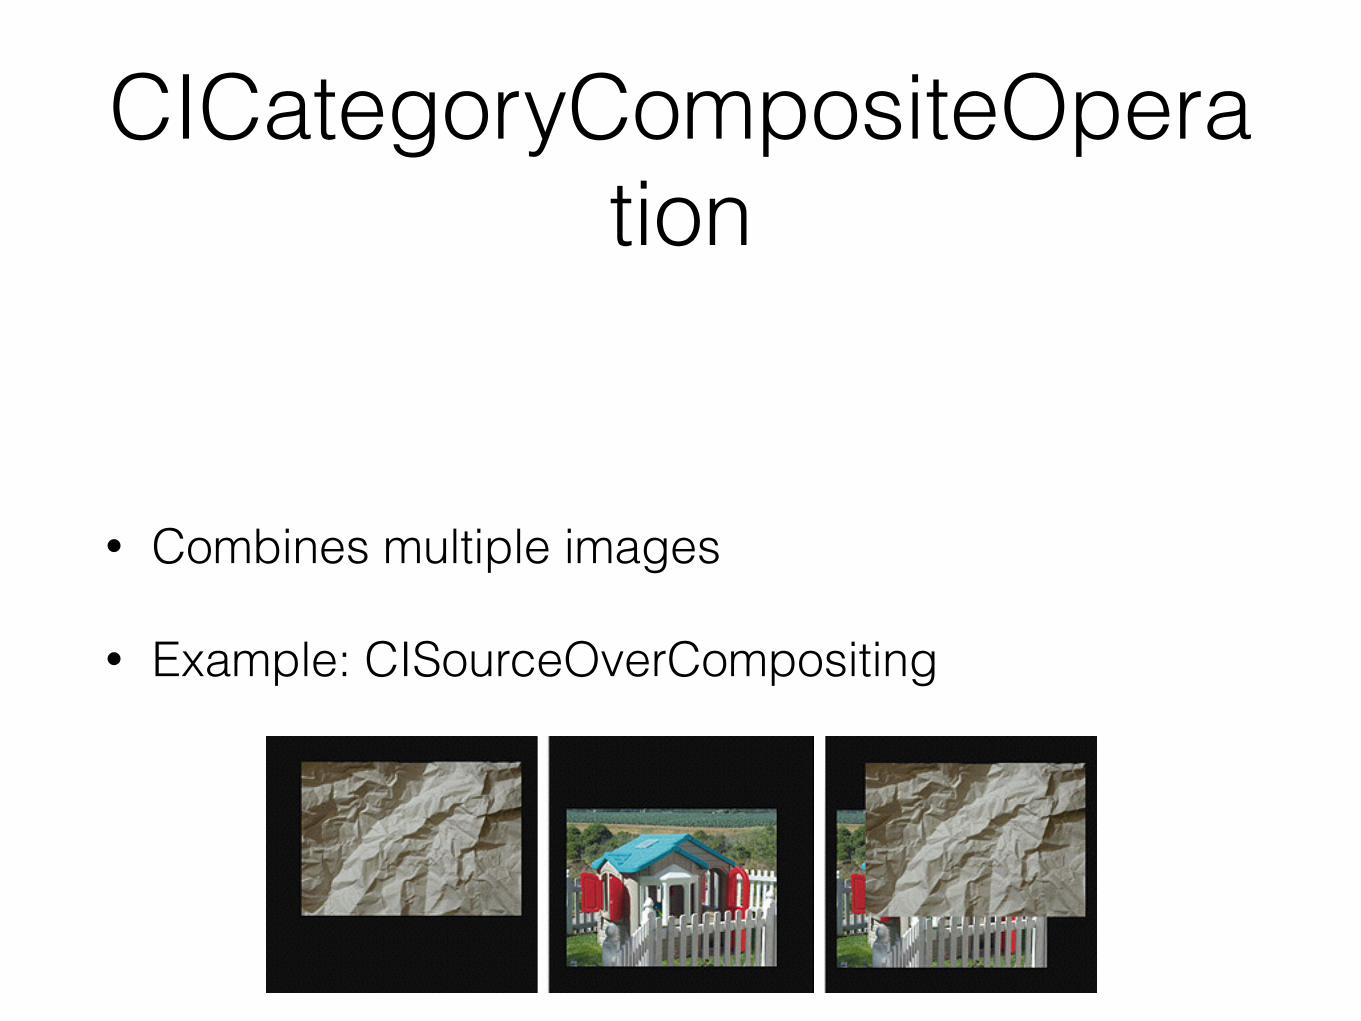
CICategoryCompositeOperation
• Combines multiple images
• Example: CISourceOverCompositing
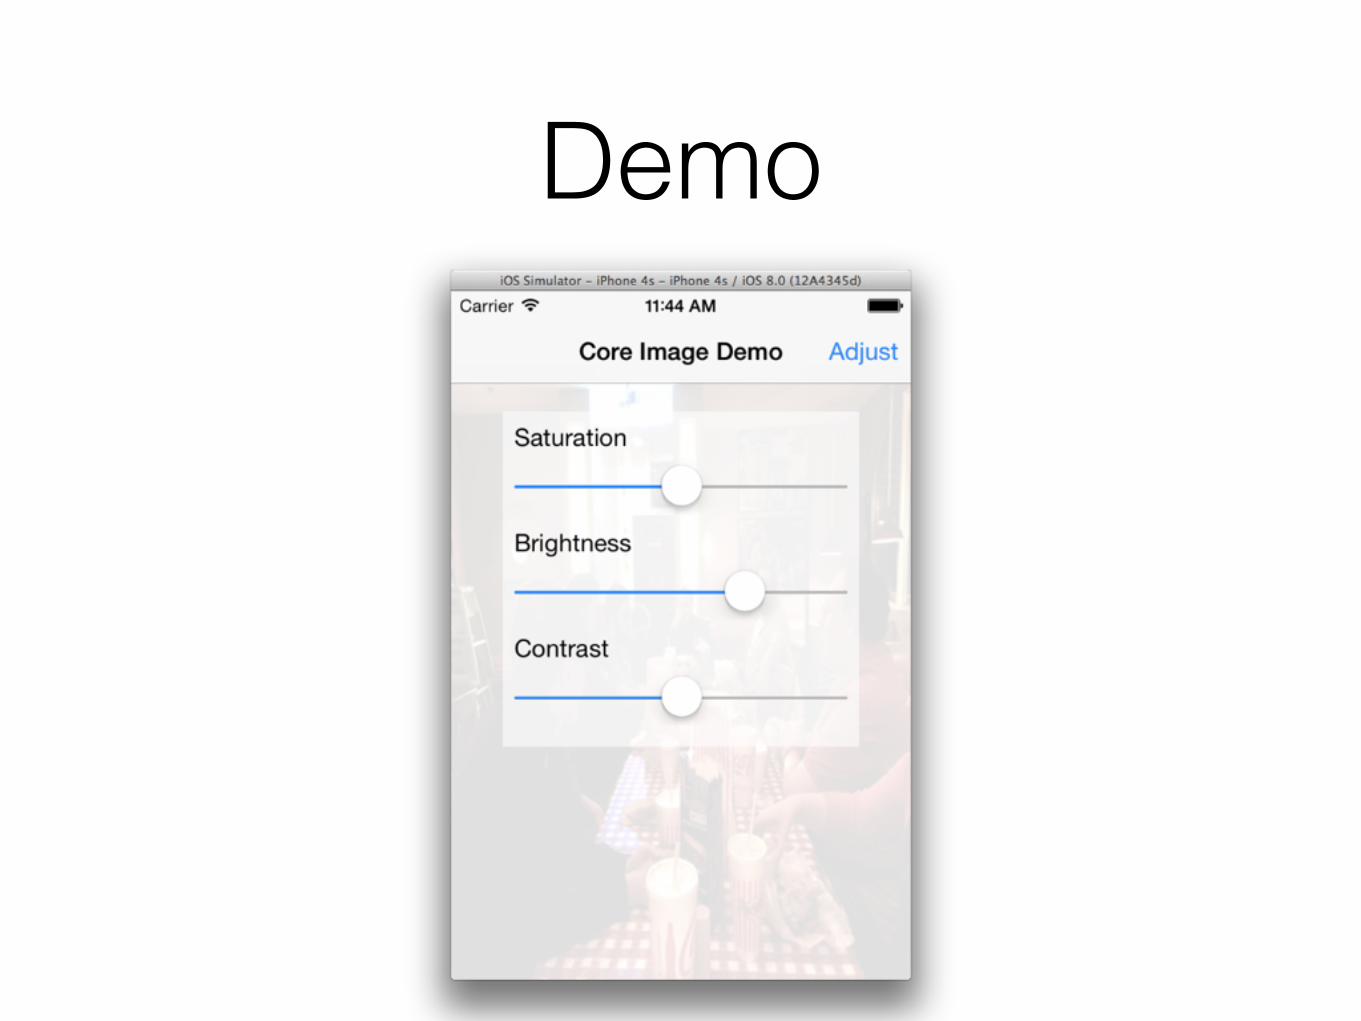
Demo
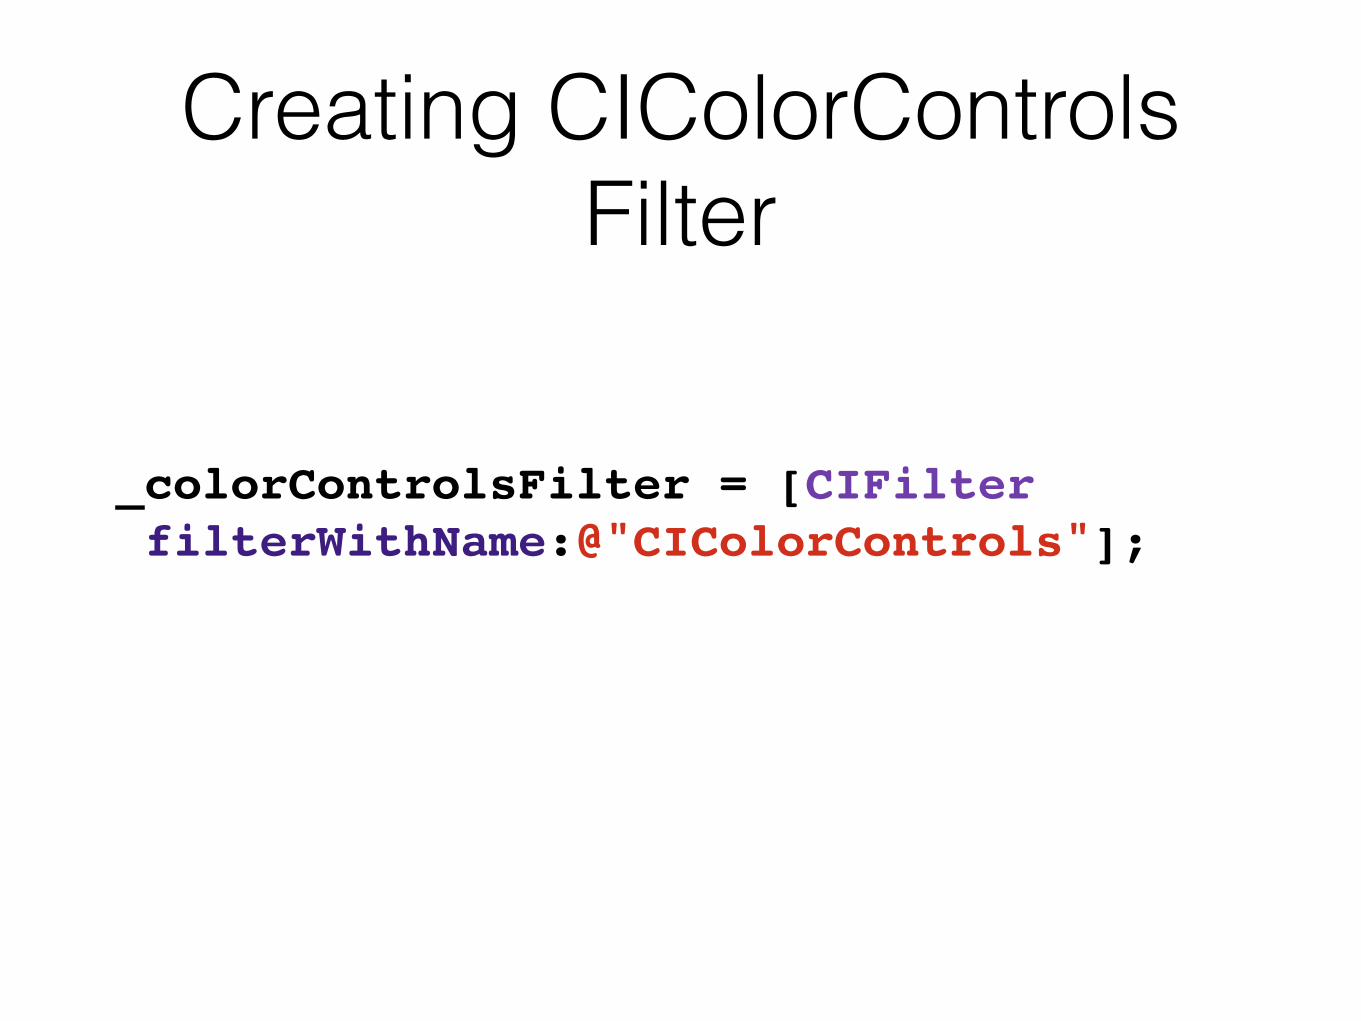
Creating CIColorControls Filter
_colorControlsFilter = [CIFilter filterWithName:@"CIColorControls"];
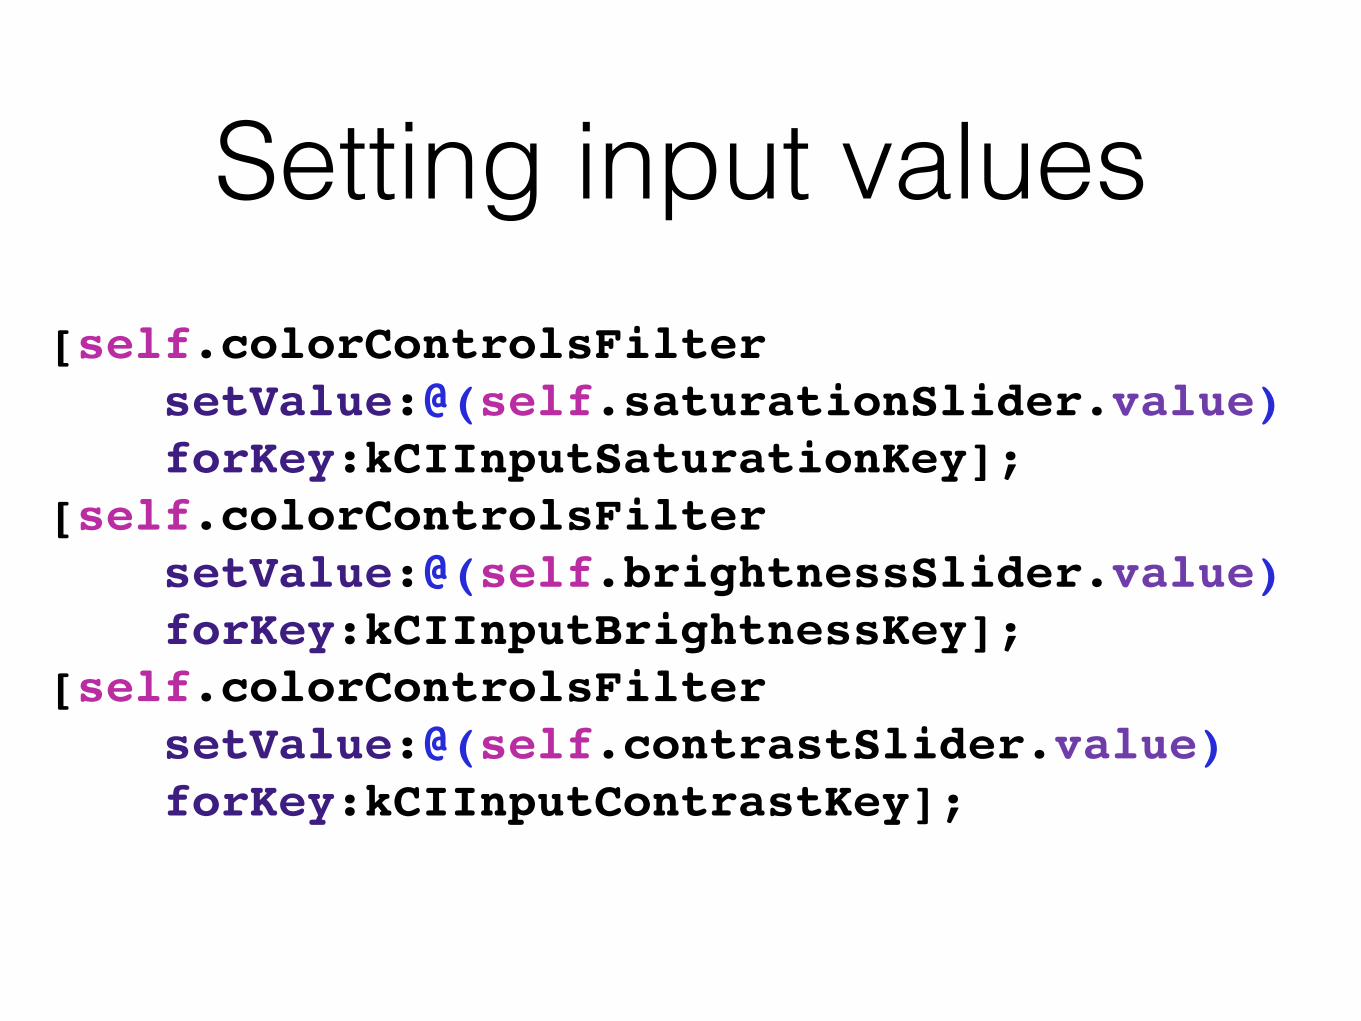
Setting input values[self.colorControlsFilter setValue:@(self.saturationSlider.value) forKey:kCIInputSaturationKey];[self.colorControlsFilter setValue:@(self.brightnessSlider.value) forKey:kCIInputBrightnessKey];[self.colorControlsFilter setValue:@(self.contrastSlider.value) forKey:kCIInputContrastKey];
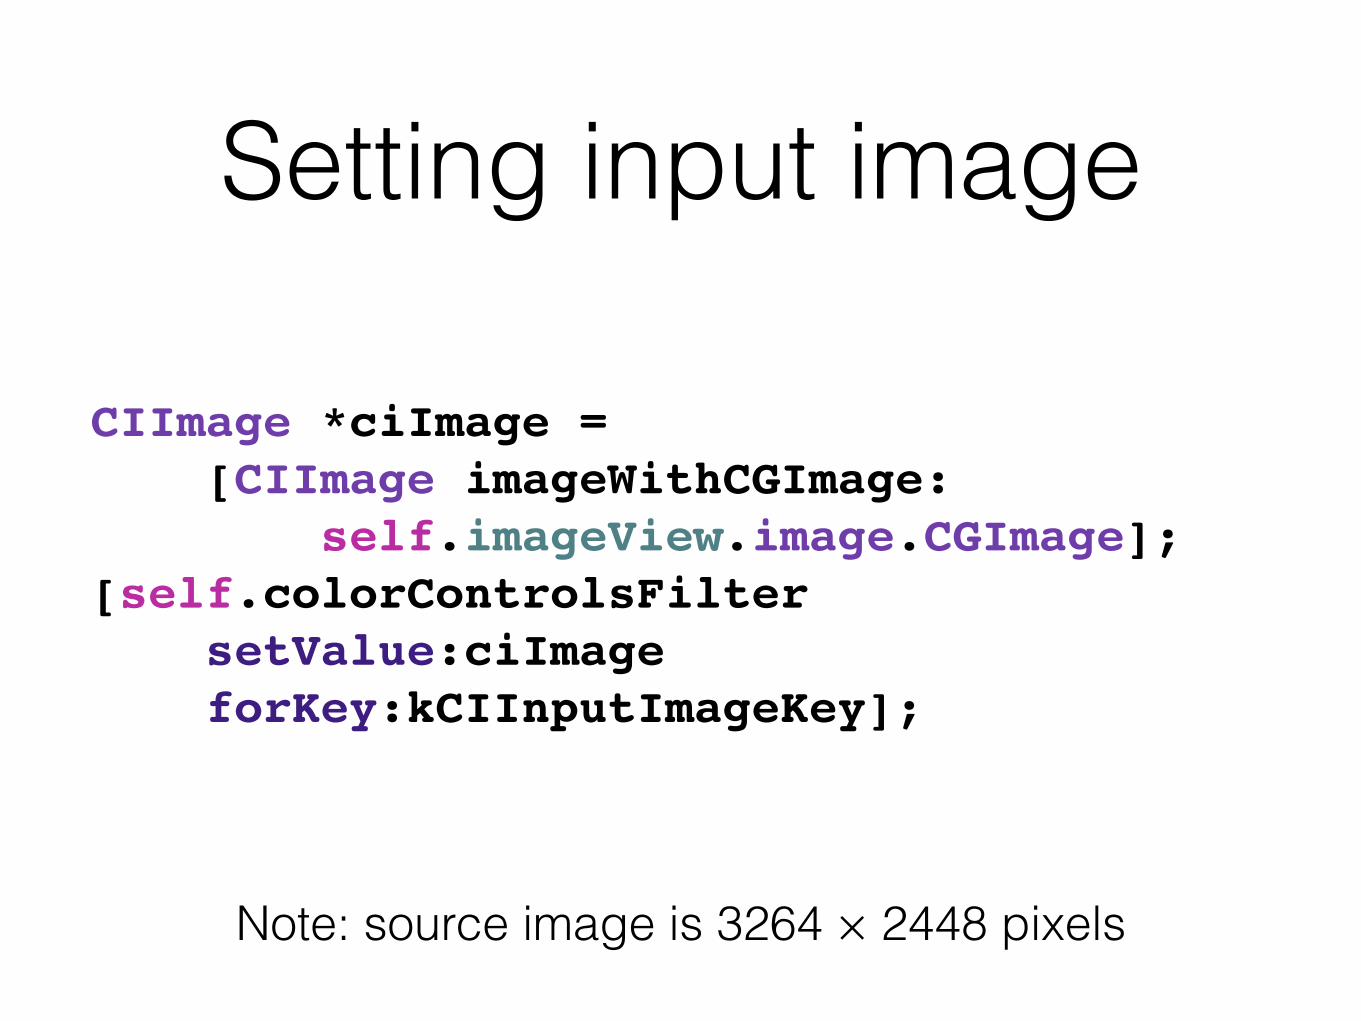
Setting input image
CIImage *ciImage = [CIImage imageWithCGImage: self.imageView.image.CGImage];[self.colorControlsFilter setValue:ciImage forKey:kCIInputImageKey];
Note: source image is 3264 × 2448 pixels
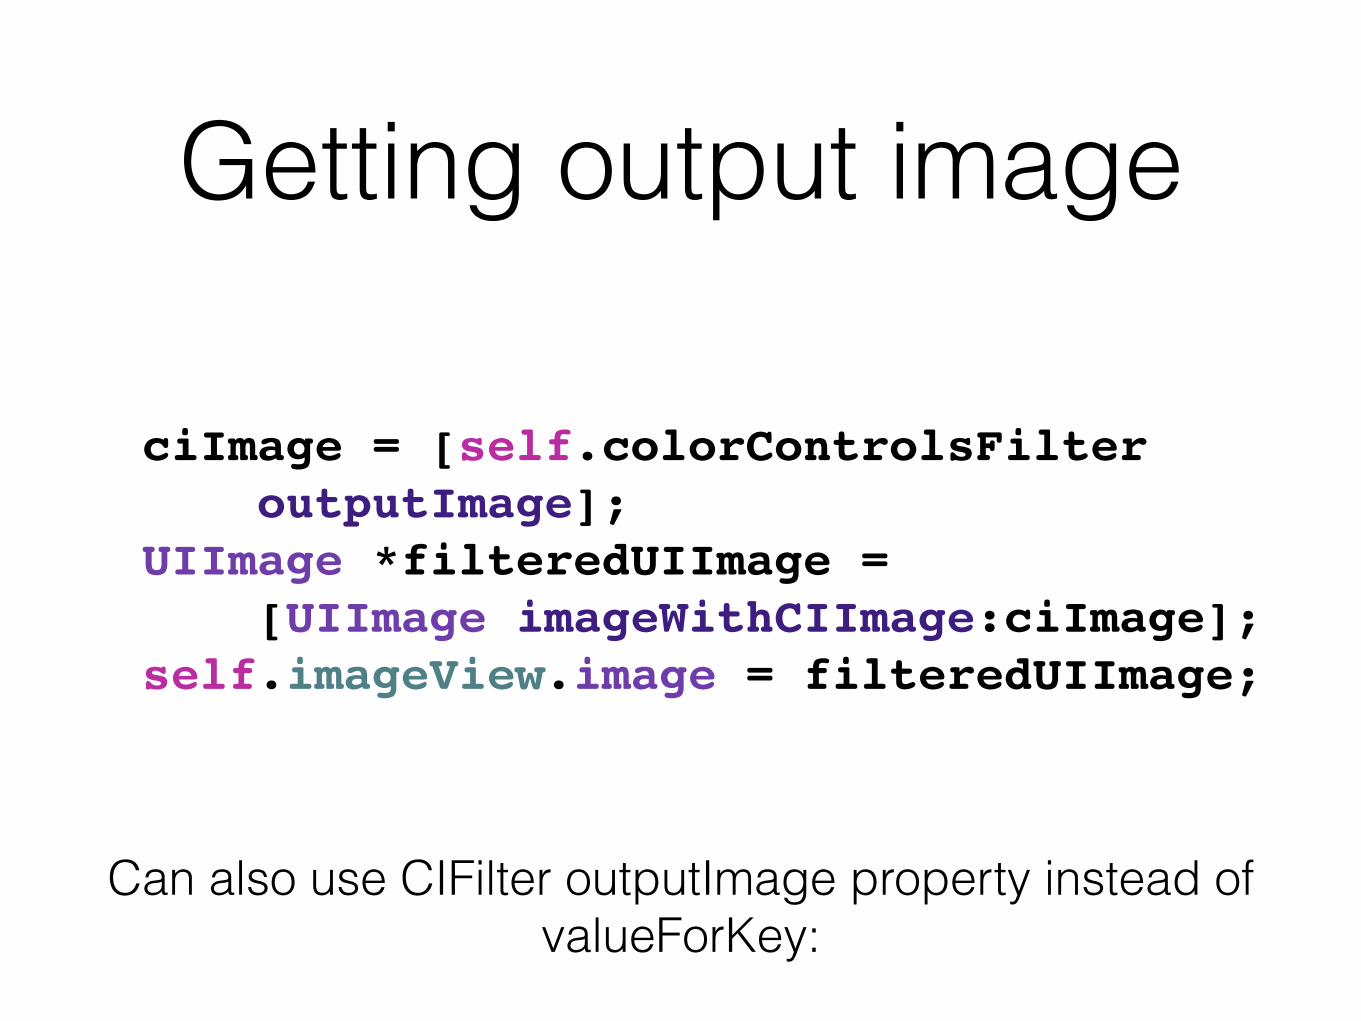
Getting output image
ciImage = [self.colorControlsFilter outputImage];UIImage *filteredUIImage = [UIImage imageWithCIImage:ciImage];self.imageView.image = filteredUIImage;
Can also use CIFilter outputImage property instead of valueForKey:
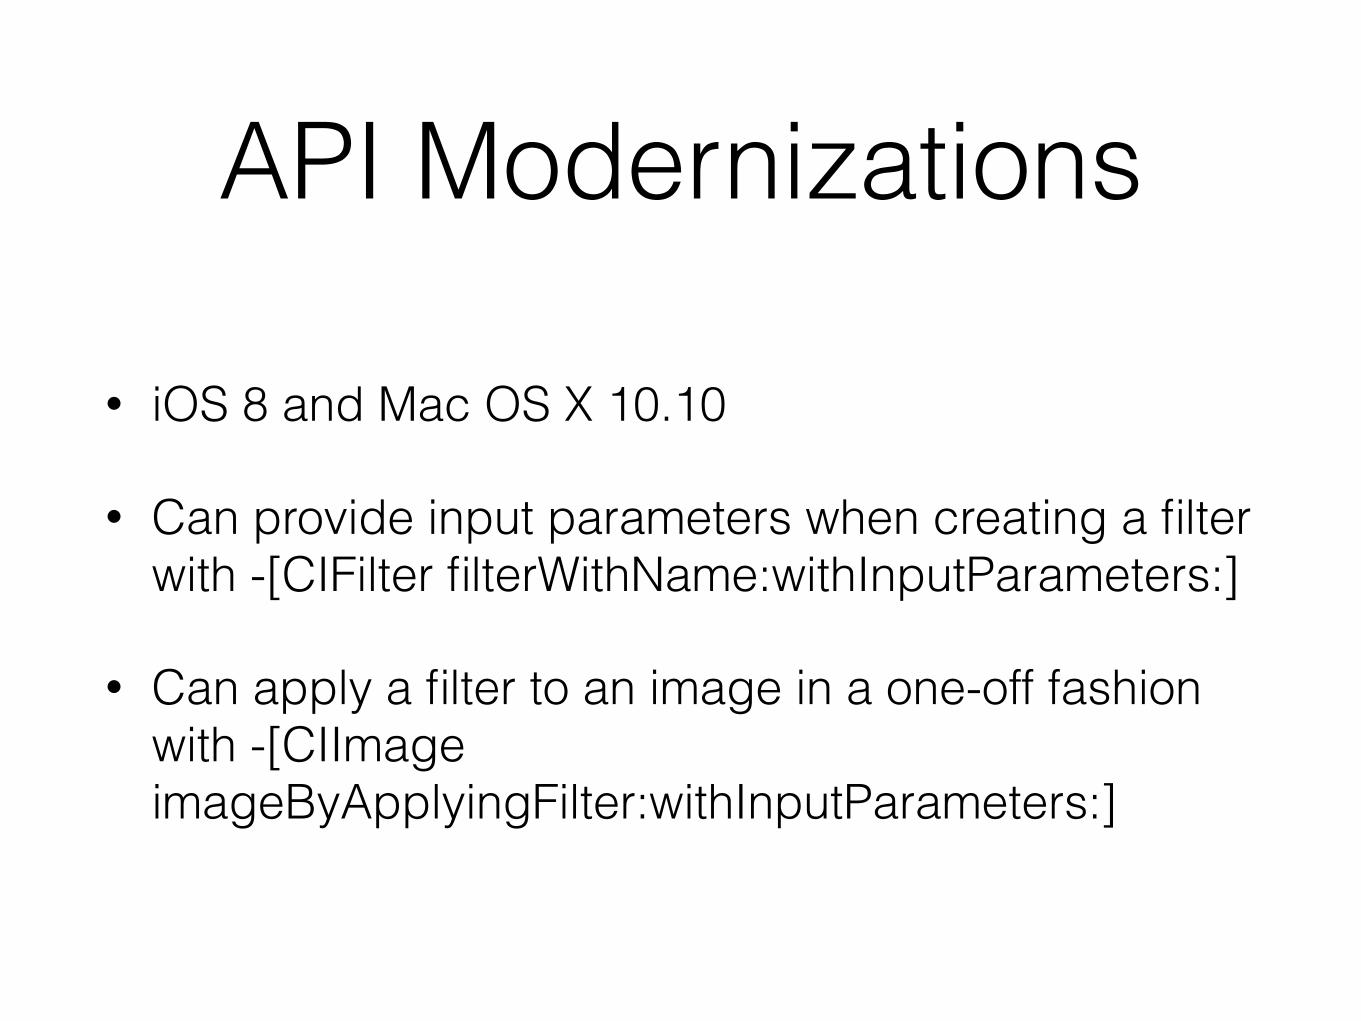
API Modernizations
• iOS 8 and Mac OS X 10.10
• Can provide input parameters when creating a filter with -[CIFilter filterWithName:withInputParameters:]
• Can apply a filter to an image in a one-off fashion with -[CIImage imageByApplyingFilter:withInputParameters:]
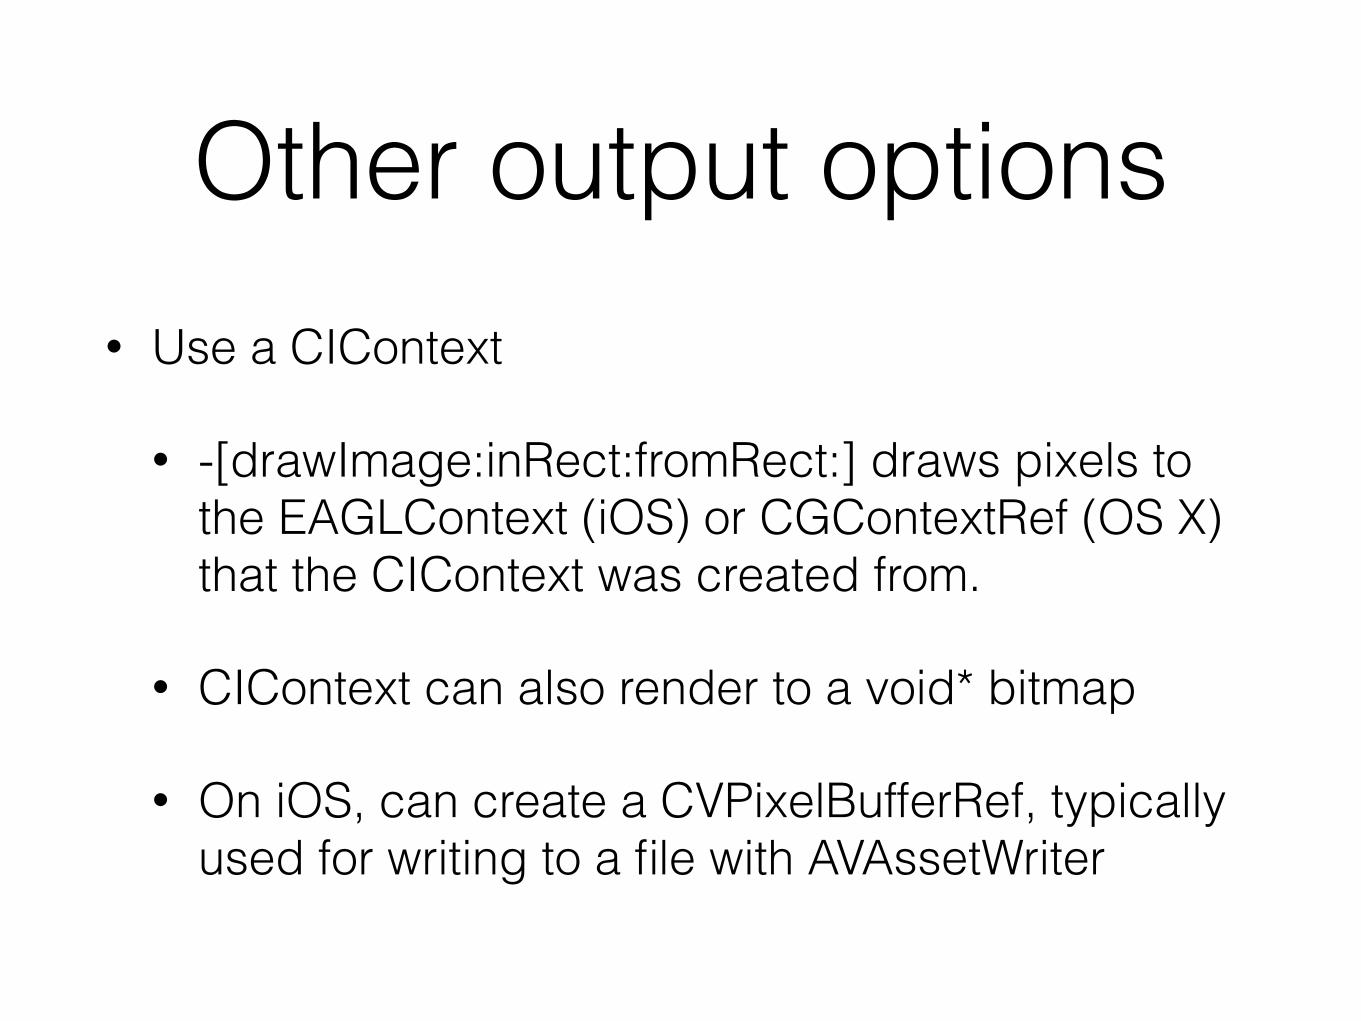
Other output options• Use a CIContext
• -[drawImage:inRect:fromRect:] draws pixels to the EAGLContext (iOS) or CGContextRef (OS X) that the CIContext was created from.
• CIContext can also render to a void* bitmap
• On iOS, can create a CVPixelBufferRef, typically used for writing to a file with AVAssetWriter
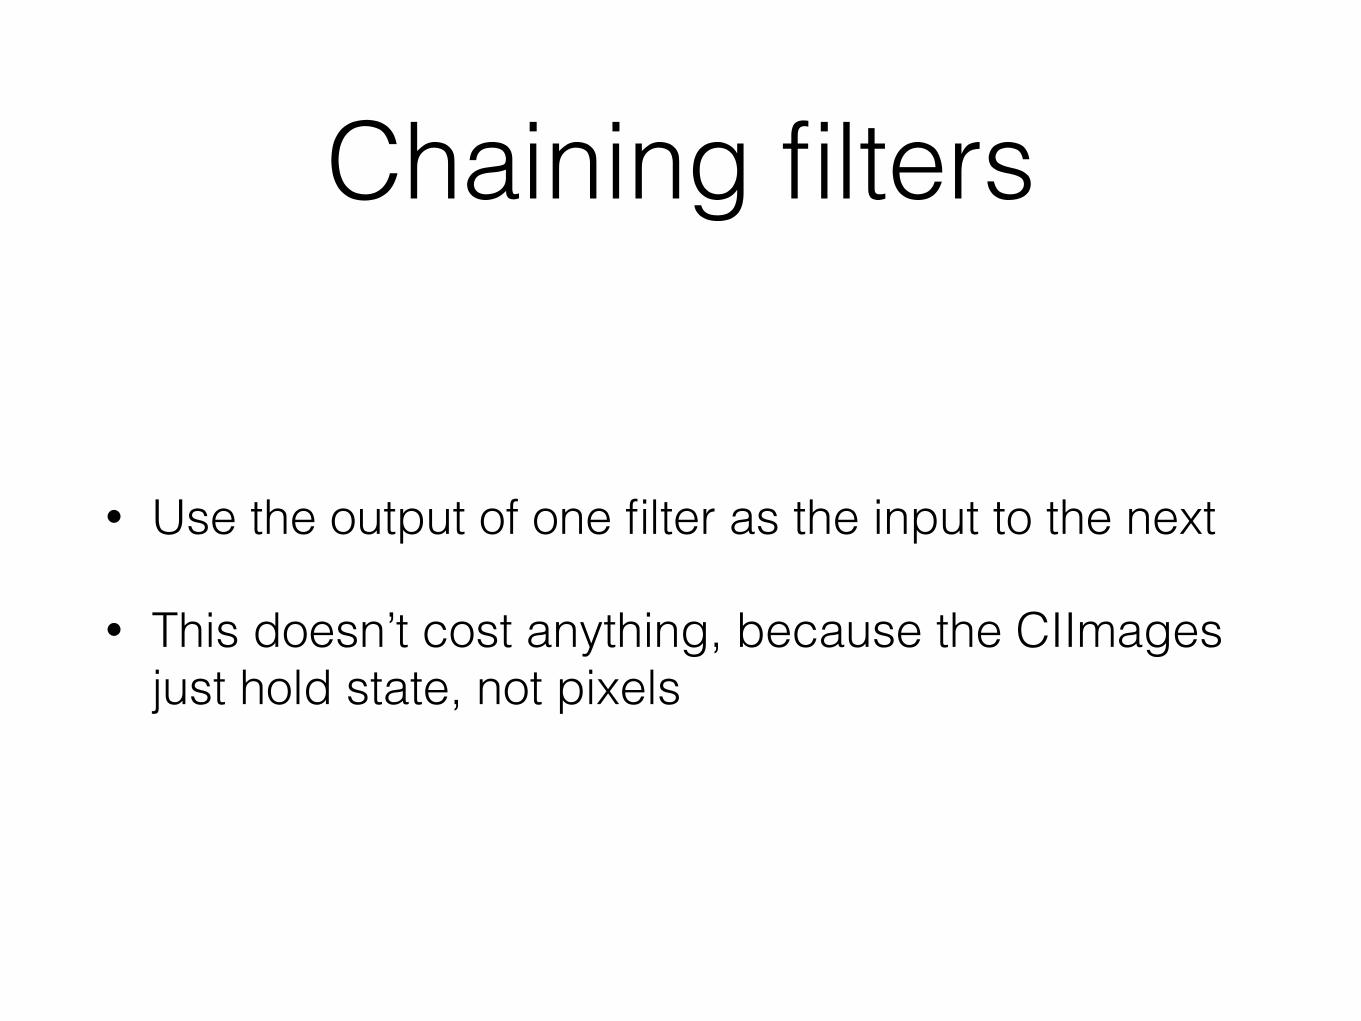
Chaining filters
• Use the output of one filter as the input to the next
• This doesn’t cost anything, because the CIImages just hold state, not pixels
Demo
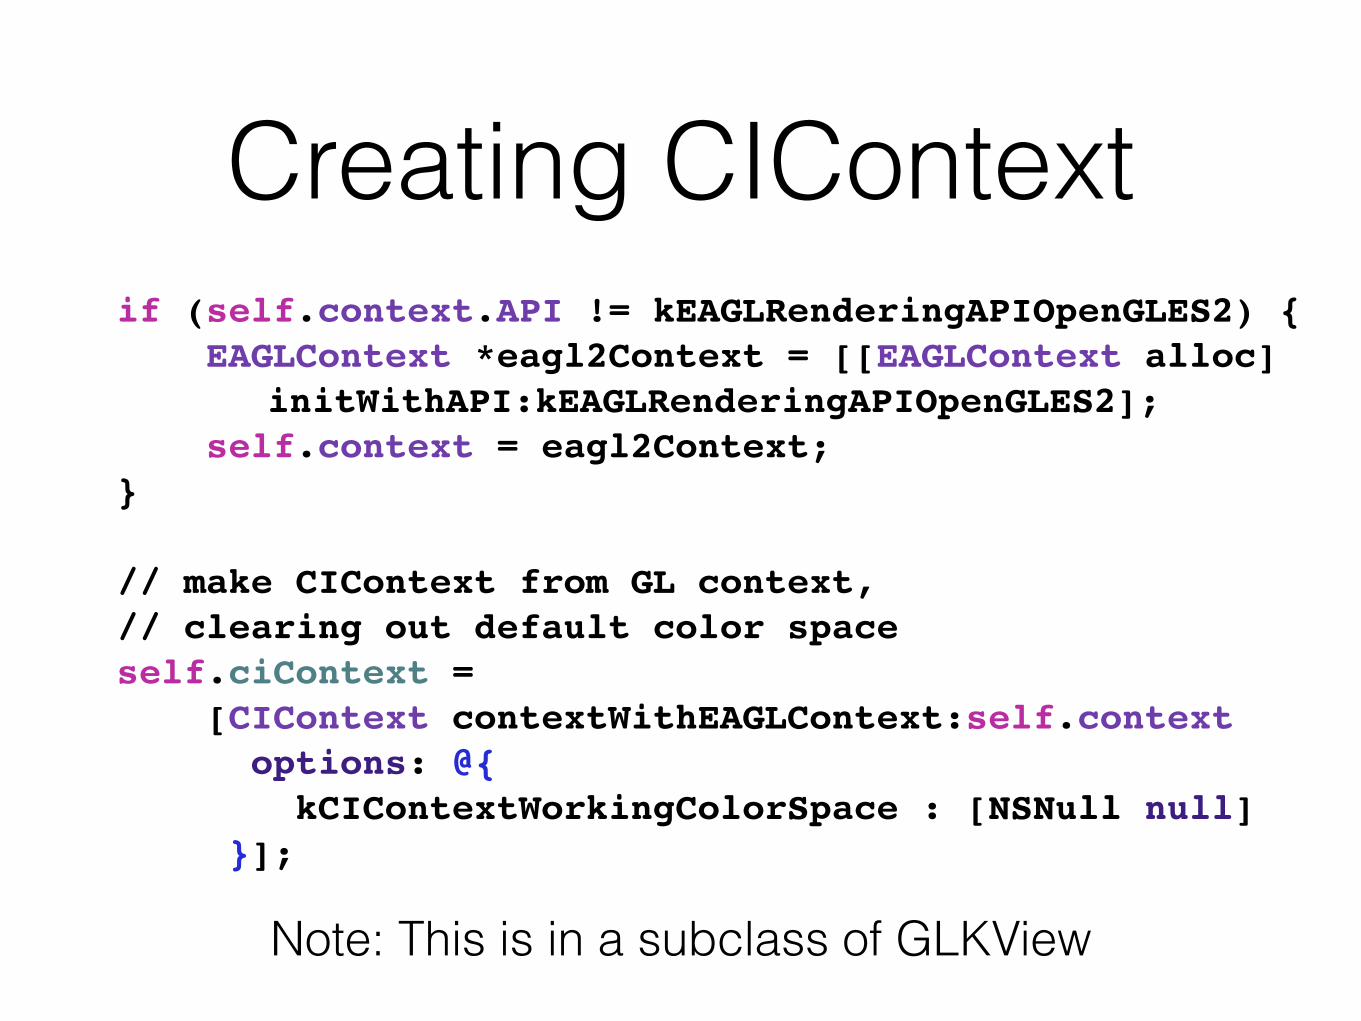
Creating CIContextif (self.context.API != kEAGLRenderingAPIOpenGLES2) { EAGLContext *eagl2Context = [[EAGLContext alloc]
initWithAPI:kEAGLRenderingAPIOpenGLES2]; self.context = eagl2Context;}
// make CIContext from GL context,// clearing out default color spaceself.ciContext = [CIContext contextWithEAGLContext:self.context options: @{ kCIContextWorkingColorSpace : [NSNull null] }];
Note: This is in a subclass of GLKView
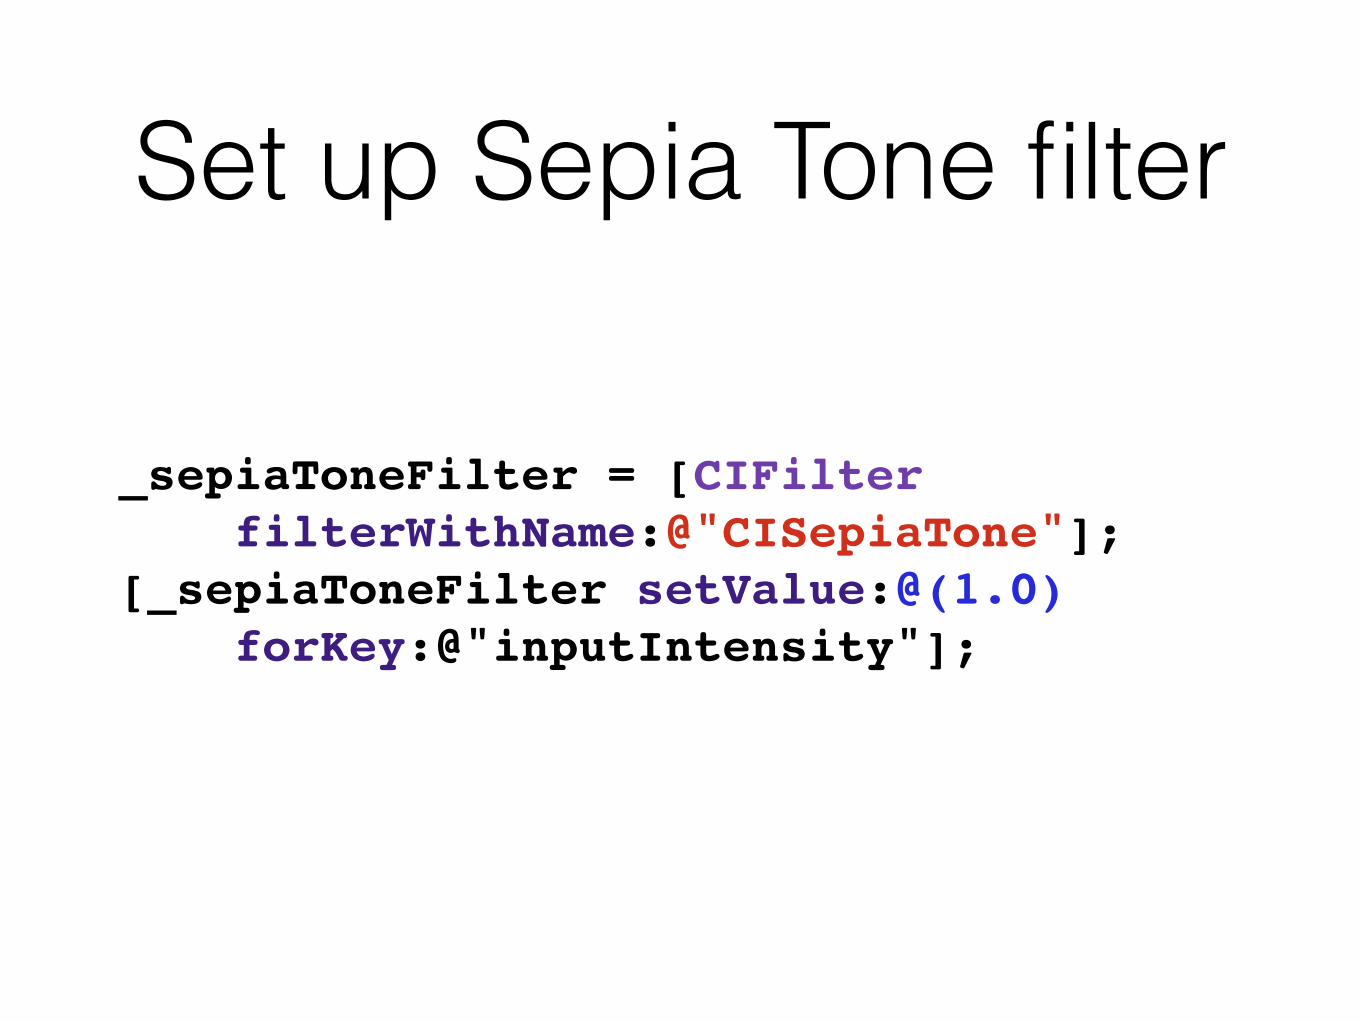
Set up Sepia Tone filter
_sepiaToneFilter = [CIFilter filterWithName:@"CISepiaTone"];[_sepiaToneFilter setValue:@(1.0) forKey:@"inputIntensity"];

Set up Hole Distortion Filter
_holeDistortionFilter = [CIFilter filterWithName:@"CIHoleDistortion"];[_holeDistortionFilter setValue:[CIVector vectorWithX:100.0 Y:100.0] forKey:kCIInputCenterKey];[_holeDistortionFilter setValue:@(50.0)
forKey:kCIInputRadiusKey];
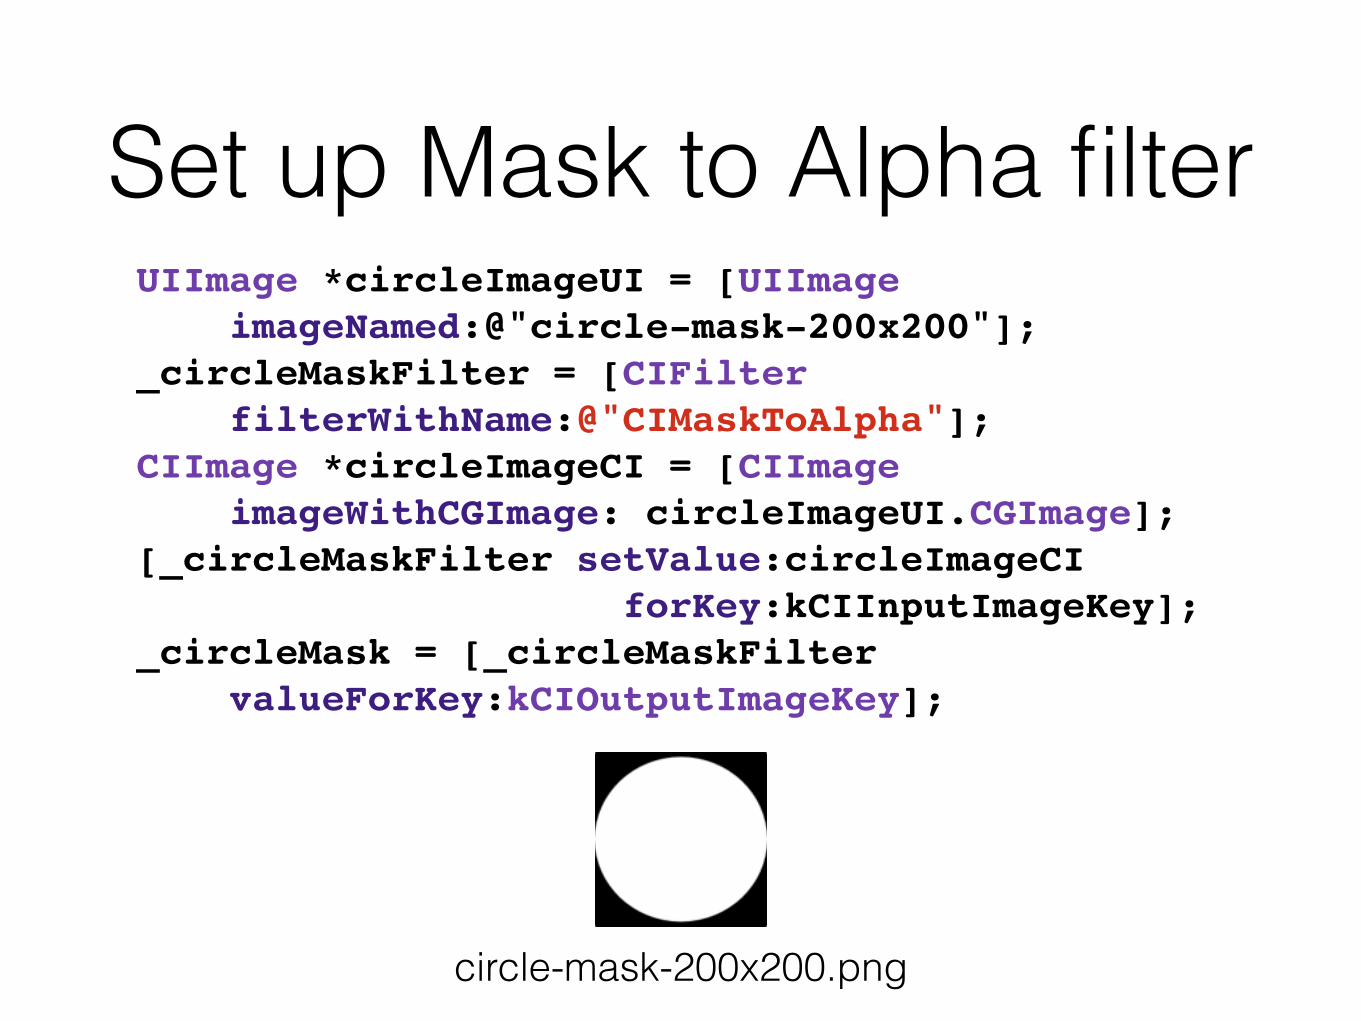
Set up Mask to Alpha filterUIImage *circleImageUI = [UIImage imageNamed:@"circle-mask-200x200"];_circleMaskFilter = [CIFilter filterWithName:@"CIMaskToAlpha"];CIImage *circleImageCI = [CIImage imageWithCGImage: circleImageUI.CGImage];[_circleMaskFilter setValue:circleImageCI forKey:kCIInputImageKey];_circleMask = [_circleMaskFilter valueForKey:kCIOutputImageKey];
circle-mask-200x200.png
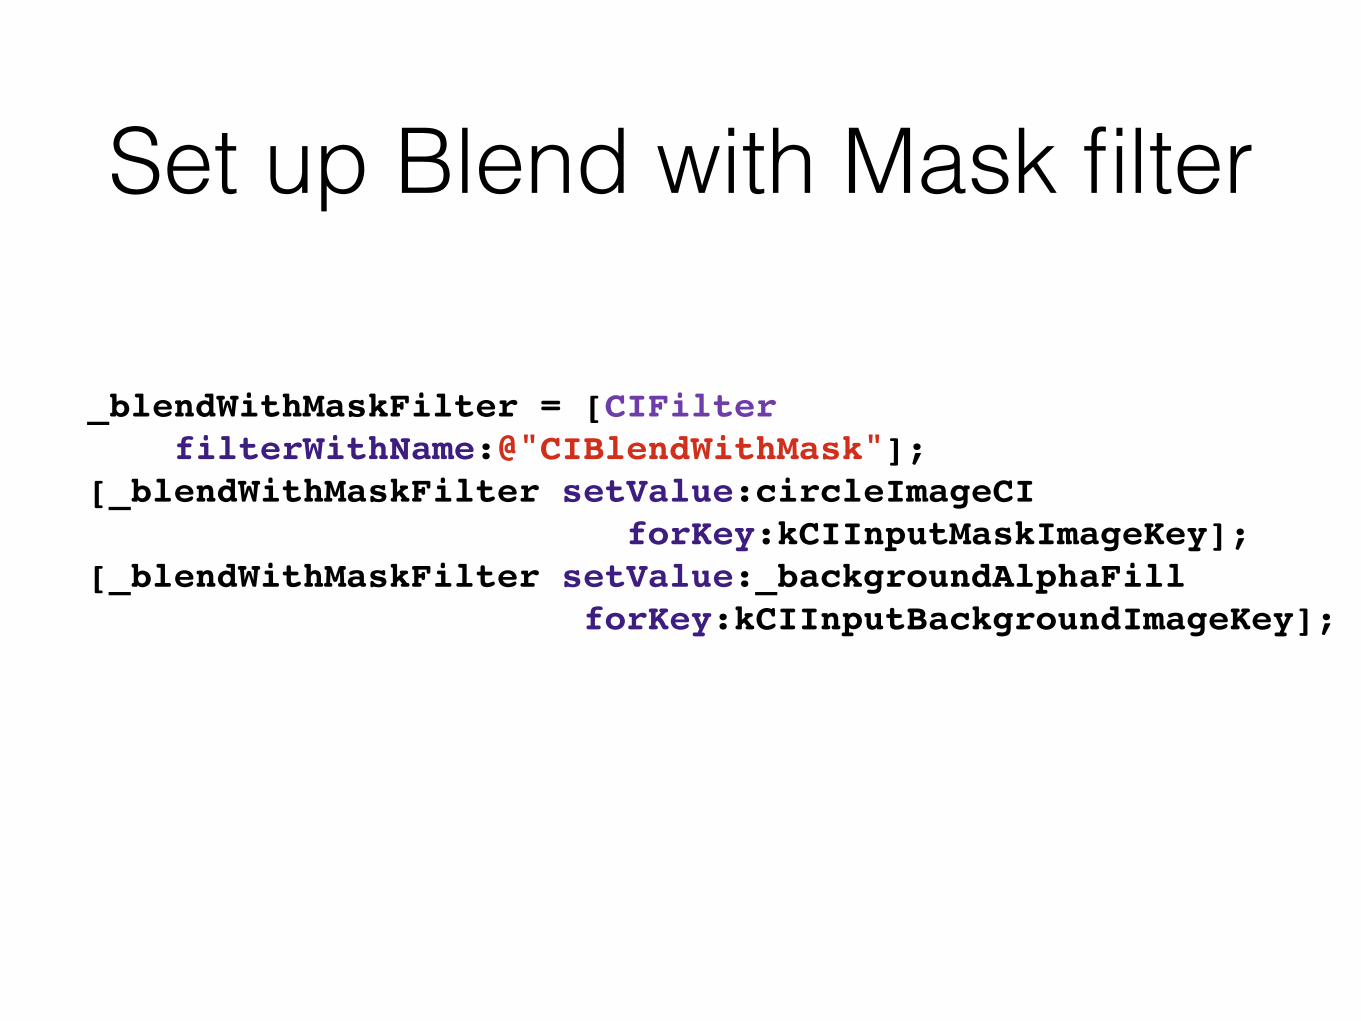
Set up Blend with Mask filter
_blendWithMaskFilter = [CIFilter filterWithName:@"CIBlendWithMask"];[_blendWithMaskFilter setValue:circleImageCI forKey:kCIInputMaskImageKey];[_blendWithMaskFilter setValue:_backgroundAlphaFill forKey:kCIInputBackgroundImageKey];

redrawAtOrigin (1/3)
// Get CIImage from source imageCGImageRef loupeImageCG = CGImageCreateWithImageInRect( self.sourceImage.CGImage, fromRect);loupeImage = [CIImage imageWithCGImage:loupeImageCG];
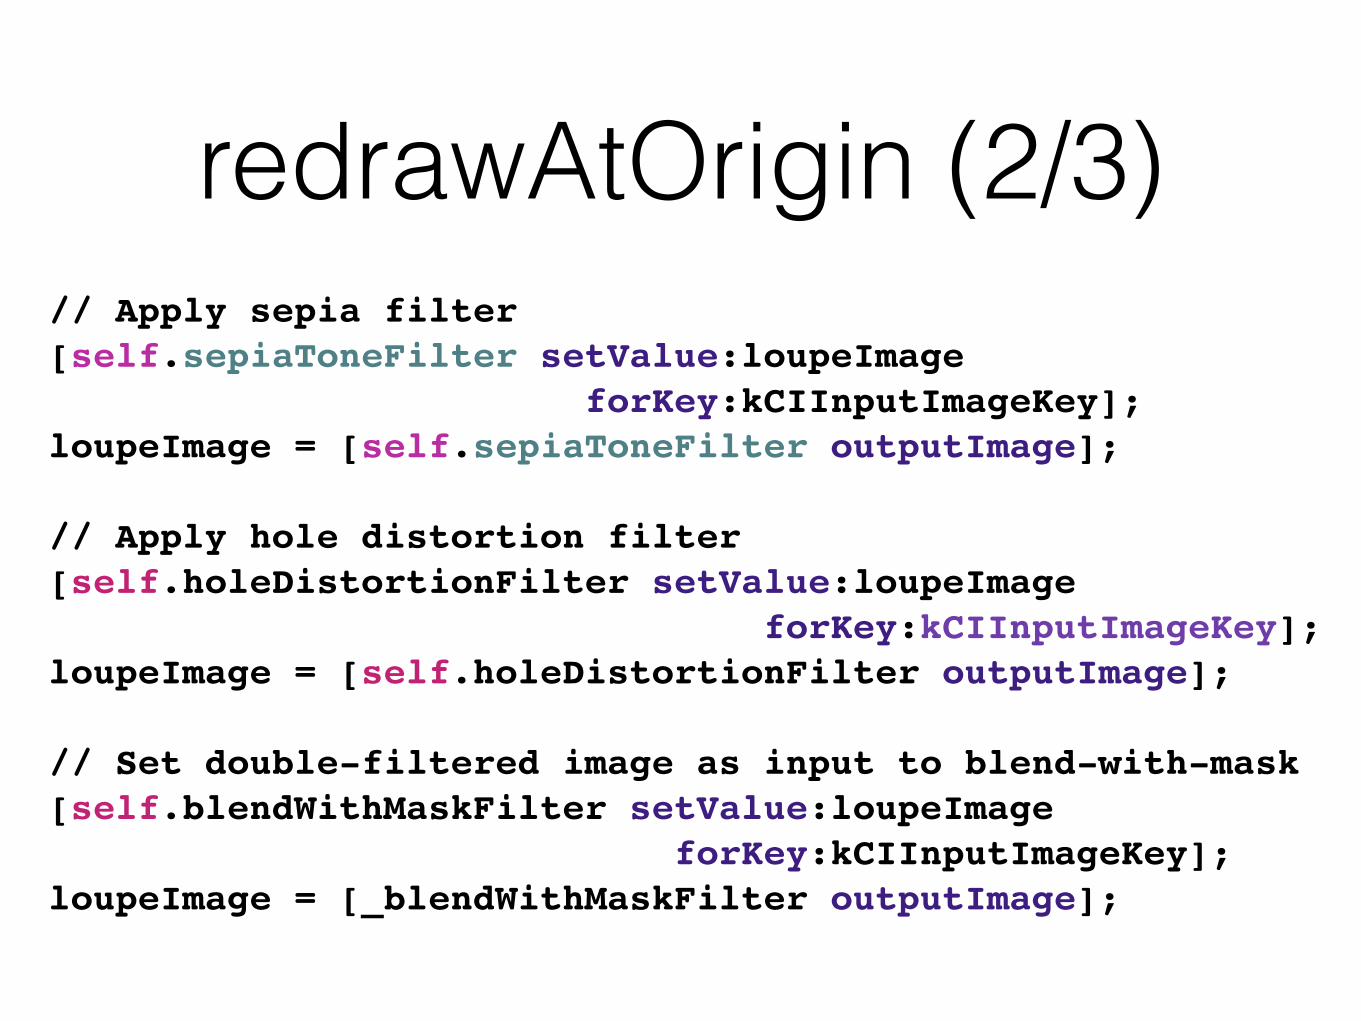
redrawAtOrigin (2/3)// Apply sepia filter[self.sepiaToneFilter setValue:loupeImage forKey:kCIInputImageKey];loupeImage = [self.sepiaToneFilter outputImage];
// Apply hole distortion filter[self.holeDistortionFilter setValue:loupeImage forKey:kCIInputImageKey];loupeImage = [self.holeDistortionFilter outputImage];
// Set double-filtered image as input to blend-with-mask[self.blendWithMaskFilter setValue:loupeImage forKey:kCIInputImageKey];loupeImage = [_blendWithMaskFilter outputImage];
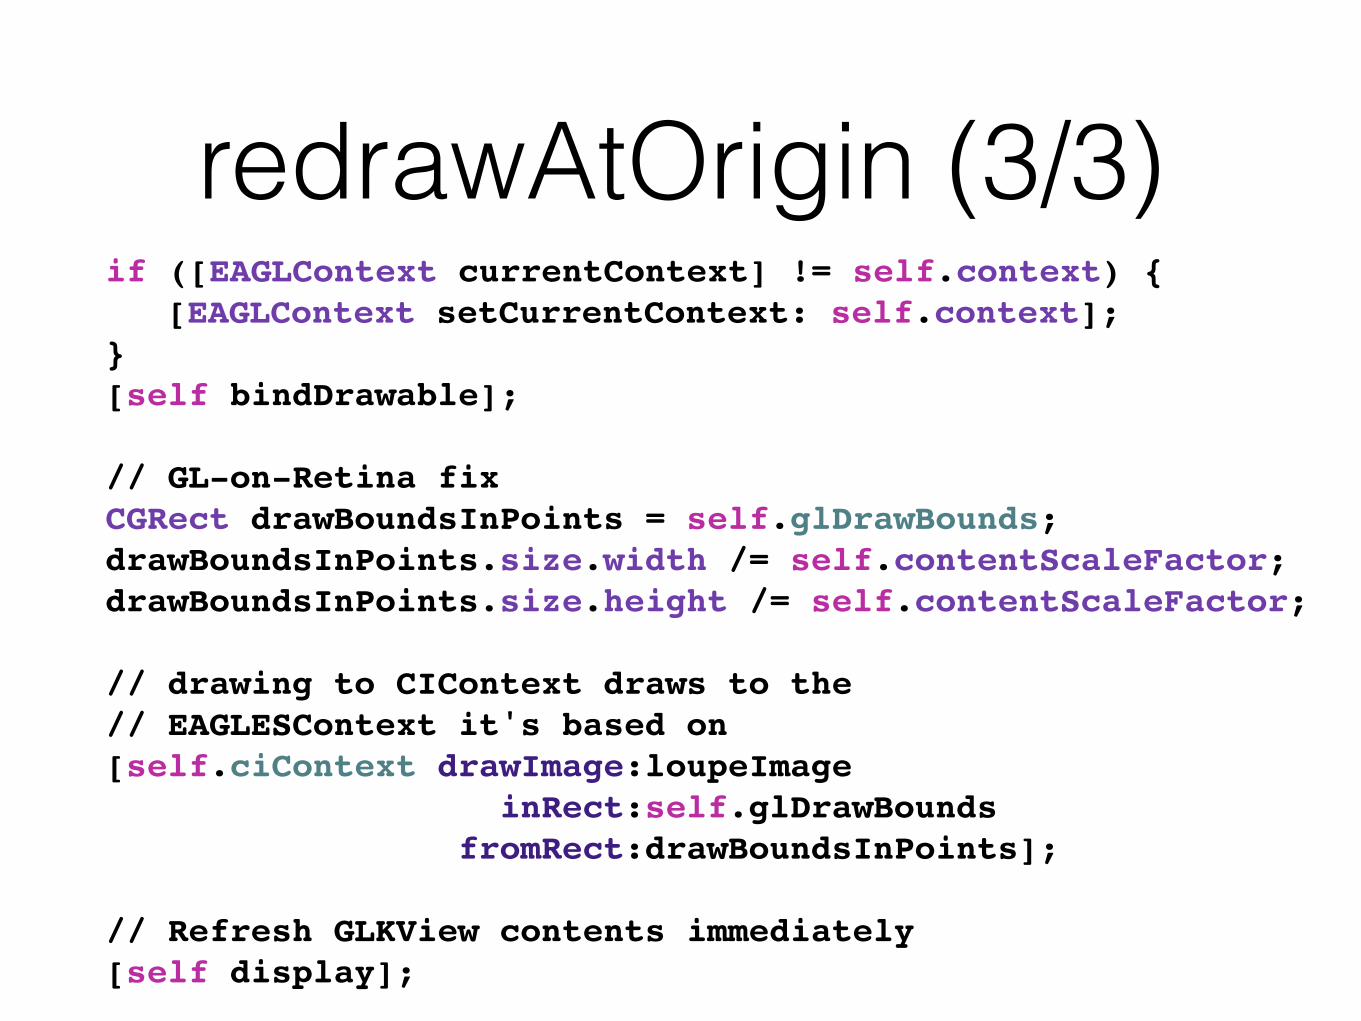
redrawAtOrigin (3/3)if ([EAGLContext currentContext] != self.context) {
[EAGLContext setCurrentContext: self.context];}[self bindDrawable];
// GL-on-Retina fixCGRect drawBoundsInPoints = self.glDrawBounds;drawBoundsInPoints.size.width /= self.contentScaleFactor;drawBoundsInPoints.size.height /= self.contentScaleFactor;
// drawing to CIContext draws to the// EAGLESContext it's based on[self.ciContext drawImage:loupeImage inRect:self.glDrawBounds fromRect:drawBoundsInPoints];
// Refresh GLKView contents immediately[self display];
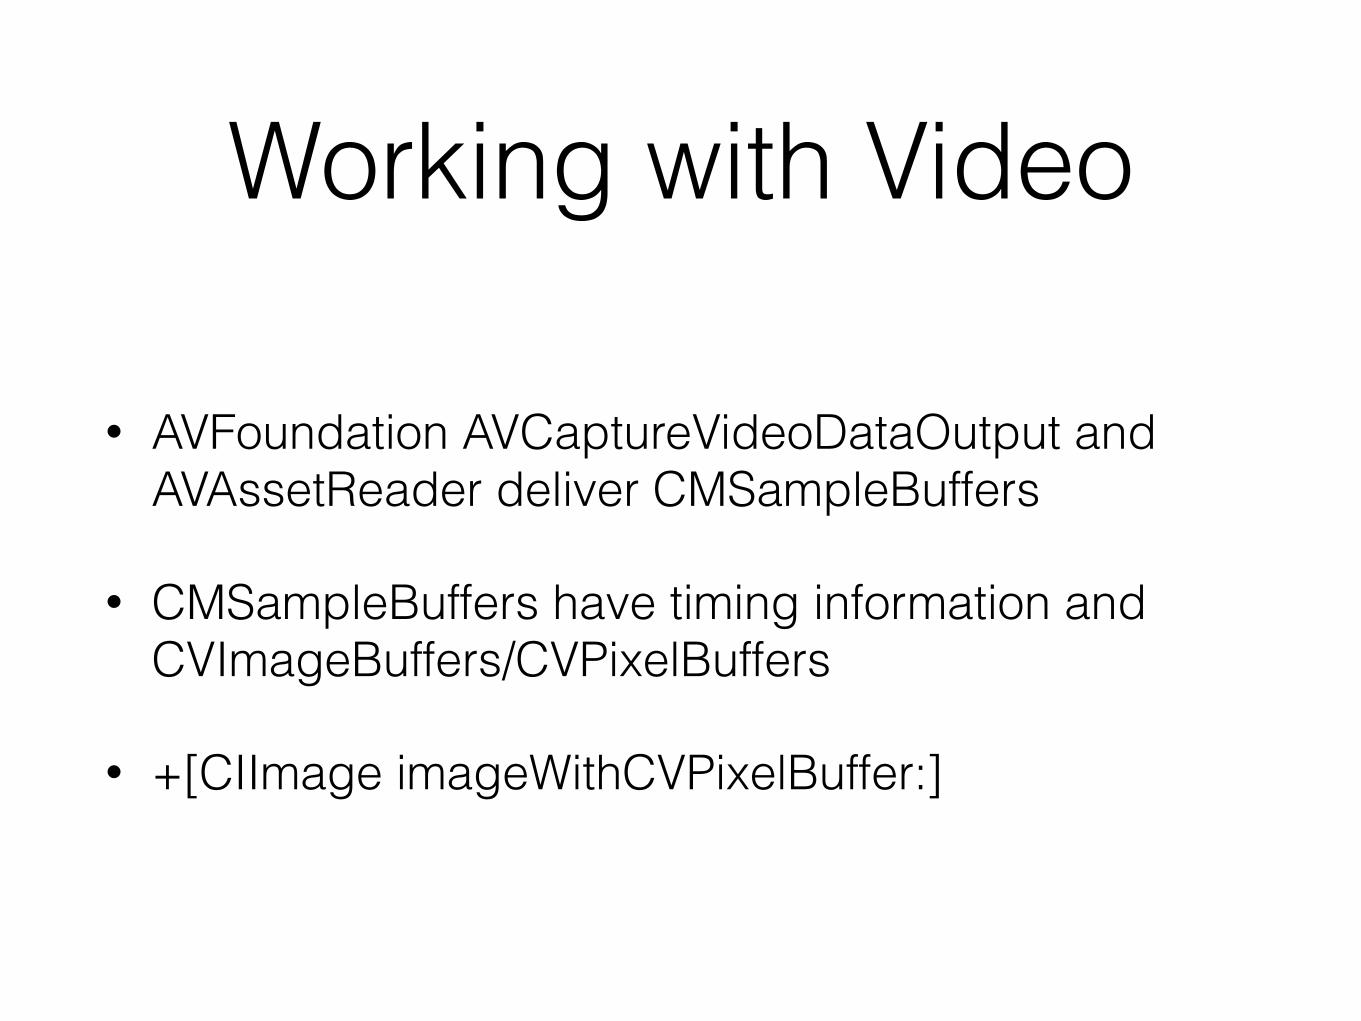
Working with Video
• AVFoundation AVCaptureVideoDataOutput and AVAssetReader deliver CMSampleBuffers
• CMSampleBuffers have timing information and CVImageBuffers/CVPixelBuffers
• +[CIImage imageWithCVPixelBuffer:]
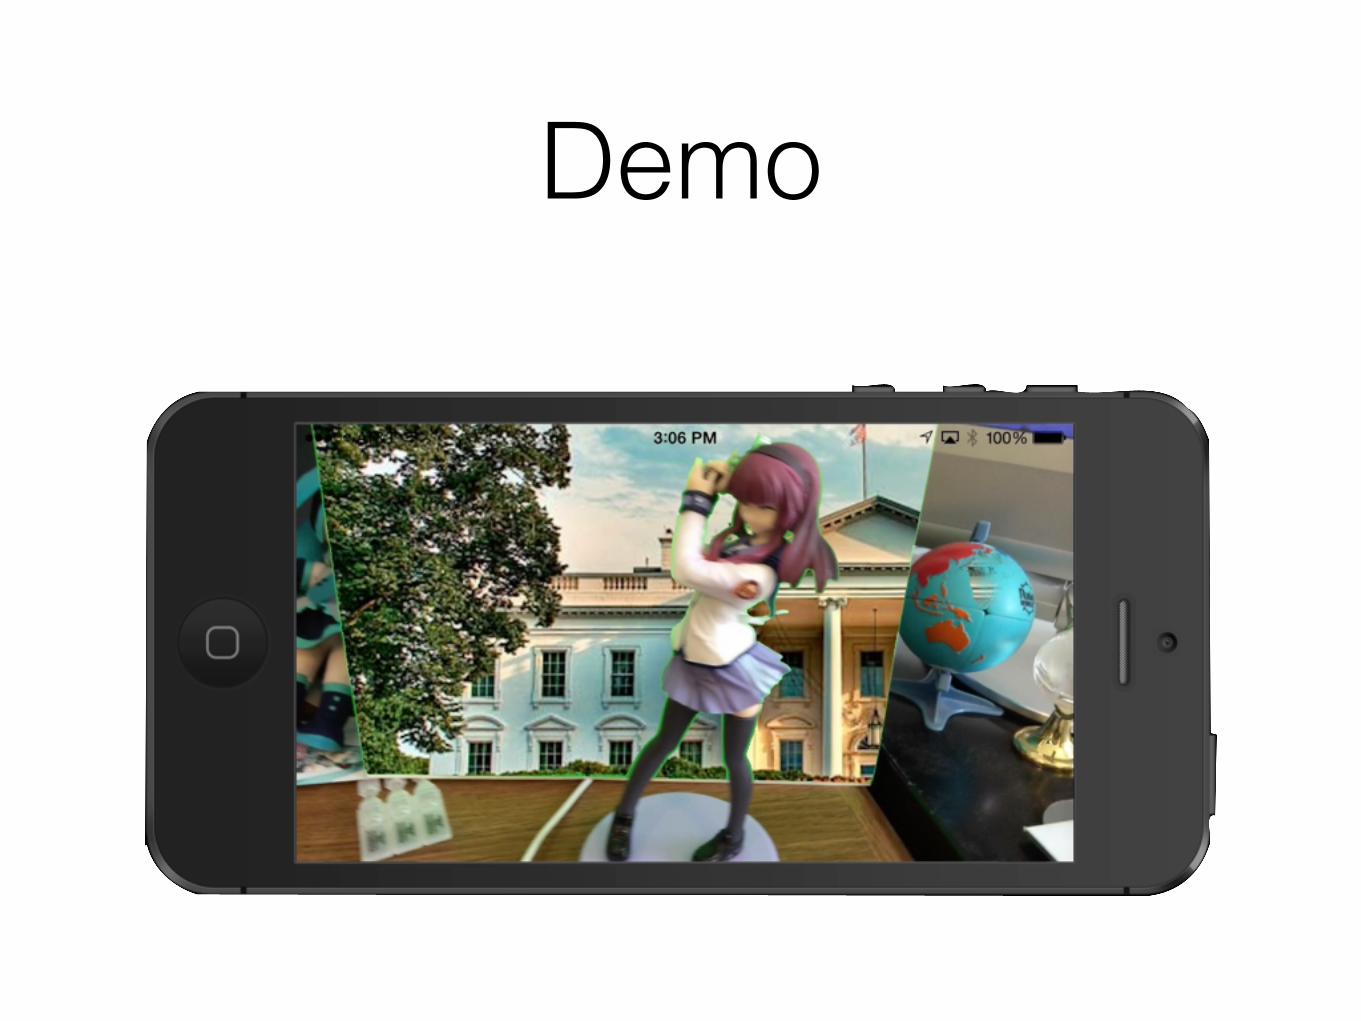
Demo
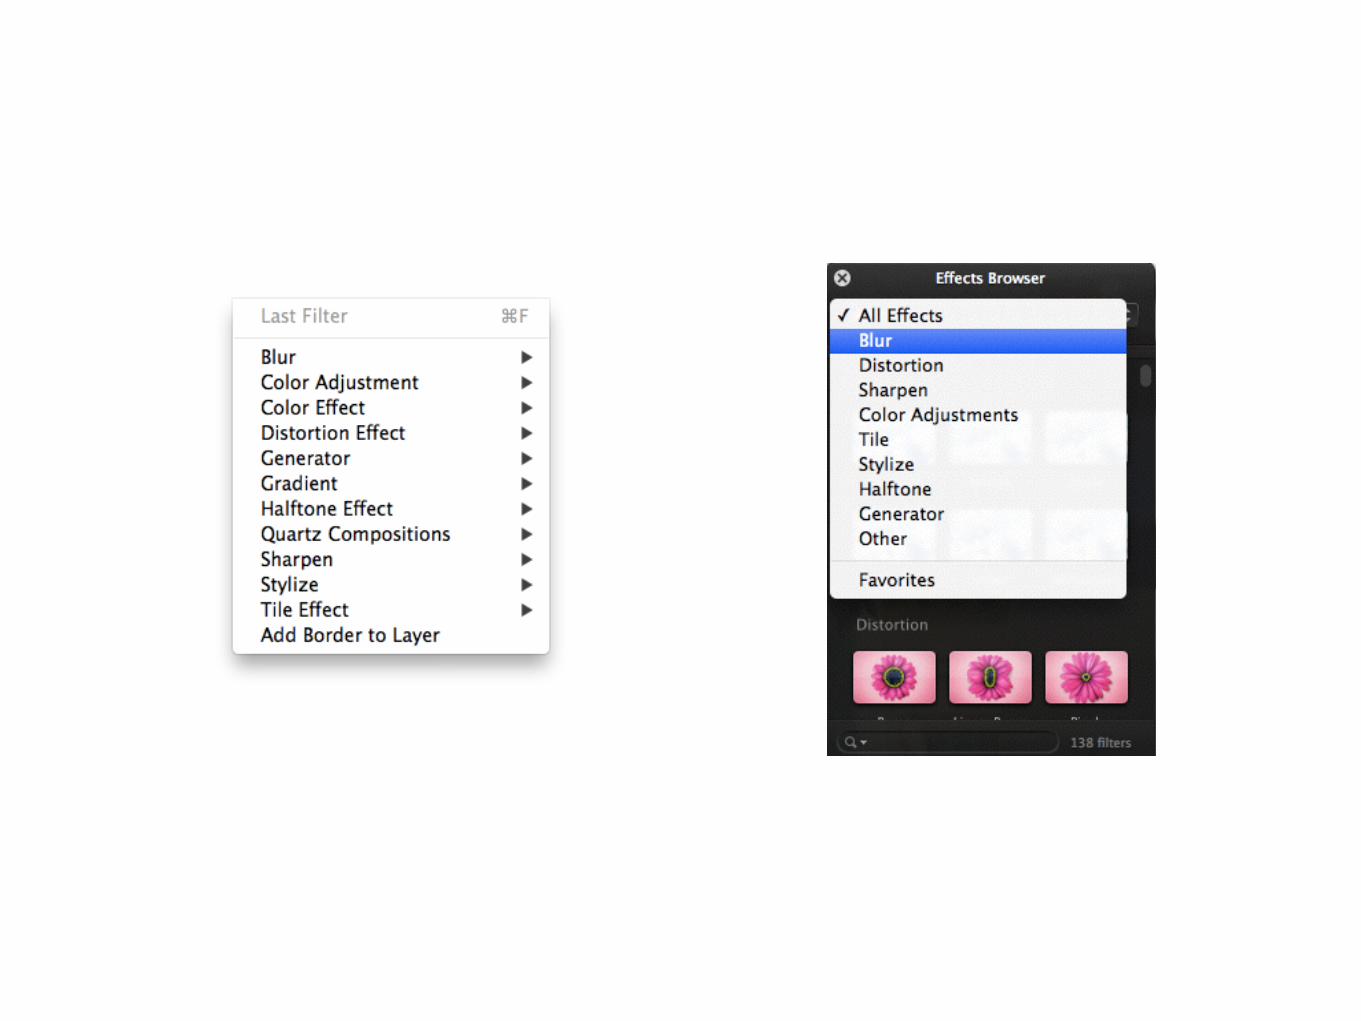
Chroma Key (“green screen” recipe
• Use a CIColorCube to map green-ish colors to transparent
• Use CISourceOverCompositing to draw this alpha’ed image over another image
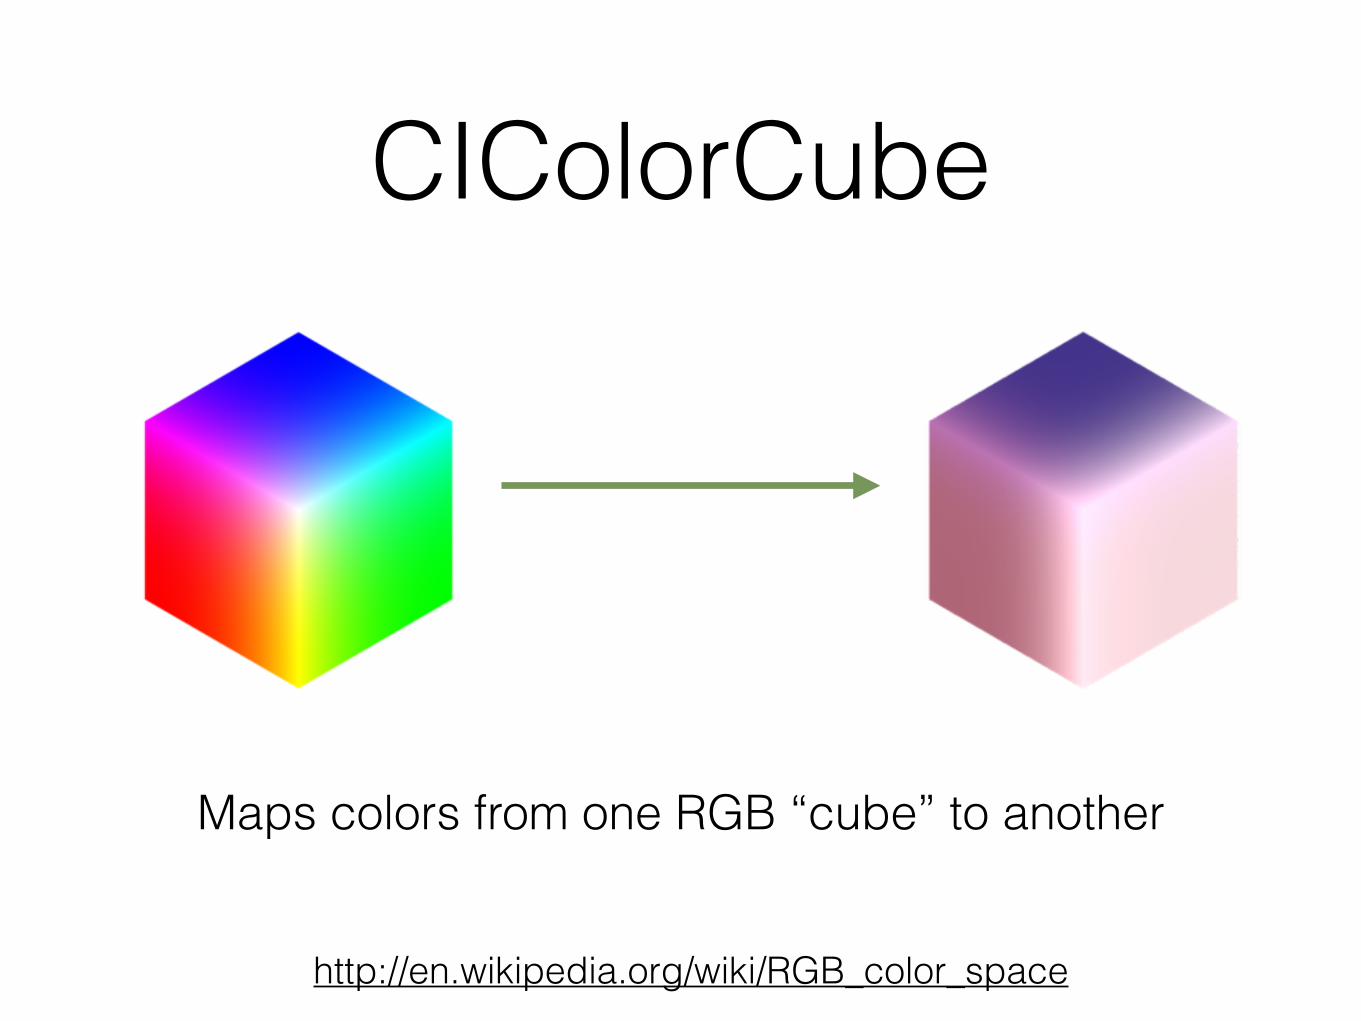
CIColorCube
Maps colors from one RGB “cube” to another
http://en.wikipedia.org/wiki/RGB_color_space
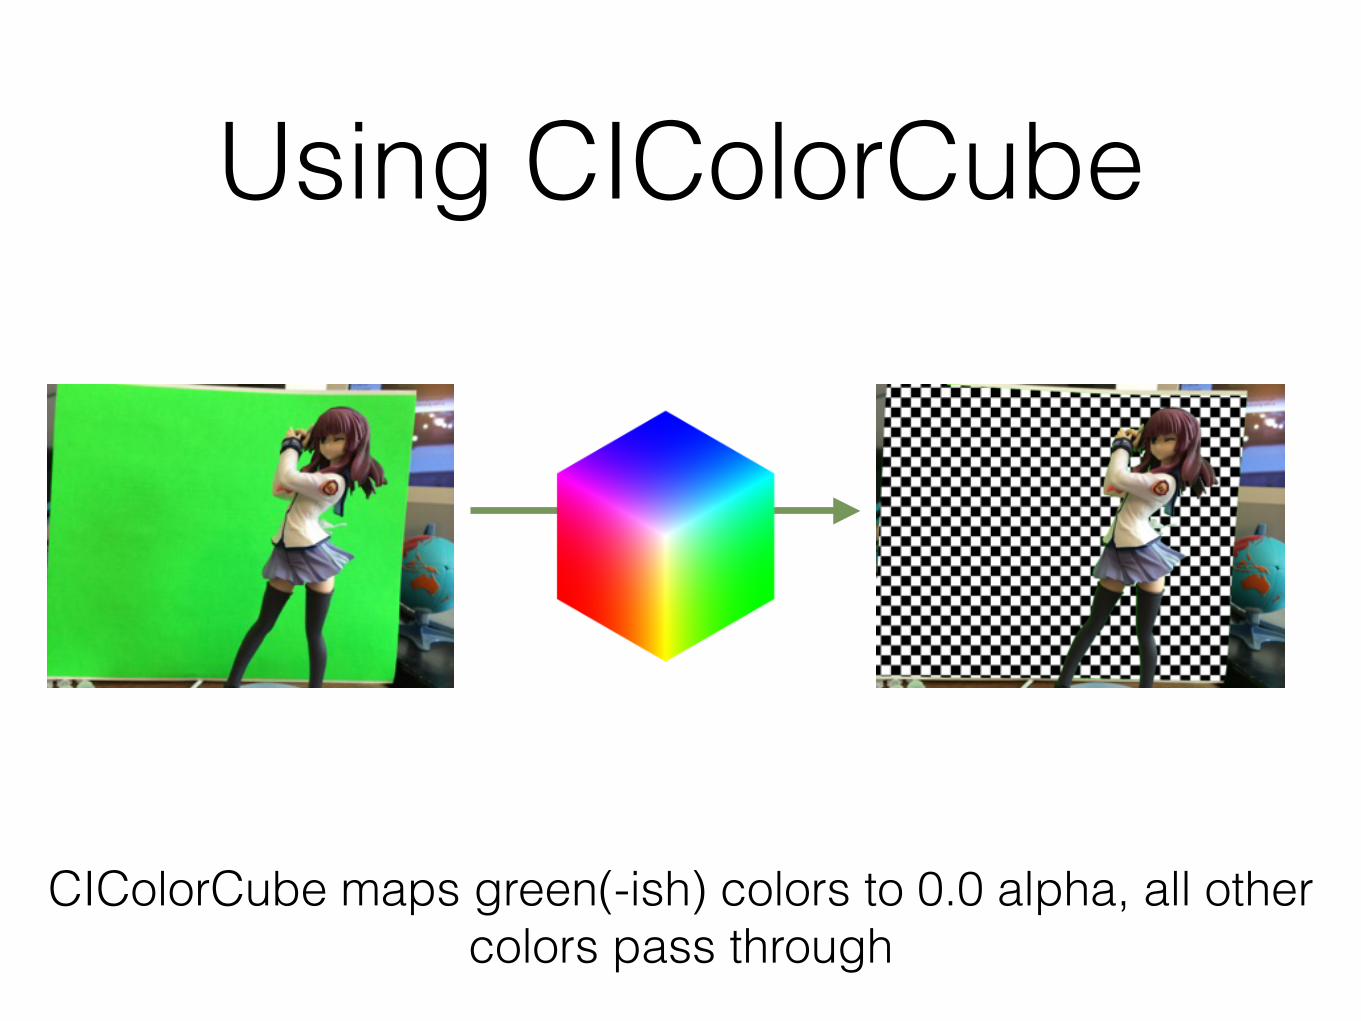
Using CIColorCube
CIColorCube maps green(-ish) colors to 0.0 alpha, all other colors pass through
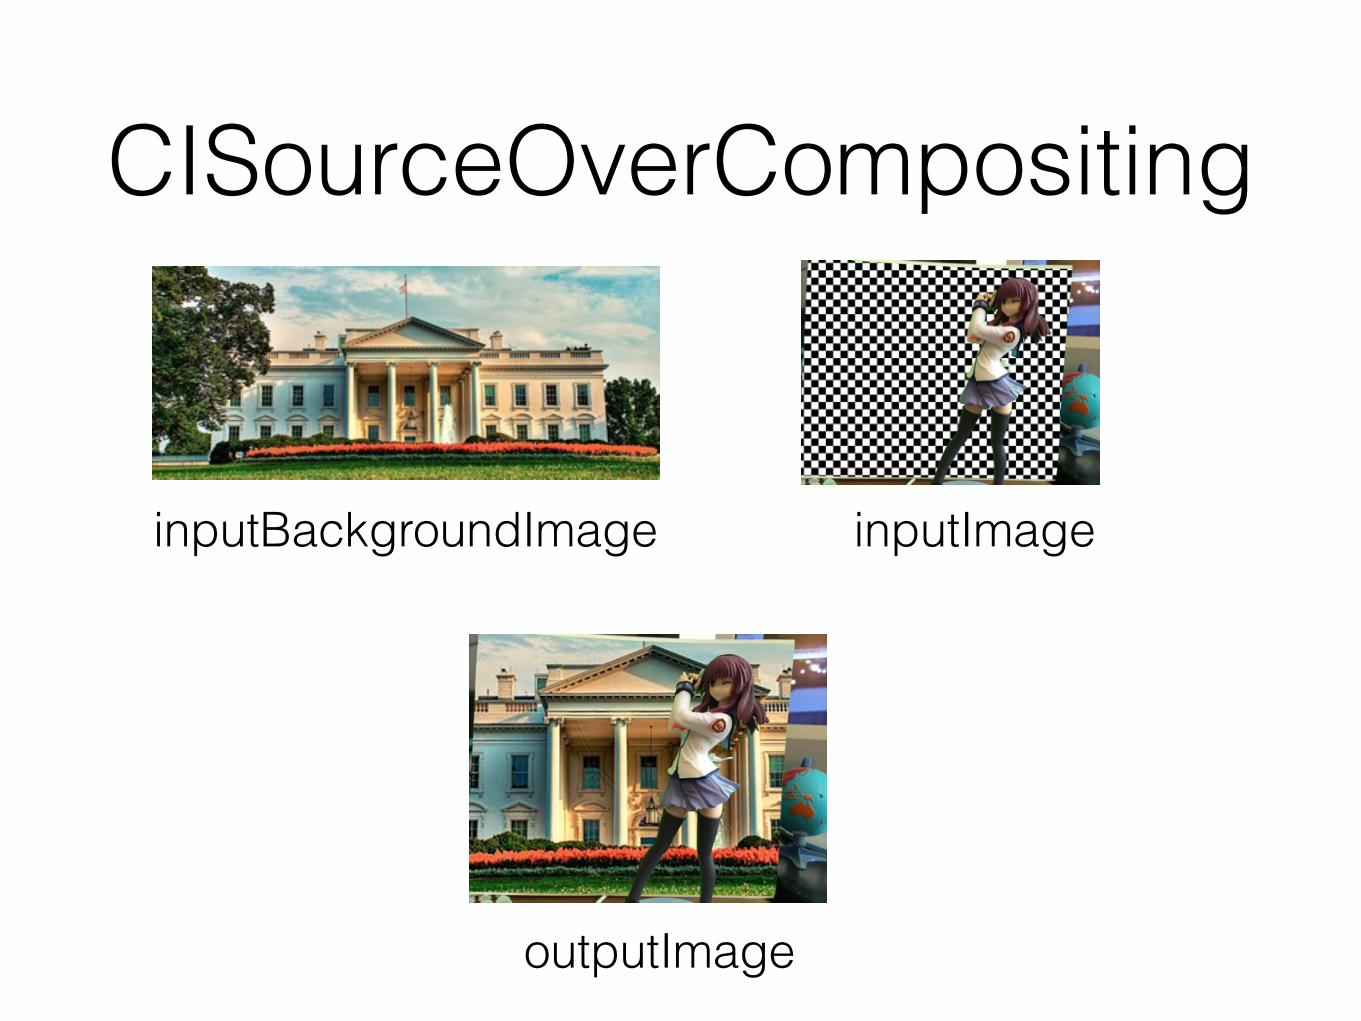
CISourceOverCompositing
inputBackgroundImage inputImage
outputImage
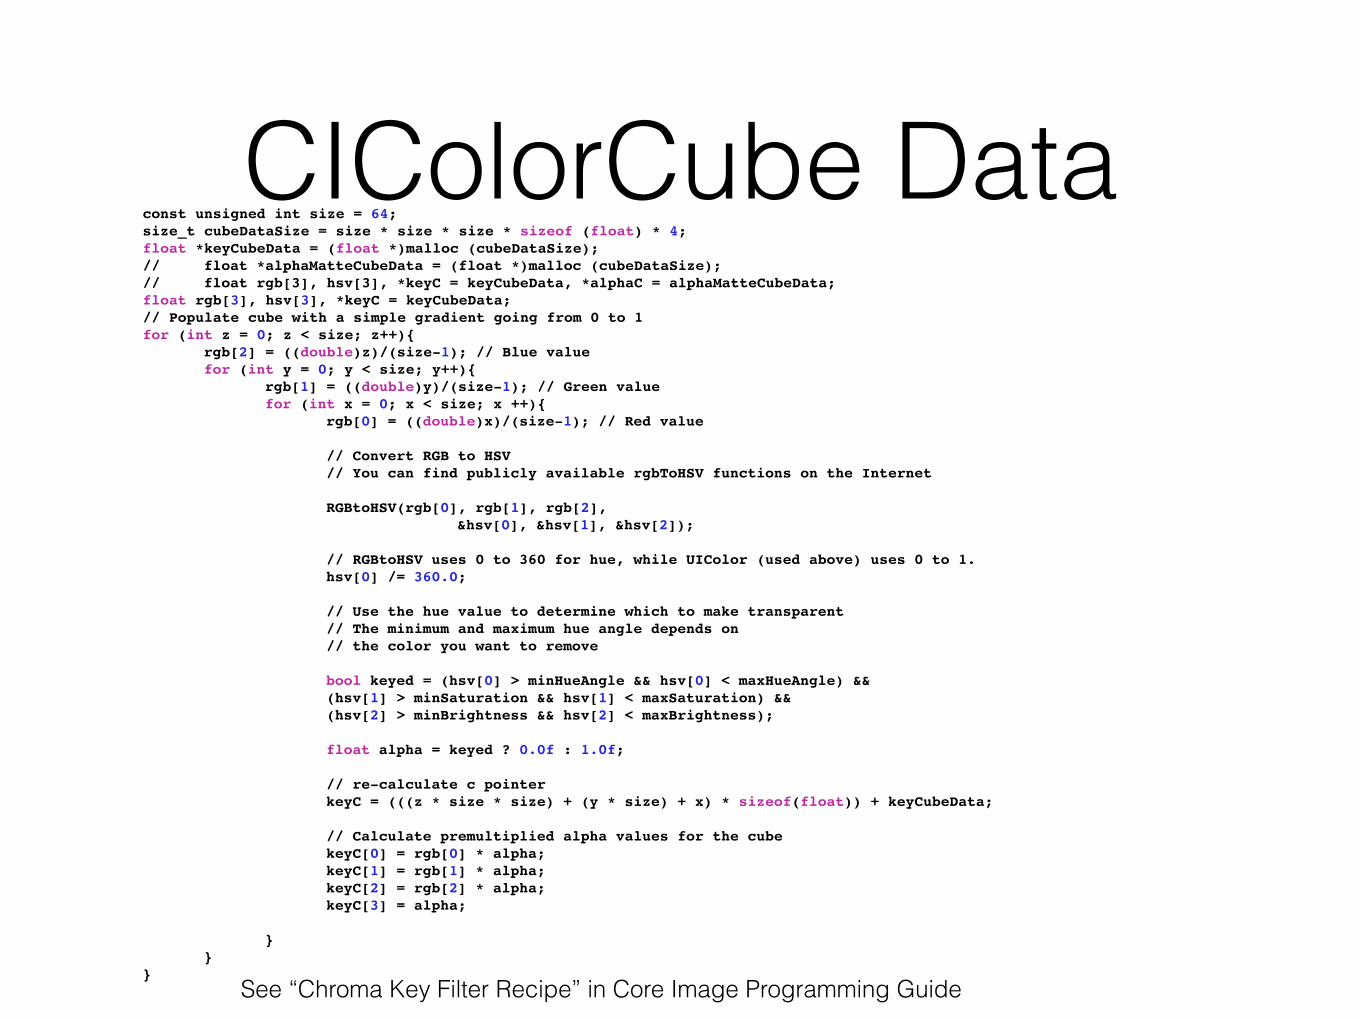
CIColorCube Dataconst unsigned int size = 64;size_t cubeDataSize = size * size * size * sizeof (float) * 4;float *keyCubeData = (float *)malloc (cubeDataSize);// float *alphaMatteCubeData = (float *)malloc (cubeDataSize);// float rgb[3], hsv[3], *keyC = keyCubeData, *alphaC = alphaMatteCubeData;float rgb[3], hsv[3], *keyC = keyCubeData;// Populate cube with a simple gradient going from 0 to 1for (int z = 0; z < size; z++){
rgb[2] = ((double)z)/(size-1); // Blue valuefor (int y = 0; y < size; y++){
rgb[1] = ((double)y)/(size-1); // Green valuefor (int x = 0; x < size; x ++){
rgb[0] = ((double)x)/(size-1); // Red value
// Convert RGB to HSV// You can find publicly available rgbToHSV functions on the Internet
RGBtoHSV(rgb[0], rgb[1], rgb[2], &hsv[0], &hsv[1], &hsv[2]);
// RGBtoHSV uses 0 to 360 for hue, while UIColor (used above) uses 0 to 1.hsv[0] /= 360.0;
// Use the hue value to determine which to make transparent// The minimum and maximum hue angle depends on// the color you want to remove
bool keyed = (hsv[0] > minHueAngle && hsv[0] < maxHueAngle) &&(hsv[1] > minSaturation && hsv[1] < maxSaturation) &&(hsv[2] > minBrightness && hsv[2] < maxBrightness);
float alpha = keyed ? 0.0f : 1.0f;
// re-calculate c pointerkeyC = (((z * size * size) + (y * size) + x) * sizeof(float)) + keyCubeData;
// Calculate premultiplied alpha values for the cubekeyC[0] = rgb[0] * alpha;keyC[1] = rgb[1] * alpha;keyC[2] = rgb[2] * alpha;keyC[3] = alpha;
}}
}See “Chroma Key Filter Recipe” in Core Image Programming Guide
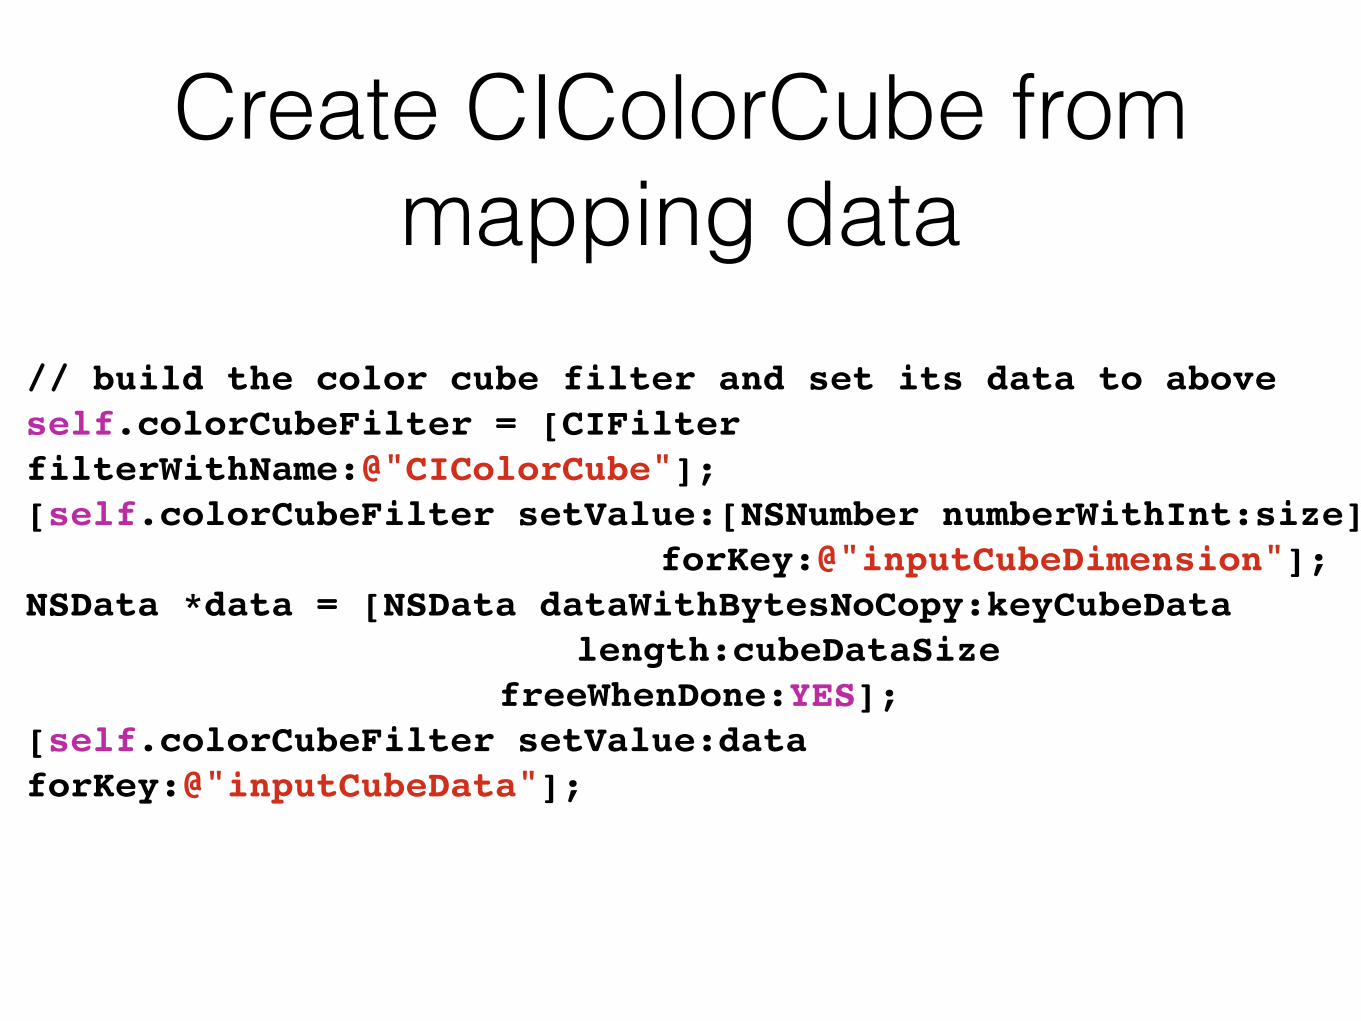
Create CIColorCube from mapping data
// build the color cube filter and set its data to aboveself.colorCubeFilter = [CIFilter filterWithName:@"CIColorCube"];[self.colorCubeFilter setValue:[NSNumber numberWithInt:size]
forKey:@"inputCubeDimension"];NSData *data = [NSData dataWithBytesNoCopy:keyCubeData
length:cubeDataSize freeWhenDone:YES];
[self.colorCubeFilter setValue:data forKey:@"inputCubeData"];
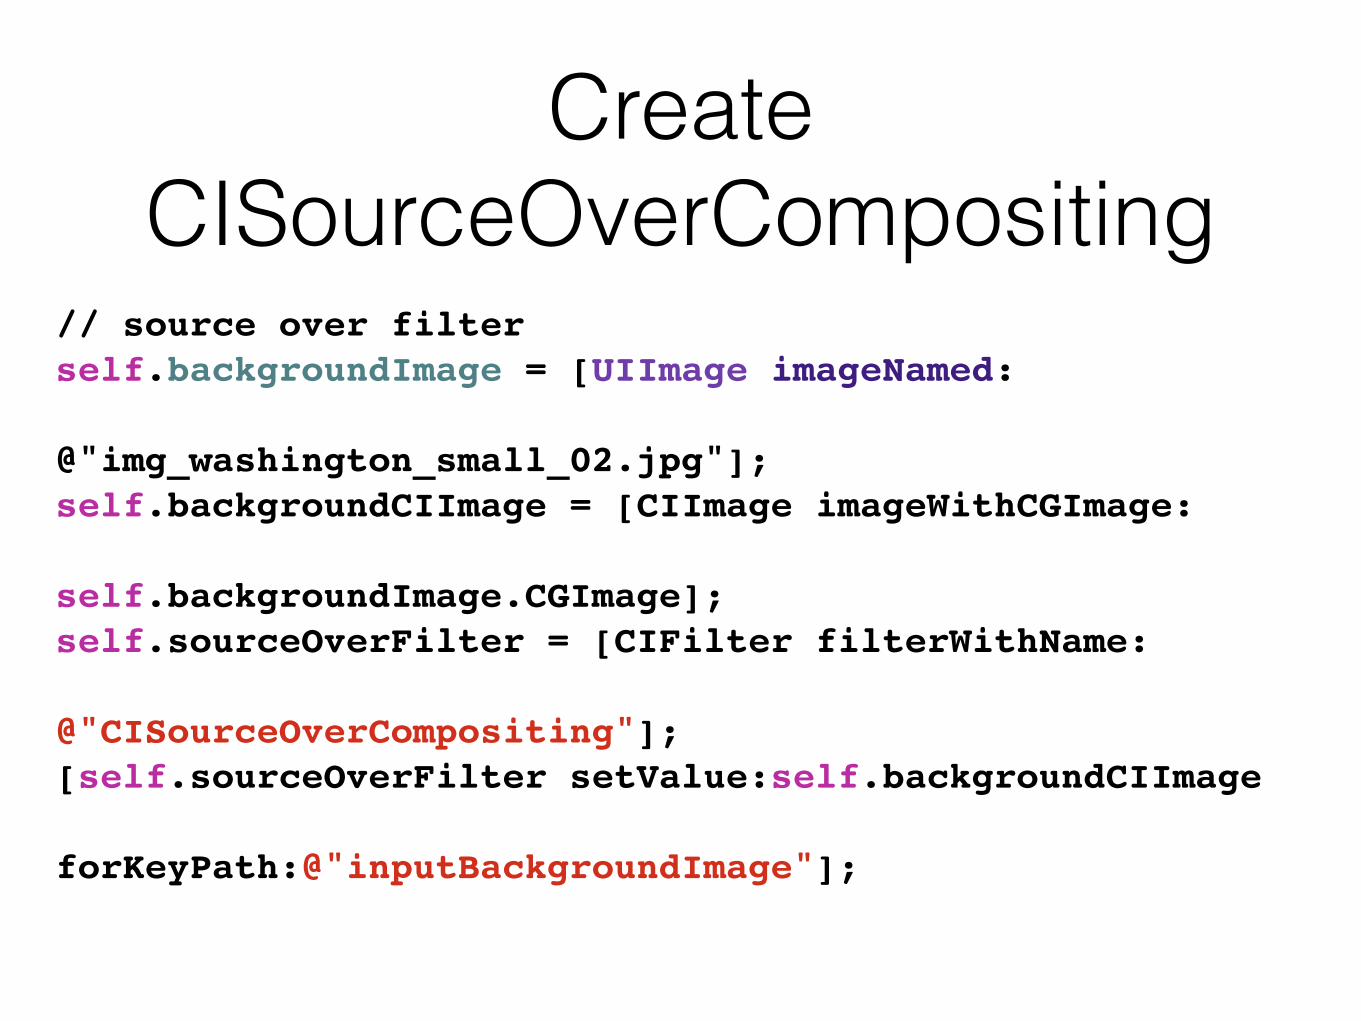
Create CISourceOverCompositing
// source over filterself.backgroundImage = [UIImage imageNamed:
@"img_washington_small_02.jpg"]; self.backgroundCIImage = [CIImage imageWithCGImage:
self.backgroundImage.CGImage];self.sourceOverFilter = [CIFilter filterWithName:
@"CISourceOverCompositing"];[self.sourceOverFilter setValue:self.backgroundCIImage
forKeyPath:@"inputBackgroundImage"];
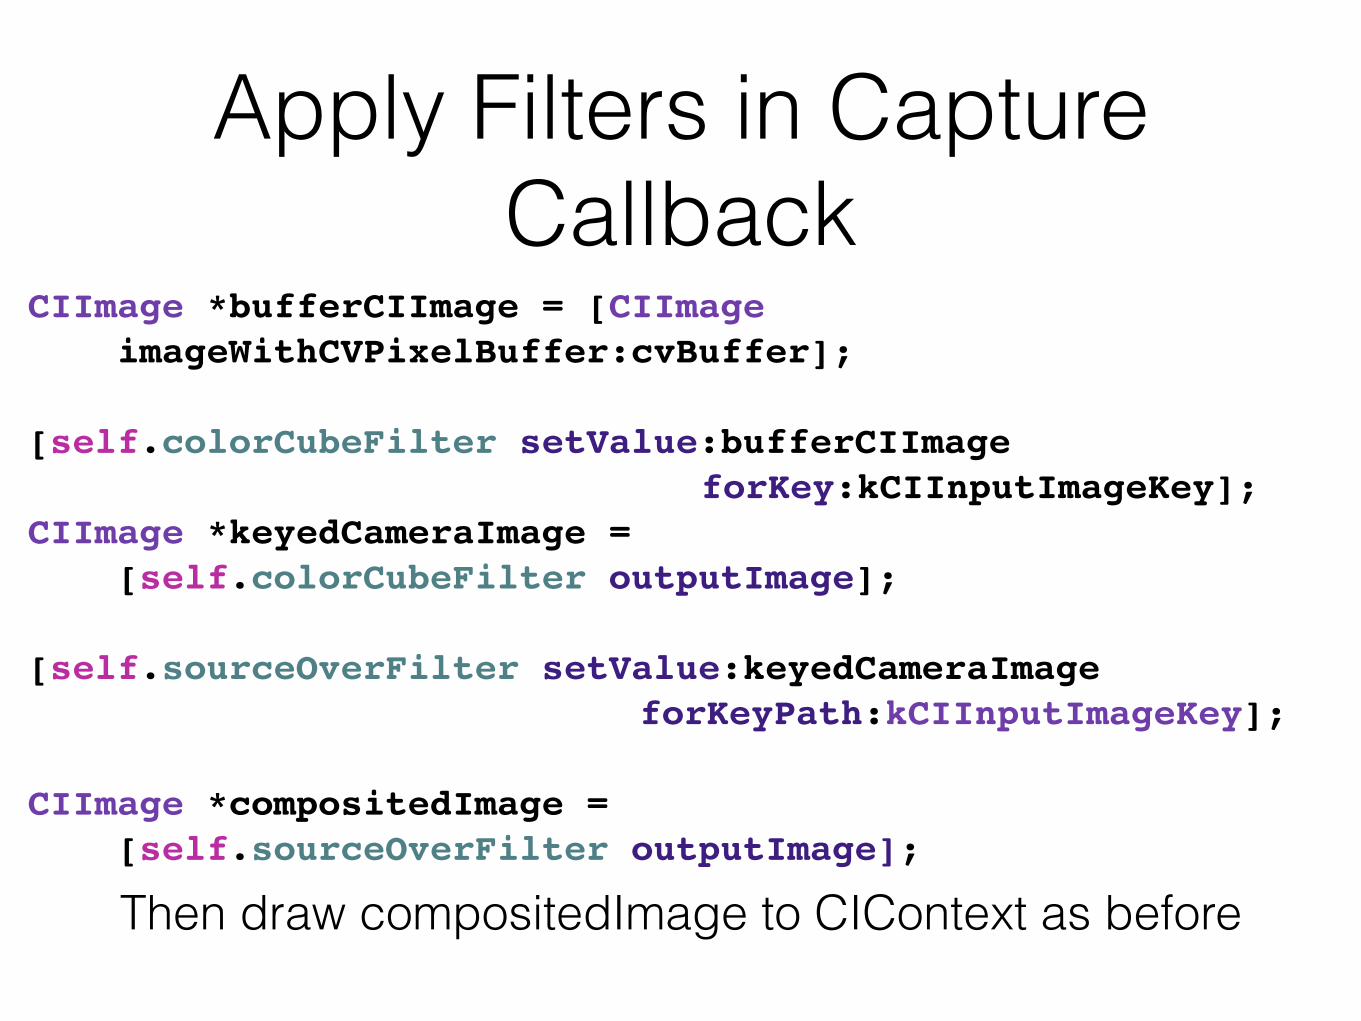
Apply Filters in Capture Callback
CIImage *bufferCIImage = [CIImage imageWithCVPixelBuffer:cvBuffer];
[self.colorCubeFilter setValue:bufferCIImage forKey:kCIInputImageKey];
CIImage *keyedCameraImage = [self.colorCubeFilter outputImage];
[self.sourceOverFilter setValue:keyedCameraImage forKeyPath:kCIInputImageKey];
CIImage *compositedImage = [self.sourceOverFilter outputImage];
Then draw compositedImage to CIContext as before
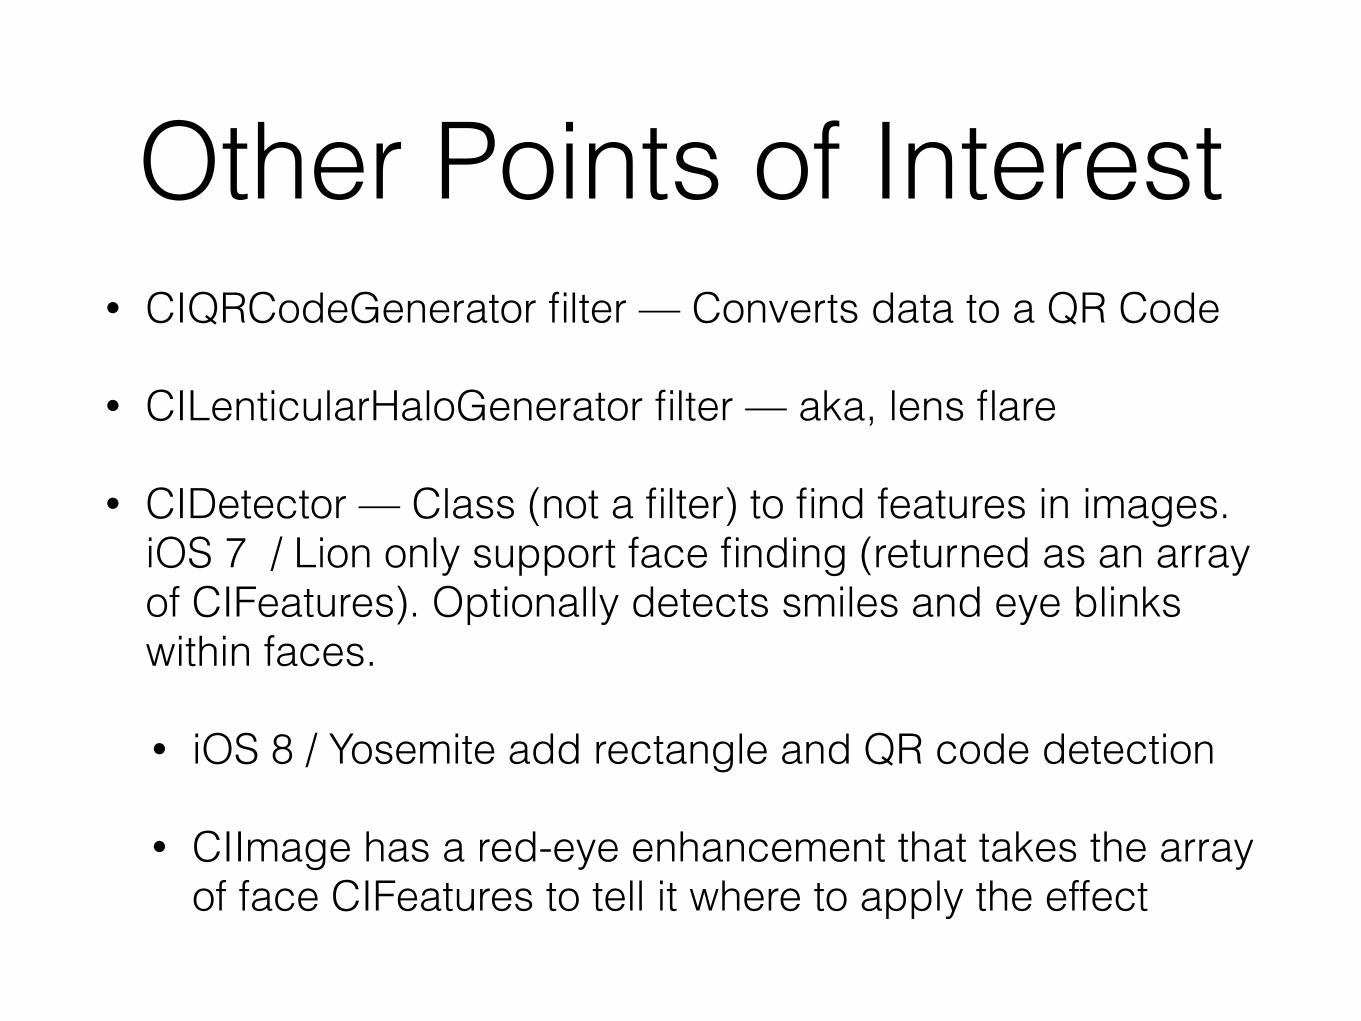
Other Points of Interest• CIQRCodeGenerator filter — Converts data to a QR Code
• CILenticularHaloGenerator filter — aka, lens flare
• CIDetector — Class (not a filter) to find features in images. iOS 7 / Lion only support face finding (returned as an array of CIFeatures). Optionally detects smiles and eye blinks within faces.
• iOS 8 / Yosemite add rectangle and QR code detection
• CIImage has a red-eye enhancement that takes the array of face CIFeatures to tell it where to apply the effect
Core Image on OS X
• Core Image is part of QuartzCore (or Image Kit), so you don’t @import CoreImage
• Many more filters are available
• Filters can be set on CALayers
CALayer Filters on OS X• Views must be layer-backed (obviously)
• Must also call -[NSView setLayerUsesCoreImageFilters:] on 10.9+
• CALayer has properties: filters, compositingFilter, backgroundFilters, minificationFilter, magnificationFilter
• These exist on iOS, but do nothing
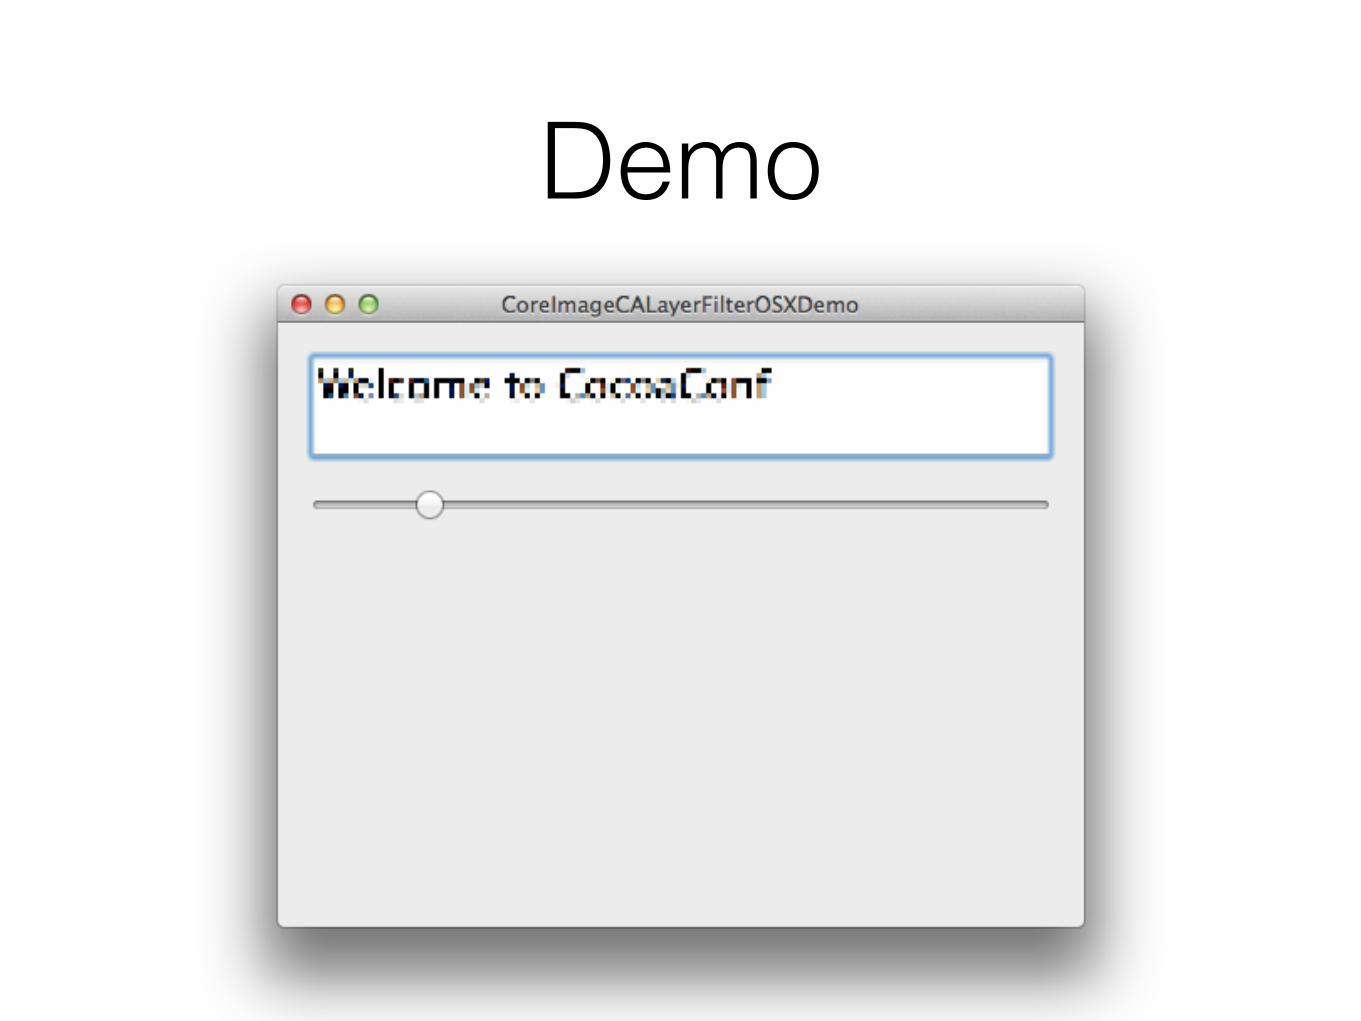
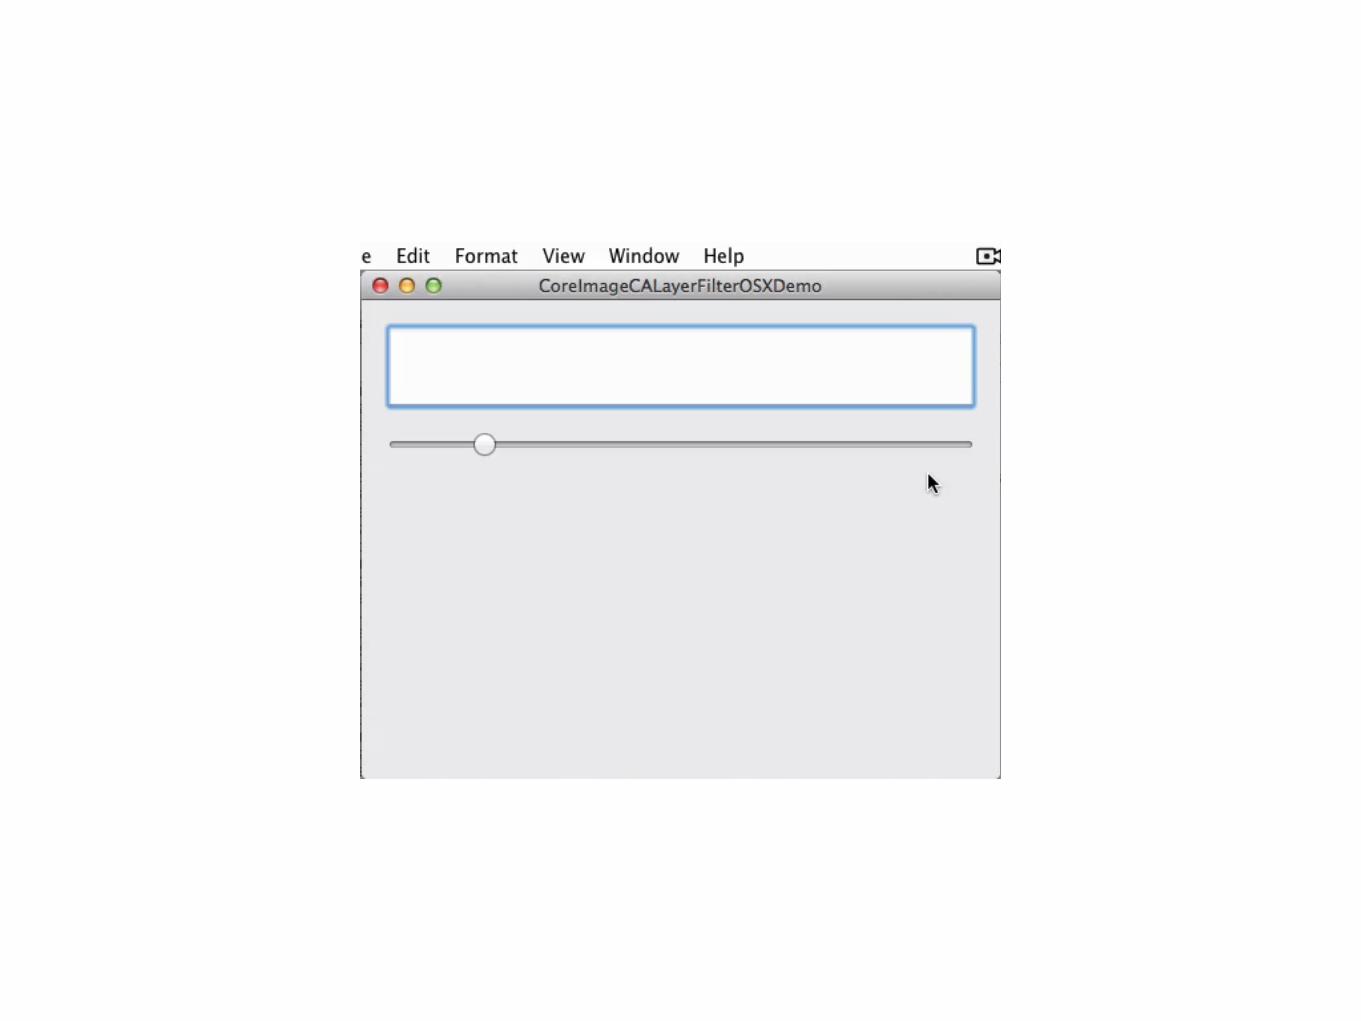
Demo
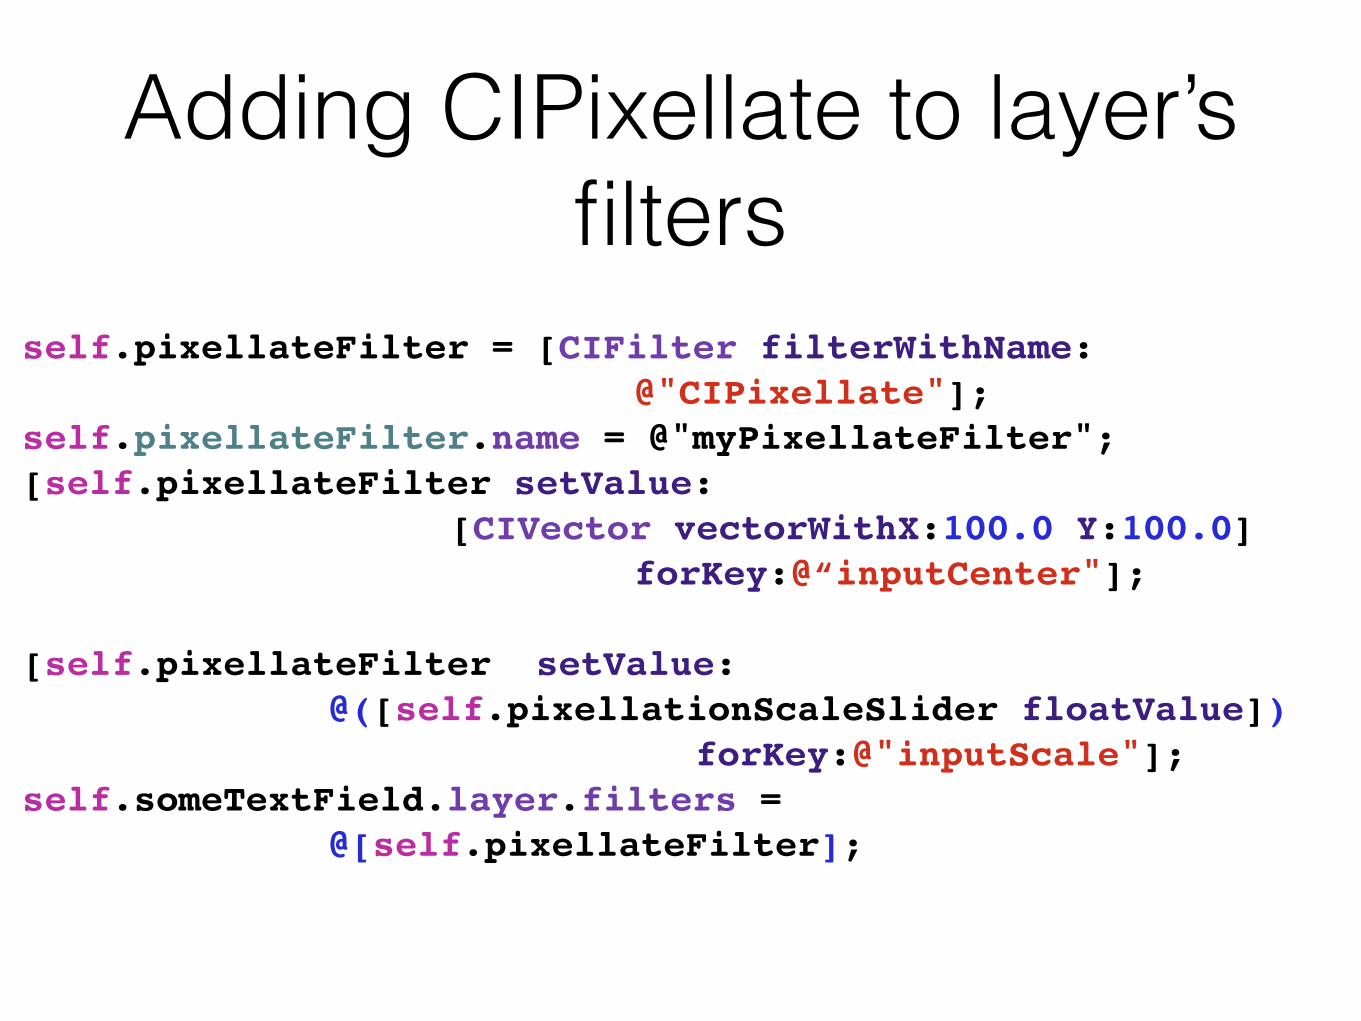
Adding CIPixellate to layer’s filters
self.pixellateFilter = [CIFilter filterWithName:@"CIPixellate"];
self.pixellateFilter.name = @"myPixellateFilter";[self.pixellateFilter setValue:
[CIVector vectorWithX:100.0 Y:100.0] forKey:@“inputCenter"];
[self.pixellateFilter setValue:@([self.pixellationScaleSlider floatValue])
forKey:@"inputScale"];self.someTextField.layer.filters =
@[self.pixellateFilter];
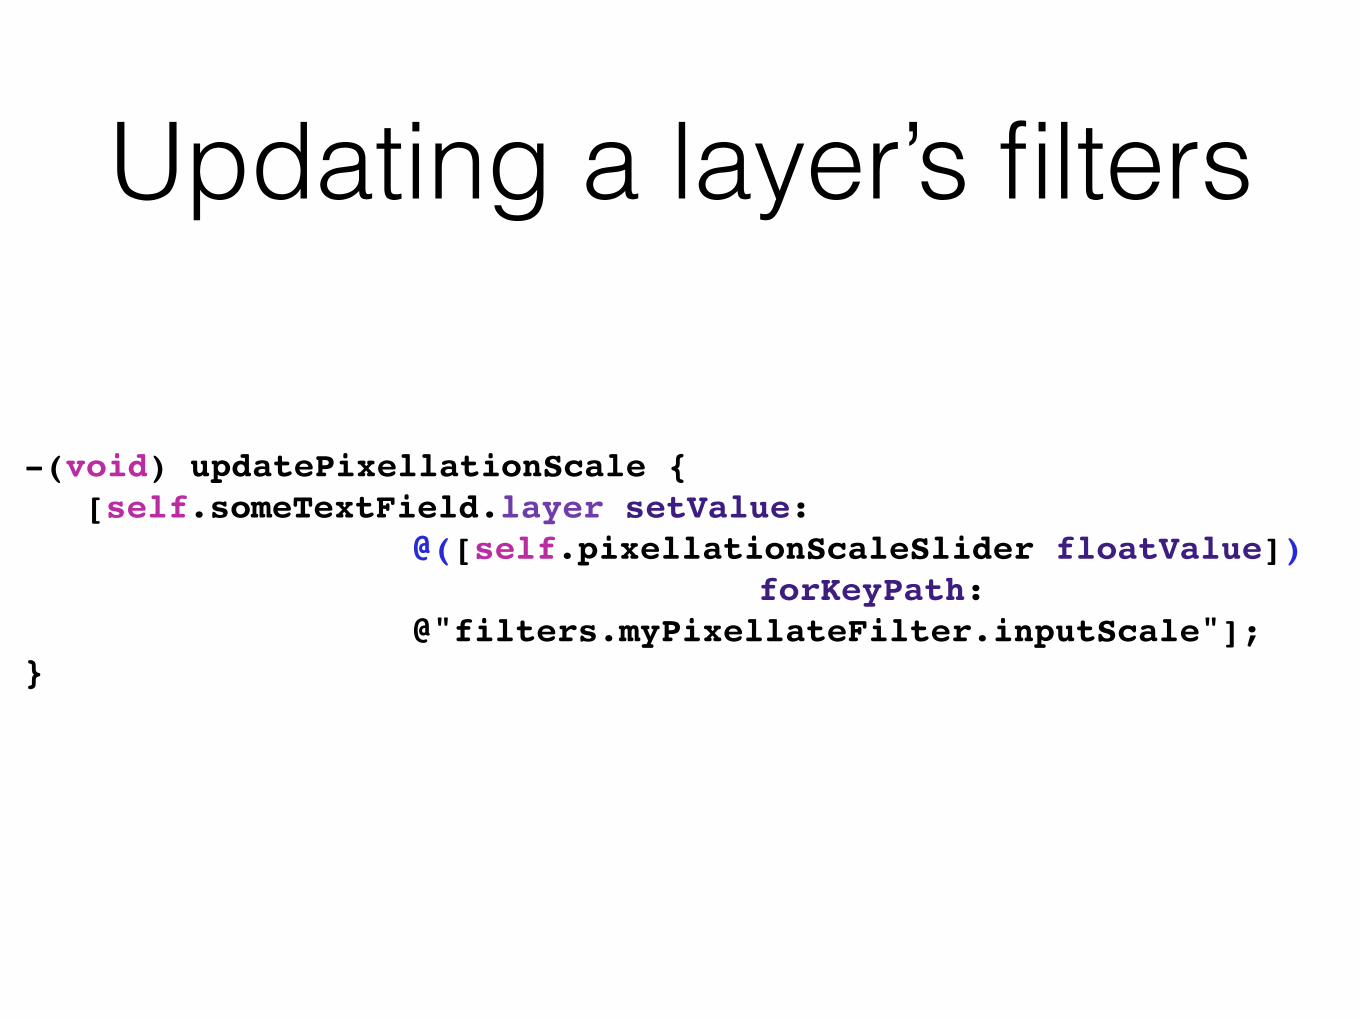
Updating a layer’s filters
-(void) updatePixellationScale {[self.someTextField.layer setValue:
@([self.pixellationScaleSlider floatValue])forKeyPath:
@"filters.myPixellateFilter.inputScale"];}
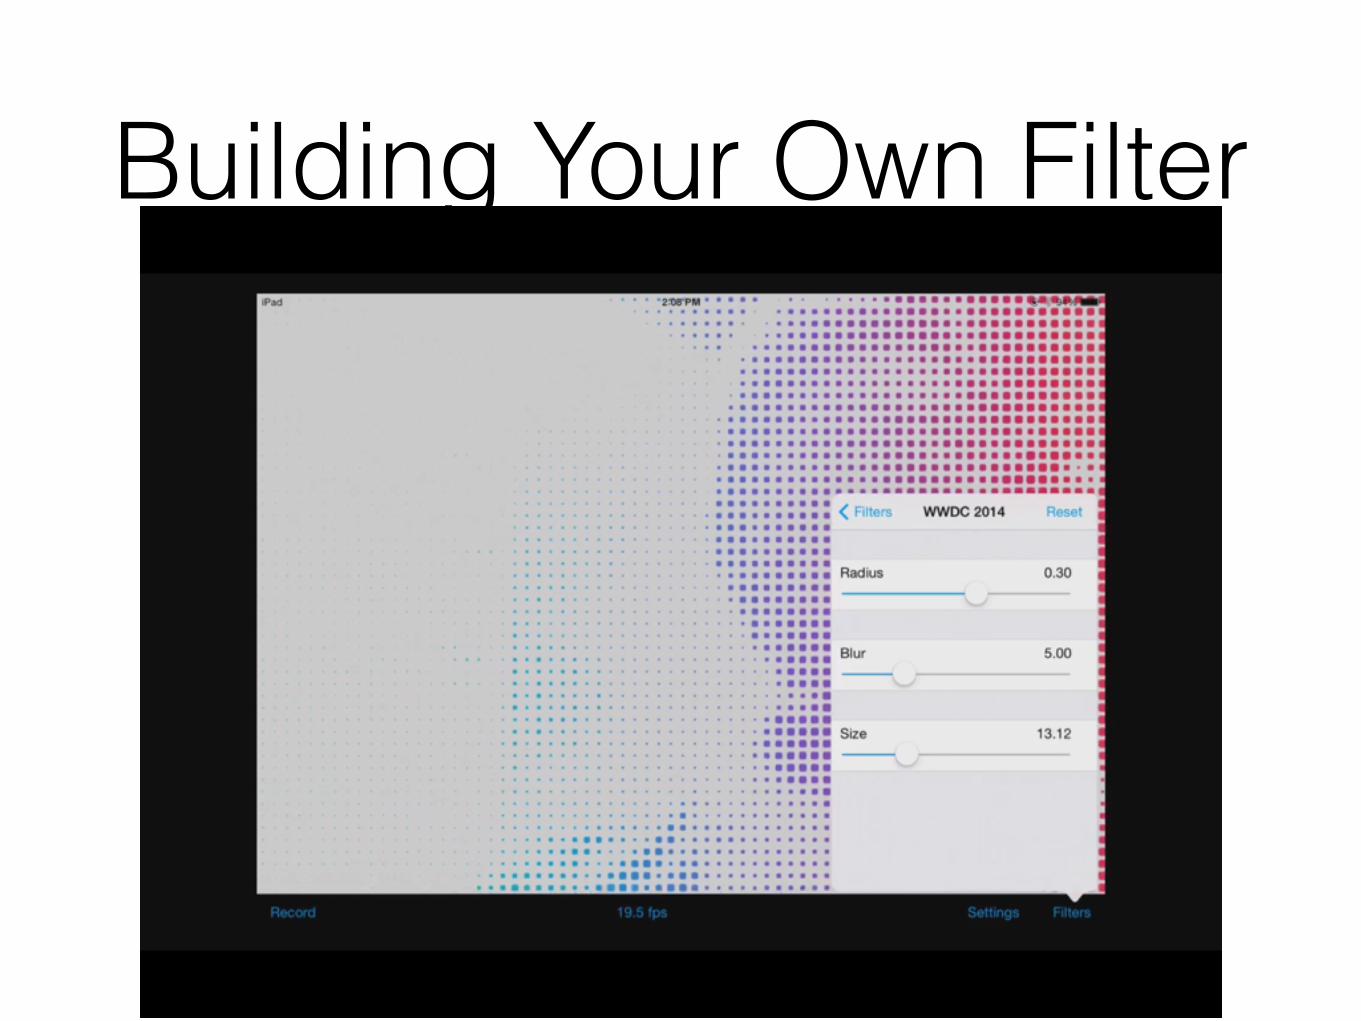
Building Your Own Filter
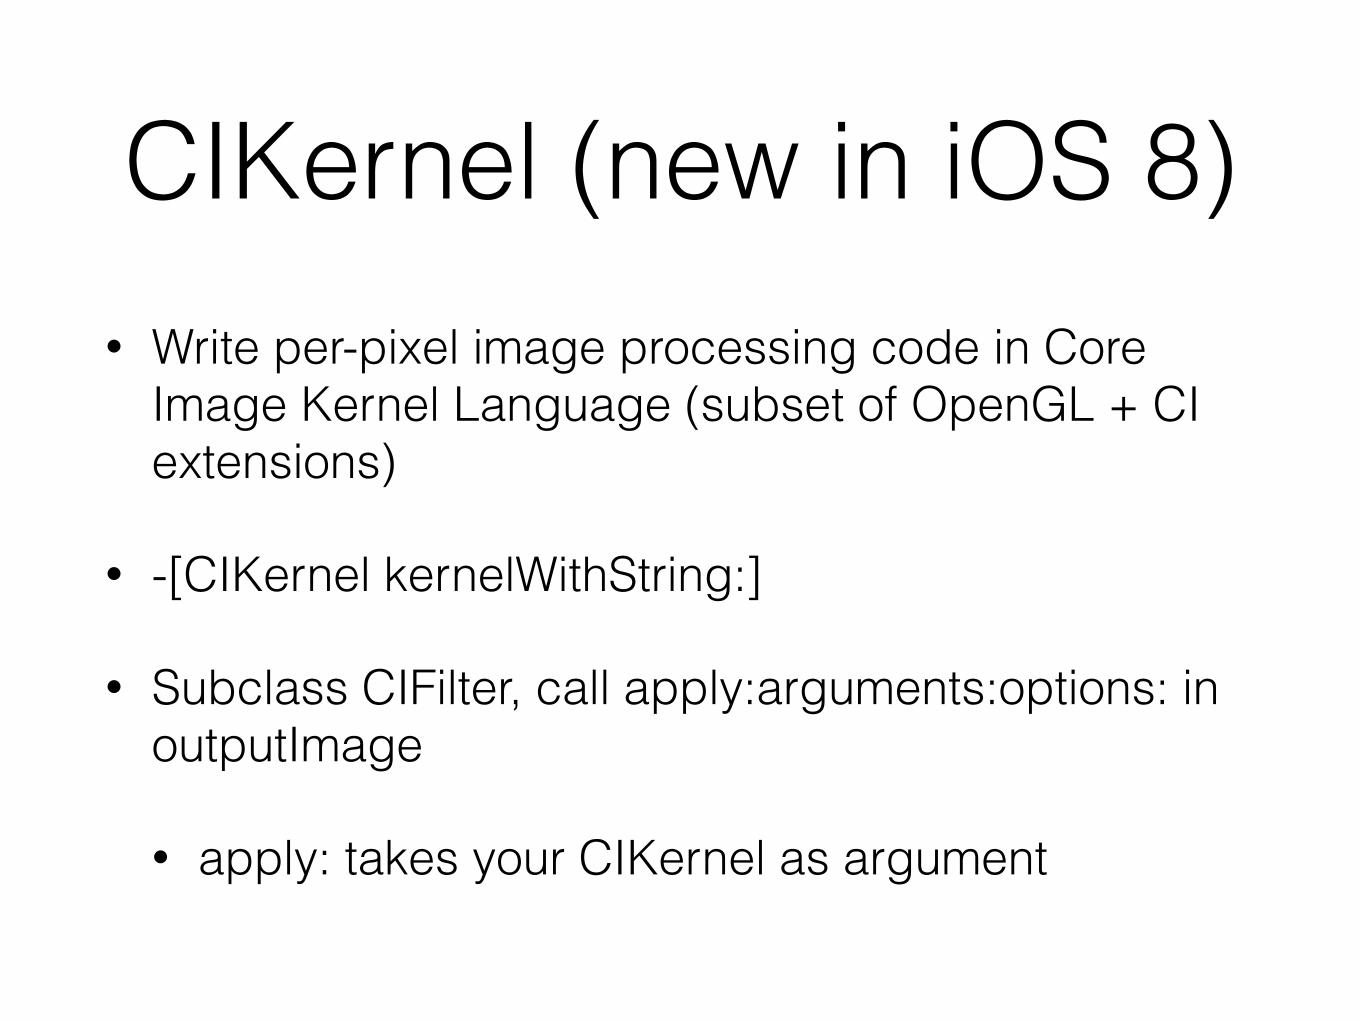
CIKernel (new in iOS 8)• Write per-pixel image processing code in Core
Image Kernel Language (subset of OpenGL + CI extensions)
• -[CIKernel kernelWithString:]
• Subclass CIFilter, call apply:arguments:options: in outputImage
• apply: takes your CIKernel as argument
Wrap Up: Stuff to Remember
• Get psyched about filters, but remember to check that they’re on your targeted platform/version.
• Drawing to a CIContext on iOS must be GL-backed (e.g., with a GLKView)
• Not the only game in town: GPUImage offers an open-source alternative
Q&ASlides and code will be posted to:
http://www.slideshare.net/invalidname/
@invalidname http://subfurther.com/blog