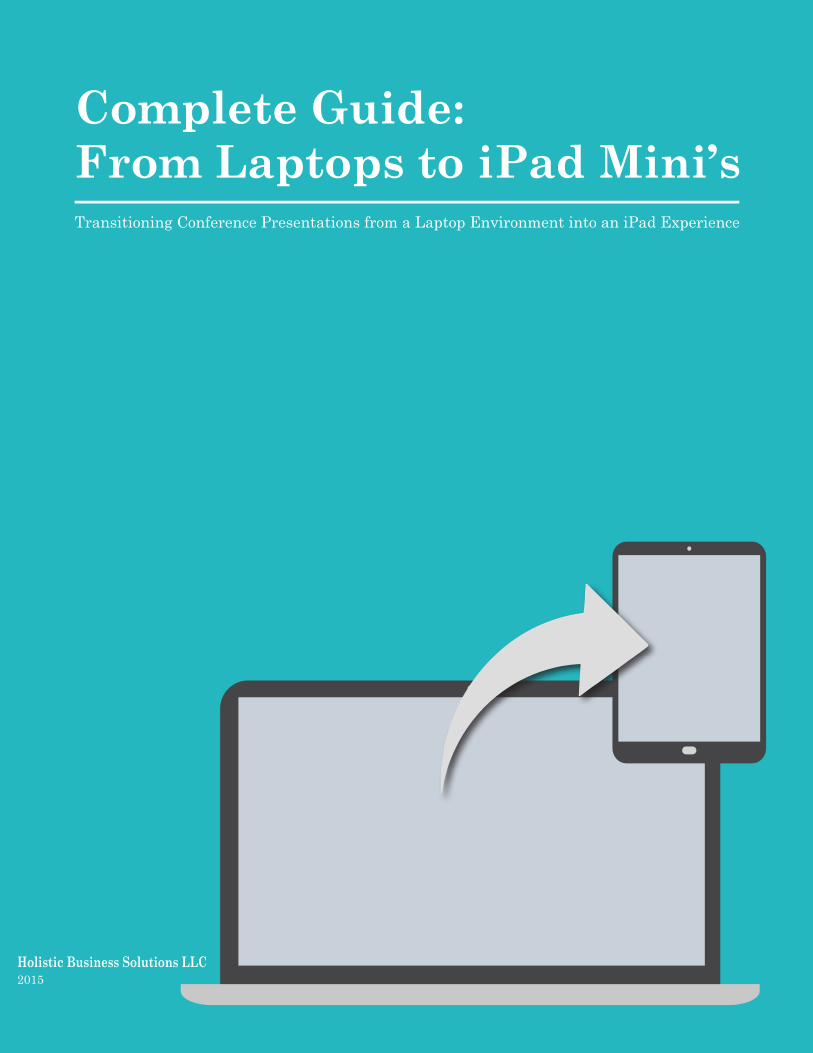
Complete Guide: From Laptops to iPad Mini's
16
-
Upload
sheri-kurdakul -
Category
Presentations & Public Speaking
-
view
196 -
download
0
Transcript of Complete Guide: From Laptops to iPad Mini's
Page 1

Page 2
A special thank you to Diane Honey for all of your dedication and effort in making this project a success.
All products and services referenced in this publication are ones used by Holistic Business Solutions LLC (HBS) during
actual testing and events. No compensation of any kind was provided to HBS or its employees or strategic partners.
Copyright January 2015All rights of any nature reserved. No part of this publication may be reproduced or trans-mitted in any form or by any means, electronic or mechanical, without written permission from the copyright owners.
Page 3
This past year, I had a client that decided that, for their large annual conference, they wanted to transition from a laptop environment of running their speakers’ presentations, to a tablet environment. The challenge was doing so from iPad Mini’s. In theory, it sounds exciting and cutting edge, but in reality, it takes some planning, forethought, dress rehearsals and quite a bit of patience to make it all happen.
I wrote this paper for those considering to embark on the same journey. It took many months of research, as no one source could direct me to all of the solutions. It also took effort from outside people to coordinate all of the materials and practice with, initially a one track workshop, then a five track conference.
You may experience hiccups along the way, as did I, but in the end, it is an exciting and rewarding adventure.
Sheri
Sheri L. KurdakulPresidentHolistic Business Solutions LLC
A Word from Sheri

Page 4
INTRODUCTION
HARDWARE
Tablets ..................................................... Cables / Adapters .................................... Clickers .................................................... Chargers ..................................................
SETTINGS
iPad Mini Settings .................................. Clicker Settings ......................................
PRESENTATION ELEMENTS
Presentations .......................................... Multimedia ............................................. File Identification ..................................
ON-SITE SETUP
Wireless Connectivity ........................... Dress Rehearsal ...................................
SUMMARY
Contents
5
6
6 6 7 7
8
8 8
9
91011
12
1213
14
Page 5
Let us begin our journey with some of the circumstances we had to consider in order to effectively plan our transformation.
First, the conference consisted of five distinct tracks running simultaneously, so we needed to have at least five devices, plus a backup or two. We would be running the conference at a hotel chain where the A/V team worked in a Windows-based environment, so on-site support would be limited. Presenters were invited from outside the organization, so they would create their own presentations in PowerPoint. Slide transitions, video and live polling would be part of many of the presentations. The speakers preferred to move about the room, so being tied to one place was not an option. Being able to turn on/off other programs would be vital to minimizing distractions and ensuring the success of the speakers’ presentations.
With all of that to consider (and there were local issues we will address later), a solid plan was important. SO let’s dive into the hardware first.
INTRODUCTION

Page 6
TABLETS
If you are purchasing iPads, then I would recommend the iPad mini 16GB Wi-Fi version. You don’t need the 4G enablement if you are only using them for presentations. Apple has a great business program if you are looking at a significant quantity and want deeper control into each unit. They also have a leasing program, so there are a few options out there for you to consider.
CABLES/ADAPTERS
Most hotels and conference centers work with projectors using a VGA connection. iPad mini’s (all Apple devices) will require that you buy an adapter for each device. Retail cost is currently $49 from the Apple Store.
The iPad mini lightening to VGA adapter is a short cable (about 4” long), so if you need the iPad mini to be on a podium at the front of the room, you will need to ensure you have access to a long VGA cable.
As the iPad mini lightening to VGA adapter does not support audio, you will also need to purchase a 3.5-mm stereo audio cable to fit in the headphone minijack where audio is required.
In order to ensure consistent power, you either want to purchase additional Apple 5W USB Power Adapters, or a 2-port USB power adapter. This will enable you to keep the iPad minis and the bluetooth clickers charged at the same time during your event.
HARDWARE

Page 7
CLICKERS
I’m sure most of you are aware, but iPads do not come equipped with a USB port, so your typical USB slide transition clicker will not work.
Unless you are going to require all presenters to stand at the podium, you will need to use a clicker. I use the Satechi Bluetooth Smart Pointer Mobile Presenter (Black).
CHARGERS
Bluetooth technology can be a big battery drain, so make sure you are charging your devices (iPads and clickers). Your VGA adapter will plug into the lightening connection port on your iPad mini - look at the back of it and you will see that there is another lightening connector port for you to charge your device while connected to the projector. In order to keep your clicker from running out of battery, I suggest purchasing a dual USB wall charger for each set-up in order to keep both devices charged at all times.
Now that we’ve gone over the hardware, let’s discuss how we will configure the settings for your devices.

Page 8
IPAD MINI SETTINGS
When you make your purchase, you will want to set them up under one primary iCloud account. This will be used to upload all of your videos to your devices. I don’t recommend setting a passcode, for if something goes awry during a presentation and you are not right there, others may not be able to access the device to get things back on track. You may want to control the “desktop” of your iPad Minis so your presenters can easily access the things they need, and are not distracted by the things they don’t. I choose to drag the PowerPoint, Video and Safari apps to the iPad’s dock so they are readily available. I also drag all other apps into one folder, then move them over two or three desktop screens to the right to reduce the risk of interference.
Apple is very good at alerting you on the device, but all those pop-ups and icons can mess up a great presentation. In order to control the environment, you’ll want to quiet the device.
Go into your SETTINGS app and click on NOTIFICATIONS. All of the apps listed under INCLUDE are going to notify you if anything happens. Some will give you the red dot, while others will send you a push notification via a pop-up. You are going to want to click on each one of these apps individually and manually disable all of the alerts. The only one that is not super obvious, is the Mail app. You will need to go into each mail account and disable the notifications individually.
CLICKER SETTINGS
To use your clicker with the iPad, you must establish a “pairing” with the specific clicker to a unique iPad. If you have multiple devices and clickers, I recommend labeling them so they do not get confused. Follow the directions in the package to pair your devices. It is simply explained in their included leaflet.
SETTINGS
Page 9
PRESENTATIONS
I bit the apple long ago, but there are certain restrictions you will be bound to that are beyond your control.
Most businesses run in a Windows environment, and when you are organizing a corporate conference, PowerPoint is the norm. You cannot require a speaker to create a presentation in an environment for which they are not familiar nor have the software capabilities.
Fortunately, Microsoft has a solution that makes it fairly easy to access PPT files in their native app while keeping all of the transitions intact. Their Office 365 product includes a subscription to OneDrive, their cloud service. Using Office mobile applications is easy, but you do need to pre-plan and give yourself time to upload your files. The following steps outline how you would upload and access your PPT presentation from the iPad:
• Step 1: Login to your OneDrive account from your computer• https://onedrive.live.com/about/en-us/#
• Step 2: Click on “Documents” and from the top menu bar, click “Upload”
• Find your PPT file and select it for upload• You can now upload files up to 10GB each!
NOTE: Any files you wish to delete from a Mac, must be done from the web portal and not the app.
• Step 3: Access the OneDrive app from your iPad• Click on the “Documents” folder to reveal the uploaded PPT
file(s)
• Step 4: Choose the desired file.• This will open the presentation within the PPT app.
PRESENTATION ELEMENTS

Page 10
• Step 5: To present, click on “SLIDE SHOW” in the top navigation, then “PRESENTER VIEW” in the secondary navigation.
Depending on the internet speed and the presentation size, it may take a moment to download the presentation to the device. Once downloaded, it runs as a native file.
MULTIMEDIA
In a traditional PPT presentation, you might see a video “embedded” in a presentation. That concept works from a computer if the environment for which you will be playing them has the bandwidth to sustain the video playback. In an iPad environment, this is not the case.
The videos need to be standalone files. If they are YouTube, Vimeo or other web-based service links, the videos need to be captured as native video files, such as .mp4, .m4v or .mov. If you need to convert video files or download videos from a link, there are several softwares on the market that will allow you to accomplish this.
Getting the videos onto the iPad proved to be a bit trickier than I anticipated. Tricky, but not impossible. I was doing this on behalf of a client, so this is why it was a bit complex. You need to upload the videos using iTunes Match, but if you have a personal account, you cannot use this feature on your client’s account without disabling your own account for 90 days minimum.
Uhmmm - not working for me!
I needed to create a separate User profile where I could share files - video files. Below are directions for sharing files between users accounts on the same computer.
• CLICK HERE for OS X Mountain Lion Users
• CLICK HERE for OS X Mavericks Users
• CLICK HERE for OS X Yosemite Users

Page 11
I could convert or download my videos from my account, upload them to the shared folder, then log out and log back in to my client’s account on my computer. From there, I could access the video files and load them into the appropriate iPad.
When you first load an external video file, it may not be visible in your “movies.” The default setting for external videos is “Home Movies” in your iTunes account. This is simple to remedy by following the steps below:
• Open your iTunes account on your computer• From the top left menu toolbar, click the movie icon. It will
most likely open in the Home Videos section of your movies. • Click on the movie to highlight (careful not to double click or
your movie will begin to play).• Right click on the highlighted movie, then choose “Get Info”
from the menu.• An information panel will appear. Click on “Options”, then
under “Media Kind,” select “Movie” from the pick list.• Click “OK” and your movie will reassign to your movies
where you are free to sync it to your iPad device(s).
You’ve configured all your devices and are ready to set up the presentations.
FILE IDENTIFICATION
Now for presentation day. You need to have your multimedia preloaded into the iPads. I recommend having them labeled in the order for which they will play, so the speaker is not fumbling with files, trying to find the right video during their session.
My method of labeling is the session number, the slide number and the speaker name (e.g. 03-28_Smith is session 3, slide #28, speaker Kurdakul). Next, have all of your PowerPoint presentations pre-downloaded on the designated iPad.
I use a spreadsheet to ensure all elements of each presentation is accounted for and loaded where it should be. CLICK HERE to view my sample template and customize for your own needs.
Page 12
WIRELESS CONNECTIVITY
Wireless connectivity is important here, so you’ll need to make sure that nothing is going to interfere with your connection. If you are offering wireless for your attendees and there are several hundred of them, also remember that most people have multiple devices (phone, tablet, laptop, etc.), so 100 attendees could equate to 300 connections on the network. My advice is to have a separate network connection for your presentation devices.
NOTE: I was recently in a hotel that was connected/next to to a business complex. I had paid access to the hotel wireless, but the business complex secure wireless network was stronger, so my device kept trying to default to the business complex network. This forced me to re-connect to the hotel network repeatedly.
My recommendation here is the following:
• Go to “Settings”• Go to “Wi-Fi”• Click on the network that you do not want to join and
choose “Forget this Network”
ON SITE SET-UP

Page 13
Do this with all of the networks that may interfere with your connectivity to ensure smooth downloads of your session files.
At this point, a dress rehearsal is recommended so you and your team can drive the presentations and assist with any troubleshooting along the way.
DRESS REHEARSAL
Let’s review the above. You have configured your devices to quiet any distractions. You have paired your clickers to the iPad minis. Your presentations and videos are labeled and loaded onto their appropriate devices through Microsoft’s OneDrive and iTunes’ Movies. You have checked for rogue wireless networks and delete them from your devices memory. You have a power strip and power cords for recharging both the iPads and the clickers.
Checklist:• iPad Mini• lightning cable• lightning to VGA adapter• dual USB wall charger• 3.5-mm stereo audio cable* (if needed)
You are now ready to log into your PowerPoint app, select your presentation to download and run your presentation. If there is a video to be played, you’ll need to click into the video app, play the selected video, then return to your PowerPoint app. It will pick up from the last slide and seamlessly move forward.

Page 14
This method of running your conference presentations is not for everyone. Technology is becoming more autonomous where operating systems are concerned, but right now this is less seamless than running your sessions from laptops. The advantage here becomes price, as iPad mini’s, even with the needed accessories, are less expensive to buy. Shipping and/or traveling with tablets is also considerably cheaper and more convenient.
Ultimately, you’ll need to do a thorough evaluation to determine whether this is the right choice. My wish is that this guide is helpful in outlining all of the considerations for you to make an informed decision and, if you choose to use iPad minis, that this will help you facilitate a successful event.
SUMMARY

Page 15
ABOUT THE AUTHOR
Sheri L. KurdakulPresidentHolistic Business Solutions LLC
Sheri specializes in the fine details and technological efficiencies in event management and logistics. Sheri has been overseeing the marketing and technical aspects of organizations and their events for over 25 years. These events range in size from 850,000 attendees to local workshops of 50 attendees and include international, national, local and virtual.
Sheri was previously Sales and Marketing Director for the Retail Value Chain Federation, Store Manager for a high volume Starbucks store, and Project Manager, and Specialty Media Manager for Hannover Fairs, which managed the largest technology event in the world featuring 7,000 exhibitors and sponsors. In addition, she has agency and print media management experience. She is currently acting in the capacity of Marketing and Technical Advisor for the New Jersey Farm To School Network and Marketing Director for the Retail Value Chain Federation (RVCF).

Page 16