COMP201 Java Programming Topic 10: Swing User Interface Components Chapter 9.
80
COMP201 Java Programming Topic 10: Swing User Interface Components Chapter 9
-
date post
21-Dec-2015 -
Category
Documents
-
view
245 -
download
1
Transcript of COMP201 Java Programming Topic 10: Swing User Interface Components Chapter 9.
COMP201 Java Programming
Topic 10: Swing User Interface Components
Chapter 9
COMP201 Topic 10 / Slide 2
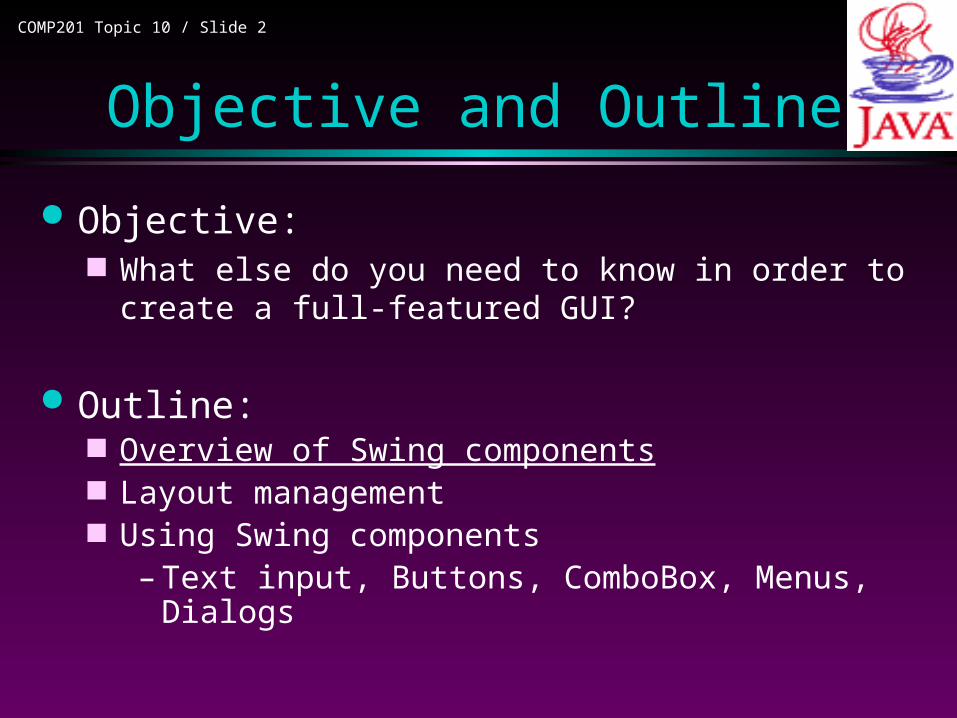
Objective and Outline
Objective: What else do you need to know in order to create a full-
featured GUI?
Outline: Overview of Swing components Layout management Using Swing components
– Text input, Buttons, ComboBox, Menus, Dialogs
COMP201 Topic 10 / Slide 3
Overview of Swing Components
http://java.sun.com/docs/books/tutorial/uiswing/components/components.html
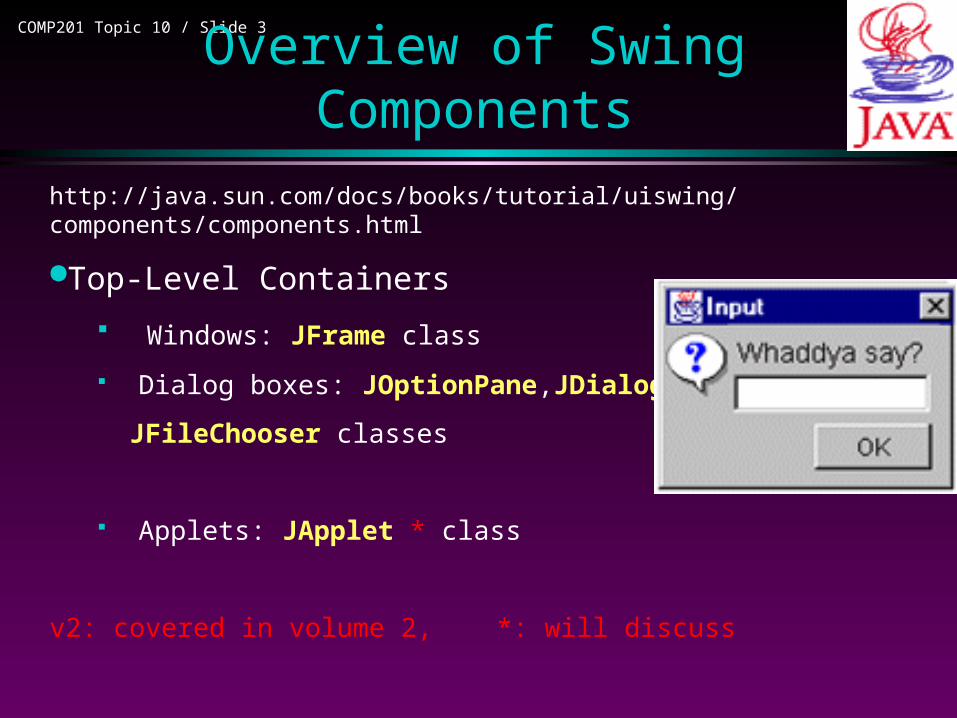
Top-Level Containers
Windows: JFrame class
Dialog boxes: JOptionPane,JDialog *,
JFileChooser classes
Applets: JApplet * class
v2: covered in volume 2, *: will discuss

COMP201 Topic 10 / Slide 4
Overview of Swing Components
General-Purpose containers for laying out components. JPanel class
JScrollPane * class provides a
scrollable view of components.
JSplitPane v2 displays two groups of
components, either side by side or
one on top of the other.
COMP201 Topic 10 / Slide 5
Overview of Swing Components
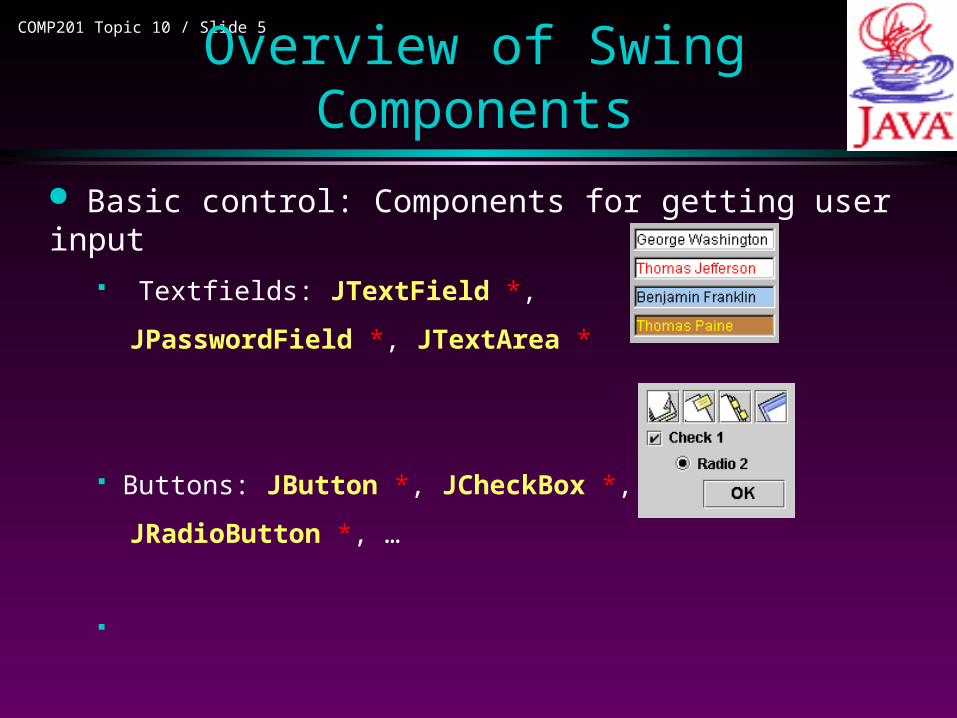
Basic control: Components for getting user input Textfields: JTextField *,
JPasswordField *, JTextArea *
Buttons: JButton *, JCheckBox *,
JRadioButton *, …
COMP201 Topic 10 / Slide 6
Overview of Swing Components
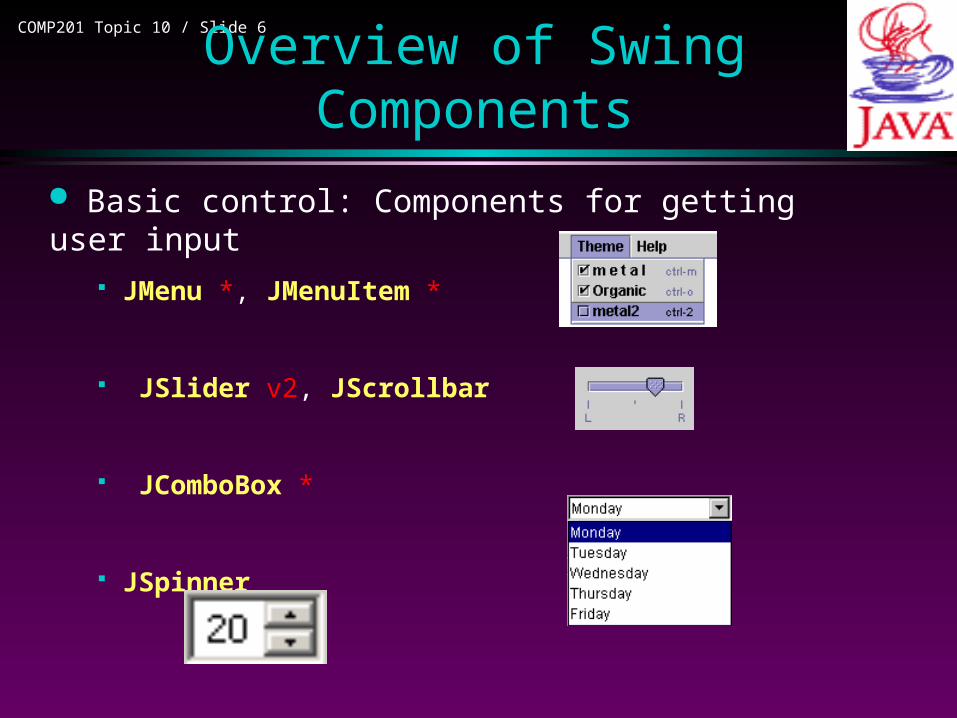
Basic control: Components for getting user input JMenu *, JMenuItem *
JSlider v2, JScrollbar
JComboBox *
JSpinner
COMP201 Topic 10 / Slide 7
Overview of Swing Components
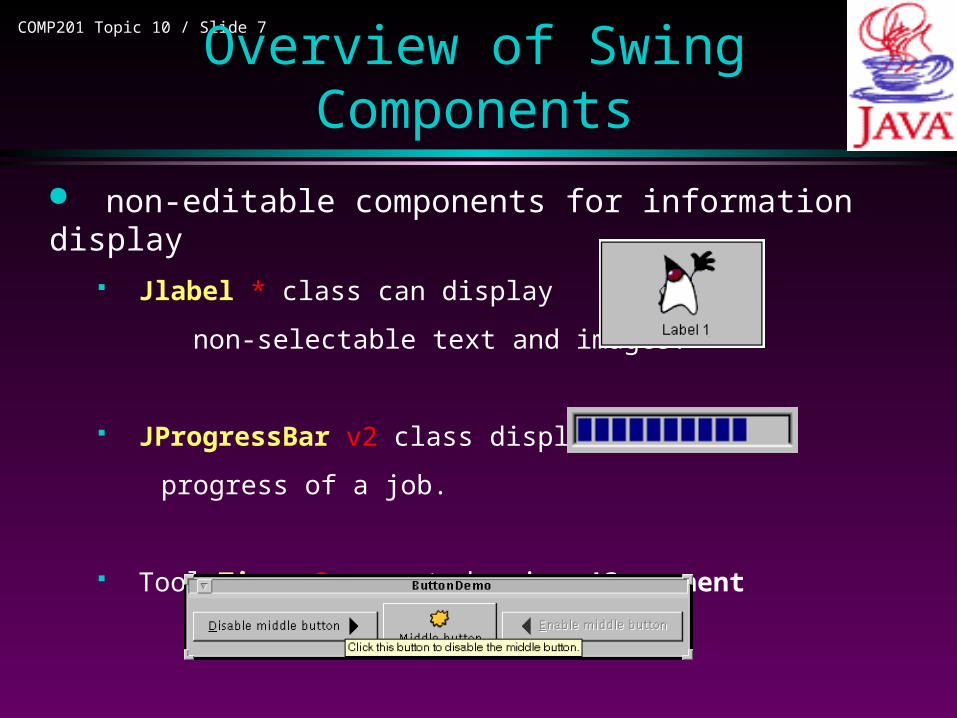
non-editable components for information display Jlabel * class can display
non-selectable text and images.
JProgressBar v2 class displays
progress of a job.
Tool Tips v2: created using JComponent

COMP201 Topic 10 / Slide 8
Overview of Swing Components
Editable components for information display JTable v2 class can display and edit
tables of data,
Texts *:
JTree v2 class can display
hierarchical data
File Chooser
JColorChooser class to provide users
with a palette of colors to choose from.

COMP201 Topic 10 / Slide 9
Overview of Swing Components Summary:
Containers
Top-Level: JFrame, JOptinePane, JDialog, JFileChooser,JApplet,
General-purpose: JPanel, JScrollPane, JSplitPane
User input
JTextField, JPasswordField, JTextArea, JButton, JCheckbox,
JRadioButton, Jlist, JComboBox, JMenu, JMenuItem, JSlider, JScrollBar
Information display
Non-editable: Jlabel, JProgressBar, Tool tips
Editable: Jtable, Texts, Jtree, JColorChooser

COMP201 Topic 10 / Slide 10
Outline
Outline: Overview of Swing components
Layout management
Using Swing components– Text input, Buttons, ComboBox, Menus, Dialogs
COMP201 Topic 10 / Slide 11
Layout Management
Layout management determines the size and position of components.
Each container has a default layout manager. Can be changed using the method: setLayout
Generally, need to set the layout manager of two types of containers: content panes (which use BorderLayout by
default) and JPanels (which use FlowLayout by default).
COMP201 Topic 10 / Slide 12
Types of Layout FlowLayout BorderLayout GridLayout BoxLayout GridBagLayout
Layout Management
COMP201 Topic 10 / Slide 13
Layout Management
Component size Default/natural minimum/preferred sizes calculated by
the LayoutManager interface, which is implemented by all layout management classes
– Dimension minimumLayoutSize(Container parent)– Dimension preferredLayoutSize(Container parent)
Can be changed using methods of JComponent– voidsetMaximumSize(Dimension maximumSize)– voidsetMinimumSize(Dimension minimumSize)– voidsetPreferredSize(Dimension preferredSize)
COMP201 Topic 10 / Slide 14
Flow Layout FlowLayout class
FlowLayout arranges components in a left-to-right flow, much like lines of text in a paragraph.
Components sized at their preferred size.
If the horizontal space in the container is too small, FlowLayout uses multiple rows.
Within each row, components are centered (the default), left-aligned, or right-aligned as specified when the FlowLayout is created.
Default layout manager of JPanel : typically used to arrange buttons in a panel

COMP201 Topic 10 / Slide 15
Example: FlowWindow.java
Container contentPane = getContentPane(); contentPane.setLayout(new FlowLayout());
contentPane.add(new JButton("Button 1")); contentPane.add(new JButton("2")); contentPane.add(new JButton("Button 3")); contentPane.add(new JButton("Long-Named Button 4")); contentPane.add(new JButton("Button 5"));
Flow Layout
COMP201 Topic 10 / Slide 16
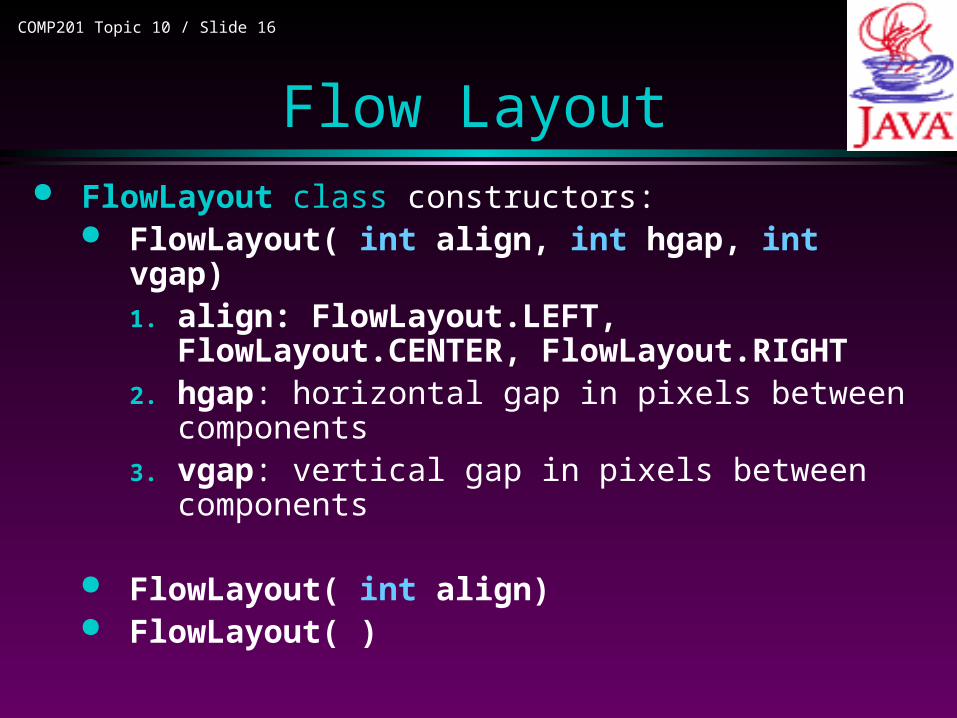
FlowLayout class constructors: FlowLayout( int align, int hgap, int
vgap) 1. align: FlowLayout.LEFT,
FlowLayout.CENTER, FlowLayout.RIGHT 2. hgap: horizontal gap in pixels between components3. vgap: vertical gap in pixels between components
FlowLayout( int align) FlowLayout( )
Flow Layout
COMP201 Topic 10 / Slide 17
Border Layout
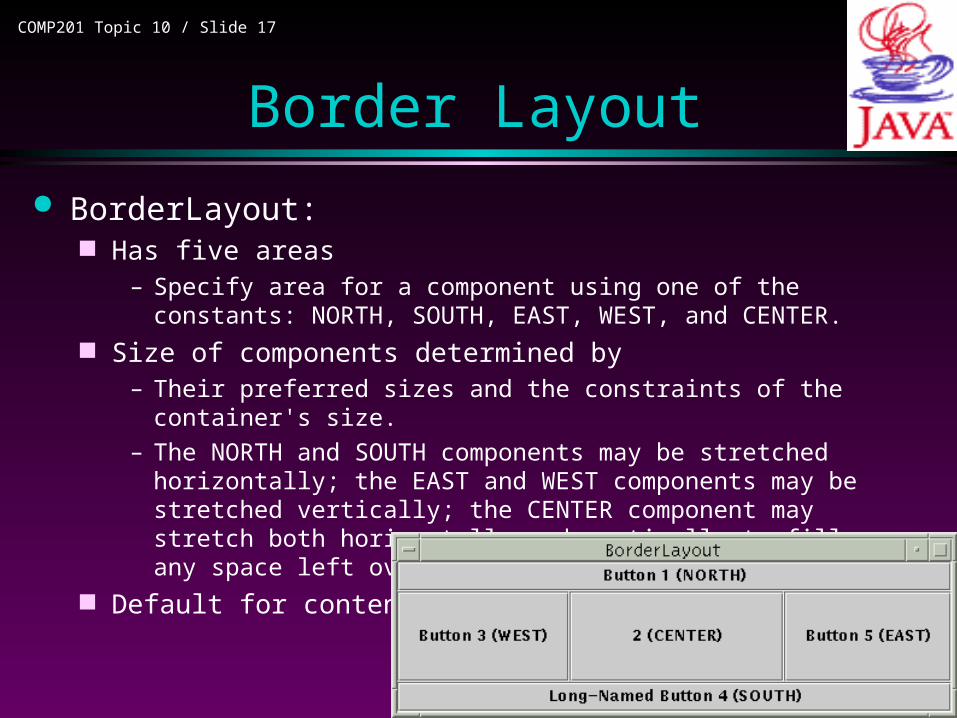
BorderLayout: Has five areas
– Specify area for a component using one of the constants: NORTH, SOUTH, EAST, WEST, and CENTER.
Size of components determined by– Their preferred sizes and the constraints of the container's size.
– The NORTH and SOUTH components may be stretched horizontally; the EAST and WEST components may be stretched vertically; the CENTER component may stretch both horizontally and vertically to fill any space left over.
Default for contentPane

Container contentPane = getContentPane();//Use the content pane's default BorderLayout.//contentPane.setLayout(new BorderLayout());
unnecessary contentPane.add(new JButton("Button 1 (NORTH)"), BorderLayout.NORTH);contentPane.add(new JButton("2 (CENTER)"), BorderLayout.CENTER);contentPane.add(new JButton("Button 3 (WEST)"), BorderLayout.WEST);contentPane.add(new JButton("Long-Named Button 4 (SOUTH)"),BorderLayout.SOUTH);contentPane.add(new JButton("Button 5 (EAST)"), BorderLayout.EAST);// BorderWindow.java
COMP201 Topic 10 / Slide 19
BorderLayout class constructors:
BorderLayout( int hgap, int vgap) 1. hgap: horizontal gap in pixels between
components2. vgap: vertical gap in pixels between components
BorderLayout( )
Border Layout
COMP201 Topic 10 / Slide 20
Grid Layout
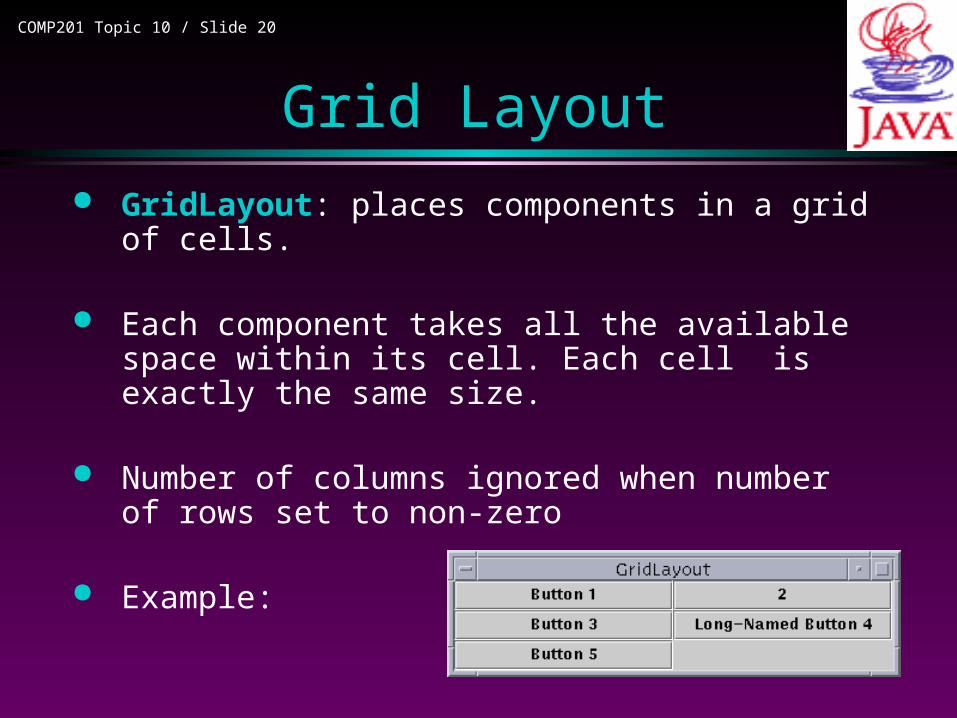
GridLayout: places components in a grid of cells. Each component takes all the available space within
its cell. Each cell is exactly the same size.
Number of columns ignored when number of rows set to non-zero
Example:

Container contentPane = getContentPane(); contentPane.setLayout(new GridLayout(0,2)); //construct an instance of GridLayout that has two
// columns and as many rows as necessary. contentPane.add(new JButton("Button 1")); contentPane.add(new JButton("2")); contentPane.add(new JButton("Button 3")); contentPane.add(new JButton("Long-Named Button 4")); contentPane.add(new JButton("Button 5"));
// GridWindow.java

COMP201 Topic 10 / Slide 22
GridLayout class constructors:
GridLayout(int rows, int columns, int hgap, int vgap) 1. hgap: horizontal gap in pixels between
components2. vgap: vertical gap in pixels between components
GridLayout(int rows, int columns )
Grid Layout
COMP201 Topic 10 / Slide 23
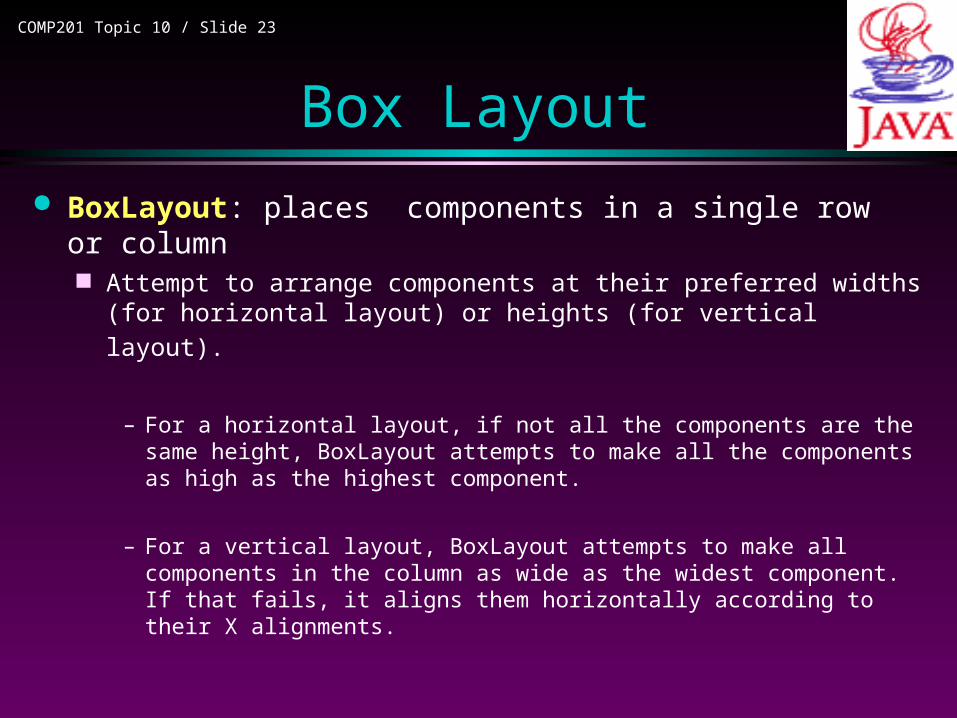
Box Layout
BoxLayout: places components in a single row or column Attempt to arrange components at their preferred widths (for
horizontal layout) or heights (for vertical layout).
– For a horizontal layout, if not all the components are the same height, BoxLayout attempts to make all the components as high as the highest component.
– For a vertical layout, BoxLayout attempts to make all components in the column as wide as the widest component. If that fails, it aligns them horizontally according to their X alignments.

COMP201 Topic 10 / Slide 24
Instead of using BoxLayout directly, many programs use the Box class.
The Box class is a lightweight container that uses a BoxLayout.
It also provides handy methods to help you use BoxLayout well.
Adding components to multiple nested boxes is a powerful way to get the arrangement you want.
Box Layout

COMP201 Topic 10 / Slide 25
Box class methods: all static Factory methods:
createHorizontalBox(), createVerticalBox()
If all the components your Box contains have a fixed size, you might want to use a glue component to control the components' positions.
createHorizontalGlue(), createVerticalGlue,createGlue(): //push components as far away as possible
Box Layout
COMP201 Topic 10 / Slide 26
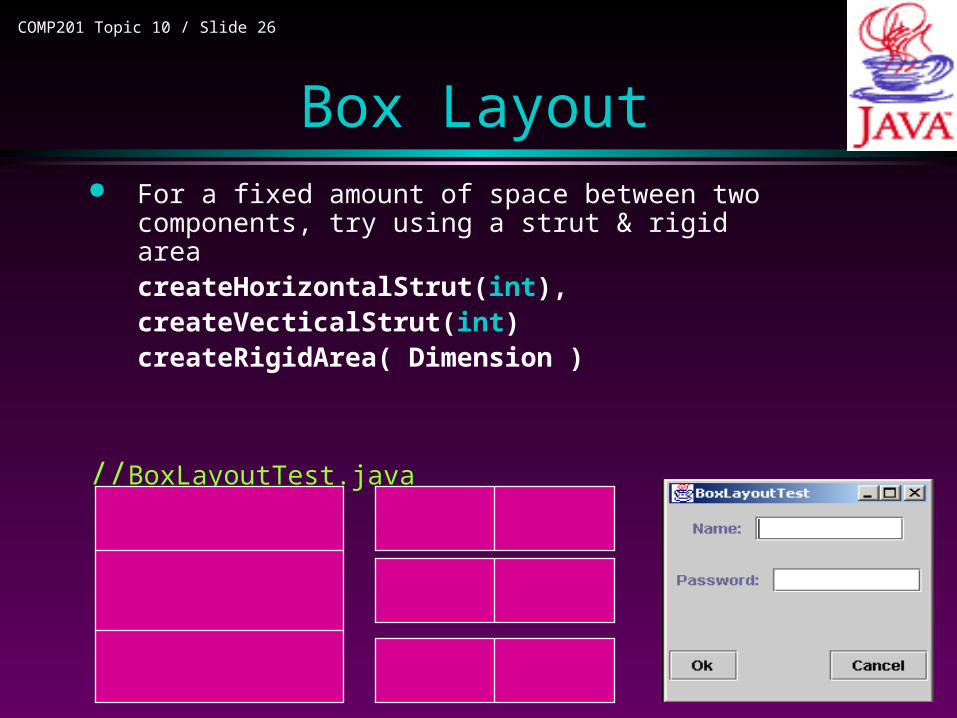
For a fixed amount of space between two components, try using a strut & rigid area
createHorizontalStrut(int), createVecticalStrut(int) createRigidArea( Dimension )
//BoxLayoutTest.java
Box Layout
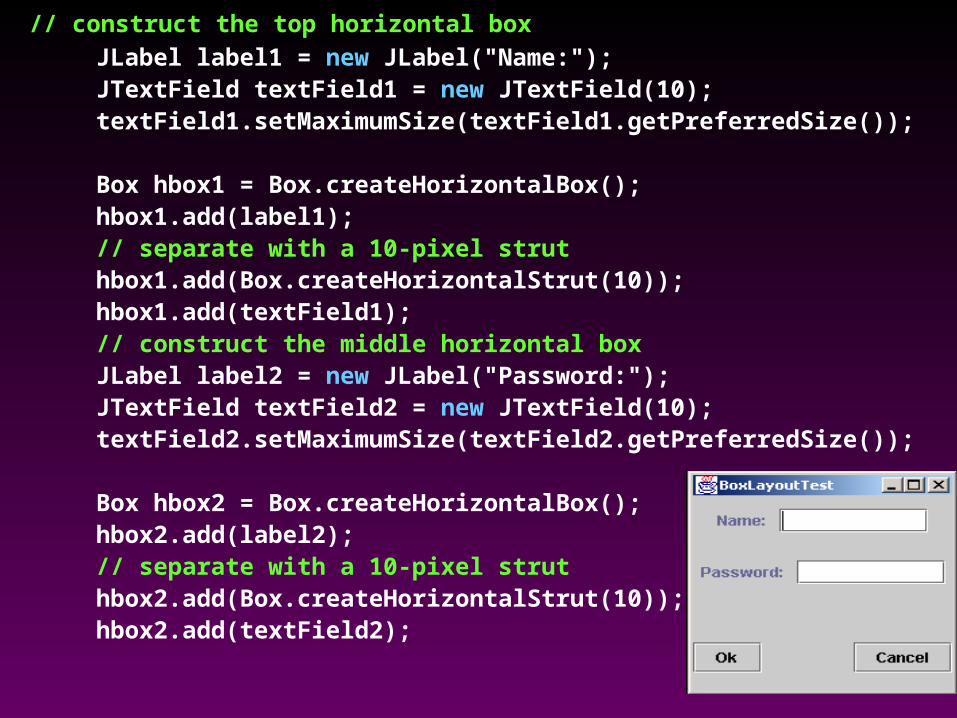
// construct the top horizontal box JLabel label1 = new JLabel("Name:"); JTextField textField1 = new JTextField(10); textField1.setMaximumSize(textField1.getPreferredSize());
Box hbox1 = Box.createHorizontalBox(); hbox1.add(label1); // separate with a 10-pixel strut hbox1.add(Box.createHorizontalStrut(10)); hbox1.add(textField1); // construct the middle horizontal box JLabel label2 = new JLabel("Password:"); JTextField textField2 = new JTextField(10); textField2.setMaximumSize(textField2.getPreferredSize()); Box hbox2 = Box.createHorizontalBox(); hbox2.add(label2); // separate with a 10-pixel strut hbox2.add(Box.createHorizontalStrut(10)); hbox2.add(textField2);
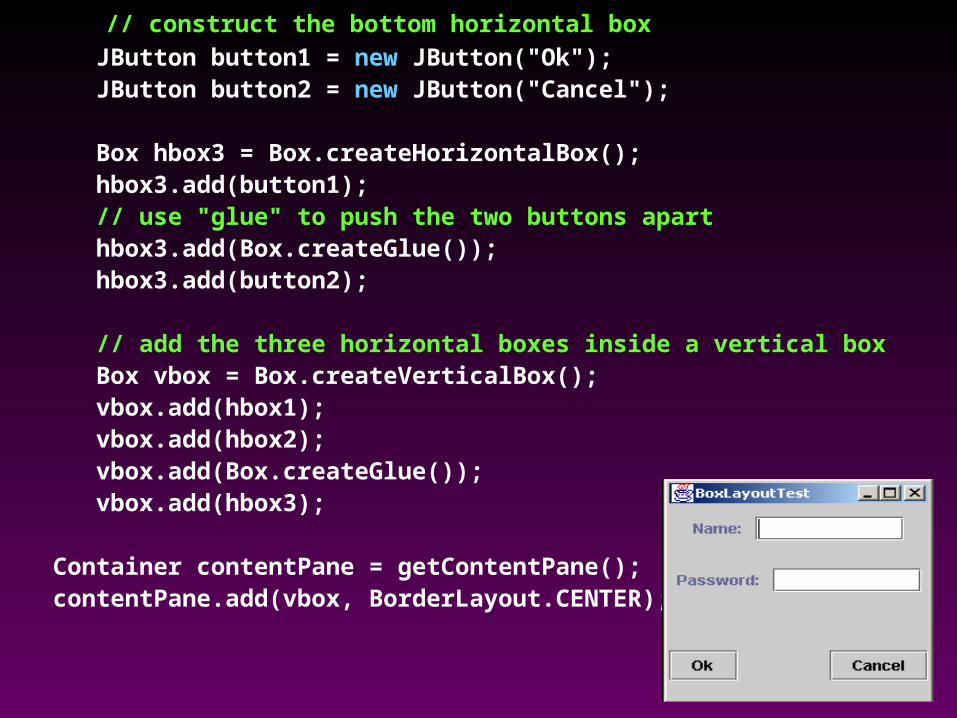
// construct the bottom horizontal box JButton button1 = new JButton("Ok"); JButton button2 = new JButton("Cancel");
Box hbox3 = Box.createHorizontalBox(); hbox3.add(button1); // use "glue" to push the two buttons apart hbox3.add(Box.createGlue()); hbox3.add(button2);
// add the three horizontal boxes inside a vertical box Box vbox = Box.createVerticalBox(); vbox.add(hbox1); vbox.add(hbox2); vbox.add(Box.createGlue()); vbox.add(hbox3);
Container contentPane = getContentPane(); contentPane.add(vbox, BorderLayout.CENTER);

COMP201 Topic 10 / Slide 29
GridBag Layout GridBagLayout:
The most sophisticated, flexible layout manager the Java platform provides.
It aligns components by placing them within a grid of cells, allowing some components to span more than one cell.
The rows in the grid aren't necessarily all the same height;
similarly, grid columns can have different widths.
COMP201 Topic 10 / Slide 30
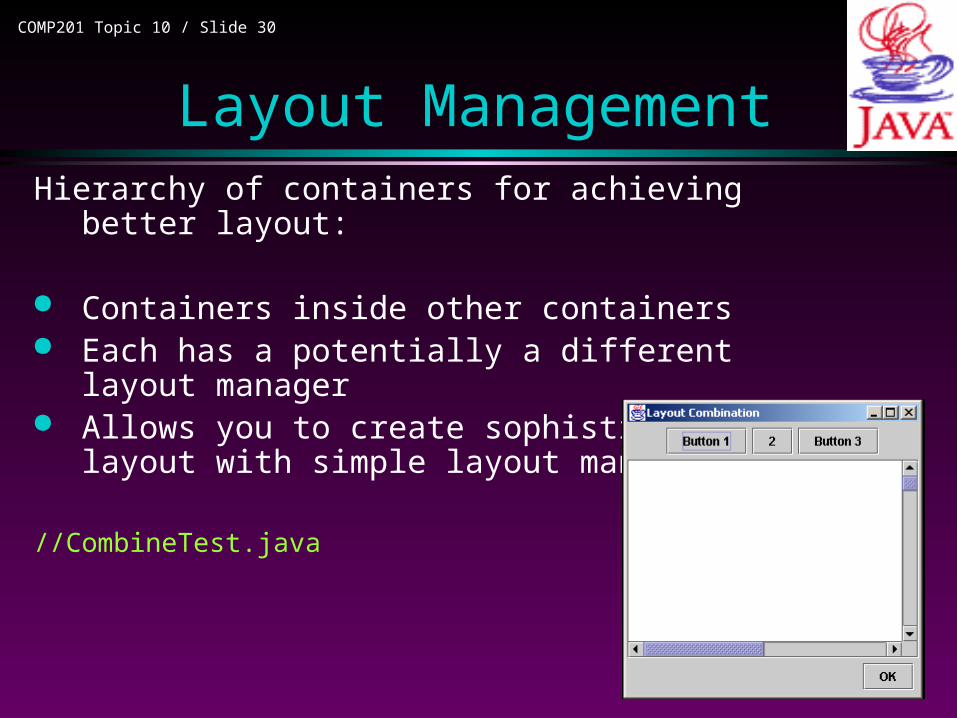
Layout ManagementHierarchy of containers for achieving better layout:
Containers inside other containers Each has a potentially a different layout manager Allows you to create sophisticated layout with simple
layout managers
//CombineTest.java
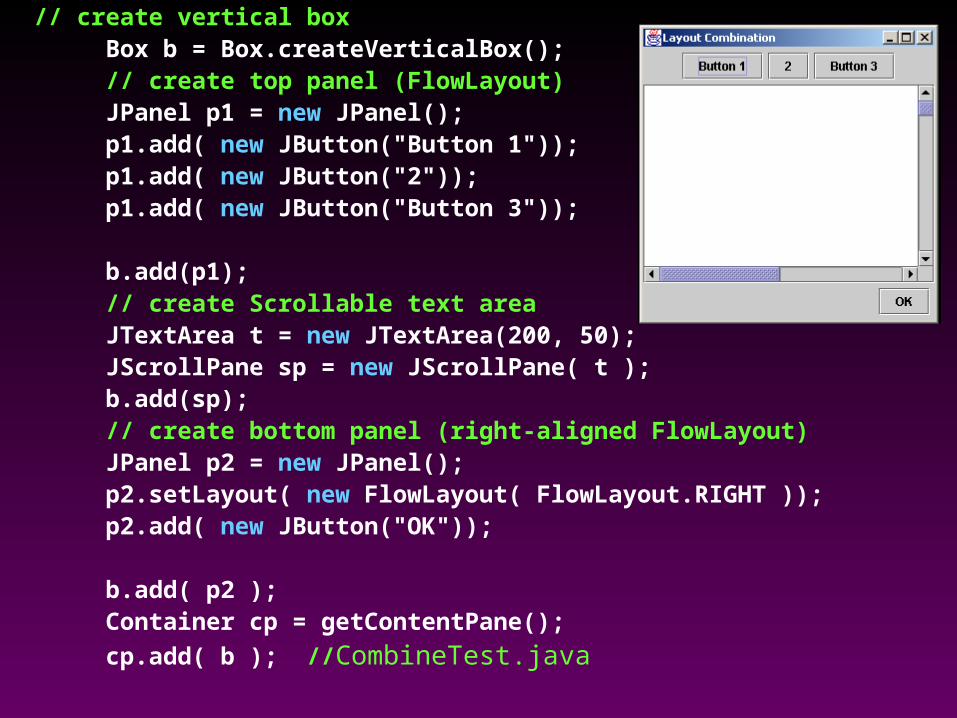
// create vertical box Box b = Box.createVerticalBox(); // create top panel (FlowLayout) JPanel p1 = new JPanel(); p1.add( new JButton("Button 1")); p1.add( new JButton("2")); p1.add( new JButton("Button 3"));
b.add(p1); // create Scrollable text area JTextArea t = new JTextArea(200, 50); JScrollPane sp = new JScrollPane( t ); b.add(sp); // create bottom panel (right-aligned FlowLayout) JPanel p2 = new JPanel(); p2.setLayout( new FlowLayout( FlowLayout.RIGHT )); p2.add( new JButton("OK"));
b.add( p2 ); Container cp = getContentPane();
cp.add( b ); //CombineTest.java
COMP201 Topic 10 / Slide 32
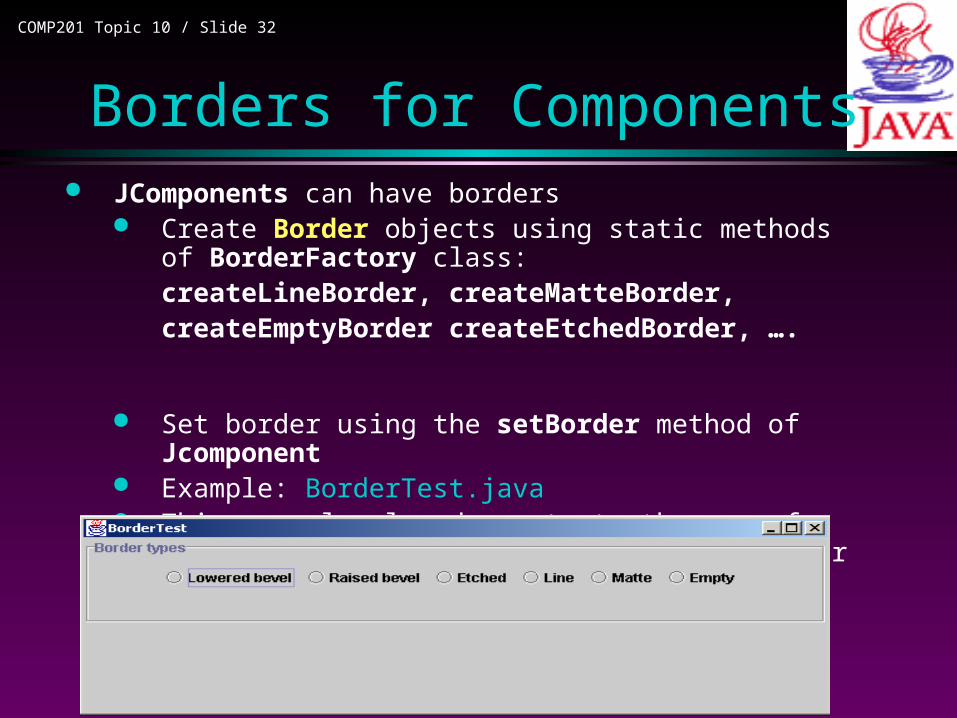
Borders for Components JComponents can have borders
Create Border objects using static methods of BorderFactory class:createLineBorder, createMatteBorder,createEmptyBorder createEtchedBorder, ….
Set border using the setBorder method of Jcomponent Example: BorderTest.java This example also demonstrate the use of
JRadioButton, which will be discussed later

public BorderFrame() { setTitle("BorderTest"); setSize(WIDTH, HEIGHT);
demoPanel = new JPanel(); buttonPanel = new JPanel(); group = new ButtonGroup();
addRadioButton("Lowered bevel", BorderFactory.createLoweredBevelBorder()); addRadioButton("Raised bevel", BorderFactory.createRaisedBevelBorder()); addRadioButton("Etched", BorderFactory.createEtchedBorder()); addRadioButton("Line", BorderFactory.createLineBorder(Color.blue)); addRadioButton("Matte", BorderFactory.createMatteBorder( 10, 10, 10, 10, Color.blue)); addRadioButton("Empty", BorderFactory.createEmptyBorder());
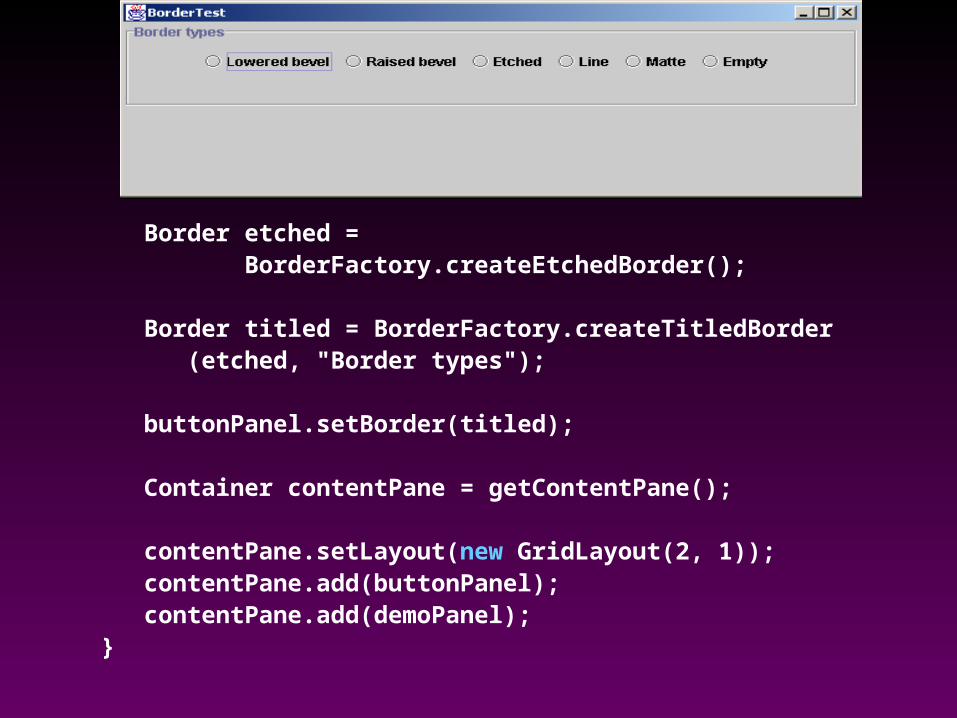
Border etched = BorderFactory.createEtchedBorder(); Border titled = BorderFactory.createTitledBorder (etched, "Border types"); buttonPanel.setBorder(titled); Container contentPane = getContentPane(); contentPane.setLayout(new GridLayout(2, 1)); contentPane.add(buttonPanel); contentPane.add(demoPanel); }

public void addRadioButton(String buttonName, final Border b) { JRadioButton button = new JRadioButton(buttonName); button.addActionListener(new ActionListener() { public void actionPerformed(ActionEvent event) { demoPanel.setBorder(b); validate(); } }); group.add(button); buttonPanel.add(button); }

COMP201 Topic 10 / Slide 36
Outline
Outline: Overview of Swing components
Layout management
Using Swing components– Text input, Buttons, ComboBox, Menus, Dialogs

COMP201 Topic 10 / Slide 37
Text Input JTextField, JPasswordField: one line. JTextArea: A multi-line area that displays
plain text. JEditorPane: A text component to edit various
kinds of content, plain text, html, rtf. Can be monitored using either CaretListener or
DocumentListener
Check Documentation of JTextComponent
COMP201 Topic 10 / Slide 38
JTextField also produces ActionEvent when ”return” is pressed.
Let’s make use of this to write a program: Text1.java.
Next, show how to make it better using DocumentListener (Text.java)
Text Input
COMP201 Topic 10 / Slide 39
Model-View-Controller Design Pattern
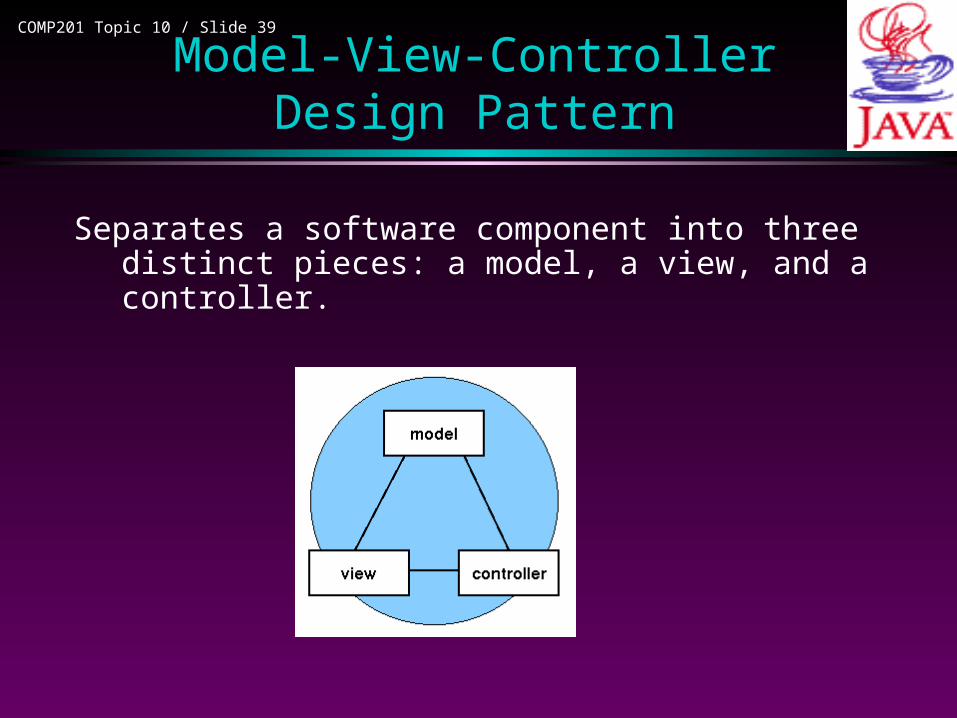
Separates a software component into three distinct pieces: a model, a view, and a controller.
COMP201 Topic 10 / Slide 40
Model-View-Controller Design Pattern
Model represents the state and low-level behavior of the component. manages the state and conducts all transformations on that state. system itself maintains links between model and views and notifies
the views when the model changes state.
Example: ButtonModel – Query internal state
– Manipulate internal state
– Add and remove event listeners
– Fire events

COMP201 Topic 10 / Slide 41
Model-View-Controller Design Pattern
view: manages the visual display of the state represented by the model.
controller manages user interaction with the model. It provides the mechanism
by which changes are made to the state of the model.
Example: ButtonUI Paint Return geometric information Handle AWT events
COMP201 Topic 10 / Slide 42
Model-View-Controller Design Pattern
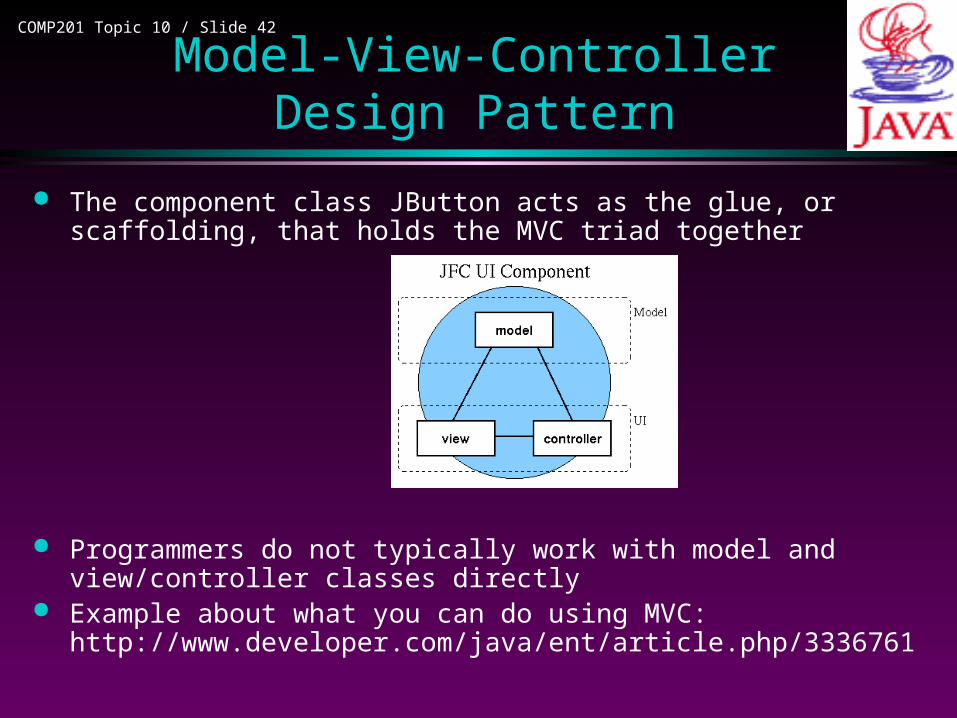
The component class JButton acts as the glue, or scaffolding, that holds the MVC triad together
Programmers do not typically work with model and view/controller classes directly
Example about what you can do using MVC: http://www.developer.com/java/ent/article.php/3336761
COMP201 Topic 10 / Slide 43
Text Input
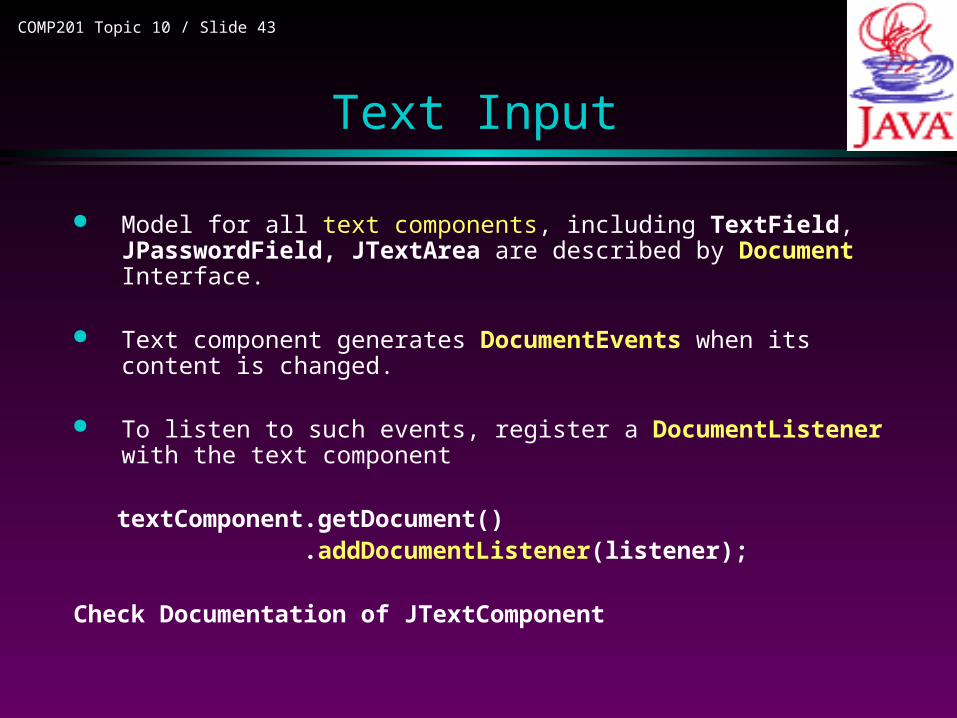
Model for all text components, including TextField, JPasswordField, JTextArea are described by Document Interface.
Text component generates DocumentEvents when its content is changed.
To listen to such events, register a DocumentListener with the text component
textComponent.getDocument() .addDocumentListener(listener);
Check Documentation of JTextComponent
COMP201 Topic 10 / Slide 44
Text Input
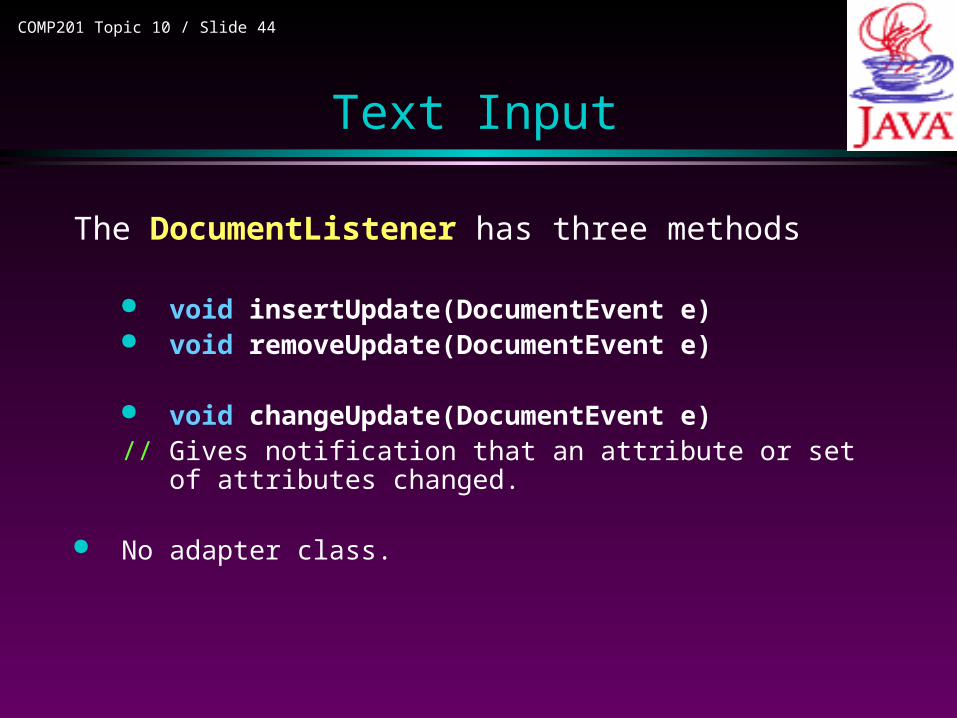
The DocumentListener has three methods
void insertUpdate(DocumentEvent e) void removeUpdate(DocumentEvent e)
void changeUpdate(DocumentEvent e) // Gives notification that an attribute or set of attributes
changed.
No adapter class.

class TextTestFrame extends JFrame{ public TextTestFrame() { setTitle("TextTest"); setSize(WIDTH, HEIGHT); Container contentPane = getContentPane(); DocumentListener listener = new ClockFieldListener(); // add a panel with text fields JPanel panel = new JPanel(); hourField = new JTextField("12", 3); panel.add(hourField);
hourField.getDocument().addDocumentListener(listener); minuteField = new JTextField("00", 3); panel.add(minuteField); minuteField.getDocument().addDocumentListener(listener); contentPane.add(panel, BorderLayout.SOUTH); // add the clock clock = new ClockPanel(); contentPane.add(clock, BorderLayout.CENTER);
} //TextTest.java.
COMP201 Topic 10 / Slide 46
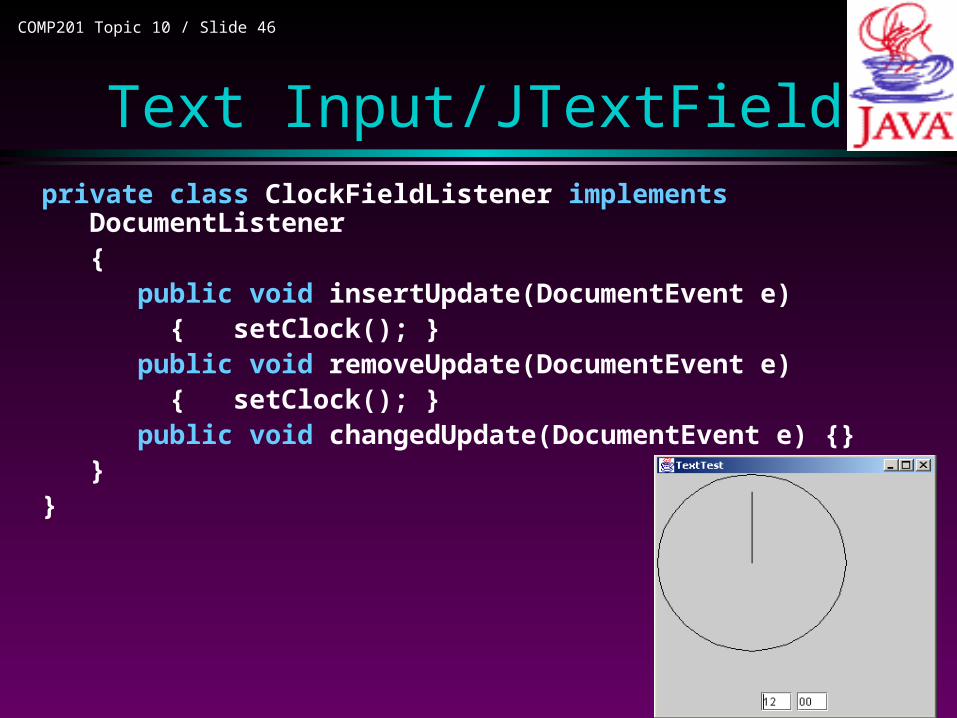
Text Input/JTextFieldprivate class ClockFieldListener implements
DocumentListener { public void insertUpdate(DocumentEvent e) { setClock(); } public void removeUpdate(DocumentEvent e) { setClock(); } public void changedUpdate(DocumentEvent e) {} }}
COMP201 Topic 10 / Slide 47
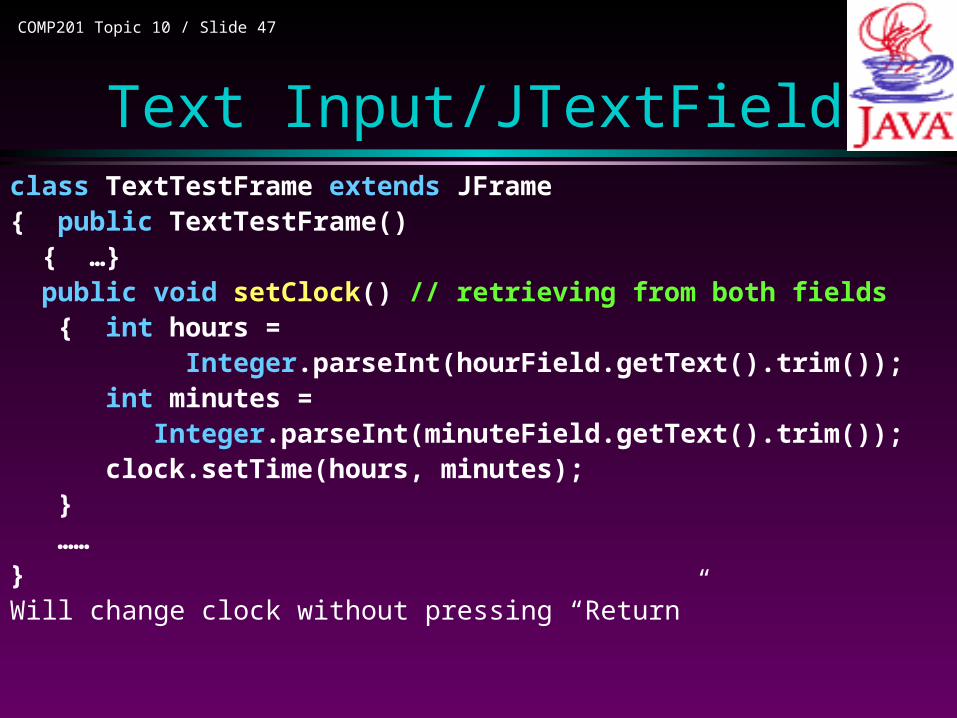
Text Input/JTextFieldclass TextTestFrame extends JFrame{ public TextTestFrame() { …} public void setClock() // retrieving from both fields { int hours = Integer.parseInt(hourField.getText().trim()); int minutes = Integer.parseInt(minuteField.getText().trim()); clock.setTime(hours, minutes); } ……}Will change clock without pressing “Return”

COMP201 Topic 10 / Slide 48
Exercise: Re-write Text.java using CaretListener
Text Input/JTextField
COMP201 Topic 10 / Slide 49
Outline
Outline: Overview of Swing components Layout management
Using Swing components– Text input, Buttons, ComboBox, Menus, Dialogs
COMP201 Topic 10 / Slide 50
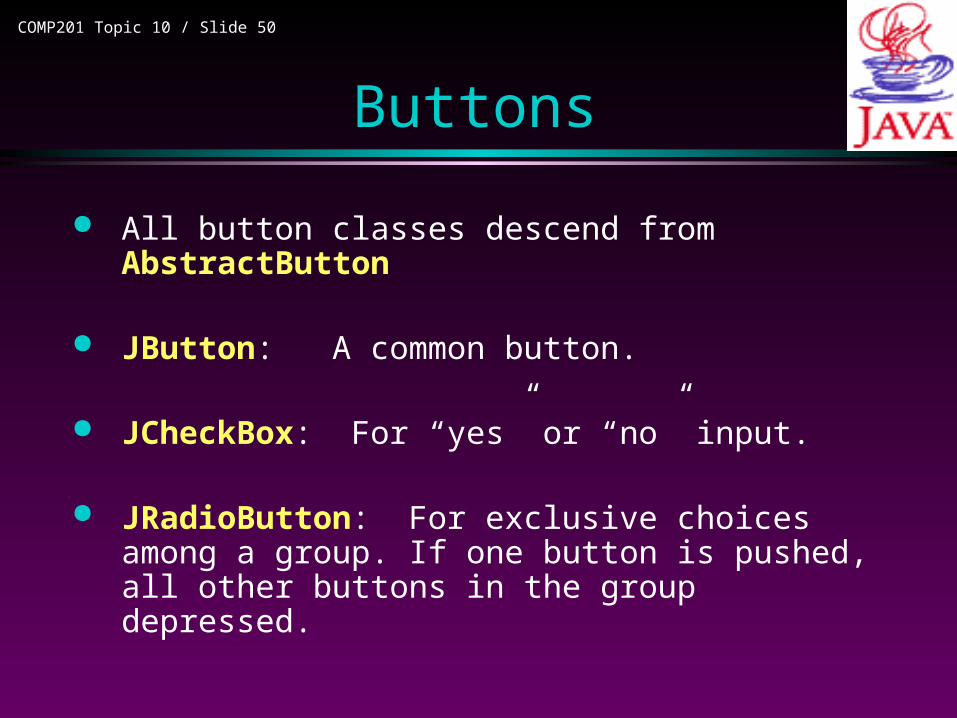
Buttons
All button classes descend from AbstractButton
JButton: A common button.
JCheckBox: For “yes” or “no” input.
JRadioButton: For exclusive choices among a group. If one button is pushed, all other buttons in the group depressed.
COMP201 Topic 10 / Slide 51
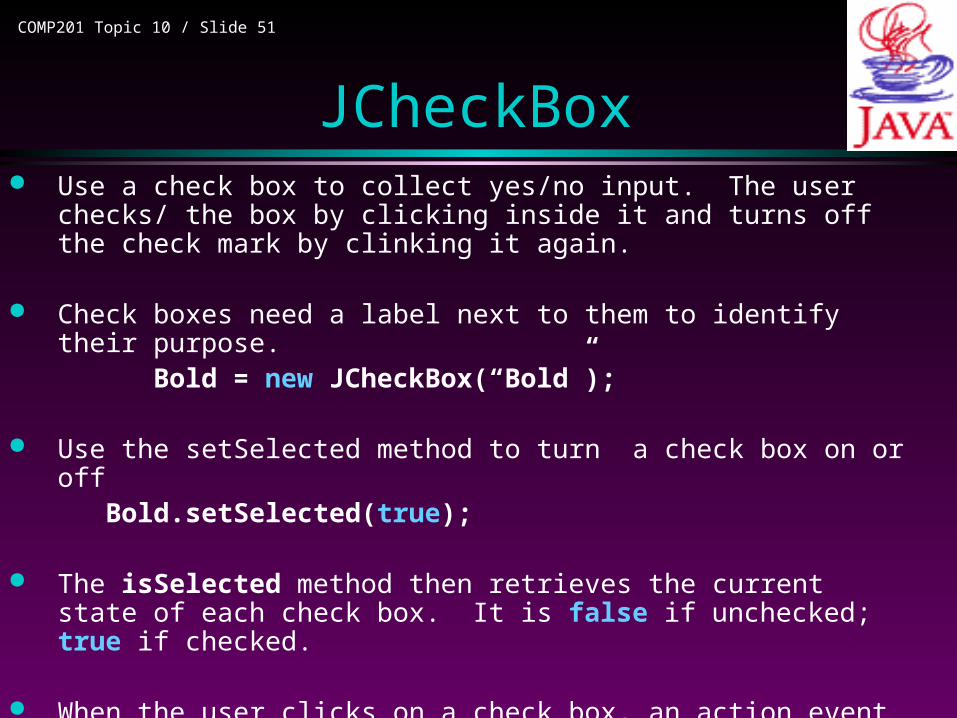
JCheckBox Use a check box to collect yes/no input. The user checks/ the box by
clicking inside it and turns off the check mark by clinking it again.
Check boxes need a label next to them to identify their purpose. Bold = new JCheckBox(“Bold”);
Use the setSelected method to turn a check box on or off Bold.setSelected(true);
The isSelected method then retrieves the current state of each check box. It is false if unchecked; true if checked.
When the user clicks on a check box, an action event is triggered. As always, you attach an action listener.
ActionListener listener = …Bold.addActionListener(listener)
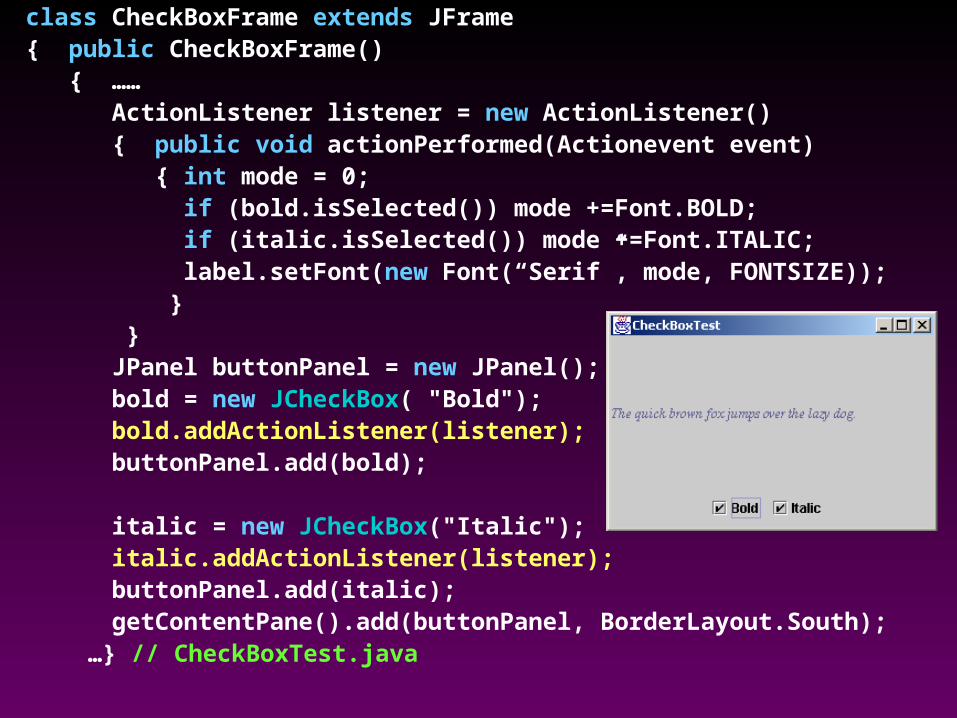
class CheckBoxFrame extends JFrame { public CheckBoxFrame() { …… ActionListener listener = new ActionListener() { public void actionPerformed(Actionevent event) { int mode = 0; if (bold.isSelected()) mode +=Font.BOLD; if (italic.isSelected()) mode +=Font.ITALIC; label.setFont(new Font(“Serif”, mode, FONTSIZE)); } } JPanel buttonPanel = new JPanel(); bold = new JCheckBox( "Bold"); bold.addActionListener(listener); buttonPanel.add(bold); italic = new JCheckBox("Italic"); italic.addActionListener(listener); buttonPanel.add(italic); getContentPane().add(buttonPanel, BorderLayout.South);
…} // CheckBoxTest.java
COMP201 Topic 10 / Slide 53
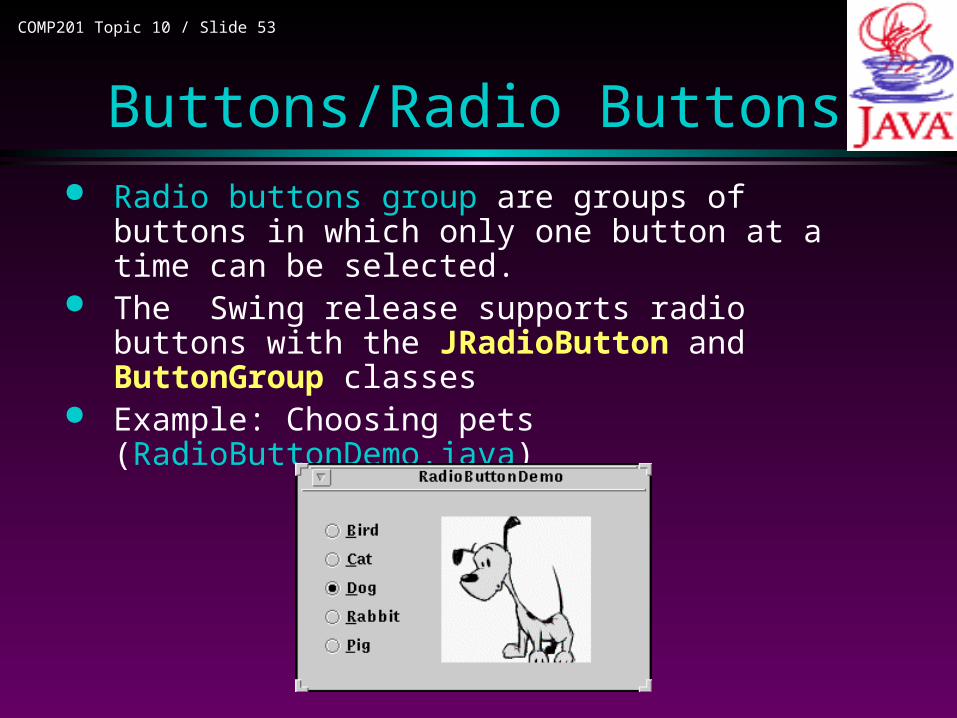
Buttons/Radio Buttons Radio buttons group are groups of buttons in which
only one button at a time can be selected. The Swing release supports radio buttons with the
JRadioButton and ButtonGroup classes Example: Choosing pets
(RadioButtonDemo.java)

// Create the radio buttons.
JRadioButton birdButton = new JRadioButton(birdString);
birdButton.setMnemonic('b'); // Enable ALT+b
// this is to be used together with getActionCommand
birdButton.setActionCommand(birdString);
birdButton.setSelected(true); // birButton selected
JRadioButton catButton = new JRadioButton(catString);
catButton.setMnemonic('c');
catButton.setActionCommand(catString);
// Note catButton not selected
// dogButton, RabbitButton, PigButton
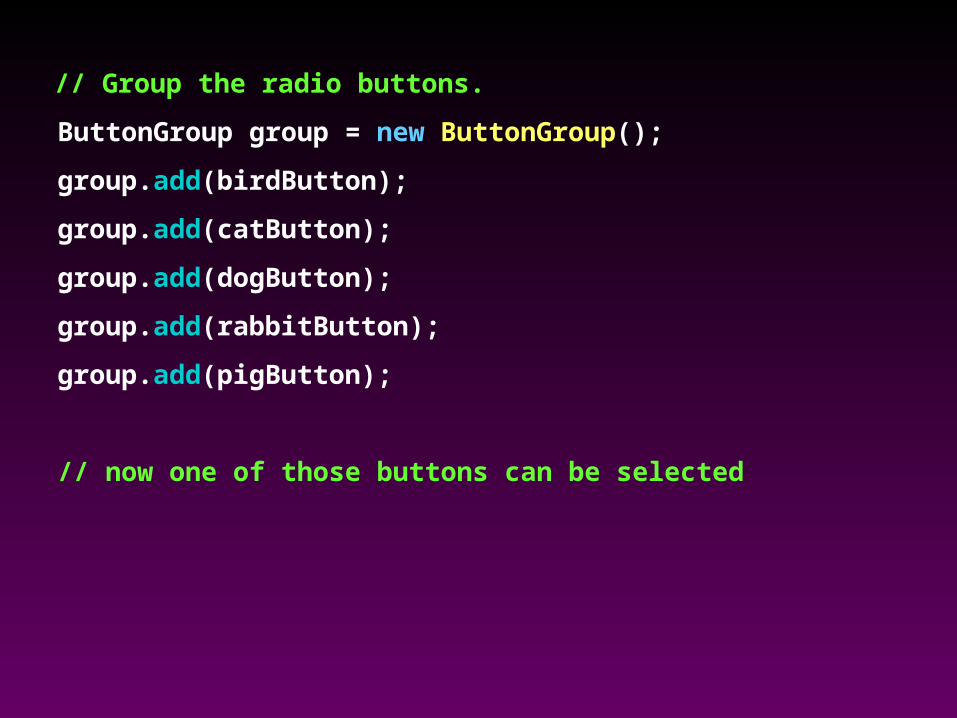
// Group the radio buttons.
ButtonGroup group = new ButtonGroup();
group.add(birdButton);
group.add(catButton);
group.add(dogButton);
group.add(rabbitButton);
group.add(pigButton);
// now one of those buttons can be selected

// Register a listener for the radio buttons.
RadioListener myListener = new RadioListener();
birdButton.addActionListener(myListener);
catButton.addActionListener(myListener);
...
class RadioListener implements ActionListener {
public void actionPerformed(ActionEvent e) {
picture.setIcon(new ImageIcon("images/“
+ e.getActionCommand()
+ ".gif"));
}
Get this string set by setActionCommand
images/cat.gif
images/bird.gif
…
COMP201 Topic 10 / Slide 57
Outline
Outline: Overview of Swing components Layout management
Using Swing components– Text input, Buttons, ComboBox, Menus, Dialogs

COMP201 Topic 10 / Slide 58
JComboBox A JComboBox looks like a text field with an
arrow next to it. If you click on the arrow, the list of possible values is displayed.
If the Jcombobox is set to be editable, then you can edit the current selection as if it was a text field.
Only one item can be selected at a time. You can retrieve it by calling: getSelectedItem method.
Add the choice items to the end of the list with the addItem method.
COMP201 Topic 10 / Slide 59
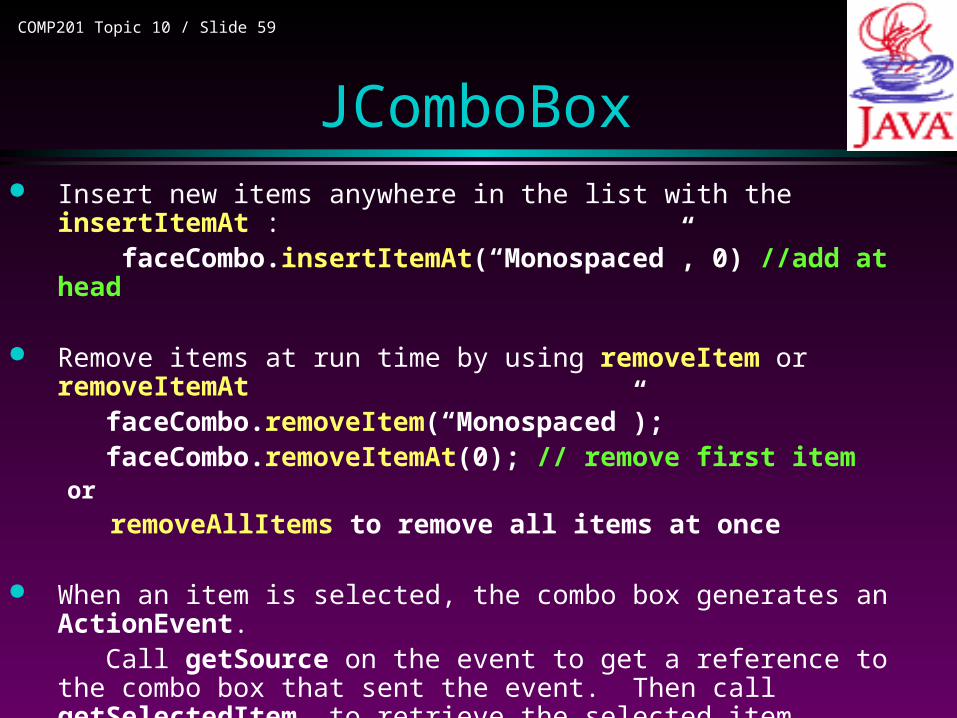
JComboBox Insert new items anywhere in the list with the insertItemAt : faceCombo.insertItemAt(“Monospaced”, 0) //add at head
Remove items at run time by using removeItem or removeItemAt faceCombo.removeItem(“Monospaced”); faceCombo.removeItemAt(0); // remove first item
or
removeAllItems to remove all items at once
When an item is selected, the combo box generates an ActionEvent. Call getSource on the event to get a reference to the combo box that
sent the event. Then call getSelectedItem to retrieve the selected item.
//see ComboBoxTest.java
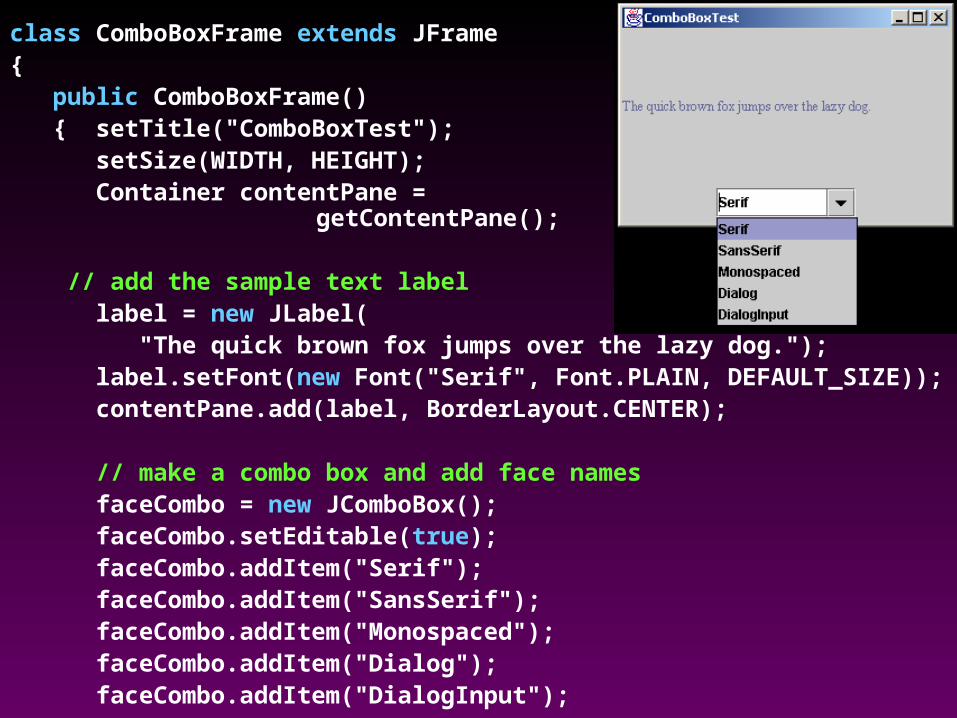
class ComboBoxFrame extends JFrame { public ComboBoxFrame() { setTitle("ComboBoxTest"); setSize(WIDTH, HEIGHT); Container contentPane =
getContentPane();
// add the sample text label label = new JLabel( "The quick brown fox jumps over the lazy dog."); label.setFont(new Font("Serif", Font.PLAIN, DEFAULT_SIZE)); contentPane.add(label, BorderLayout.CENTER);
// make a combo box and add face names faceCombo = new JComboBox(); faceCombo.setEditable(true); faceCombo.addItem("Serif"); faceCombo.addItem("SansSerif"); faceCombo.addItem("Monospaced"); faceCombo.addItem("Dialog"); faceCombo.addItem("DialogInput");
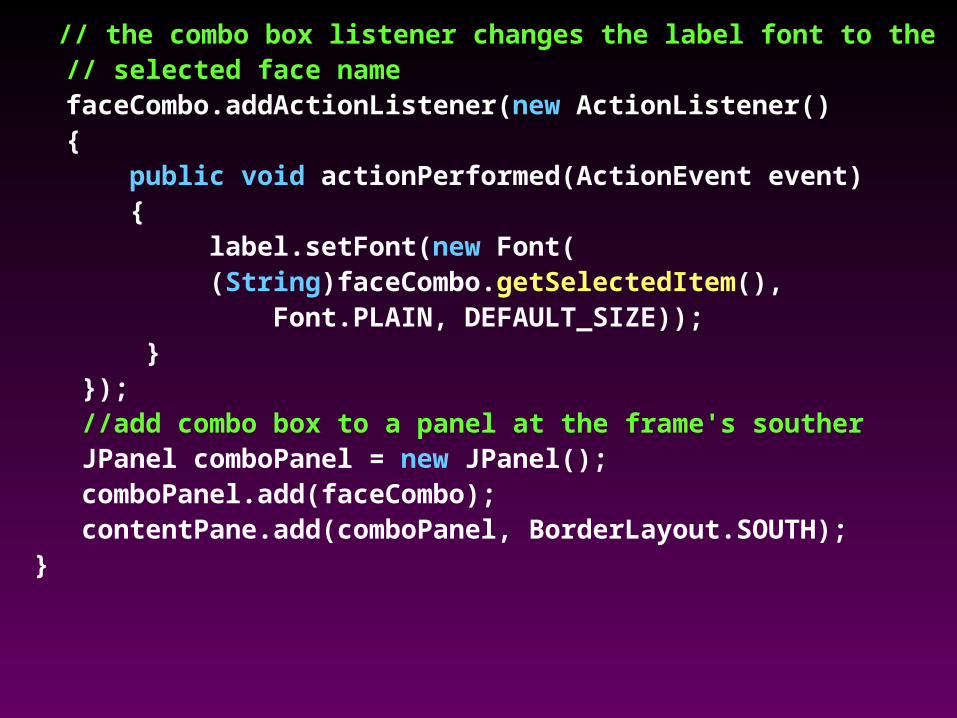
// the combo box listener changes the label font to the // selected face name faceCombo.addActionListener(new ActionListener() { public void actionPerformed(ActionEvent event) { label.setFont(new Font( (String)faceCombo.getSelectedItem(), Font.PLAIN, DEFAULT_SIZE)); } }); //add combo box to a panel at the frame's souther JPanel comboPanel = new JPanel(); comboPanel.add(faceCombo); contentPane.add(comboPanel, BorderLayout.SOUTH); }

COMP201 Topic 10 / Slide 62
Outline
Outline: Overview of Swing components Layout management
Using Swing components– Text input, Buttons, ComboBox, Menus, Dialogs
COMP201 Topic 10 / Slide 63
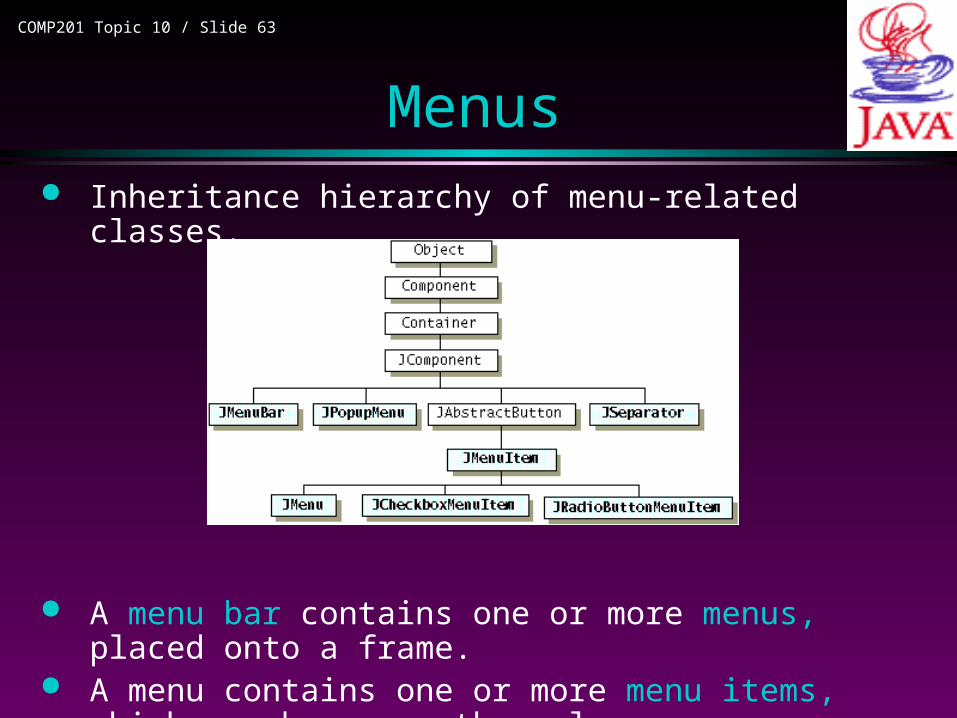
Menus Inheritance hierarchy of menu-related classes.
A menu bar contains one or more menus, placed onto a frame.
A menu contains one or more menu items, which can be menus themselves.
COMP201 Topic 10 / Slide 64
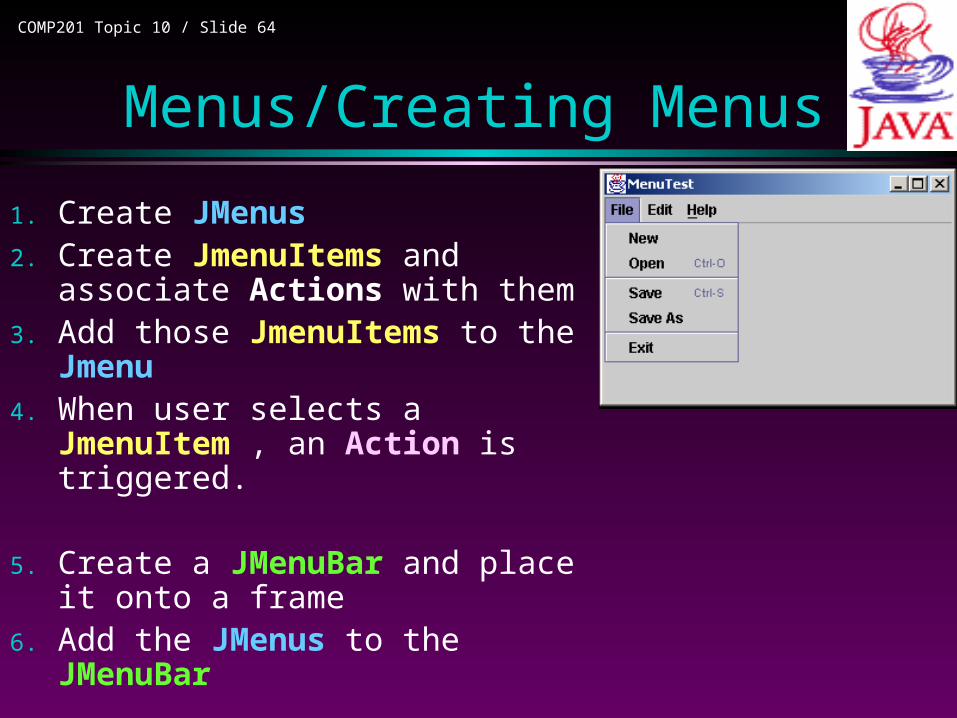
Menus/Creating Menus
1. Create JMenus2. Create JmenuItems and associate
Actions with them 3. Add those JmenuItems to the Jmenu 4. When user selects a JmenuItem , an
Action is triggered.
5. Create a JMenuBar and place it onto a frame
6. Add the JMenus to the JMenuBar

public class MenuTest extends JFrame …{ public MenuTest() { … JMenu fileMenu = new JMenu("File"); JMenuItem newItem = fileMenu.add(new TestAction("New"));
JMenuItem openItem = fileMenu.add(new TestAction(“Open”)); JMenuItem saveItem = fileMenu.add(new TestAction("Save")); JMenuItem saveAsItem =fileMenu.add(new TestAction("Save As")); …. JMenuBar mbar = new JMenuBar(); setJMenuBar(mbar); // add menu bar to the frame
menuBar.add(fileMenu); menuBar.add(editMenu); menuBar.add(helpMenu);
….}//MenuTest.java

COMP201 Topic 10 / Slide 66
Menus/Mnemonics and Accelerators Keyboard Mnemonics are set by using setMnemonic
method fileMenu.setMnemonic('F'); openItem.setMnemonic('O');
Accelerators are keyboard shortcuts (CTR+S, CTR+O)
openItem.setAccelerator (KeyStroke.getKeyStroke(KeyEvent.VK_O, InputEvent.CTRL_MASK));
saveItem.setAccelerator (KeyStroke.getKeyStroke(KeyEvent.VK_S, InputEvent.CTRL_MASK));

COMP201 Topic 10 / Slide 67
Menus/Menu Item Events When user selects a menu item, an Action is triggered.
class TestAction extends AbstractAction { public TestAction(String name){super(name);}
public void actionPerformed(ActionEvent event)
{ System.out.println(getValue(Action.NAME)
+“ selected.”);
}}

COMP201 Topic 10 / Slide 68
Menus/Menu Events When user selects a menu, an MenuEvent is triggered.
MenuListener interface has three method
void menuSelected(MenuEvent ) // called before display menu
void menuDeselected(MenuEvent )
void menuCanceled(MenuEvent ) // called before menu selection is canceled, e.g. // by clicking outside menu
COMP201 Topic 10 / Slide 69
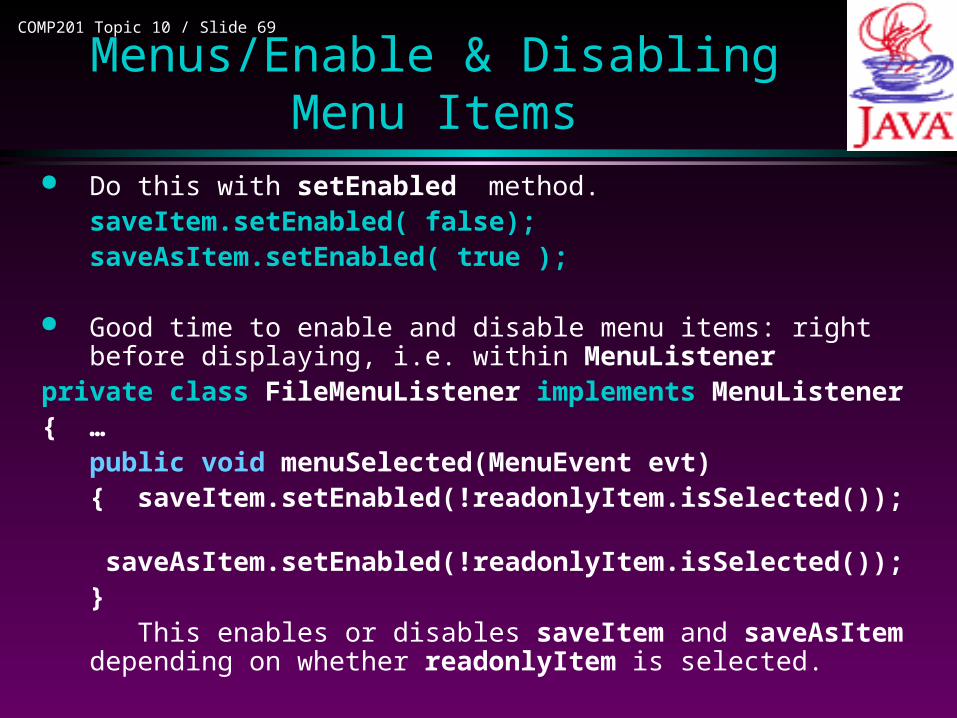
Menus/Enable & Disabling Menu Items Do this with setEnabled method.
saveItem.setEnabled( false);saveAsItem.setEnabled( true );
Good time to enable and disable menu items: right before displaying, i.e. within MenuListener
private class FileMenuListener implements MenuListener{ …
public void menuSelected(MenuEvent evt) { saveItem.setEnabled(!readonlyItem.isSelected());
saveAsItem.setEnabled(!readonlyItem.isSelected()); } This enables or disables saveItem and saveAsItem depending on
whether readonlyItem is selected.

COMP201 Topic 10 / Slide 70
Menus Can have submenus, menu within menu. Inheritance
hierarchy of menu-related classes. Can have check boxes, radio buttons as menu items
(JCheckBoxItem, JRadioButtonItem) Can have popup menus.
MenuTest.java

COMP201 Topic 10 / Slide 71
Outline
Outline: Overview of Swing components Layout management
Using Swing components– Text input, Buttons, ComboBox, Menus, Dialogs
COMP201 Topic 10 / Slide 72
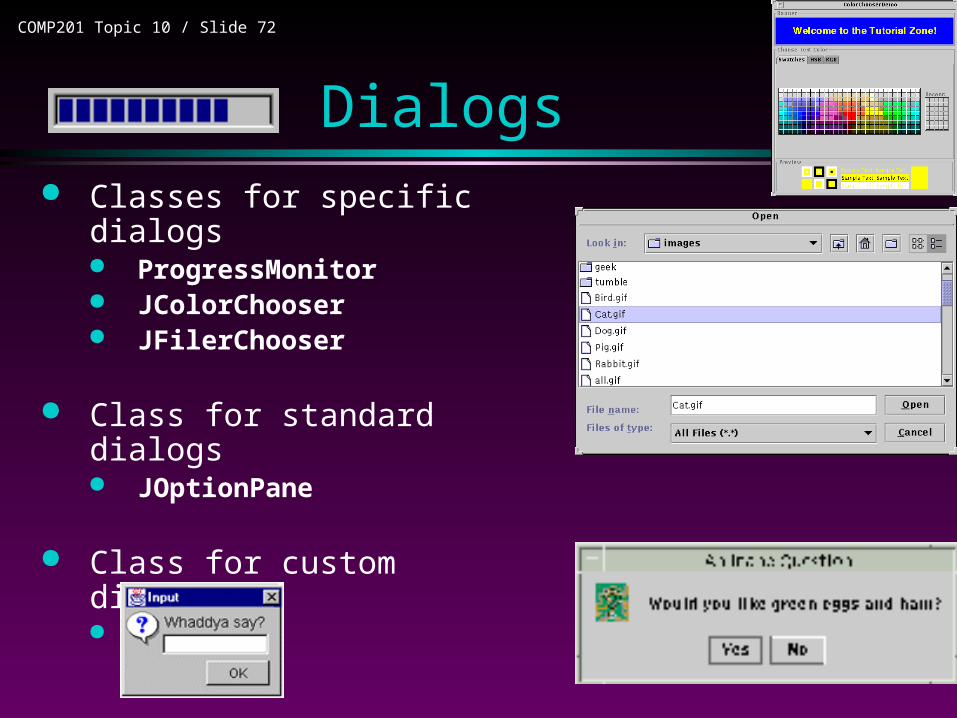
Dialogs Classes for specific dialogs
ProgressMonitor JColorChooser JFilerChooser
Class for standard dialogs JOptionPane
Class for custom dialogs JDialog

COMP201 Topic 10 / Slide 73
Dialogs Every dialog box is a dependant of a parentComponent (frame).
parentComponent determines location of dialog box. When that parentComponent is destroyed, so are its dependent
dialogs.
modal dialog box, when visible, blocks user input to all other windows in the program. The dialogs that JOptionPane provides are modal.
A modeless dialog box lets the user enter information in both the dialog box and the remainder of the application.
To create a modeless dialog, you must use the JDialog class directly.
JDialog is a subclass of the AWT java.awt.Dialog Using JDialog directly is very similar to using JFrame directly.
COMP201 Topic 10 / Slide 74
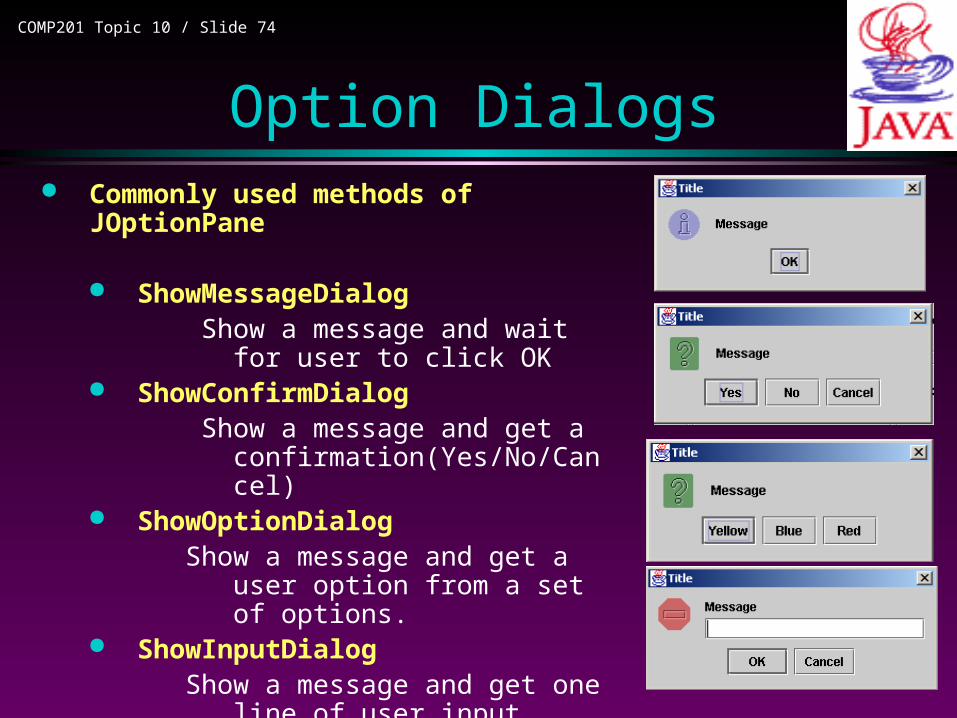
Option Dialogs Commonly used methods of
JOptionPane
ShowMessageDialog Show a message and wait for user
to click OK ShowConfirmDialog
Show a message and get a confirmation(Yes/No/Cancel)
ShowOptionDialogShow a message and get a user
option from a set of options. ShowInputDialog
Show a message and get one line of user input.
//show DialogTest.java
COMP201 Topic 10 / Slide 75
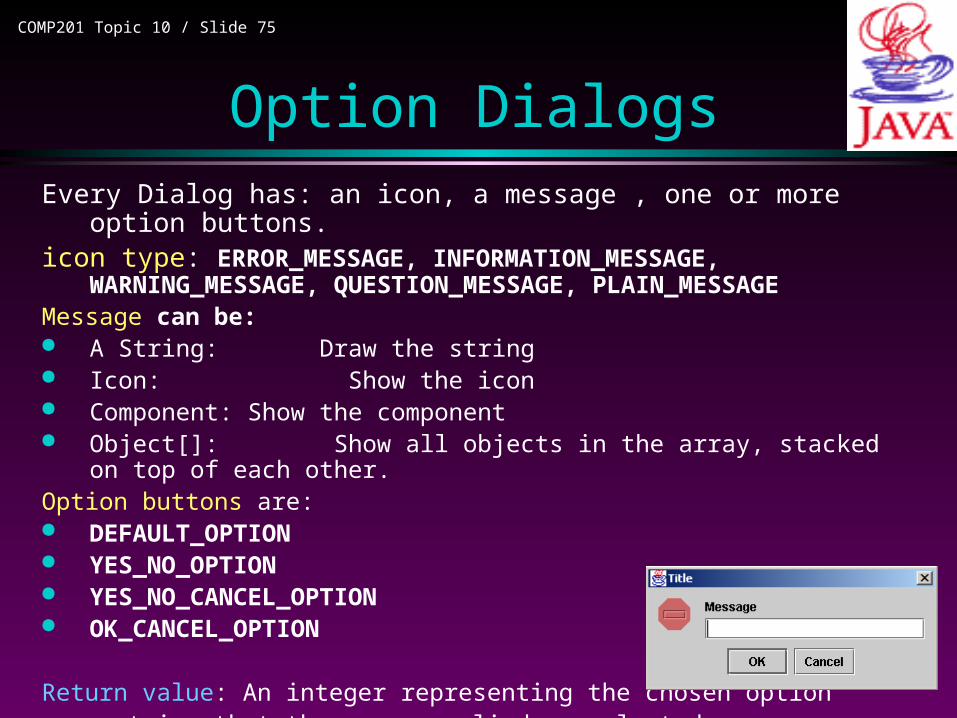
Option DialogsEvery Dialog has: an icon, a message , one or more option buttons.icon type: ERROR_MESSAGE, INFORMATION_MESSAGE, WARNING_MESSAGE,
QUESTION_MESSAGE, PLAIN_MESSAGEMessage can be: A String: Draw the string Icon: Show the icon Component: Show the component Object[]: Show all objects in the array, stacked on top of each other.Option buttons are: DEFAULT_OPTION YES_NO_OPTION YES_NO_CANCEL_OPTION OK_CANCEL_OPTION
Return value: An integer representing the chosen option or a string that the user supplied or selected
COMP201 Topic 10 / Slide 76
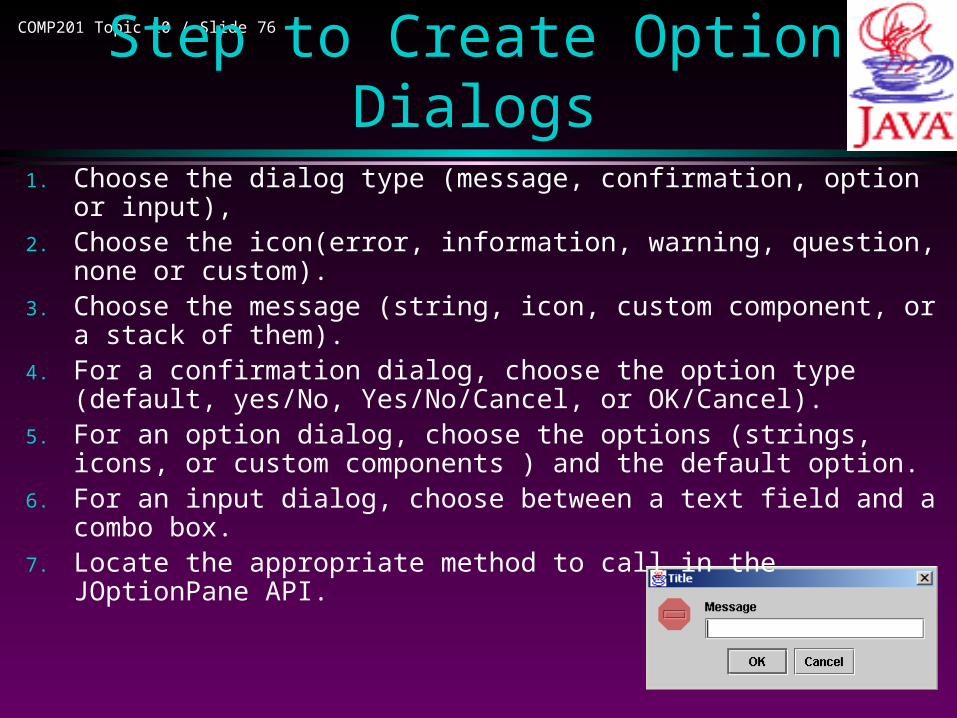
Step to Create Option Dialogs
1. Choose the dialog type (message, confirmation, option or input),2. Choose the icon(error, information, warning, question, none or custom).3. Choose the message (string, icon, custom component, or a stack of
them).4. For a confirmation dialog, choose the option type (default, yes/No,
Yes/No/Cancel, or OK/Cancel).5. For an option dialog, choose the options (strings, icons, or custom
components ) and the default option.6. For an input dialog, choose between a text field and a combo box.7. Locate the appropriate method to call in the JOptionPane API.

COMP201 Topic 10 / Slide 77
Creating Dialogs You can also create a dialog box by deriving a class from JDialog:
1. In the constructor of your dialog box, call the constructor of the base class JDialog. You will need to tell it the owner frame (the frame window over which the dialog pops up), the title of the dialog frame, and a Boolean flag to indicate if the dialog box is modal or modeless.
2. Add the user interface components to the dialog box.
3. Add the event handlers.
4. Set the size for the dialog box.
//DialogTest.java
COMP201 Topic 10 / Slide 78
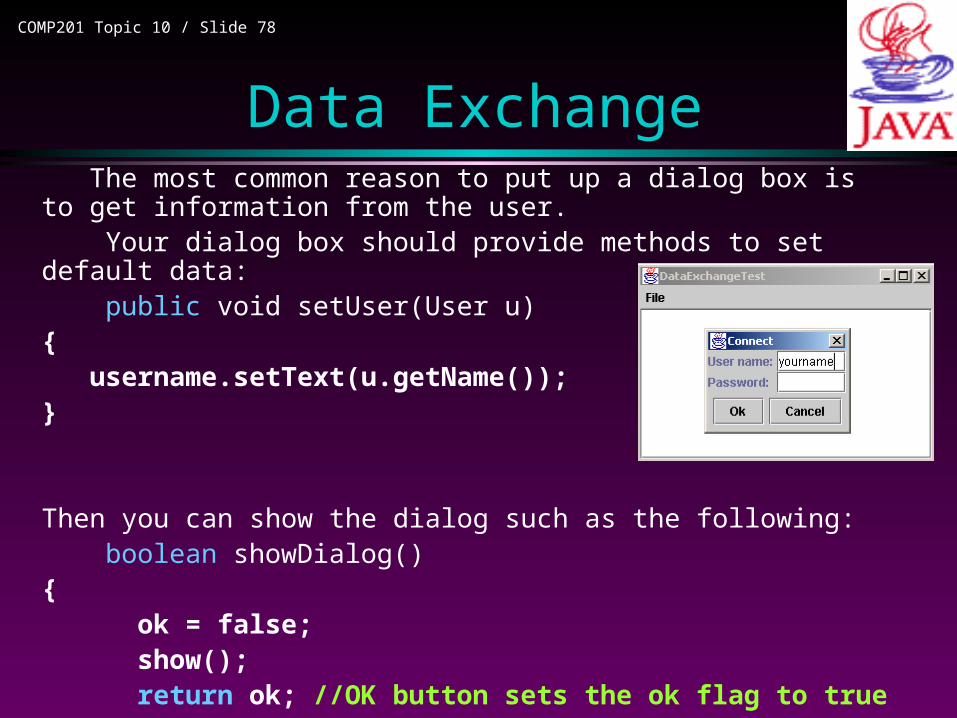
Data Exchange
The most common reason to put up a dialog box is to get information from the user.
Your dialog box should provide methods to set default data: public void setUser(User u)
{ username.setText(u.getName()); } Then you can show the dialog such as the following: boolean showDialog()
{ ok = false;
show();return ok; //OK button sets the ok flag to true
}

COMP201 Topic 10 / Slide 79
Data Exchange You should test the return value of the showDialog. If it is true, then
you can retrieve the user input by: Public User getUser() { return new User (username.getText(), password.getPassword()); }

private class ConnectAction implements ActionListener { public void actionPerformed(ActionEvent event) { // if first time, construct dialog if (dialog == null) dialog = new PasswordChooser();
// set default values dialog.setUser(new User("yourname", null)); // pop up dialog if(dialog.showDialog(DataExchangeFrame.this, "Connect")) { // if accepted, retrieve user input User u = dialog.getUser(); textArea.append( "user name = " + u.getName() + ", password = " + (new String(u.getPassword())) + "\n"); } }
} //DataExchangeTest.java