Chapter 7 - vi - SIU
16
© 2005 Bradford Learning, Inc. (v 3.1) 7-1 Chapter 7 vi Objectives In this chapter, we will learn about the text editor vi. Some Linux users feel that vi is a difficult editor to use, especially with all of the cryptic commands that, at times, aren’t very intuitive. However, vi is one of the only editors that is included in just about every Linux distribution as well as other variants of Unix: the fact that vi is ubiquitous merits a basic understanding of this text editor. At the end of this chapter, you should be able to: • Identify Linux text editors (e.g. vi) • Understand and distinguish the three types of modes in vi: command, insert, and execute • Navigate within a text file using vi commands • Open, edit, and save documents in vi • Find/change words using global replacement and regular expressions in vi • Split screens horizontally and vertically in vi • Diff files using vimdiff and :diffsplit • List and navigate buffers
Transcript of Chapter 7 - vi - SIU
© 2005 Bradford Learning, Inc. (v 3.1) 7-1
Chapter 7
vi
Objectives
In this chapter, we will learn about the text editor vi. Some Linux users feel that vi is a difficult editor to use, especially with all of the cryptic commands that, at times, aren’t very intuitive. However, vi is one of the only editors that is included in just about every Linux distribution as well as other variants of Unix: the fact that vi is ubiquitous merits a basic understanding of this text editor. At the end of this chapter, you should be able to:
• Identify Linux text editors (e.g. vi)
• Understand and distinguish the three types of modes in vi: command, insert, and execute
• Navigate within a text file using vi commands
• Open, edit, and save documents in vi
• Find/change words using global replacement and regular expressions in vi
• Split screens horizontally and vertically in vi
• Diff files using vimdiff and :diffsplit
• List and navigate buffers
VI LPI 101 EXAM PREPARATORY COURSE
7-2 (v 3.1) © 2005 Bradford Learning, Inc.
Linux Text Editors: vi
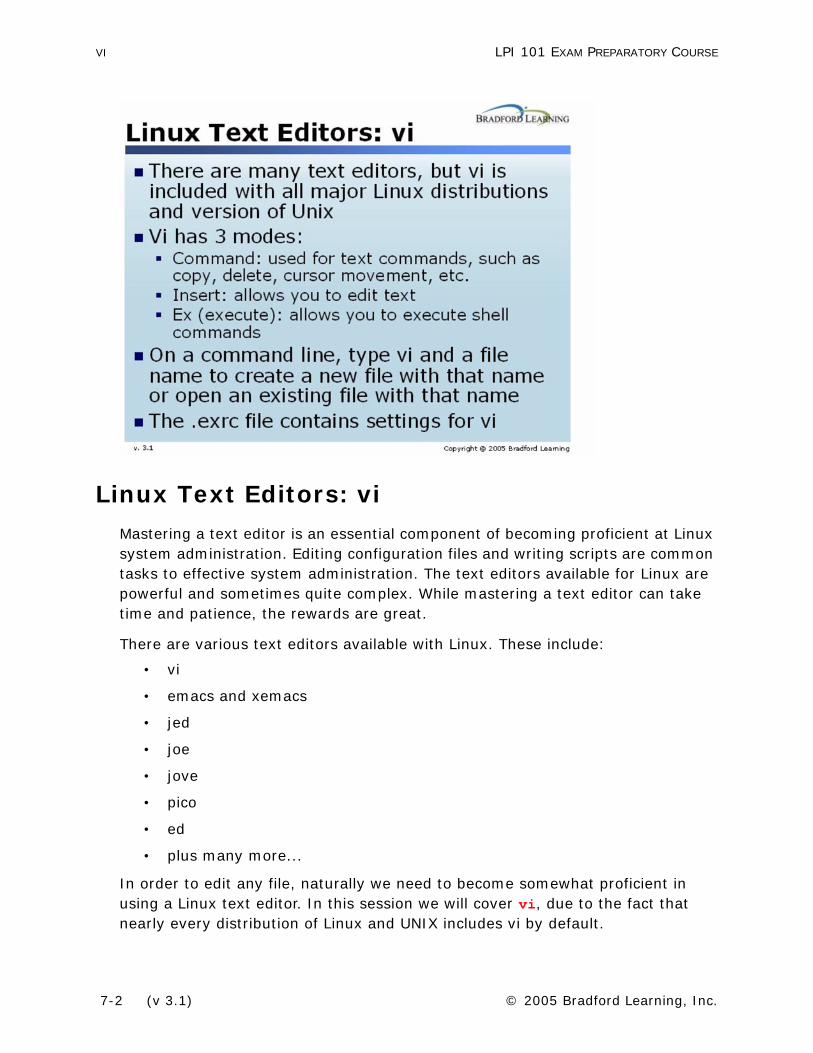
Mastering a text editor is an essential component of becoming proficient at Linux system administration. Editing configuration files and writing scripts are common tasks to effective system administration. The text editors available for Linux are powerful and sometimes quite complex. While mastering a text editor can take time and patience, the rewards are great.
There are various text editors available with Linux. These include:
• vi
• emacs and xemacs
• jed
• joe
• jove
• pico
• ed
• plus many more...
In order to edit any file, naturally we need to become somewhat proficient in using a Linux text editor. In this session we will cover vi, due to the fact that nearly every distribution of Linux and UNIX includes vi by default.

LPI 101 EXAM PREPARATORY COURSE VI
© 2005 Bradford Learning, Inc. (v 3.1) 7-3
Basic vi
The term vi means the visual interface to the ex line editor. ex is the extended version of ed. ed was the original UNIX line editor. The ex and ed line editors were suited to use on paper based teletype devices (commonly used before the advent of VDTs — Video Display Terminals).
In practice vi and ex are links to the same program. This program sets its initial operating mode based on the name under which it was invoked. The commands used in vi are also the same ones used by other Linux commands such as less, and several of the common E-Mail programs such as elm and mutt.
Most Linux systems use a clone of the original vi editor. Thus the vi command is a link to one of these newer versions of vi, such as nvi (new vi) or vim (vi improved).
vi modes
The vi editor has three modes: command, insert, and ex. You switch into command mode with the Esc key. Command mode is used to issue commands such as copy or delete, moving within the file, and changing to insert mode. Insert mode allows you to add text to a document. You can go from command mode to ex mode by pressing the colon (:) key; this will allow you to enter advanced commands at the bottom line.
When a file is first opened vi is in command mode. To change to insert mode simply type i. To return to command mode use the Esc key.
vi commands are usually given as <command> <text movement> — which executes most commands a specified number of times over all text enclosed by the movement. Therefore a command like dj deletes the current line and the next line (since by default the command is executed once, but the j command encloses the current and next lines).
VI LPI 101 EXAM PREPARATORY COURSE
7-4 (v 3.1) © 2005 Bradford Learning, Inc.
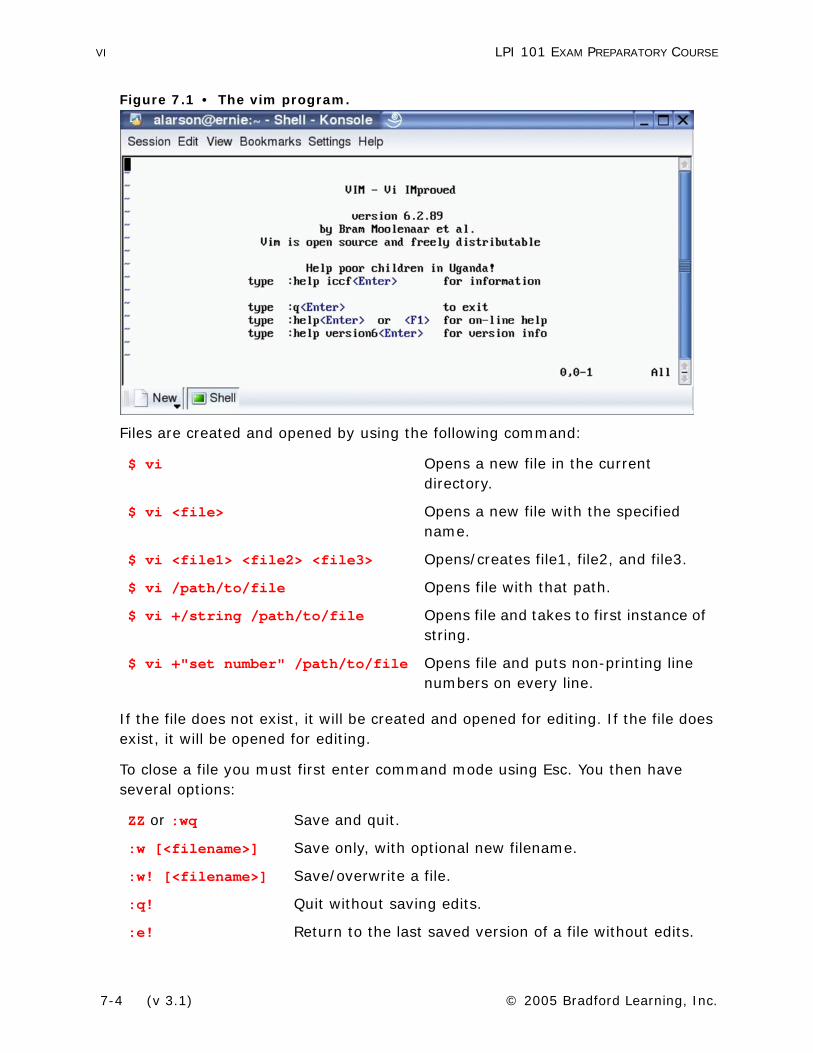
Figure 7.1 • The vim program.
Files are created and opened by using the following command:
If the file does not exist, it will be created and opened for editing. If the file does exist, it will be opened for editing.
To close a file you must first enter command mode using Esc. You then have several options:
$ vi Opens a new file in the current directory.
$ vi <file> Opens a new file with the specified name.
$ vi <file1> <file2> <file3> Opens/creates file1, file2, and file3.
$ vi /path/to/file Opens file with that path.
$ vi +/string /path/to/file Opens file and takes to first instance of string.
$ vi +"set number" /path/to/file Opens file and puts non-printing line numbers on every line.
ZZ or :wq Save and quit.
:w [<filename>] Save only, with optional new filename.
:w! [<filename>] Save/overwrite a file.
:q! Quit without saving edits.
:e! Return to the last saved version of a file without edits.
LPI 101 EXAM PREPARATORY COURSE VI
© 2005 Bradford Learning, Inc. (v 3.1) 7-5
Having learned how to open and close files, you are ready to begin to investigate some features of vi.
Moving Within a File
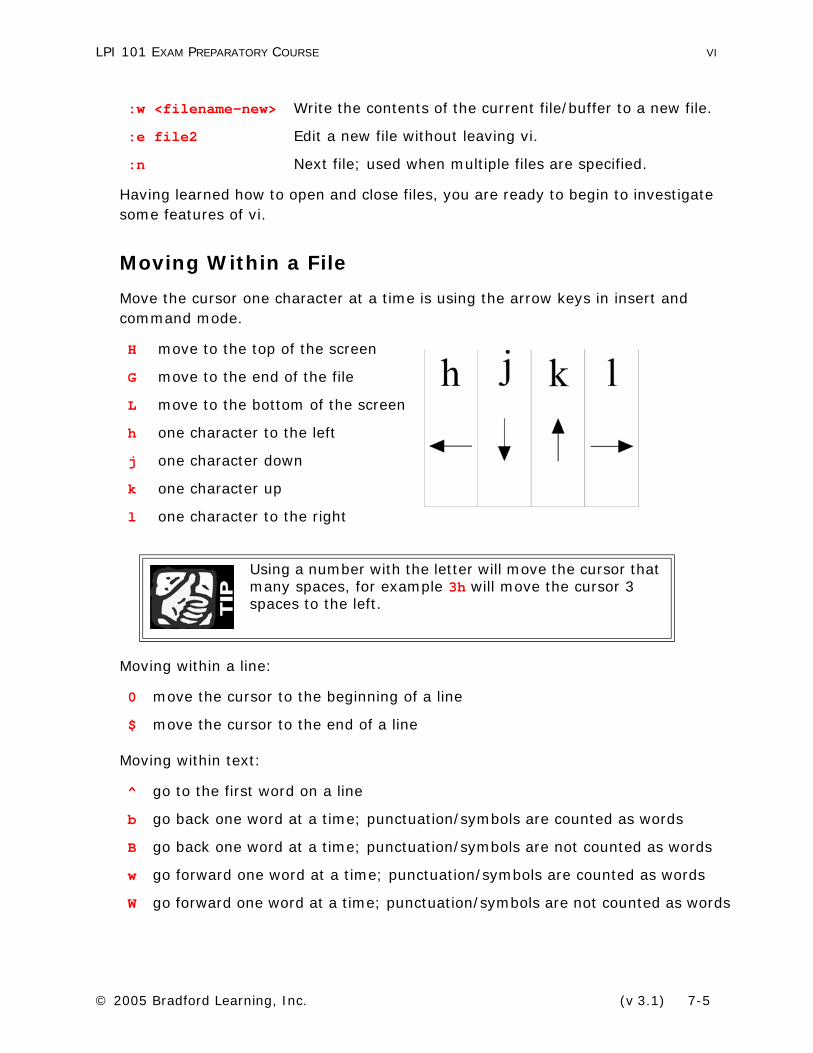
Move the cursor one character at a time is using the arrow keys in insert and command mode.
Moving within a line:
Moving within text:
:w <filename-new> Write the contents of the current file/buffer to a new file.
:e file2 Edit a new file without leaving vi.
:n Next file; used when multiple files are specified.
H move to the top of the screen
G move to the end of the file
L move to the bottom of the screen
h one character to the left
j one character down
k one character up
l one character to the right
Using a number with the letter will move the cursor that many spaces, for example 3h will move the cursor 3 spaces to the left.
0 move the cursor to the beginning of a line
$ move the cursor to the end of a line
^ go to the first word on a line
b go back one word at a time; punctuation/symbols are counted as words
B go back one word at a time; punctuation/symbols are not counted as words
w go forward one word at a time; punctuation/symbols are counted as words
W go forward one word at a time; punctuation/symbols are not counted as words

VI LPI 101 EXAM PREPARATORY COURSE
7-6 (v 3.1) © 2005 Bradford Learning, Inc.
To edit text, there are several modes available. They include:
Editing commands can be combined to move blocks of text. For example, one could remove 3 lines of text at the beginning of a file (3dd), then put it at the end of the file with Gp.
i insert
a append
c change
r replace
d delete (vi saves the last nine line deletions)
dw delete word
dd delete line
cw change a word
x delete the character the cursor is on
y yank (copy) text; can be used with letters yw, lines (yy only yanks the current line: i.,e. 4yy yanks the next 4 lines)
p put (paste) text after the current line (put back a past line deletion with the p + deletion number, for example p3 will put back the third from the last deletion)
P put (paste) text before the current line
u undo the last command
J join two lines of text
Use the :set nu command to turn on line numbering.

LPI 101 EXAM PREPARATORY COURSE VI
© 2005 Bradford Learning, Inc. (v 3.1) 7-7
Advanced Functions
Global Replacement and Regular Expressions
The command for searching is / both in interactive command and in ex mode. What is to be searched for is defined with a regular expression, which may be just a word. A search in command mode will jump to the first matching word; in ex mode it will jump to the line of the first match. It is possible to replace or delete patterns within a file using the command in conjunction with regular expressions.
A single substitute command has the syntax:
:s/old/newTo make this global over the line, add the g flag:
:s/old/new/gIt is also possible to replace instances by prefixing the s command with line numbers
:10,50s/old/new/g To do this with the entire file:
:1,$s/old/new/g or
:%s/old/new/g

VI LPI 101 EXAM PREPARATORY COURSE
7-8 (v 3.1) © 2005 Bradford Learning, Inc.
This can be particularly useful if a DOS file containing carriage returns needs to be “converted”
:%s/^M//gIf you’d like the option to confirm each substitution use the c flag
:1,15s/Linux/UNIX/gc
The set Command
There are several options, which come in three types: boolean (on|off), numeric or string. To see what the active options are, give the command:
:set all
The .exrc File
Many options in vi can be set in the ~/.exrc file, which vi reads each time it is started.
Listing 7.1 • A simple .exrc.
" exrc source" set the tab stops to fourset tabstop=4" have line numbersset number"" set the distance from the right margin where a
" line wrap will beset wrapmargin=15" turn off wrapmargin (wm=wrapmargin)" set wm=0"set showmodeset scroll=20set autoindent...
Executing Commands
Linux commands can be displayed or entered while editing with vi. The ! tells ex to create a shell and regard what follows as a command, e.g.:
:!ls:!date
The output can be read into the file with the r option.
:r !date

LPI 101 EXAM PREPARATORY COURSE VI
© 2005 Bradford Learning, Inc. (v 3.1) 7-9
Splitting Windows
A useful function in vi is the ability to split a screen, allowing you to view two different files or view two different locations of the same file at the same time. To split the window, use the :split command. Using the :split command by itself will split the screen horizontally, with the top section being the active window. To
switch between windows, us the CTRL-w w1 command.
To split a window to show two different files is as simple as specifying the name of the second file after the :split command:
:split file_BThe new window on top will contain the contents of the second file (in this case, file_B).
If viewing documents side by side is more to your liking, then you can split a window vertically with the :vsplit command. :vsplit uses the same syntax as :split and accepts file names as well.
While you can use the regular commands (i.e. ZZ, :wq, :q!, etc.) to quit out of an active window, it’s best to use the :close command to prevent the accidental quitting out of vi if you are in the last window. The :only command will close all windows, except the active one.
With the ability to split screens to your heart’s delight, you will need to know how to navigate through all of these windows.
You can split a window as many times you want, referencing as many files as you want!
1. To execute this command, hold down Ctrl and tap w, and then press w again.
To open multiple files each with their own window, use the -o option:
vi -o file_A file_B file_C
The -O option will split the windows vertically.

VI LPI 101 EXAM PREPARATORY COURSE
7-10 (v 3.1) © 2005 Bradford Learning, Inc.
Here is a list of commands you can use to navigate the windows:
These commands re-position active windows:
Finally, there are some all-inclusive commands that, when issued, will affect all windows (active and otherwise). These commands are similar to regular vi commands, but have an “all” suffix:
Table 7.1 • Command summary for split windows in vi.
CTRL-W h move to the window on the left
CTRL-W j move to the window below
CTRL-W k move to the window above
CTRL-W l move to the window on the right
CTRL-W t move to the top window
CTRL-W b move to the bottom window
CTRL-W H move window to the far left
CTRL-W J move window to the bottom
CTRL-W K move window to the top
CTRL-W L move window to the far right
:wall write all :wqall write and quit all
:qall quite all :qall! exit vi without changing files
Splitting Windows
:split Splits screen horizontally.
:vsplit Splits screen vertically.
vi -o Starts vi and automatically splits window horizontally.
vi -O Starts vi and automatically splits window vertically.
Window Navigation
CTRL-W h Move to the window on the left.
CTRL-W j Move to the window below.
CTRL-W k Move to the window above.
CTRL-W l Move to the window on the right.
CTRL-W t Move to the top window.
CTRL-W b Move to the bottom window.

LPI 101 EXAM PREPARATORY COURSE VI
© 2005 Bradford Learning, Inc. (v 3.1) 7-11
Diffs
The diff option in vi allows you to compare the changes in a file. For example, if you edited file_A and created a backup file called file_A~, then you can view the differences between them using vi’s diff capability. Diffing files with vi can happen in two ways: outside of vi (i.e. on the command line) or from within vi.
To diff a file on the command line, use the vimdiff program:
$ vimdiff file_C file_A~While in vi, use the diffsplit operator to diff files:
$ vi file_A:diffsplit file_A~:
When viewing the files, you will notice the differences in the files: deleted lines are shown as a series of dashes, changed text is highlighted, etc. A nice feature of vi’s diff capability is the way that shows a few lines before and after indicated changes, allowing you to understand the context of the change.
Window Ordering
CTRL-W H Move window to the far left.
CTRL-W J Move window to the bottom.
CTRL-W K Move window to the top.
CTRL-W L Move window to the far right.
Window Commands
:wall Write all.
:qall Quite all.
:wqall Write and quit all.
:qall! Exit vi without changing files.
:close Close active window.
:only Close all inactive windows.
To diff the files vertically, do the following:
:vertical diffsplit file_C~

VI LPI 101 EXAM PREPARATORY COURSE
7-12 (v 3.1) © 2005 Bradford Learning, Inc.
Figure 7.2 • Diffing files in vi.
Buffers
Technically, a buffer is a copy of the file that is currently being edited and when you save the file, the changes in the buffer are made to the original file. Buffers contain the changes/edits being made to the file as well as the preferences and settings for that particular file. Also, if you open multiple files, then you will also open multiple buffers (one per file). There are two types of buffers:
• hidden
• inactive
Hidden buffers are just that: buffers that are hidden from view. For example, if you were editing file_A and you wanted to edit file_B without losing or committing the changes to file_A, then you could execute the command:
:hide edit file_BThis command would place the buffer for file_A in the background (therefore making it “hidden”) and bring up the buffer for file_B. The changes in the buffer for file_A have neither been lost nor committed to the file.

LPI 101 EXAM PREPARATORY COURSE VI
© 2005 Bradford Learning, Inc. (v 3.1) 7-13
Inactive buffers are buffers that are neither active nor hidden; however, some of their attributes are still kept by vi.
Listing Buffers
If you are editing multiple files, list the current open buffers with the :buffers or :ls commands.
:buffers1 %a “file_A” line 12 “file_B” line 53 # “file_C” line 1224 “file_abc” line 47
When referencing open buffers, you can identify the buffer you want to edit the buffer number, instead of its name. Notice the %a after in the first buffer entry: this indicates that file_A’s buffer is currently open. Other flags include:
Editing Buffers
As mentioned before, you use the :buffers or :ls commands to list open buffers; to switch between open buffers, use the :buffer command. The buffer you want to edit can be specified in three ways:
• buffer number: :buffer 1
• buffer name: :buffer file_A
• partial buffer name: file_ab
When using the partial buffer name, vi will search for the first file that matches the given string. You can also move between buffers even if you don’t know their numbers or names.
% current buffer
# alternate buffer
a buffer is loaded and displayed
h buffer is loaded but hidden
= buffer is read-only
- buffer is not modifiable, the “modifiable” option is off
+ buffer has been modified

VI LPI 101 EXAM PREPARATORY COURSE
7-14 (v 3.1) © 2005 Bradford Learning, Inc.
The following commands allow you to navigate incrementally within the buffers:
Buffers can be removed from the list using the :bdelete command:
:buffers1 %a “file_A” line 12 “file_B” line 53 # “file_C” line 1224 “file_abc” line 47:bdelete 2:buffers1 %a “file_A” line 12 # “file_C” line 1223 “file_abc” line 47
:bnext next buffer
:bprevious previous buffer
:bfirst go to the first buffer
:blast go to the last buffer
LPI 101 EXAM PREPARATORY COURSE VI
© 2005 Bradford Learning, Inc. (v 3.1) 7-15
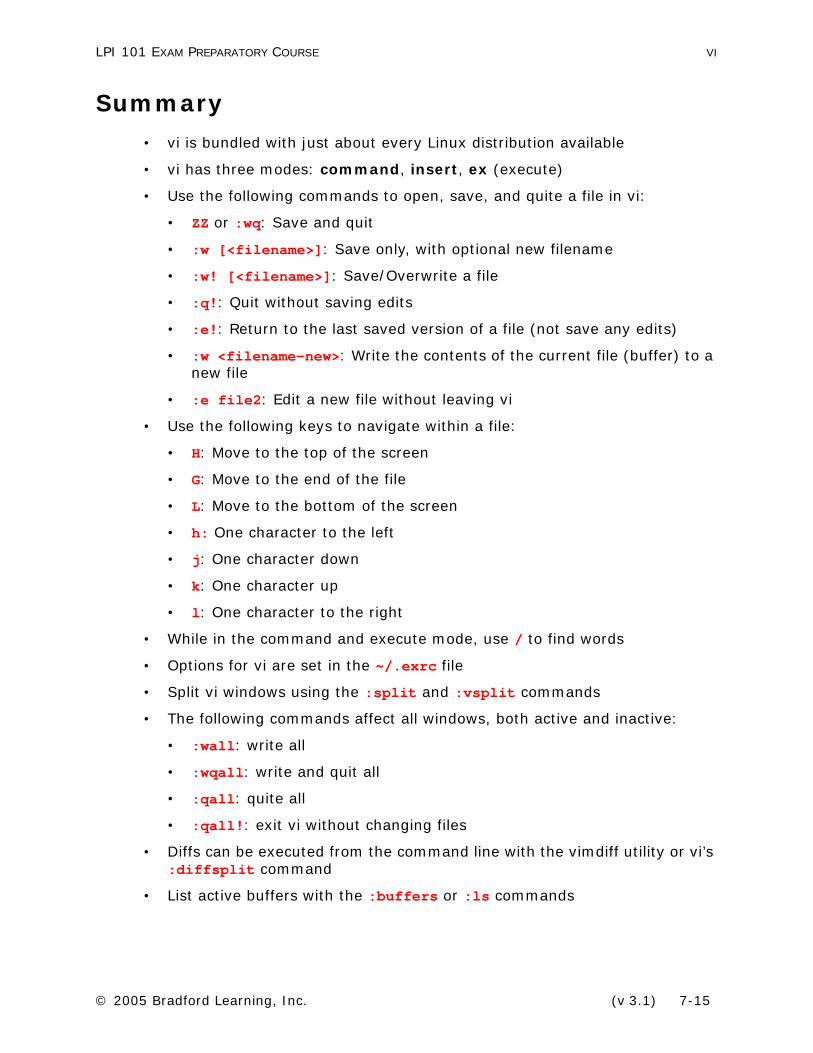
Summary
• vi is bundled with just about every Linux distribution available
• vi has three modes: command, insert, ex (execute)
• Use the following commands to open, save, and quite a file in vi:
• ZZ or :wq: Save and quit
• :w [<filename>]: Save only, with optional new filename
• :w! [<filename>]: Save/Overwrite a file
• :q!: Quit without saving edits
• :e!: Return to the last saved version of a file (not save any edits)
• :w <filename-new>: Write the contents of the current file (buffer) to a new file
• :e file2: Edit a new file without leaving vi
• Use the following keys to navigate within a file:
• H: Move to the top of the screen
• G: Move to the end of the file
• L: Move to the bottom of the screen
• h: One character to the left
• j: One character down
• k: One character up
• l: One character to the right
• While in the command and execute mode, use / to find words
• Options for vi are set in the ~/.exrc file
• Split vi windows using the :split and :vsplit commands
• The following commands affect all windows, both active and inactive:
• :wall: write all
• :wqall: write and quit all
• :qall: quite all
• :qall!: exit vi without changing files
• Diffs can be executed from the command line with the vimdiff utility or vi’s :diffsplit command
• List active buffers with the :buffers or :ls commands

VI LPI 101 EXAM PREPARATORY COURSE
7-16 (v 3.1) © 2005 Bradford Learning, Inc.