Changing Internet Explorer Settings for ActiveX control Installation VirtuOx Technical Services...
15
Changing Internet Explorer Settings for ActiveX control Installation VirtuOx Technical Services Guides
-
Upload
brianne-ferguson -
Category
Documents
-
view
238 -
download
0
Transcript of Changing Internet Explorer Settings for ActiveX control Installation VirtuOx Technical Services...

Changing Internet Explorer Settings for ActiveX control Installation
VirtuOx Technical Services Guides
Locate the “TOOLS” dropdown in one of two places, For IE 9 it will show as a “gear” or “cog” Click on the
word to open the menu.
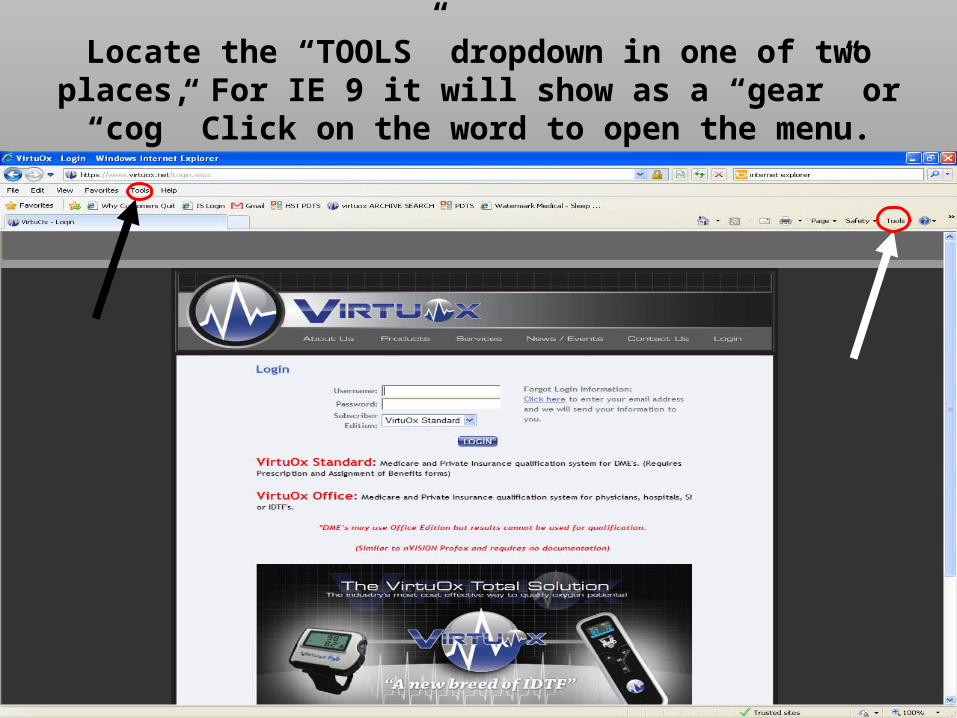
This will drop down the Tools menu, we are looking for the bottom tool called “Internet Options”

This Opens a new window to make adjustments in, the first thing we need to do is find the “Security” tab and
click on it to open that area of adjustment.

From this view we need to select the “Trusted sites” category by clicking the green
Checkmark.
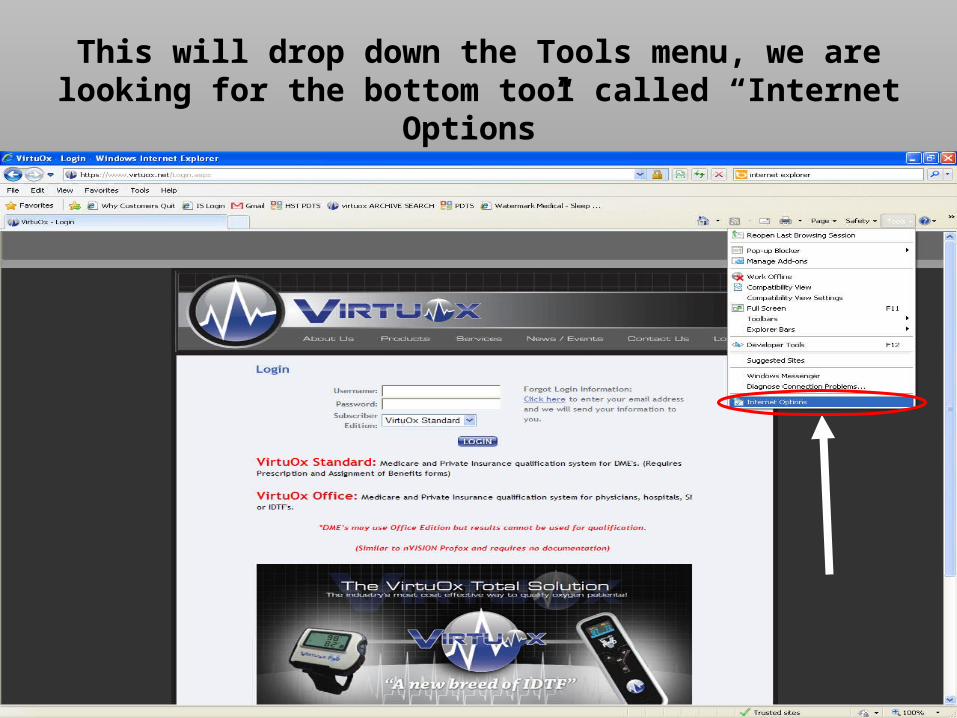
You will now show a green check and “Trusted Sites” as the window topic. We need to add VirtuOx as a
“Trusted Site” by clicking the “SITES” button.
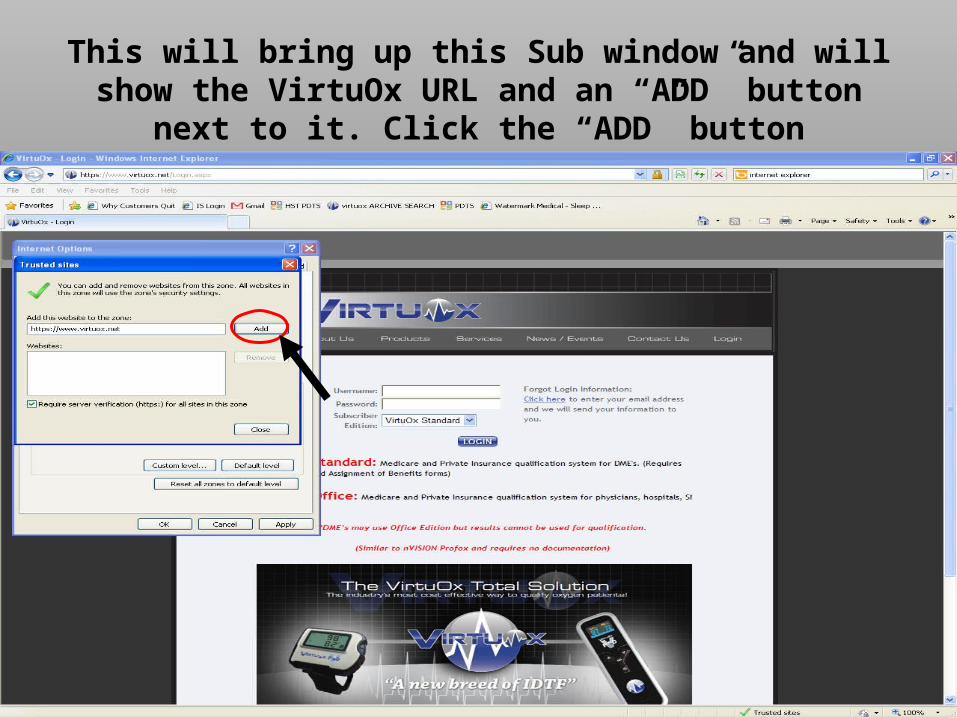
This will bring up this Sub window and will show the VirtuOx URL and an “ADD” button next to it. Click the
“ADD” button

This moves the VirtuOx URL into the “Trusted Sites” list. Now click the “Close” button to exit this sub
Window.

This brings us back to the main “Trusted Sites” window Find the button Labeled “Custom
Level…” and click on it.
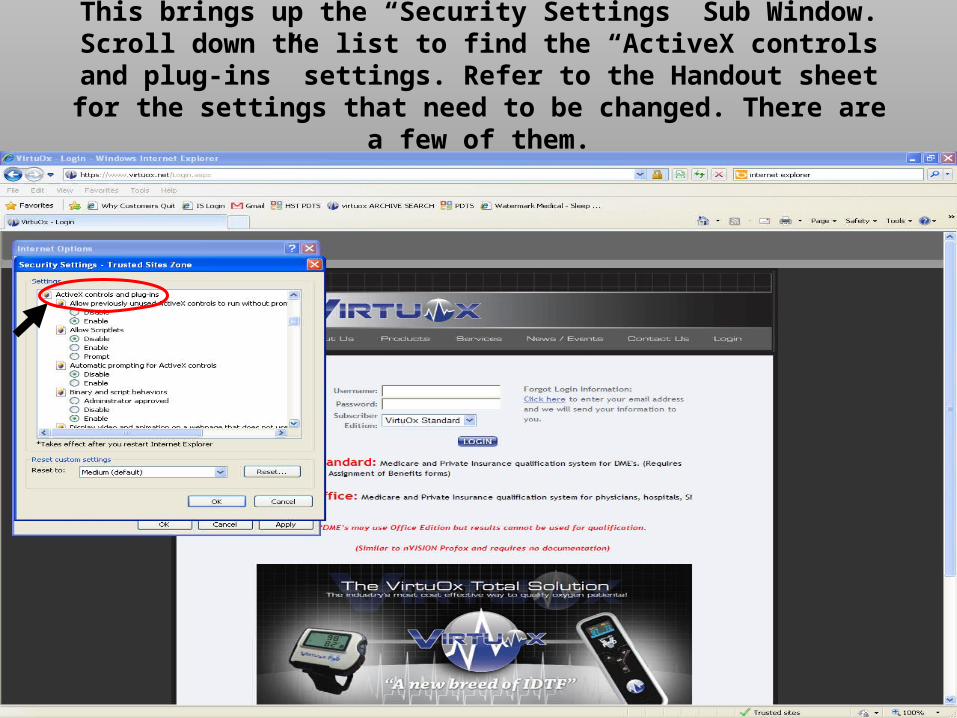
This brings up the “Security Settings” Sub Window. Scroll down the list to find the “ActiveX controls and plug-ins” settings. Refer
to the Handout sheet for the settings that need to be changed. There are a few of them.
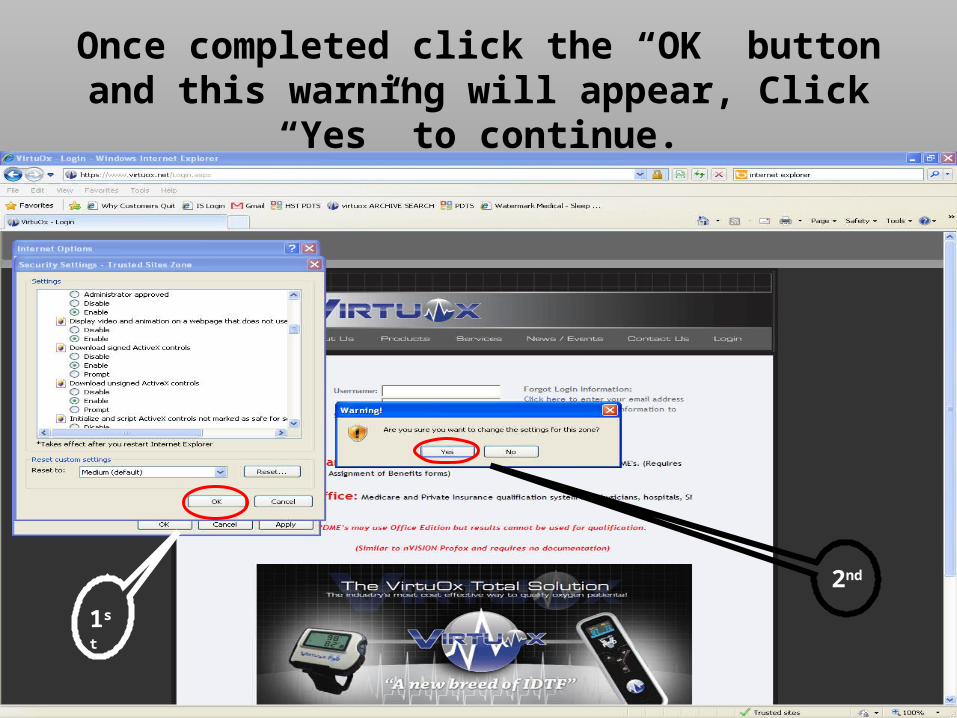
Once completed click the “OK” button and this warning will appear, Click “Yes” to continue.
1st
2nd

This brings us back to the Trusted sites main window, we need to click on the “APPLY” button first (If it is available) ! Do not click
the OK button because it will close the window.
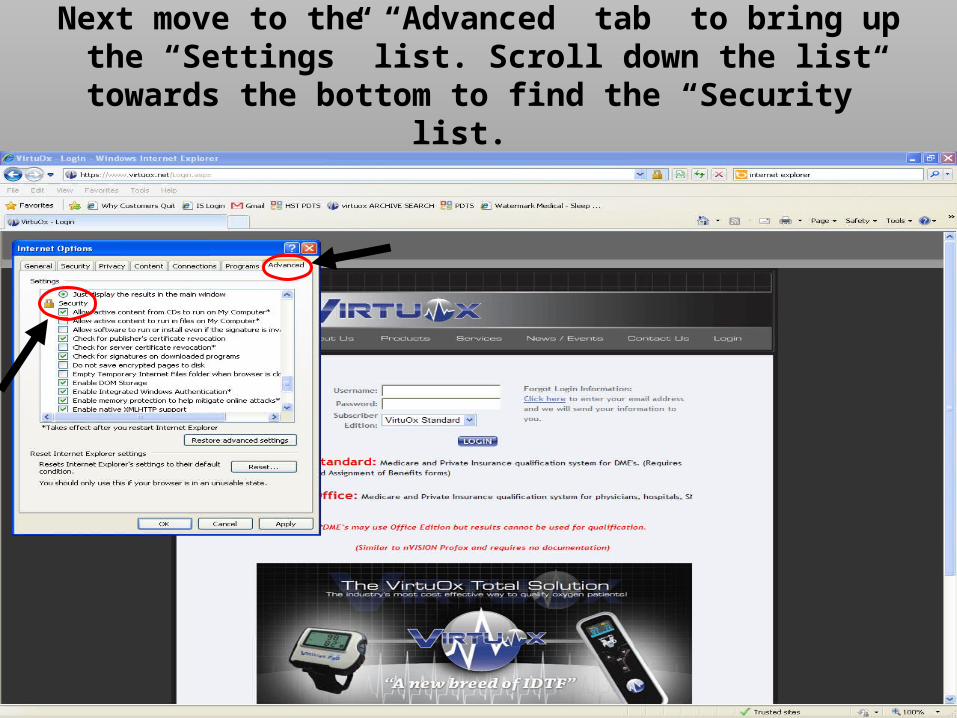
Next move to the “Advanced” tab to bring up the “Settings” list. Scroll down the list towards the bottom
to find the “Security” list.
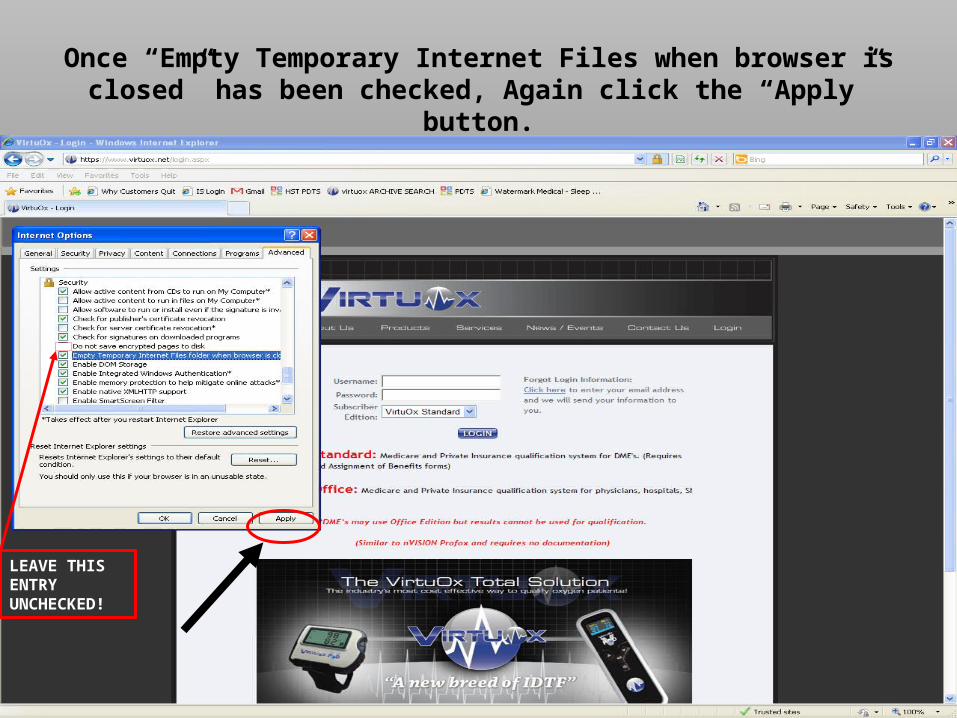
Once “Empty Temporary Internet Files when browser is closed” has been checked, Again click the “Apply” button.
LEAVE THIS ENTRY UNCHECKED!

Click the “OK” button on the Internet Options window and the process is complete. For some computers you may need to close ALL Internet Explorer windows to allow the changes to take effect. Proceed normally now for the ActiveX control
installation.