Canning Foods At Home – The Basics This slide show is a description of basic principles and...
30
Canning Foods At Home – The Basics This slide show is a description of basic principles and typical steps in home canning. It is not intended to be the only canning instruction and reading you need to do in order to can food safely at home. These guidelines are not intended to be used with canning recipes and procedures that have not been tested and determined to be safe for home canning. More information about canning and specific recommended procedures for canning food at home can be found at: http://www.uga.edu/nchfp After reading, this slide can be deleted from
-
Upload
tracey-green -
Category
Documents
-
view
217 -
download
1
Transcript of Canning Foods At Home – The Basics This slide show is a description of basic principles and...

Canning Foods At Home –The Basics
This slide show is a description of basic principles and typical steps in home canning. It is not intended to be the only canning instruction and reading you need to do in order to can food safely at home. These guidelines are not intended to be used with canning recipes and procedures that have not been tested and determined to be safe for home canning.More information about canning and specific recommended procedures for canning food at home can be found at: http://www.uga.edu/nchfp
After reading, this slide can be deleted from your presentation if you are using this presentation in an educational program.

Canning Foods At Home –The Basics
Cooperative ExtensionThe University of Georgia

3
Basics of Safe Home Canning
• High quality food is selected and prepared according to specific directions following a USDA tested recommendation.
• Food is placed in a canning or MASON-type jar with a 2-piece lid and is heated to a temperature that destroys microorganisms.
• Heat also inactivates enzymes that can cause changes in color, flavor and texture.
• Air is driven from the jar during heating. As the jar cools, a vacuum seal is formed.

4
Vacuum Seal
• Holds the lid on the jar.• Prevents recontamination of the
food. • Prevents air from drying out the
food.
5
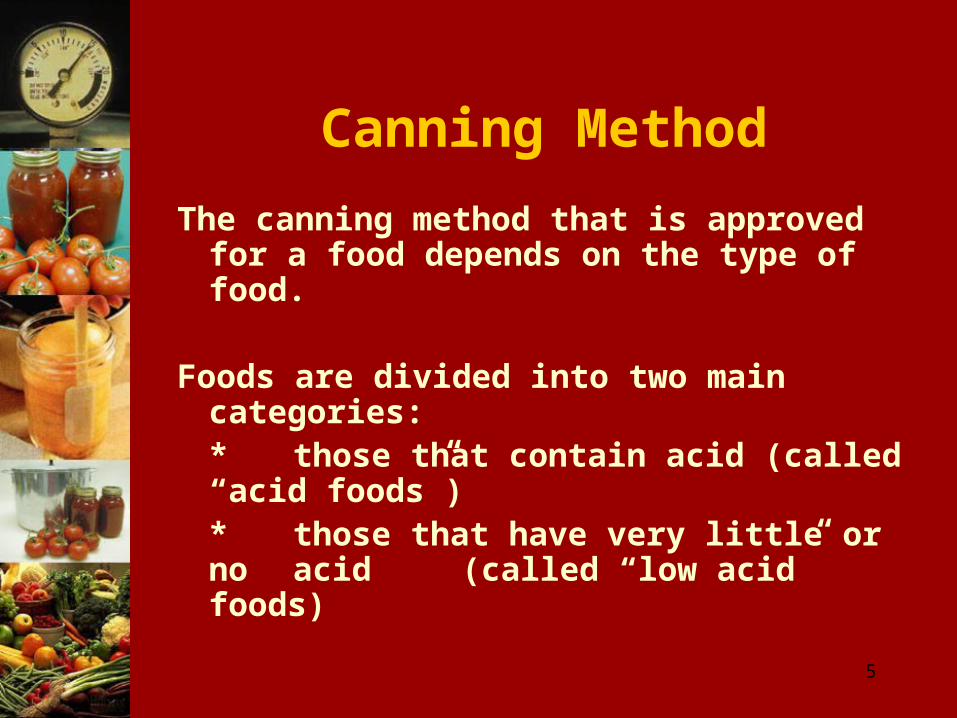
Canning Method
The canning method that is approved for a food depends on the type of food.
Foods are divided into two main categories: * those that contain acid (called “acid foods”) * those that have very little or no acid (called “low acid” foods)

6
Acid FoodspH 4.6 (measure of acidity)
Generally all fruitsTomatoes and figs are borderline –
(specific amounts of citric acid or lemon juice must be added before canning to acidify)
SauerkrautFoods to which large amounts of acid
are added (pickles)

7
Low Acid Foods
pH > 4.6 Generally all vegetablesMeatsPoultrySeafoodSoupsMixtures of acid and low acid foods
(spaghetti sauce – meat, vegetables and tomatoes)

8
Two Approved Methods of Canning Foods At Home
1) Boiling Water Canning (212°F at sea level)
• Used for acid foods
2) Pressure Canning (at least 240°F)• Used for low acid foods (and mixtures of
acid and low acid foods)

9
Why Do Low Acid Foods Have to be Pressure Canned to be Safe?
Clostridium botulinum!
• C. botulinum forms protective, heat-resistant spores.
• Spores require higher temperatures for destruction in a reasonable period of time (usually 240oF or above at sea level)
10
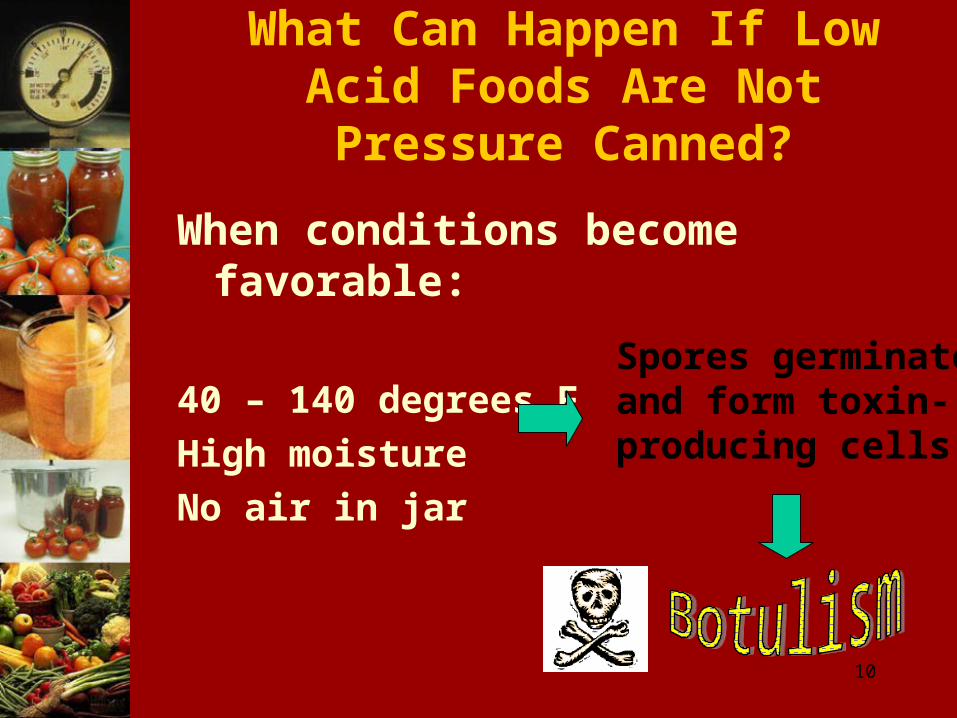
What Can Happen If Low Acid Foods Are Not Pressure Canned?
When conditions become favorable:
40 – 140 degrees F
High moisture
No air in jar
Spores germinate and form toxin-producing cells

11
* Food can contain toxin without showing signs.
* Symptoms usually appear within 12 to 72 hours:Digestive upset (in some cases)Blurred, double visionDifficulty swallowing, speaking
and breathingDeath

12
Preventing Botulism
Home Canned FoodsSpores won’t germinate in acid
environments.Spores are destroyed when heated long
enough at a specific temperature.USDA recommends a canner temperature
of at least 240oF at sea level for canning low acid foods.
Pressure canner must be used for all low acid foods.

13
Important “Musts” for Canning
• Food must be properly prepared and processed the correct amount of time.
• Canner must be accurate and operated correctly.
• You may need to make altitude adjustments, depending on your altitude.
• Directions from a reputable source must be followed (USDA, Cooperative Extension, National Center for Home Food Preservation (www.homefoodpreservation.com), Ball Blue Book, So Easy To Preserve.
• Up-to-date methods and information should be used; beware of “granny’s method.”

14
How Canning Process Times Are Determined
• Foods are prepared by a specific procedure.
• The length of time it takes to adequately heat the coldest spot in the jar is determined.
• Size of the jar, size of the food, consistency of the canning liquid, etc. all have an effect on how heat penetrates through the product.
15
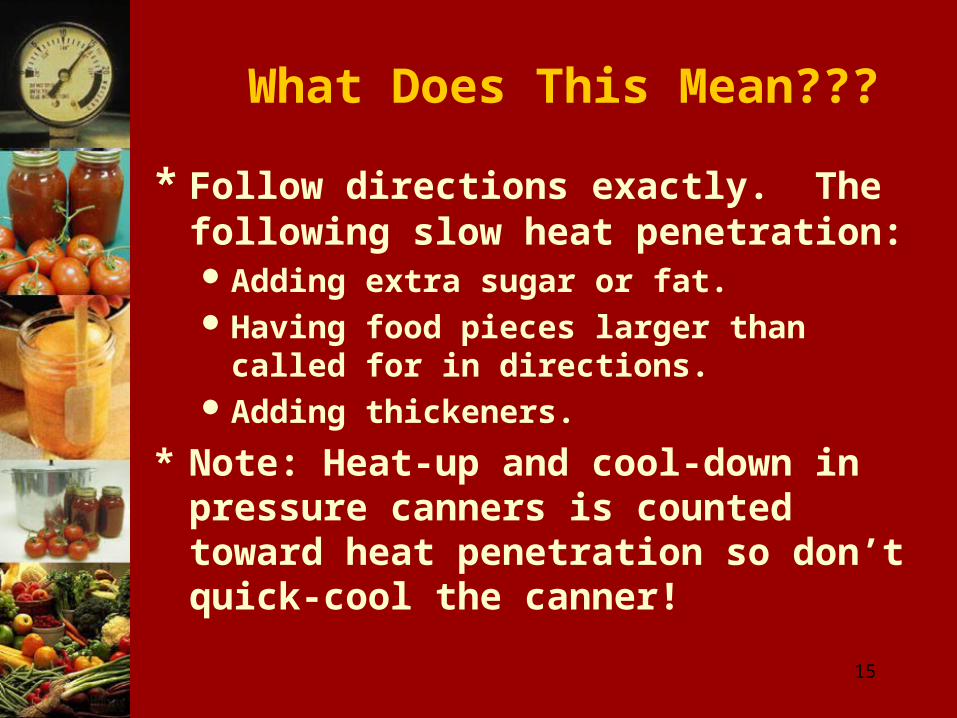
What Does This Mean???
* Follow directions exactly. The following slow heat penetration:Adding extra sugar or fat.Having food pieces larger than called for in
directions.Adding thickeners.
* Note: Heat-up and cool-down in pressure canners is counted toward heat penetration so don’t quick-cool the canner!

16
Methods of Pack
Raw Pack
For foods that lose shape when cooked.
Place raw food directly in jars. Boiling hot liquid is then poured over the food.
Pack firmly, don’t crush.Add jars carefully to canner.
17
Hot Pack
Preferred method for most foods.Food is cooked in liquid before
packing. Cooking liquid poured over food in jar.
Fewer jars needed.Less floating.Better color and flavor.Easier to pack, foods pliable.
If directions only list hot pack instructions, then hot pack!

18
Headspace
* Space in the jar between the inside of the lid and the top of the food or its liquid. Check directions for the correct headspace.
* Usually:1/4” jellied fruit products1/2” fruits, tomatoes and pickles1” to 1-1/4” low acid foods

19
Headspace
* Too littleFood may bubble out during
processing.Deposit on rim may prevent
proper sealing.
* Too muchFood at the top is likely to
discolor. Jar may not seal properly,
because not all air may be forced from jar during process.

20
Jars and Lids
* Wash canning jars; don’t use if nicked
or scratched – keep hot until used.
* Prepare 2-piece canning lids and ring
bands by package instructions.
* Remove air bubbles (plastic knife).
* Wipe jar rims with wet, clean cloth.
* Adjust two-piece lids; tighten fingertip-
tight.

21
Processing Time
* Each food has its own processing time.
Follow directions carefully!
* Time differs with size of jar.
* Too LittleSpoilage

22
Boiling Water Canning Procedures
* Have about 6” of water simmering or hot in canner.Hot packed jars - simmering waterRaw packed jars - hot water
* Place jars on rack in canner.
* Water must be over the tops of the jars by at least one to two inches.

23
* Add more hot or boiling water if necessary.* Begin timing the process when a full boil is
reached.* Adjust for altitude if over 1000 ft.* After processing time is complete, turn off
canner, remove lid and wait 5 minutes before removing jars.
* Remove jars straight up out of canner and place on padded surface away from drafts.
* Cool 12 to 24 hours, undisturbed.* Check seals.* Remove rings.* Wipe off jars before storing in a cool, dry,
dark place.
Boiling Water Canning Procedures Continued…
24
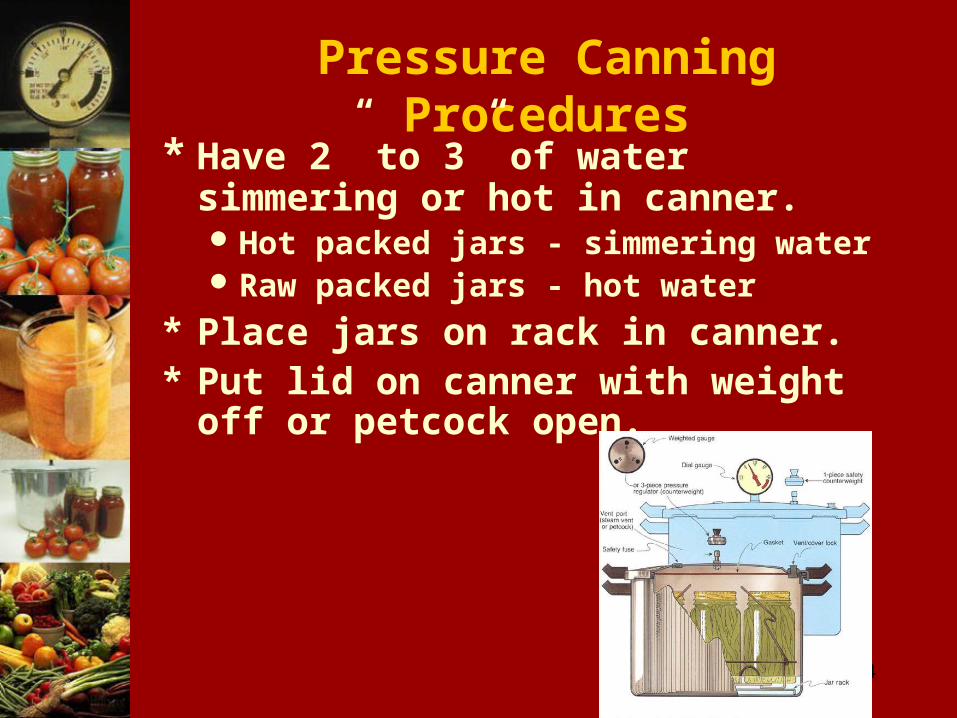
Pressure Canning Procedures* Have 2” to 3” of water simmering or
hot in canner.Hot packed jars - simmering waterRaw packed jars - hot water
* Place jars on rack in canner.* Put lid on canner with weight off or
petcock open.
25
Pressure Canning Procedures – continued…
* Exhaust 10 minutes – steady stream of steam escaping.
* Close vent or petcock.
* Count time when correct pressure is reached.
* Adjust for altitude, if needed.
* Turn off heat at end of processing.
* Let pressure drop to 0.
26
• Wait about 2 minutes after pressure drops to 0 psig to make sure no pressure remains.
(For some canners, check that locks in handles are released.)
• Remove weight or open petcock. Wait 10 min.
• Open canner. (Be careful of steam!)• Remove jars to padded surface or
rack.• Cool jars 12 to 24 hours, undisturbed.• Check that jars have sealed.
Pressure Canning Procedures – continued…

27
Testing for Seals
* Listen for “pop”.
* Lid curved inward, won’t move when pressed.
* Clear ringing sound when tapped.

28
Storing Home Canned Food
• Store in a cool, dry, dark place.• Avoid temperature extremes.• Use within 1 year for best quality.

29
Disclaimer and Credit
Disclaimer: Trade and brand names are used only for information. The Cooperative Extension
Service, University of Georgia College of Agricultural & Environmental Sciences and College of Family & Consumer Sciences, and the U.S. Department of Agriculture do not guarantee nor warrant published standards on any product mentioned; neither does the use of a trade or brand name imply approval of any product to the exclusion of others which may also be suitable.
Document Use: Permission is granted to reproduce these materials in whole or in part for educational
purposes only (not for profit beyond the cost of reproduction) provided the author and the University of Georgia receive acknowledgment and this notice is included:
Reprinted (or Adapted) with permission of the University of Georgia. Harrison, J.A. 2008. Canning Foods at Home – The Basics (slides). Athens, GA: The University of Georgia, Cooperative Extension.
This material is based upon work supported by the Cooperative State Research,
Education, and Extension Service, U.S. Department of Agriculture, under Agreement
No. 00-51110-9762.

30
Photography Credits
Photography credits Elizabeth Andress and Elaine D’Sa, National Center for Home Food
Preservation, University of Georgia. Information Staff, Agricultural Research Service, USDA.