By Nicholas Blackburn by Nicholas Blackburn 1. Crindau Primary School, Newport, South Wales Making...
20
by Nicholas Blackburn by Nicholas Blackburn 1. Crindau Primary Crindau Primary School, School, Newport, Newport, South Wales South Wales Making an Egg Cosy
-
Upload
vincent-quinn -
Category
Documents
-
view
222 -
download
3
Transcript of By Nicholas Blackburn by Nicholas Blackburn 1. Crindau Primary School, Newport, South Wales Making...

by Nicholas Blackburnby Nicholas Blackburn
1.
Crindau Primary Crindau Primary School,School,Newport,Newport,South WalesSouth Wales
Making an Egg Cosy

•Click on the buttons to go forwards and backwards.
•To exit the presentation, press the Esc button.
•Click on the hyperlinks (top right) to access the resources, teachers’ notes and images.
•Each slide is numbered in the bottom left hand corner. Look for the relevant number in the teachers’ notes.
2.
How to use the presentation

•Design and make a product using fabric, matching the properties of the materials to the task.
•Measure, mark out, cut and join fabric.
•Develop understanding of stitches.
3.
We Are Learning To:
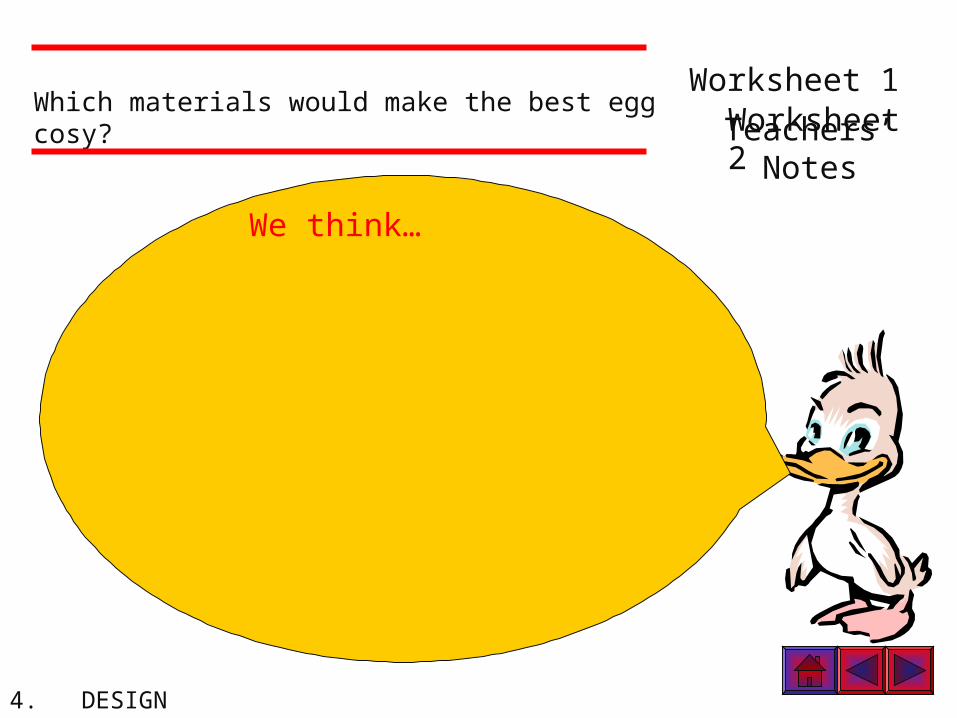
Which materials would make the best egg cosy?
We think…
Worksheet 1
Teachers’ Notes
Worksheet 2
4. DESIGN

Our egg cosy could look like a…
Our favourite idea is…
We like this because…
Worksheet 1 Worksheet 2
Teachers’ Notes
5. DESIGN
Designing

6. MAKE
Teachers’ NotesDemonstrate your ideas to the class

Draw your stencils on paper
or card.
•Draw around your stencils, on a piece of fabric, using a fine pen.•Cut out carefully.•Keep your pieces safe.•Decide if you should keep any off cuts.
Worksheet 1
Teachers’ Notes
7. MAKE
Getting started:
Making
Images 1
Worksheet 1
Teachers’ Notes
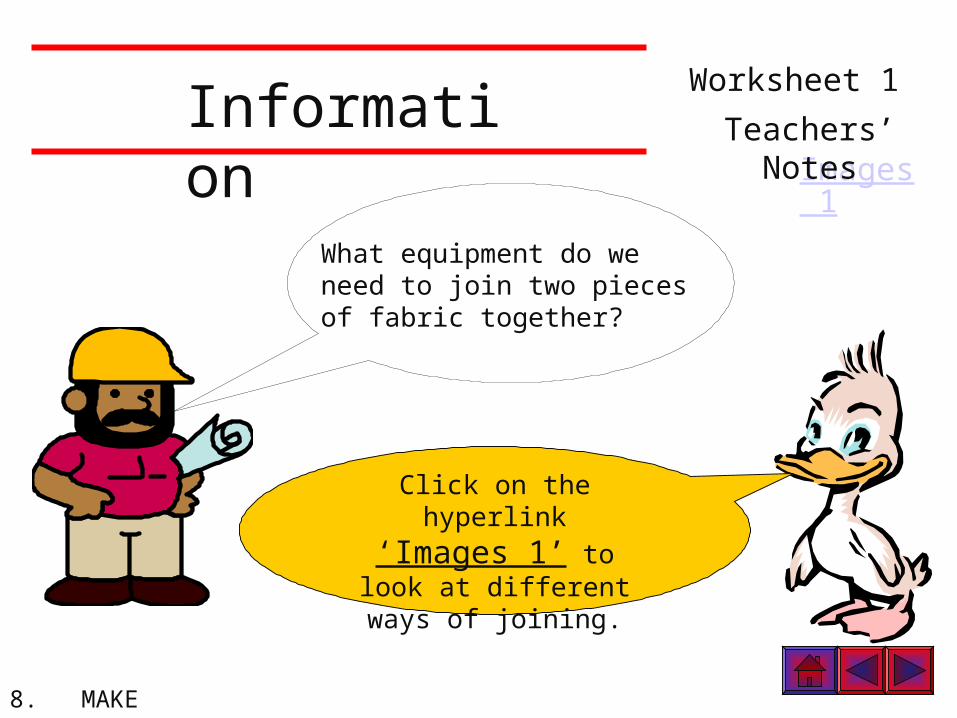
8. MAKE
Click on the hyperlink ‘Images
1’ to look at different ways of
joining.
What equipment do we need to join two pieces of fabric together?
Information

Click on the hyperlink ‘Images
2’, to see the process/stages of making an egg cosy.
Teachers’ Notes
9. MAKE
Images 2
Guide

I like my egg cosy because…
Teachers’ Notes
10 EVALUATE
Worksheet 1
Evaluate your Finished Product

Well done your work is excellent!
What information do we need on a poster?
Worksheet 1
Teachers’ Notes
11. ADVERTISE
PressEsc
Make a Poster

Exit/Return to
presentation
Resourcesthread
eyes
noses
needles
felt
A

Exit/Return to
presentation
Sewing example 1: Over stitch
B

Exit/Return to
presentation
Sewing example 2: Running stitch
C

Exit/Return to
presentation
Sewing example 3: Cross stitch
D

Exit/Return to
presentation
•Point the tip of the cotton and thread it through a wide eyed needle.
•Knot the end, to stop it pulling through the felt.
Stage 1
AA

Exit/Return to
presentation
•Draw all the parts that you need to make an egg cosy.
•Cut out your patterns.
•Use a fine pen to draw around your stencils.
Stage 2
Stage 3
BB

Exit/Return to
presentation
•Take care with sharp scissors
•Cut out your shapes.
•Don’t waste large ‘off cuts’ of felt.
•Line up the straight edges of the body (front and back).
•Over stitch around the edge of the felt pieces.
Stage 4
Stage 5
CC

Exit/Return to
presentation
•Sew or glue the arms to the body of the egg cosy.
Stage 6
•Glue the eyes and the nose to the front of the egg cosy.
DD

Exit/Return to
presentation
•Your egg cosy is finished and ready for use.
Stage 7
Well Done!
EE