Documenting the Arduous Task of Creating an Arcade Cabinet From Scratch _ Defender Mame Project

Rationale for Building
● Grew up with arcade machines at local pizza joint
● Have been interested in emulation since 1995. ● I had an extra unused PC begging to be used
for something.● I had access to woodworking tools● I wanted to learn about building
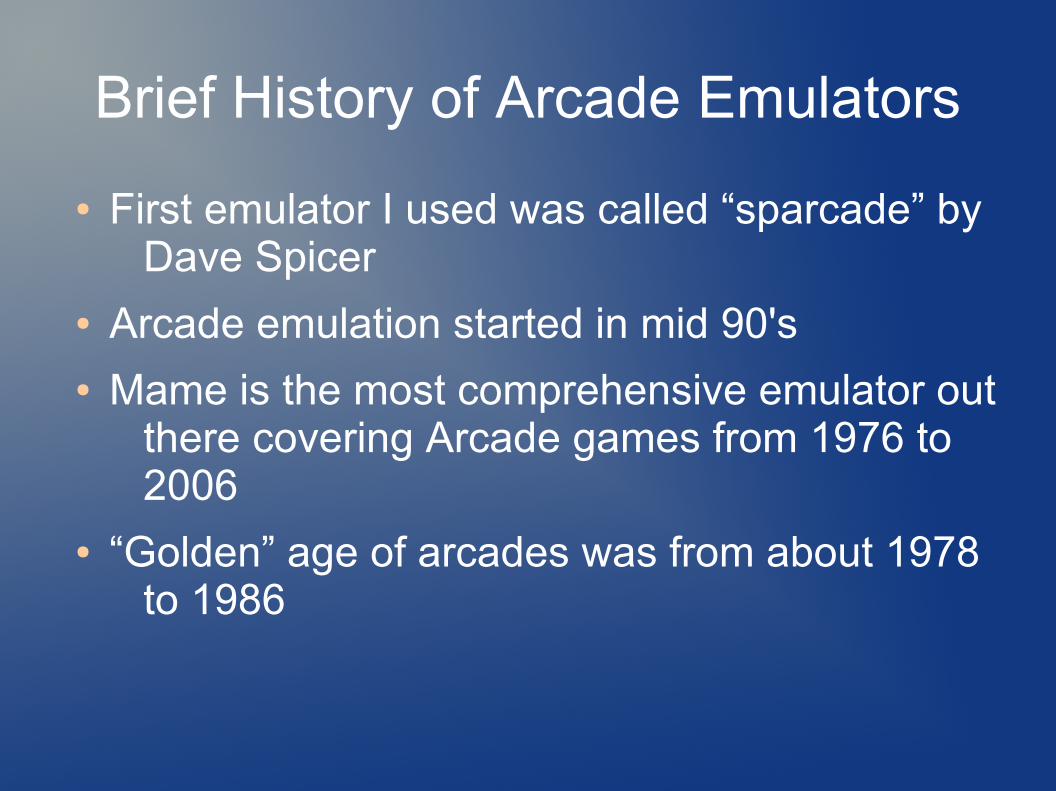
Brief History of Arcade Emulators
● First emulator I used was called “sparcade” by Dave Spicer
● Arcade emulation started in mid 90's● Mame is the most comprehensive emulator out
there covering Arcade games from 1976 to 2006
● “Golden” age of arcades was from about 1978 to 1986

Types of Arcade Cabinets
● Stand Up– Most Common
– Can be difficult to move
– Limited controller options
● Cocktail– Sit down
– Require lots of space
– Display 'rotating' challenging
– Lots of controller options
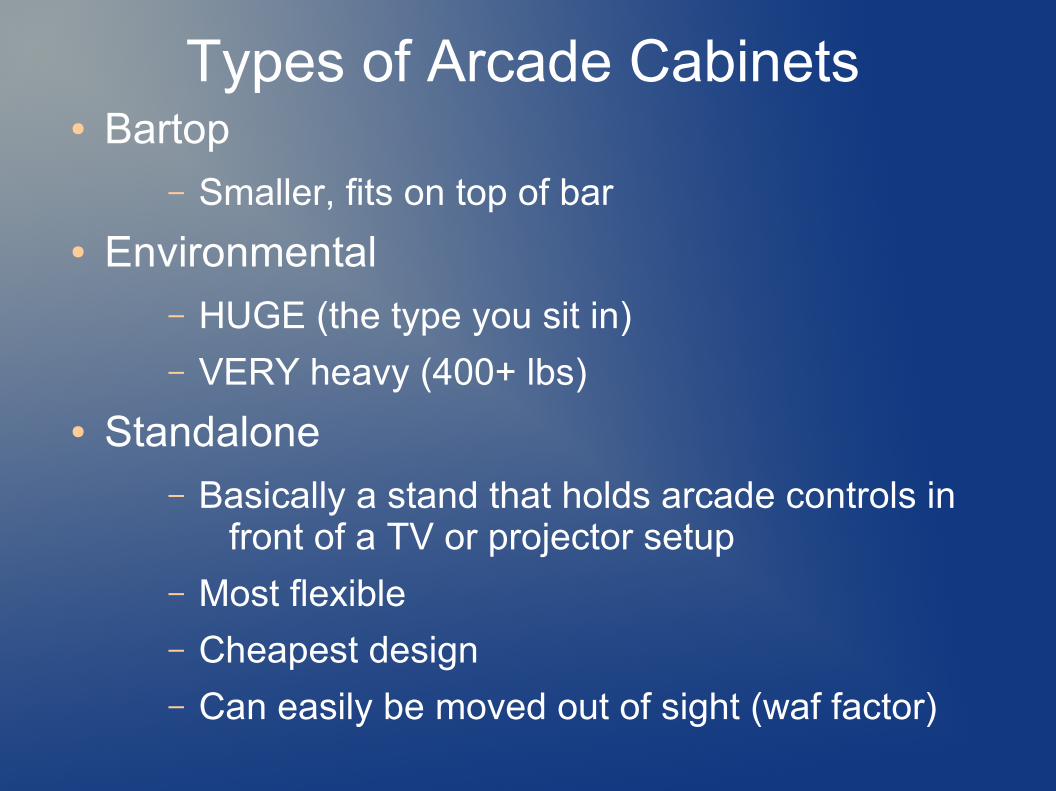
Types of Arcade Cabinets● Bartop
– Smaller, fits on top of bar
● Environmental– HUGE (the type you sit in)
– VERY heavy (400+ lbs)
● Standalone– Basically a stand that holds arcade controls in
front of a TV or projector setup
– Most flexible
– Cheapest design
– Can easily be moved out of sight (waf factor)

Types of controls
● Joysticks– “Switch type”
– 49 Way
– Rotary
– Optical
● Track Balls– 3 inch
– 2 ¼ inch
– Illuminated

Types of Controls
● Spinners– X only axis
– Used in tempest, super breakout, and double as steering wheel in driving games.
● Flight sticks– Includes flight triggers, flight rudders etc
– VERY expensive
– Difficult to interface to PC

Types of Controls
● Driving wheels– Bulky and hard to mount
– Costly
– Not very versatile
– Also includes pedals and shifters
● Light guns– Allow using display for 'targeting' games

Types of Buttons
● Concave 'plastic' buttons– Can have two kinds of switches
● Microswitches– Cheap– Noisy– Not as sensitive– Big
● Leaf switches– Very sensitive– Silent– Expensive– small

Types of Buttons
● Clear/see through buttons– Illuminated
– Cost more
– Use same types of switches as 'concave' buttons
● Atari “Volcano” buttons– Really expensive ($20.00/button vs 1.20/button)
– illuminated

To Build or to Kit?
● Build– Cheapest
– Customization options endless
– Needs LOTS of time
– Needs good woodworking skills
● “Pre Made” kits– More expensive
– Customization will cost you
– Faster
– MUCH less time

Software/HW Design● Stripped down Ubuntu Server Edition● Running NVIDIA binary drivers (best
performance)● AMD 2.4 dual core opteron(2gb ram)● Wahcade! Front end as window manager● “Autologin” via editing tty scripts● Openbox WM for maintenance● NO kde/gnome/gdm/kdm/xdm!● WIFI RaLink RT2561/RT61 802.11g PCI
– Is Gigabyte for $13.00

Wahcade Front End Screen Cap

Wahcade! Setup
● Downloaded Custom picture● Need several layouts, portrait, landscape, and
inverted portrait (for opposite player positions)
● Had to hack code to rotate screen (xrandr and some self modifying perl)
● LOTS of support files (this represents about 10 hours of work!)
● Supports VERY complex options on game filters (need catver.ini).

Interface Types
● HID (makes joysticks look like PC joystick)● Keyboard encoder
– IPAC 4 contains 56 inputs simulates key-presses
– No problem with 'ghosting'
– usb/ps2
● Optical Encoder– Optipac for trackballs/spinners/rotary joystick
– USB

Performance tweaks
● Hand tune X (the same configs that work well for Compviz REALLY speed up mame)
● Use binary drivers 32 bit● Install minimum system, no window manager● Solid State disks cost a lot but speed up
booting

Little extras
● Soldering is the easiest way to wire up controls● Install wireless NIC to allow for easy
maintenance● Turn OFF automatic updates● Cut a hole for a usb hub● Use a voltage monitoring smart strip● Mount LCD UPSIDEDOWN if you are building
cocktail
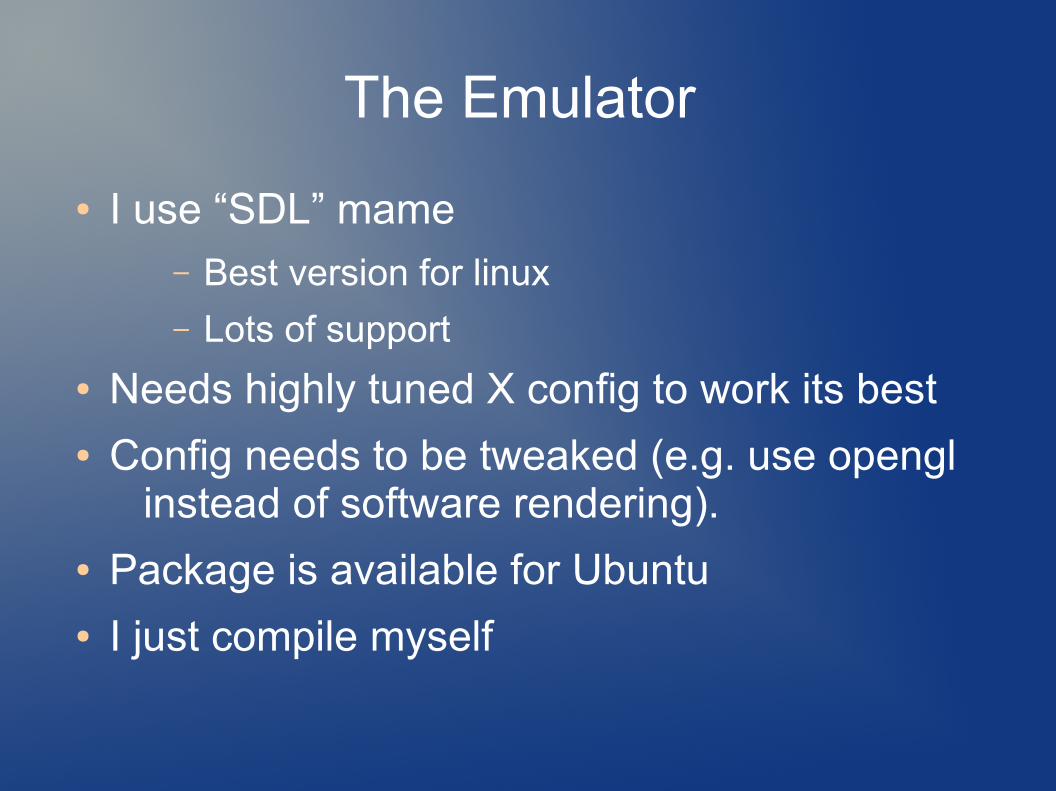
The Emulator
● I use “SDL” mame– Best version for linux
– Lots of support
● Needs highly tuned X config to work its best● Config needs to be tweaked (e.g. use opengl
instead of software rendering).● Package is available for Ubuntu● I just compile myself
The Front End
● Getting 'flipping' to work required source code modification (python)
● Still isn't perfect● LOTS of support files necessary (different topic
for a different day!)● Had to make a 'vertical' and 'horizontal' UI to
handle portrait/landscape modes● Custom keys rotate screen

ROMS
● Mame ROMS are still copyrighted work● Most are 'abandonware' ● Some are still actively being developed● Owning them is considered 'illegal' unless you
own original PCB● You can't buy most of them except for
'Capcom' games● Just use search engine if you want to 'try' them

Roms (continued)
● Roms are matched to each version of mame● CLRMAMEPRO can fix most of them, alas it is
windows based, but runs nicely under wine.● Come in two types: CHD and ZIP
– CHD is compressed Hard Disk
– ZIP contains original dumps of board firmware

Woodworking Tips
● Melamine looks nice but is very fragile● Tape melamine when drilling button holes● Buttons are 1 1/8 inch wide● Make sure monitor controls are recessed
ideally on SIDE if making cocktail unit● Use “Hole” saw for making fan hole● Use “T” molding for unfinished edges● USB should be square and have no 'side'
openings
Final Thoughts
● Cocktail units are hard to play for more than 20 minutes
● Projector is my next 'upgrade'● Would do 'cart' concept w/ sff PC next go
around, then can move with wheels take over friends etc.
● Optical controls are EXPENSIVE● LED controller boards are Windows only.

Parts Distributors
● Happ Controls (joysticks) http://www.happcontrols.com
● Groovy Game Gear http://www.groovygamegear.com
– Buttons
– Switches
– Lighting kits
– Spinners
– T-Molding/t-molding routers

Parts Distributors
● Ultimarc http://www.ultimarc.com– Optipac, IPAC, HID,
– Joysticks
– Spinners
– Coin Doors
– Light Guns
● http://www.arcadeshop.com/parts.htm– I haven't done business with these people
– Atari volcano buttons

Parts Distributors
● Carolina Glass (glass top)● North Coast Custom Arcades
http://www.mameroom.com/home.asp– Make Kits
– Good company but they tend to make mistakes which they correct
● Arcade Depot- http://www.arcadedepot.com– Good kits
– $$$$$$$
Parts Distributors
● Marquees (artwork) http://www.mamemarquees.com
● Atari Volcano Buttons: ram controls http://www.ram-controls.com/order-cones.html

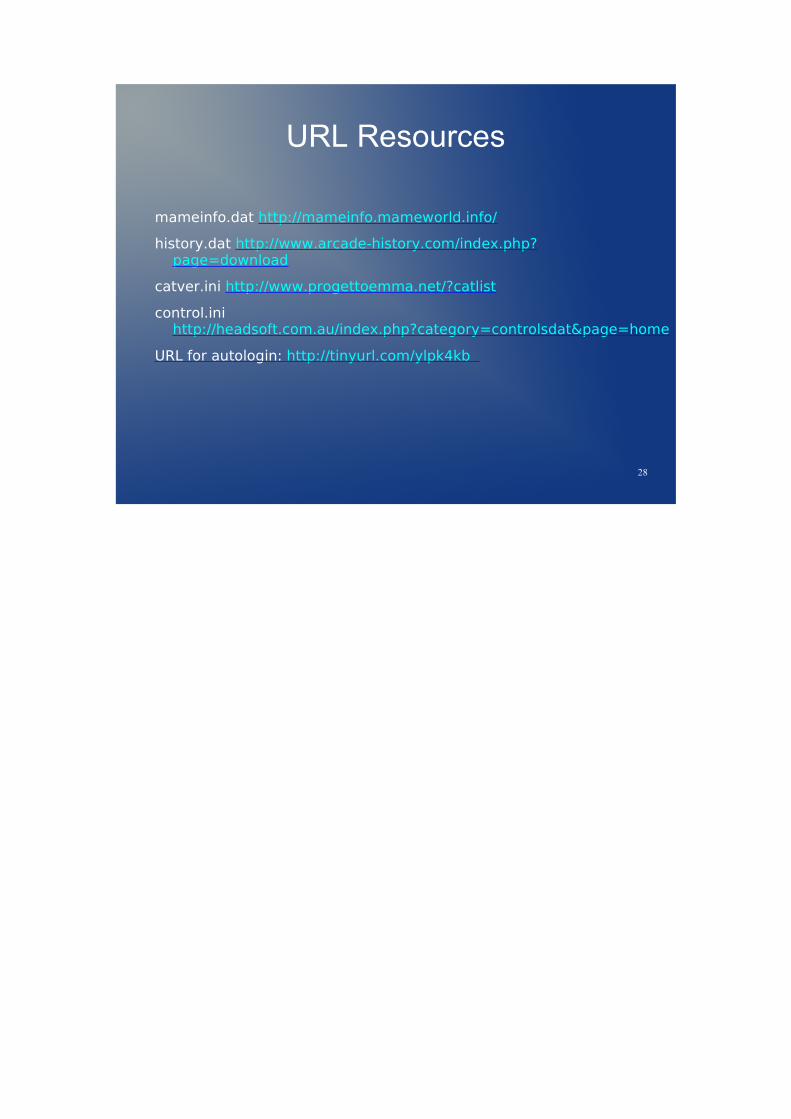
URL Resources
mameinfo.dat http://mameinfo.mameworld.info/
history.dat http://www.arcade-history.com/index.php?page=download
catver.ini http://www.progettoemma.net/?catlist
control.ini http://headsoft.com.au/index.php?category=controlsdat&page=home
URL for autologin: http://tinyurl.com/ylpk4kb

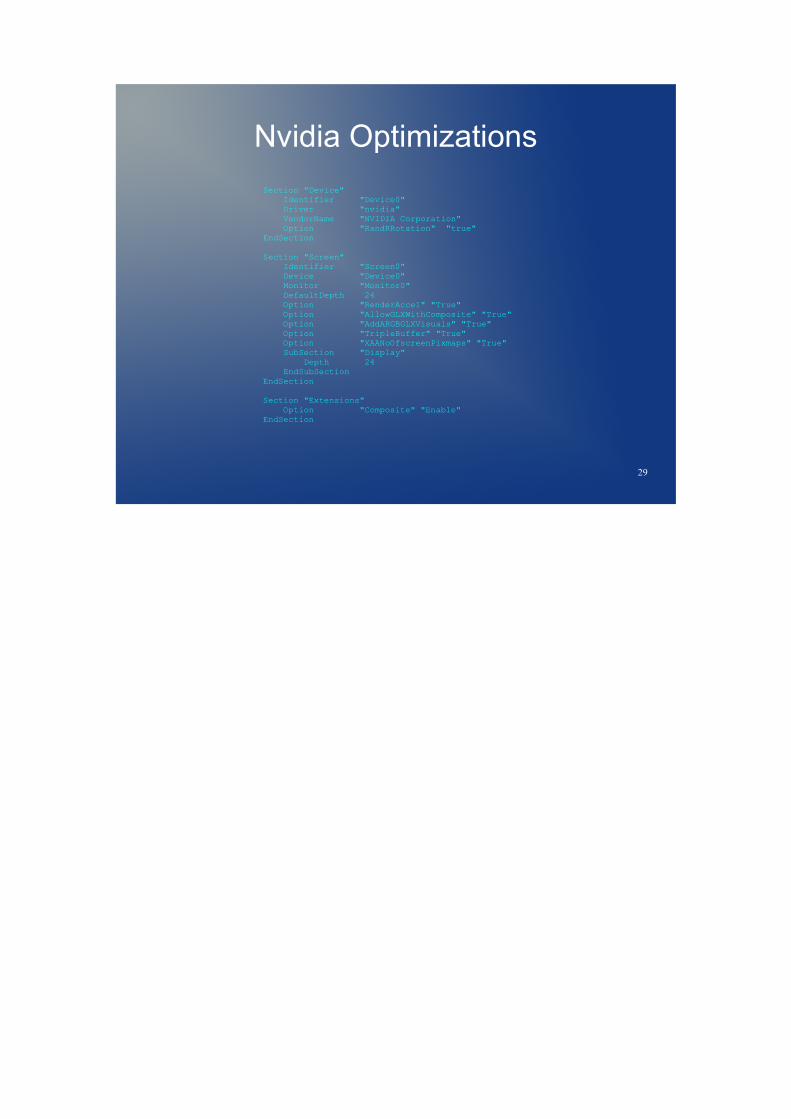
Nvidia Optimizations
Section "Device" Identifier "Device0" Driver "nvidia" VendorName "NVIDIA Corporation" Option "RandRRotation" "true"EndSection
Section "Screen" Identifier "Screen0" Device "Device0" Monitor "Monitor0" DefaultDepth 24 Option "RenderAccel" "True" Option "AllowGLXWithComposite" "True" Option "AddARGBGLXVisuals" "True" Option "TripleBuffer" "True" Option "XAANoOfscreenPixmaps" "True" SubSection "Display" Depth 24 EndSubSectionEndSection
Section "Extensions" Option "Composite" "Enable"EndSection

2
Rationale for Building
● Grew up with arcade machines at local pizza joint
● Have been interested in emulation since 1995. ● I had an extra unused PC begging to be used
for something.● I had access to woodworking tools● I wanted to learn about building

3
Brief History of Arcade Emulators
● First emulator I used was called “sparcade” by Dave Spicer
● Arcade emulation started in mid 90's● Mame is the most comprehensive emulator out
there covering Arcade games from 1976 to 2006
● “Golden” age of arcades was from about 1978 to 1986
4
Types of Arcade Cabinets
● Stand Up– Most Common
– Can be difficult to move– Limited controller options
● Cocktail– Sit down
– Require lots of space
– Display 'rotating' challenging– Lots of controller options

5
Types of Arcade Cabinets● Bartop
– Smaller, fits on top of bar
● Environmental– HUGE (the type you sit in)
– VERY heavy (400+ lbs)
● Standalone– Basically a stand that holds arcade controls in
front of a TV or projector setup– Most flexible
– Cheapest design– Can easily be moved out of sight (waf factor)
6
Types of controls
● Joysticks– “Switch type”
– 49 Way– Rotary
– Optical
● Track Balls– 3 inch
– 2 ¼ inch– Illuminated

7
Types of Controls
● Spinners– X only axis
– Used in tempest, super breakout, and double as steering wheel in driving games.
● Flight sticks– Includes flight triggers, flight rudders etc
– VERY expensive– Difficult to interface to PC

8
Types of Controls
● Driving wheels– Bulky and hard to mount
– Costly– Not very versatile
– Also includes pedals and shifters
● Light guns– Allow using display for 'targeting' games

9
Types of Buttons
● Concave 'plastic' buttons– Can have two kinds of switches
● Microswitches– Cheap– Noisy– Not as sensitive– Big
● Leaf switches– Very sensitive– Silent– Expensive– small

10
Types of Buttons
● Clear/see through buttons– Illuminated
– Cost more– Use same types of switches as 'concave'
buttons
● Atari “Volcano” buttons– Really expensive ($20.00/button vs 1.20/button)– illuminated
11
To Build or to Kit?
● Build– Cheapest
– Customization options endless– Needs LOTS of time
– Needs good woodworking skills
● “Pre Made” kits– More expensive
– Customization will cost you– Faster
– MUCH less time

12
Software/HW Design● Stripped down Ubuntu Server Edition● Running NVIDIA binary drivers (best
performance)● AMD 2.4 dual core opteron(2gb ram)● Wahcade! Front end as window manager● “Autologin” via editing tty scripts● Openbox WM for maintenance● NO kde/gnome/gdm/kdm/xdm!● WIFI RaLink RT2561/RT61 802.11g PCI
– Is Gigabyte for $13.00

13
Wahcade Front End Screen Cap

14
Wahcade! Setup
● Downloaded Custom picture● Need several layouts, portrait, landscape, and
inverted portrait (for opposite player positions)
● Had to hack code to rotate screen (xrandr and some self modifying perl)
● LOTS of support files (this represents about 10 hours of work!)
● Supports VERY complex options on game filters (need catver.ini).

15
Interface Types
● HID (makes joysticks look like PC joystick)● Keyboard encoder
– IPAC 4 contains 56 inputs simulates key-presses
– No problem with 'ghosting'– usb/ps2
● Optical Encoder– Optipac for trackballs/spinners/rotary joystick– USB
16
Performance tweaks
● Hand tune X (the same configs that work well for Compviz REALLY speed up mame)
● Use binary drivers 32 bit● Install minimum system, no window manager● Solid State disks cost a lot but speed up
booting

17
Little extras
● Soldering is the easiest way to wire up controls● Install wireless NIC to allow for easy
maintenance● Turn OFF automatic updates● Cut a hole for a usb hub● Use a voltage monitoring smart strip● Mount LCD UPSIDEDOWN if you are building
cocktail

18
The Emulator
● I use “SDL” mame– Best version for linux
– Lots of support
● Needs highly tuned X config to work its best● Config needs to be tweaked (e.g. use opengl
instead of software rendering).● Package is available for Ubuntu● I just compile myself
19
The Front End
● Getting 'flipping' to work required source code modification (python)
● Still isn't perfect● LOTS of support files necessary (different topic
for a different day!)● Had to make a 'vertical' and 'horizontal' UI to
handle portrait/landscape modes● Custom keys rotate screen
20
ROMS
● Mame ROMS are still copyrighted work● Most are 'abandonware' ● Some are still actively being developed● Owning them is considered 'illegal' unless you
own original PCB● You can't buy most of them except for
'Capcom' games● Just use search engine if you want to 'try' them

21
Roms (continued)
● Roms are matched to each version of mame● CLRMAMEPRO can fix most of them, alas it is
windows based, but runs nicely under wine.● Come in two types: CHD and ZIP
– CHD is compressed Hard Disk
– ZIP contains original dumps of board firmware

22
Woodworking Tips
● Melamine looks nice but is very fragile● Tape melamine when drilling button holes● Buttons are 1 1/8 inch wide● Make sure monitor controls are recessed
ideally on SIDE if making cocktail unit● Use “Hole” saw for making fan hole● Use “T” molding for unfinished edges● USB should be square and have no 'side'
openings

23
Final Thoughts
● Cocktail units are hard to play for more than 20 minutes
● Projector is my next 'upgrade'● Would do 'cart' concept w/ sff PC next go
around, then can move with wheels take over friends etc.
● Optical controls are EXPENSIVE● LED controller boards are Windows only.

24
Parts Distributors
● Happ Controls (joysticks) http://www.happcontrols.com
● Groovy Game Gear http://www.groovygamegear.com
– Buttons
– Switches– Lighting kits
– Spinners
– T-Molding/t-molding routers

25
Parts Distributors
● Ultimarc http://www.ultimarc.com– Optipac, IPAC, HID,
– Joysticks– Spinners
– Coin Doors
– Light Guns
● http://www.arcadeshop.com/parts.htm– I haven't done business with these people– Atari volcano buttons

26
Parts Distributors
● Carolina Glass (glass top)● North Coast Custom Arcades
http://www.mameroom.com/home.asp– Make Kits– Good company but they tend to make mistakes
which they correct
● Arcade Depot- http://www.arcadedepot.com– Good kits
– $$$$$$$

27
Parts Distributors
● Marquees (artwork) http://www.mamemarquees.com
● Atari Volcano Buttons: ram controls http://www.ram-controls.com/order-cones.html
28
URL Resources
mameinfo.dat http://mameinfo.mameworld.info/
history.dat http://www.arcade-history.com/index.php?page=download
catver.ini http://www.progettoemma.net/?catlist
control.ini http://headsoft.com.au/index.php?category=controlsdat&page=home
URL for autologin: http://tinyurl.com/ylpk4kb
29
Nvidia Optimizations
Section "Device" Identifier "Device0" Driver "nvidia" VendorName "NVIDIA Corporation" Option "RandRRotation" "true"EndSection
Section "Screen" Identifier "Screen0" Device "Device0" Monitor "Monitor0" DefaultDepth 24 Option "RenderAccel" "True" Option "AllowGLXWithComposite" "True" Option "AddARGBGLXVisuals" "True" Option "TripleBuffer" "True" Option "XAANoOfscreenPixmaps" "True" SubSection "Display" Depth 24 EndSubSectionEndSection
Section "Extensions" Option "Composite" "Enable"EndSection