Brad Paisley Signature Overdrive Pedal - Sam Ash€¦ · Brad Paisley Signature Overdrive Pedal...
2
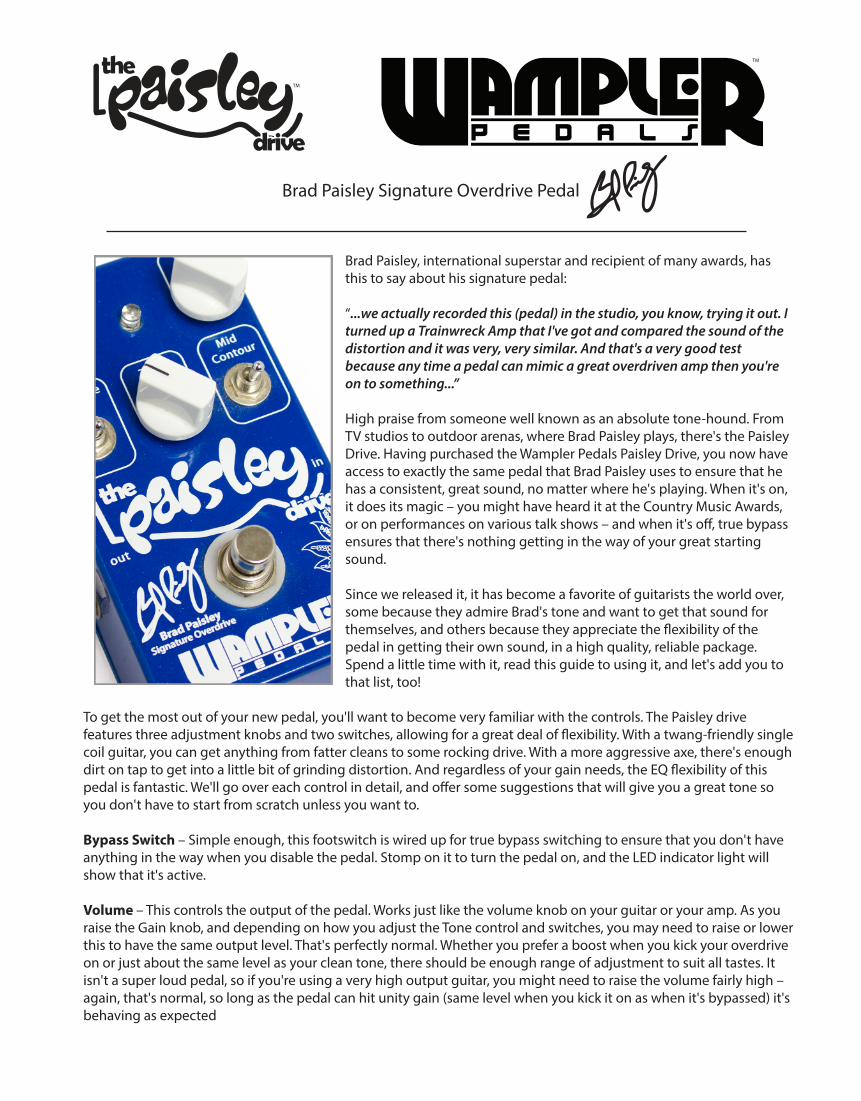
Brad Paisley Signature Overdrive Pedal Brad Paisley, international superstar and recipient of many awards, has this to say about his signature pedal: “...we actually recorded this (pedal) in the studio, you know, trying it out. I turned up a Trainwreck Amp that I've got and compared the sound of the distortion and it was very, very similar. And that's a very good test because any time a pedal can mimic a great overdriven amp then you're on to something...” High praise from someone well known as an absolute tone-hound. From TV studios to outdoor arenas, where Brad Paisley plays, there's the Paisley Drive. Having purchased the Wampler Pedals Paisley Drive, you now have access to exactly the same pedal that Brad Paisley uses to ensure that he has a consistent, great sound, no matter where he's playing. When it's on, it does its magic – you might have heard it at the Country Music Awards, or on performances on various talk shows – and when it's off, true bypass ensures that there's nothing getting in the way of your great starting sound. Since we released it, it has become a favorite of guitarists the world over, some because they admire Brad's tone and want to get that sound for themselves, and others because they appreciate the flexibility of the pedal in getting their own sound, in a high quality, reliable package. Spend a little time with it, read this guide to using it, and let's add you to that list, too! To get the most out of your new pedal, you'll want to become very familiar with the controls. The Paisley drive features three adjustment knobs and two switches, allowing for a great deal of flexibility. With a twang-friendly single coil guitar, you can get anything from fatter cleans to some rocking drive. With a more aggressive axe, there's enough dirt on tap to get into a little bit of grinding distortion. And regardless of your gain needs, the EQ flexibility of this pedal is fantastic. We'll go over each control in detail, and offer some suggestions that will give you a great tone so you don't have to start from scratch unless you want to. Bypass Switch – Simple enough, this footswitch is wired up for true bypass switching to ensure that you don't have anything in the way when you disable the pedal. Stomp on it to turn the pedal on, and the LED indicator light will show that it's active. Volume – This controls the output of the pedal. Works just like the volume knob on your guitar or your amp. As you raise the Gain knob, and depending on how you adjust the Tone control and switches, you may need to raise or lower this to have the same output level. That's perfectly normal. Whether you prefer a boost when you kick your overdrive on or just about the same level as your clean tone, there should be enough range of adjustment to suit all tastes. It isn't a super loud pedal, so if you're using a very high output guitar, you might need to raise the volume fairly high – again, that's normal, so long as the pedal can hit unity gain (same level when you kick it on as when it's bypassed) it's behaving as expected TM TM
Transcript of Brad Paisley Signature Overdrive Pedal - Sam Ash€¦ · Brad Paisley Signature Overdrive Pedal...
Brad Paisley Signature Overdrive Pedal
Brad Paisley, international superstar and recipient of many awards, has this to say about his signature pedal:
“...we actually recorded this (pedal) in the studio, you know, trying it out. I turned up a Trainwreck Amp that I've got and compared the sound of the distortion and it was very, very similar. And that's a very good test because any time a pedal can mimic a great overdriven amp then you're on to something...”
High praise from someone well known as an absolute tone-hound. From TV studios to outdoor arenas, where Brad Paisley plays, there's the Paisley Drive. Having purchased the Wampler Pedals Paisley Drive, you now have access to exactly the same pedal that Brad Paisley uses to ensure that he has a consistent, great sound, no matter where he's playing. When it's on, it does its magic – you might have heard it at the Country Music Awards, or on performances on various talk shows – and when it's o�, true bypass ensures that there's nothing getting in the way of your great starting sound.
Since we released it, it has become a favorite of guitarists the world over, some because they admire Brad's tone and want to get that sound for themselves, and others because they appreciate the �exibility of the pedal in getting their own sound, in a high quality, reliable package. Spend a little time with it, read this guide to using it, and let's add you to that list, too!
To get the most out of your new pedal, you'll want to become very familiar with the controls. The Paisley drive features three adjustment knobs and two switches, allowing for a great deal of �exibility. With a twang-friendly single coil guitar, you can get anything from fatter cleans to some rocking drive. With a more aggressive axe, there's enough dirt on tap to get into a little bit of grinding distortion. And regardless of your gain needs, the EQ �exibility of this pedal is fantastic. We'll go over each control in detail, and o�er some suggestions that will give you a great tone so you don't have to start from scratch unless you want to.
Bypass Switch – Simple enough, this footswitch is wired up for true bypass switching to ensure that you don't have anything in the way when you disable the pedal. Stomp on it to turn the pedal on, and the LED indicator light will show that it's active.
Volume – This controls the output of the pedal. Works just like the volume knob on your guitar or your amp. As you raise the Gain knob, and depending on how you adjust the Tone control and switches, you may need to raise or lower this to have the same output level. That's perfectly normal. Whether you prefer a boost when you kick your overdrive on or just about the same level as your clean tone, there should be enough range of adjustment to suit all tastes. It isn't a super loud pedal, so if you're using a very high output guitar, you might need to raise the volume fairly high – again, that's normal, so long as the pedal can hit unity gain (same level when you kick it on as when it's bypassed) it's behaving as expected
TM
TM
Gain – This controls how much dirt you get from the pedal. At lower settings, it will be very nearly clean even if you dig in. Around 9 o'clock, it starts to get some crunch when you dig in (or if you have a high output guitar). By noon, it's really grooving, and past there you've got the potential for real distortion. Again, this control will interact somewhat with the Volume control. As you raise it, you may need to lower the Volume to keep the signal level even. You'll also �nd that the same Tone settings don't work at all Gain settings.
Tone – This adjusts between a much darker, bassier sound at the fully counterclockwise position, to a very highs-forward, present sound fully clockwise. As with most tonal adjustments, you're probably going to �nd the right �t for your gear somewhere between the extremes. It's not a bad idea to start at noon and adjust in small increments from there to let your ears get used to the sound of the pedal as you raise or lower the Tone knob. The Tone knob on this pedal doesn't stand alone, however – there are two switches which contribute strongly to how you'll want to adjust the Tone.
Presence Switch – This kicks in a little extra sparkle on top. Depending on how you have the other tone controls set, it may have more or less of an e�ect. If you feel like the highs need a boost, this switch is it! The switch is ON in the up position, and OFF in the down position.
Mid Contour Toggle – This three-way switch is the basis of the substantial �exibility of the Paisley Drive, and one of the things that makes it stand out as possibly the most versatile three-knob overdrive you've ever owned! Each setting completely changes the basic voicing of the midrange frequencies, where the majority of your guitar's notes live and breathe. It interacts with the Tone control, the Presence Switch, and even the Gain knob, and as such it will require some careful attention to learn completely. The bottom position emphasizes mids in a way that can really thicken up a guitar tone and put it right out front. The middle position pulls everything in the midrange back, and gives the overall sound a glassy character, great for smooth rhythm playing with a touch of chime. The top position is a sort of balance between the other two, and o�ers a fairly even sounding tone that doesn't push but also doesn't pull the midrange. Each setting is like having a di�erent pedal underfoot, so learning to use the Mid Contour toggle is absolutely key to getting the most out of the Paisley DrivePower RequirementsThe pedal can be powered by a 9V battery. The battery terminal is located inside the pedal. If using a power supply, power needed for the pedal is 9V DC, regulated, center pin negative, as supplied by most standard Boss™/Ibanez™/Etc. supplies. The pedal can be safely powered with a multi-supply, like the Visual Sound 1SPOT™. The pedal was designed explicitly around the usage of a 9V DC power source, and is intended to sound its best at 9V. To avoid damage to the pedal, do not exceed 18V DC, do not use center pin positive adapters, and do not use AC power. Using an incorrect power adapter can lead to damage and will void the warranty on the pedal. This pedal draws 9mA.
Please note: If you are using a battery, it will drain when the input cord is plugged in.
Return and Warranty PolicyFor direct sales, there is a 7-day “no questions asked” period where you may return the pedal for any reason, provided that it is in its original condition. Please retain all packaging within this period in case you decide to return it! We only require that you pay shipping back. The 7 days start when you receive the pedal. This does not apply to dealer or retailer sales – see their individual return policies for speci�c information.
All Wampler Pedals, Inc. pedals carry a 5-year, fully transferable warranty that covers defects due to parts and labor. The warranty begins at the point of purchase. Please remember to register your pedal as soon as possible after purchase at the following web page to ensure quicker service if you should ever need to make a warranty claim: www.wamplerpedals.com/warranty_registration
For warranty repairs or questions, please feel free to contact us at www.wamplerpedals.com/contact_us.html
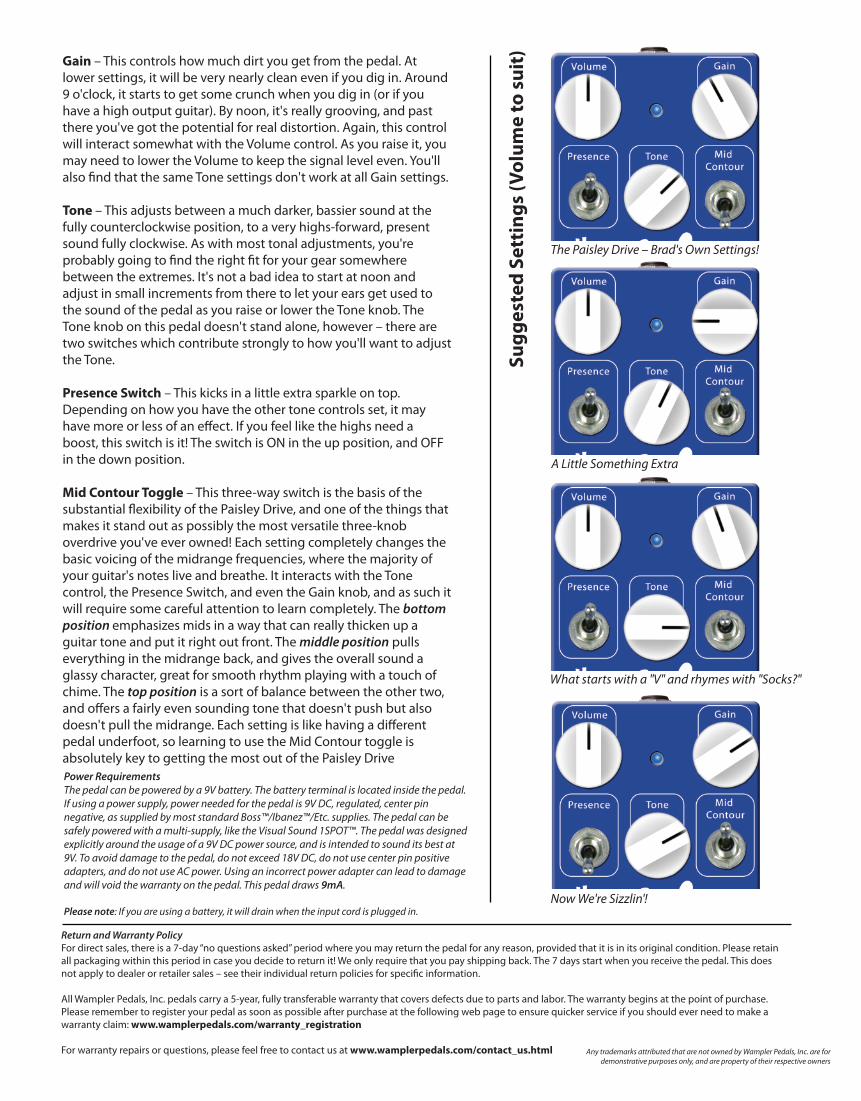
The Paisley Drive – Brad's Own Settings!
A Little Something Extra
What starts with a "V" and rhymes with "Socks?"
Now We're Sizzlin'!
Sugg
este
d Se
ttin
gs (V
olum
e to
sui
t)
Any trademarks attributed that are not owned by Wampler Pedals, Inc. are for demonstrative purposes only, and are property of their respective owners