BMW E36/E46 Adjustable Rear Lower Control Arm...
11
BMW E36/E46 Adjustable Rear Lower Control Arm Installation Guide Proper service and repair procedures are vital to the safe, reliable operation of all motor vehicles as well as the personal safety of those performing the repairs. Standard safety procedures and precautions (including use of safety goggles and proper tools and equipment) should be followed at all times to eliminate the possibility of personal injury or improper service which could damage the vehicle or compromise its safety.
Transcript of BMW E36/E46 Adjustable Rear Lower Control Arm...
BMW E36/E46 Adjustable Rear Lower Control Arm Installation Guide
Proper service and repair procedures are vital to the safe, reliable operation of all motor vehicles as well as the personal safety of those performing the repairs. Standard safety procedures and precautions (including use of safety goggles and proper tools and equipment) should be followed at all times to eliminate the possibility of personal injury or improper service which could damage the vehicle or compromise its safety.
ECS TUNING 1000 SEVILLE RD. WADSWORTH, OH 44281 1.800.924.5172 WWW.ECSTUNING.COM 2Table of Contents
BMW E36/E46 ADJUSTABLE REAR LOWER CONTROL ARM INSTALLATION GUIDE ES#2682175R
INTRODUCTION
Installing the ECS Tuning adjustable rear control arms onto your E36 or E46 BMW is a very rewarding project that will provide substantial gains in suspension technology and dependability. This control arm set has been designed by the experts at ECS Tuning in order to provide you with OEM style fitment, while still providing a wide range of adjustments.
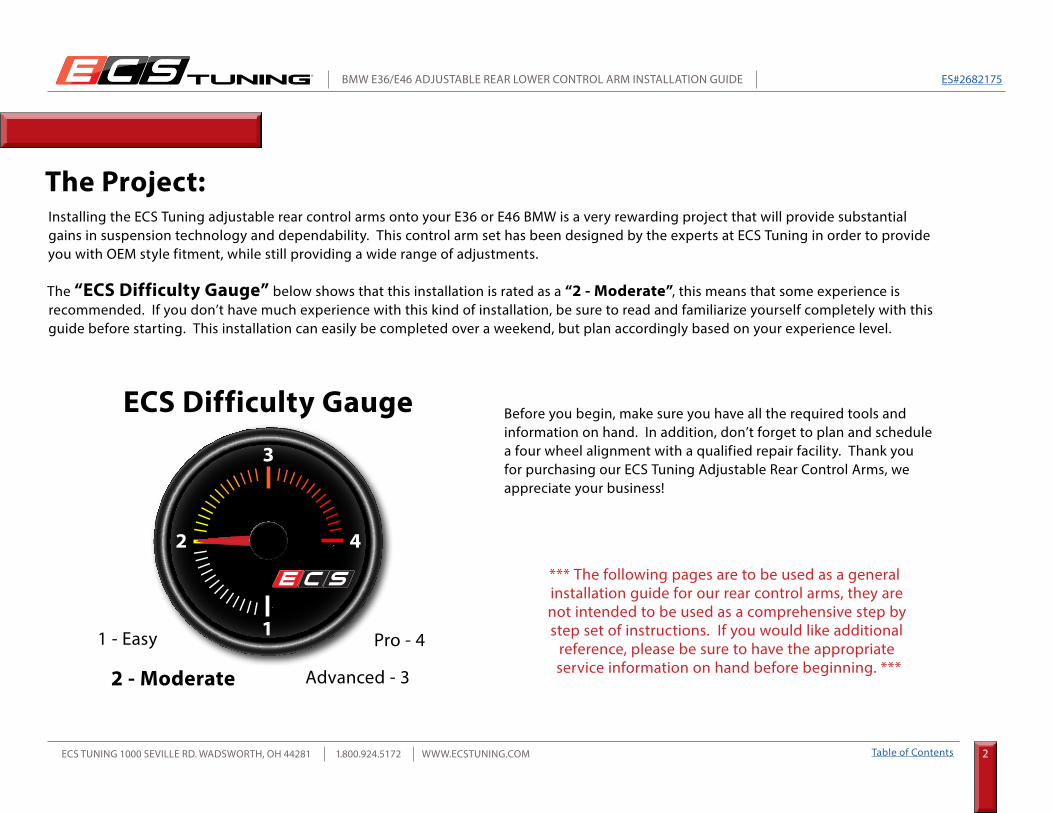
The “ECS Difficulty Gauge” below shows that this installation is rated as a “2 - Moderate”, this means that some experience is recommended. If you don’t have much experience with this kind of installation, be sure to read and familiarize yourself completely with this guide before starting. This installation can easily be completed over a weekend, but plan accordingly based on your experience level.
The Project:
Before you begin, make sure you have all the required tools and information on hand. In addition, don’t forget to plan and schedule a four wheel alignment with a qualified repair facility. Thank you for purchasing our ECS Tuning Adjustable Rear Control Arms, we appreciate your business!
*** The following pages are to be used as a general installation guide for our rear control arms, they are not intended to be used as a comprehensive step by step set of instructions. If you would like additional
reference, please be sure to have the appropriate service information on hand before beginning. ***
I I I I I I I I I
I I I I
I I I
I I I I I
I I I I I I I I I I I I I I I I I I I I I I
1
2 4
3
Advanced - 3
Pro - 4
2 - Moderate
1 - Easy
ECS Difficulty Gauge

ECS TUNING 1000 SEVILLE RD. WADSWORTH, OH 44281 1.800.924.5172 WWW.ECSTUNING.COM 3Table of Contents
BMW E36/E46 ADJUSTABLE REAR LOWER CONTROL ARM INSTALLATION GUIDE ES#2682175R
TABLE OF CONTENTSKit Contents .....................................................................................................................pg.3
Installation and Safety Information ........................................................................pg.
Control Arm Spec Sheet ..............................................................................................pg.
E36 Control Arm Installation .....................................................................................pg.
E46 Control Arm Installation .....................................................................................pg.
E36 Torque Specifications ..........................................................................................pg.
E46 Torque Specifications ..........................................................................................pg.
Schwaben Tools .............................................................................................................pg.
• (2) ECS Tuning Adjustable Rear Control Arms • (2) Outer Control Arm to Trailing Arm Bolts • (2) Outer Control Arm to Trailing Arm Nuts
KIT CONTENTS
ECS TUNING 1000 SEVILLE RD. WADSWORTH, OH 44281 1.800.924.5172 WWW.ECSTUNING.COM 4Table of Contents
BMW E36/E46 ADJUSTABLE REAR LOWER CONTROL ARM INSTALLATION GUIDE ES#2682175R
NEVER get underneath a vehicle that is supported only by a jack, andALWAYS make sure that the vehicle is securely supported on jack stands.
INSTALLATION NOTES
GENERAL PREPARATION AND SAFETY INFORMATION
• RH refers to the passenger side of the vehicle.• LH refers to the driver side of the vehicle.• Always use the proper torque specifications.• If applicable to this installation, torque specifications will be listed throughout the document and at the end as well.• Please read all of these instructions and familiarize yourself with the complete process BEFORE you begin.
• Park your car in a safe, well lit, level area.• Shut the engine off and remove the key from the ignition switch.• Make sure any remote start devices are properly disabled.• ALWAYS wear safety glasses.• Make sure the parking brake is applied until the vehicle is safely lifted and supported.• If using an automotive lift, be sure and utilize the factory specified lift points. Lifting a vehicle in an incorrect location can cause damage to the• suspension/running gear.• When lifting a vehicle using a jack, always utilize the factory specified lift points. Lifting a vehicle in an incorrect location can cause• damage to the suspension/running gear. ALWAYS support the vehicle with jack stands.• Always read and follow all safety information and warnings for the equipment you are using.
ECS Tuning cares about your health and safety. Please read the following safety information. This information pertains to automotive service in general, and while it may not pertain to every job you do, please remember and share these important safety tips.

ECS TUNING 1000 SEVILLE RD. WADSWORTH, OH 44281 1.800.924.5172 WWW.ECSTUNING.COM 5Table of Contents
BMW E36/E46 ADJUSTABLE REAR LOWER CONTROL ARM INSTALLATION GUIDE ES#2682175R
ECS TUNING ADJUSTABLE REAR CONTROL ARM SPEC SHEET• The turnbuckle threads will come pre-lubricated with anti-seize. If the arms are adjusted or disassembled after initial installation, be sure to re-lubricate the turnbuckle to prevent galling of the threads.
• Pre-installed OE style inner bushing. Torque with the vehicle at ride height.
• 303 Stainless Steel Turnbuckle
• Turnbuckle adjustment flats
• Lightweight aluminum turnbuckle lock nuts. Thread them by hand until they are seated against the inner and outer ends, then tighten only a few extra degrees with a wrench. Do not over-tighten these or you can strip the aluminum.
• Use the new bolts supplied with the kit here.
The turnbuckle should be evenly spaced between each half of the control arm. When adjusting, do not extend the control arm halves beyond the grooves (arrows) cut in the turnbuckle threads.
*** The suggested starting length for the adjustable control arms is 559mm,
measured from the center of the bushing to the center of the bolt ***

ECS TUNING 1000 SEVILLE RD. WADSWORTH, OH 44281 1.800.924.5172 WWW.ECSTUNING.COM 6Table of Contents
BMW E36/E46 ADJUSTABLE REAR LOWER CONTROL ARM INSTALLATION GUIDE ES#2682175R
E36 REAR CONTROL ARM INSTALLATIONUse the following checklist as a guide for control arm replacement. On page 9 we have listed all of the necessary torque specifications for the E36 rear suspension to cover the control arms as well as any other replacements/repairs you may be performing at the same time.
Seated lock nuts
Installed control arms
Remove both rear wheels.
Remove both lower control arm bolts on each side.
Remove both lower control arms.
Install the new ECS Tuning adjustable control arms in place.
Install and hand tighten the bolts.
Raise and securely support the vehicle.
Reinstall and torque the rear wheels.
Lower the vehicle onto the wheels so it is at ride height.
Torque the bolts to the proper specification with the wheels at ride height.
Perform a four wheel alignment/tighten the turnbuckle lock nuts.

ECS TUNING 1000 SEVILLE RD. WADSWORTH, OH 44281 1.800.924.5172 WWW.ECSTUNING.COM 7Table of Contents
BMW E36/E46 ADJUSTABLE REAR LOWER CONTROL ARM INSTALLATION GUIDE ES#2682175R
E46 REAR CONTROL ARM INSTALLATIONUse the following checklist as a guide for control arm replacement. On page 10 we have listed all of the necessary torque specifications for the E46 rear suspension to cover the control arms as well as any other replacements/repairs you may be performing at the same time.
Remove both rear wheels.
M3 models only: Remove the rear reinforcing brace.
Remove rear underbody shields and insulation as necessary.
Unbolt the rear differential from the subframe (this will be required for clearance to remove the inner control arm bolts).
Support the rear trailing arms using a jack or adjustable jack stand.
Raise and securely support the vehicle.
Remove both lower control arm mounting bolts, pushing the rear differential towards the rear as necessary to remove the bolts.
Remove the original control arms.
Install the ECS Tuning control arms into place.
Install and hand tighten the bolts.
Reinstall and torque the wheels, then lower the vehicle onto the wheels so it is at ride height.
Torque the control arm bolts with the vehicle at ride height, then reinstall braces and shields as necessary.
Perform a four wheel alignment/tighten the turnbuckle lock nuts.

ECS TUNING 1000 SEVILLE RD. WADSWORTH, OH 44281 1.800.924.5172 WWW.ECSTUNING.COM 8Table of Contents
BMW E36/E46 ADJUSTABLE REAR LOWER CONTROL ARM INSTALLATION GUIDE ES#2682175R
E36 REAR SUSPENSION TORQUE SPECIFICATIONSDifferential to subframe front M12 bolt ......................................................................................... 95 Nm (70 Ft-lbs)Differential to subframe rear M14 bolt ........................................................................................... 77 Nm (57 Ft-lbs)Drive axle collar nut to drive flange ................................................................................................ 250 Nm (184 Ft-lbs)Drive axle collar nut to drive flange M3 Models .................................................................. 300 Nm (221 Ft-lbs)Drive axle to differential flange M8 Torx Bolt............................................................................... 64 Nm (47 Ft-lbs)Drive axle to differential flange M10 Torx Bolt ............................................................................. 83 Nm (62 Ft-lbs)Drive axle to differential flange M10 Ribbed Bolt ....................................................................... 100 Nm (74 Ft-lbs)Driveshaft to differential flange with CV joint M8 bolt ............................................................. 32 Nm (23 Ft-lbs)Driveshaft to differential flange with U-joint M10 ribbed nut ................................................. 80 Nm (59 Ft-lbs)Driveshaft to differential flange with U-Joint M10 compressed nut ...................................... 60 Nm (44 ft-lbs)Lower control arm to subframe M12 bolt ...................................................................................... 77Nm (57 Ft-lbs)Lower control arm to trailing arm M12 eccentric bolt ................................................................ 110 Nm (81 Ft-lbs)Shock absorber to trailing arm ......................................................................................................... 77 Nm (57 Ft-lbs)Subframe to body ................................................................................................................................ 77 Nm (57 Ft-lbs)Trailing arm bracket to body ............................................................................................................. 77 Nm (57 Ft-lbs)Trailing arm to front bracket ............................................................................................................. 110 Nm (81 Ft-lbs)Upper control arm to rear subframe M12 Bolt ............................................................................. 77 Nm (57 Ft-lbs)Upper control arm to trailing arm M12 Bolt .................................................................................. 110 Nm (81 Ft-lbs)Wheels ..................................................................................................................................................... 100 Nm (74 Ft-lbs)
• A note about torque to yield or “stretch” bolts: Many bolts will have a torque specification listed in the format - xx Nm+xx degrees (xx Ft-lbs+xx degrees). These bolts are torque to yield bolts, commonly referred to as “stretch” bolts. The correct procedure for torquing these bolts is: Stage One - torque them to the Nm or Ft-lb specification. Stage Two - tighten each one the additional specified number of degrees. To prevent over torquing it is important to mark each fastener with paint immediately after performing the second stage or “stretching” of the bolts.
Non Ribbed
Ribbed
A “ribbed” or “non ribbed” bolt or nut is identified by the contact surface of the nut or bolt. See the illustration at right.

ECS TUNING 1000 SEVILLE RD. WADSWORTH, OH 44281 1.800.924.5172 WWW.ECSTUNING.COM 9Table of Contents
BMW E36/E46 ADJUSTABLE REAR LOWER CONTROL ARM INSTALLATION GUIDE ES#2682175R
E46 REAR SUSPENSION TORQUE SPECIFICATIONSDifferential to subframe front M12 bolt ......................................................................................... 110 Nm (81 Ft-lbs)Differential to subframe rear M14 bolt ........................................................................................... 174 Nm (128 Ft-lbs)Drive axle collar M24 nut to drive flange ....................................................................................... 250 Nm (184 Ft-lbs)Drive axle collar M27 nut to drive flange ....................................................................................... 300 Nm (221 Ft-lbs) Drive axle to differential flange M10 x 20mm torx bolt ............................................................. 83 Nm (61 Ft-lbs)Drive axle to differential flange M10 x 46mm bolt (black) ........................................................ 100 Nm (74 Ft-lbs)Drive axle to differential flange M10 x 46mm bolt (silver-always replace) ........................... 80 Nm (59 Ft-lbs)Driveshaft to differential flange M10 compression nut ............................................................. 64 Nm (47 Ft-lbs)Driveshaft to differential flange M10 torx bolt ............................................................................ 85 Nm (63 Ft-lbs)Lower control arm to subframe M12 bolt ...................................................................................... 110 Nm (81 Ft-lbs)Lower control arm to trailing arm M12 eccentric bolt ................................................................ 110 Nm (81 Ft-lbs)Shock absorber to trailing arm ......................................................................................................... 100 Nm (74 Ft-lbs)Subframe to body M12 bolt, M12 nut to mounting stud ........................................................... 77 Nm (57 Ft-lbs)Subframe M12 mounting stud to body .......................................................................................... 90 Nm (66 Ft-lbs)Trailing arm to front bracket ............................................................................................................. 110 Nm (81 Ft-lbs)Trailing arm bracket to body ............................................................................................................. 77 Nm (57 Ft-lbs)Upper control arm to rear subframe M12 bolt ............................................................................. 77 Nm (57 Ft-lbs)Upper control arm to trailing arm M12 bolt .................................................................................. 110 Nm (81 Ft-lbs)V-Brace to differential or body M10 bolt ....................................................................................... 59 Nm+90 deg (44 Ft-lbs+90 deg)Wheels ..................................................................................................................................................... 120 Nm (90 Ft-lbs)
• A note about torque to yield or “stretch” bolts: Many bolts will have a torque specification listed in the format - xx Nm+xx degrees (xx Ft-lbs+xx degrees). These bolts are torque to yield bolts, commonly referred to as “stretch” bolts. The correct procedure for torquing these bolts is: Stage One - torque them to the Nm or Ft-lb specification. Stage Two - tighten each one the additional specified number of degrees. To prevent over torquing it is important to mark each fastener with paint immediately after performing the second stage or “stretching” of the bolts.
Non Ribbed
Ribbed
A “ribbed” or “non ribbed” bolt or nut is identified by the contact surface of the nut or bolt. See the illustration at right.
ECS TUNING 1000 SEVILLE RD. WADSWORTH, OH 44281 1.800.924.5172 WWW.ECSTUNING.COM 10Table of Contents
BMW E36/E46 ADJUSTABLE REAR LOWER CONTROL ARM INSTALLATION GUIDE ES#2682175R
At ECS Tuning, we carry a line of high quality Schwaben Tools and Equipment to help you build your ultimate tool collection. Never before has affordability and quality been so closely related. Our entire Schwaben line is subjected to strict in house testing for strength and durability. See what we have to offer and equip your garage without breaking the bank.
SCHWABEN - BUILD THE ULTIMATE TOOL COLLECTION

Your Adjustable Control Arm Installation is Complete!
These instructions are provided as a courtesy by ECS TuningProper service and repair procedures are vital to the safe, reliable operation of all motor vehicles as well as the personal safety of those performing the repairs. Standard safety procedures and precautions (including use of safety goggles and proper tools and equipment) should be followed at all times to eliminate the possibility of personal injury or improper service which could damage the vehicle or compromise its safety.
Although this material has been prepared with the intent to provide reliable information, no warranty (express or implied) is made as to its accuracy or completeness. Neither is any liability assumed for loss or damage resulting from reliance on this material. SPECIFICALLY, NO WARRANTY OF MERCHANTABILITY, FITNESS FOR A PARTICULAR PURPOSE OR ANY OTHER WARRANTY IS MADE OR TO BE IMPLIED WITH RESPECT TO THIS MATERIAL. In no event will ECS Tuning, Incorporated or its affiliates be liable for any damages, direct or indirect, consequential or compensatory, arising out of the use of this material.