
Basics of Hootsuite
120
How to use HOOTSUITE
-
Upload
maricel-ag -
Category
Social Media
-
view
72 -
download
0
Transcript of Basics of Hootsuite
How to use HOOTSUITE
What is Hootsuite?
Hootsuite is a social media
management tool or system

in the form of a dashboard
that helps in tracking and
managing your social media
channels
such as Twitter, Facebook,
LinkedIn, Google+,
Foursquare, MySpace,
WordPress, TrendSpottr and
Mixi.
How to access
Hootsuite
Open up a browser.
For this presentation, we
will use Mozilla Firefox
browser.
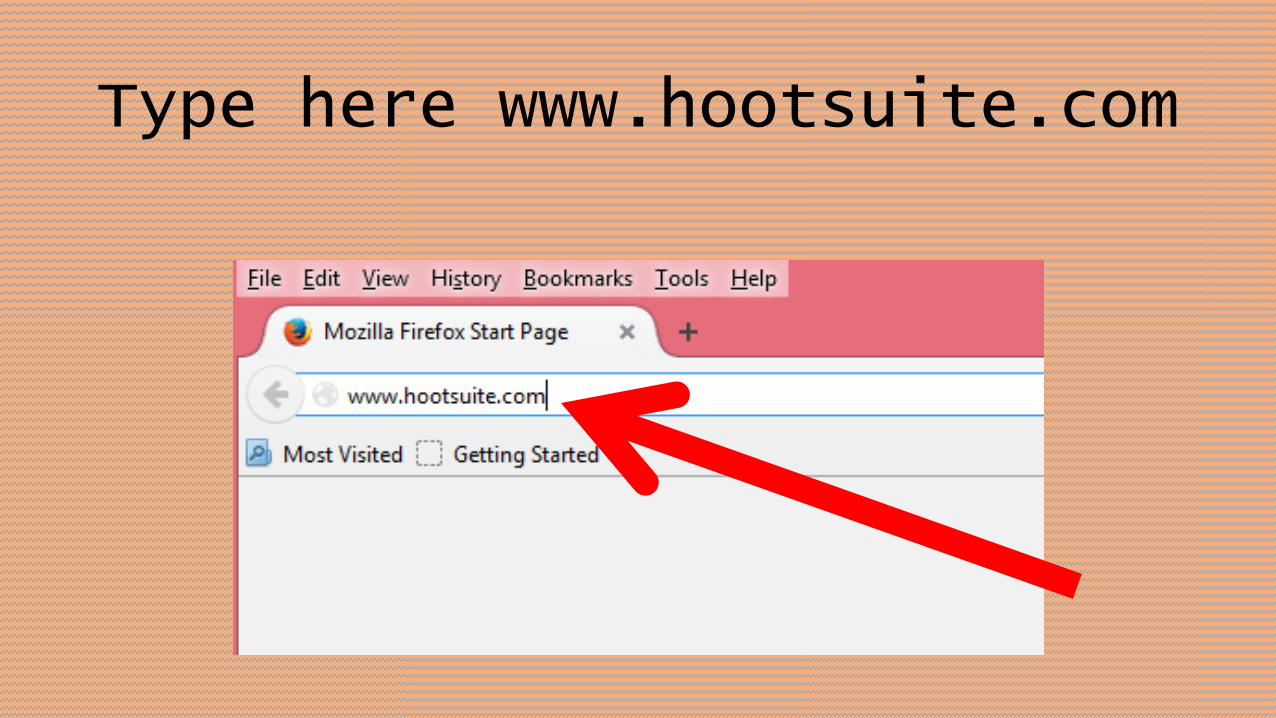
Type here www.hootsuite.com

Press Enter key

This page will appear.
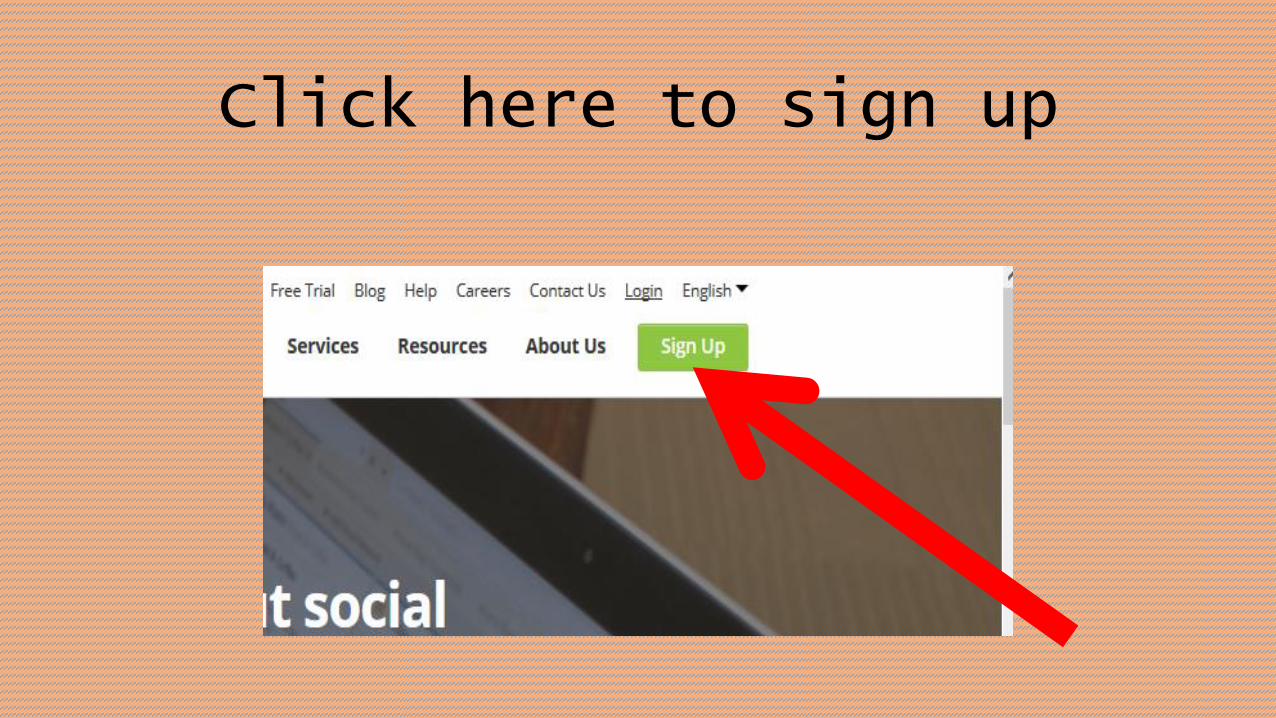
Click here to sign up
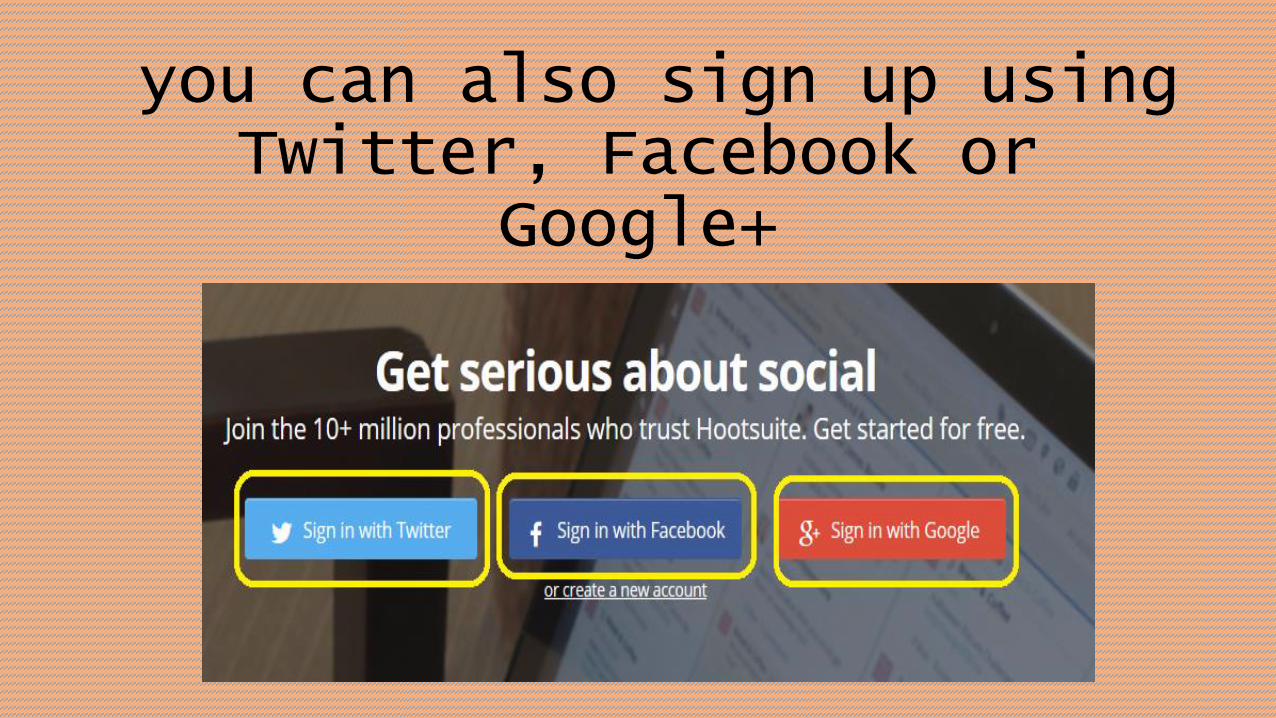
you can also sign up using Twitter, Facebook or
Google+
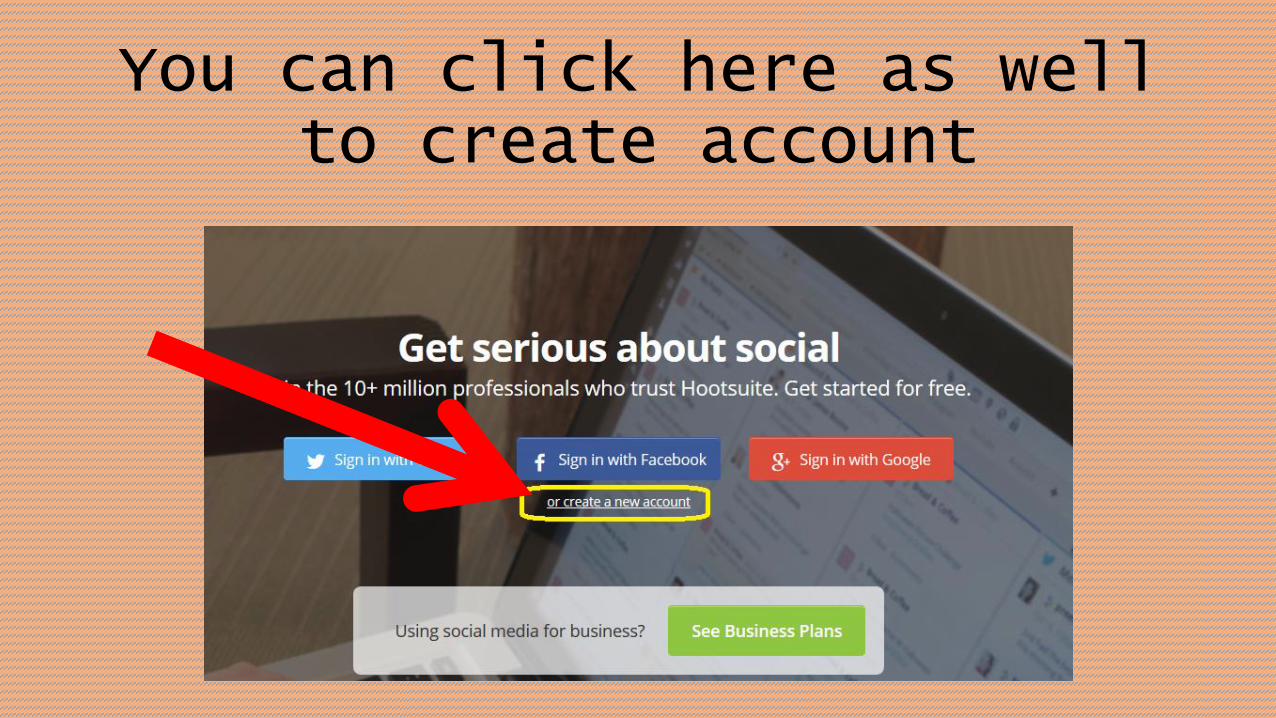
You can click here as well to create account
For this presentation, we
will sign up using Facebook
account.
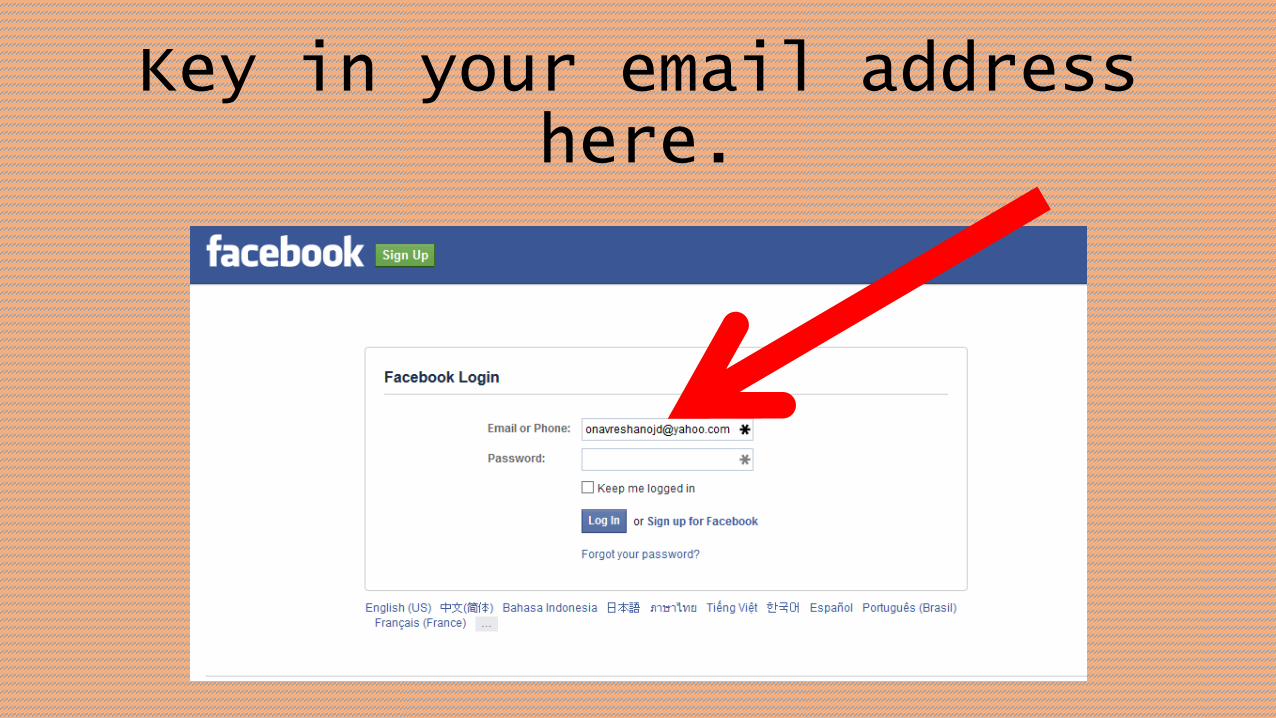
Key in your email address here.
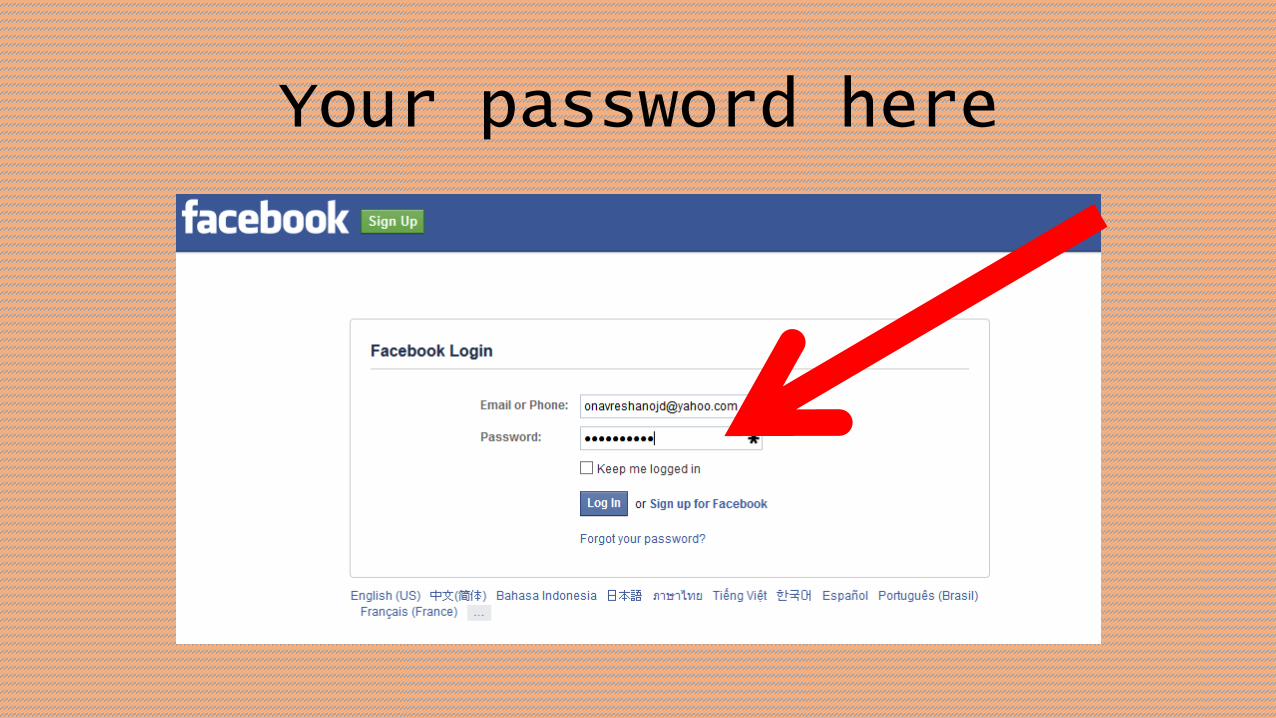
Your password here
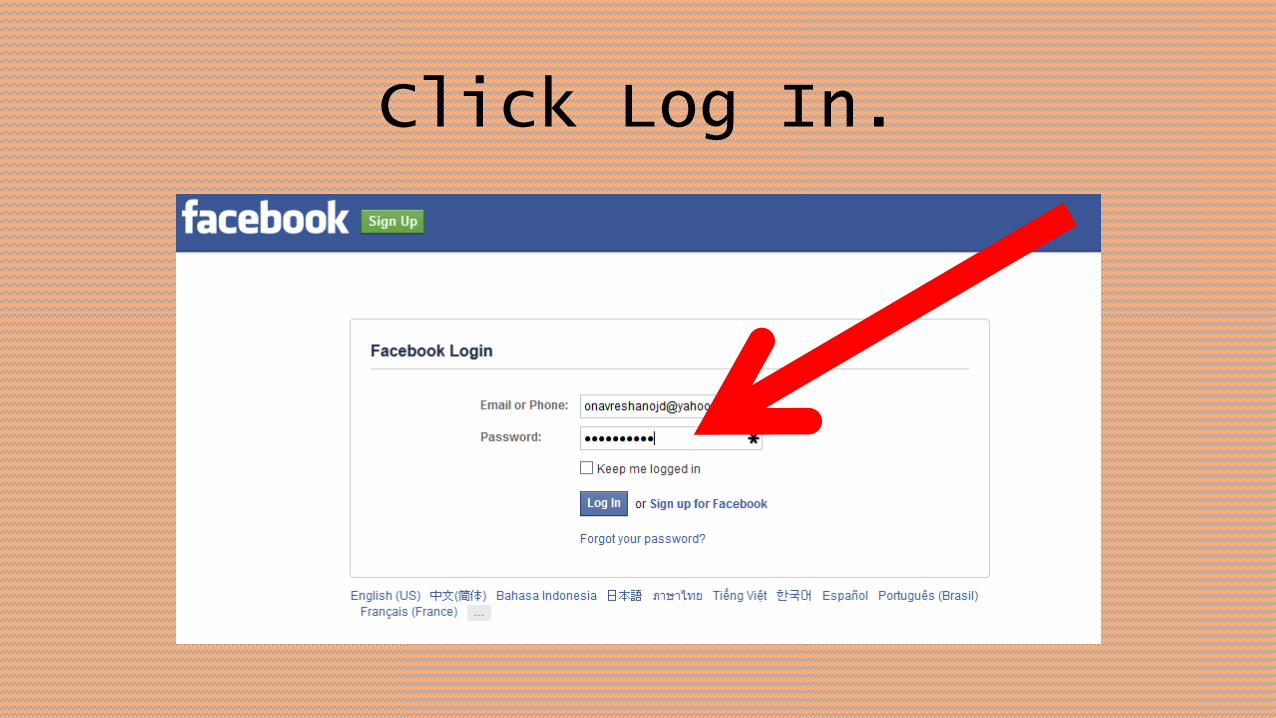
Click Log In.
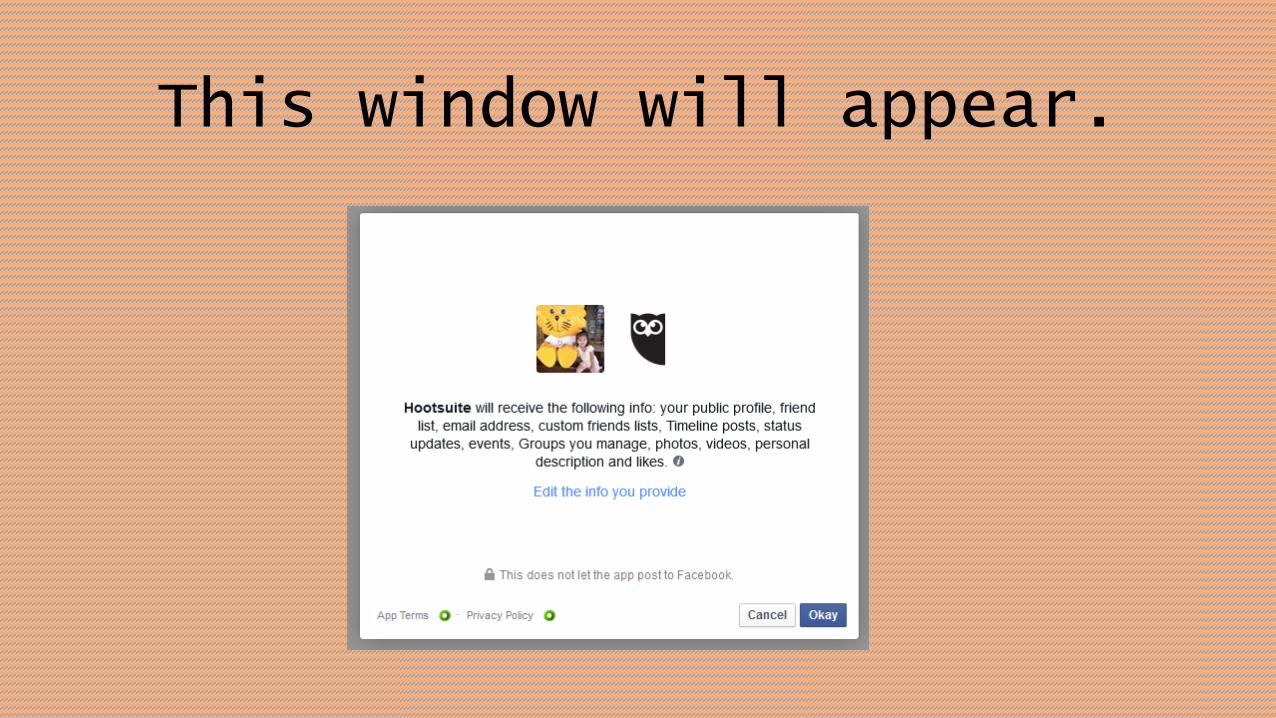
This window will appear.

Click on Okay to continue.
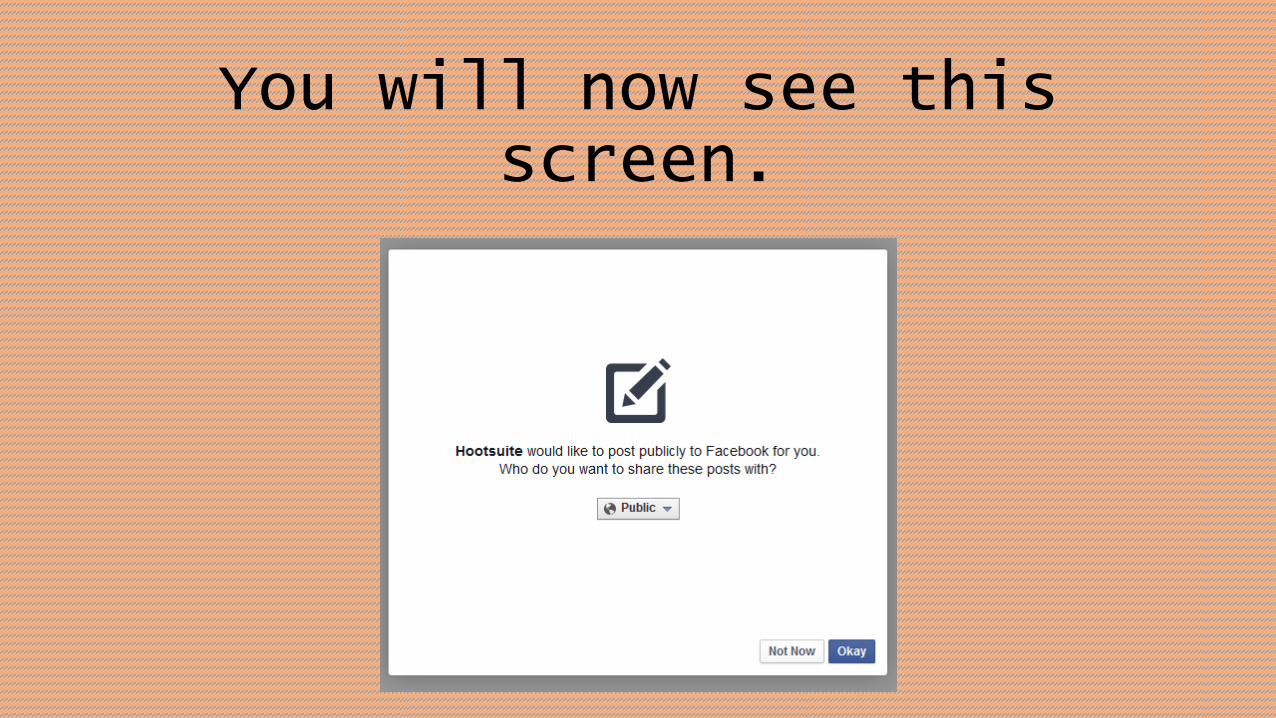
You will now see this screen.
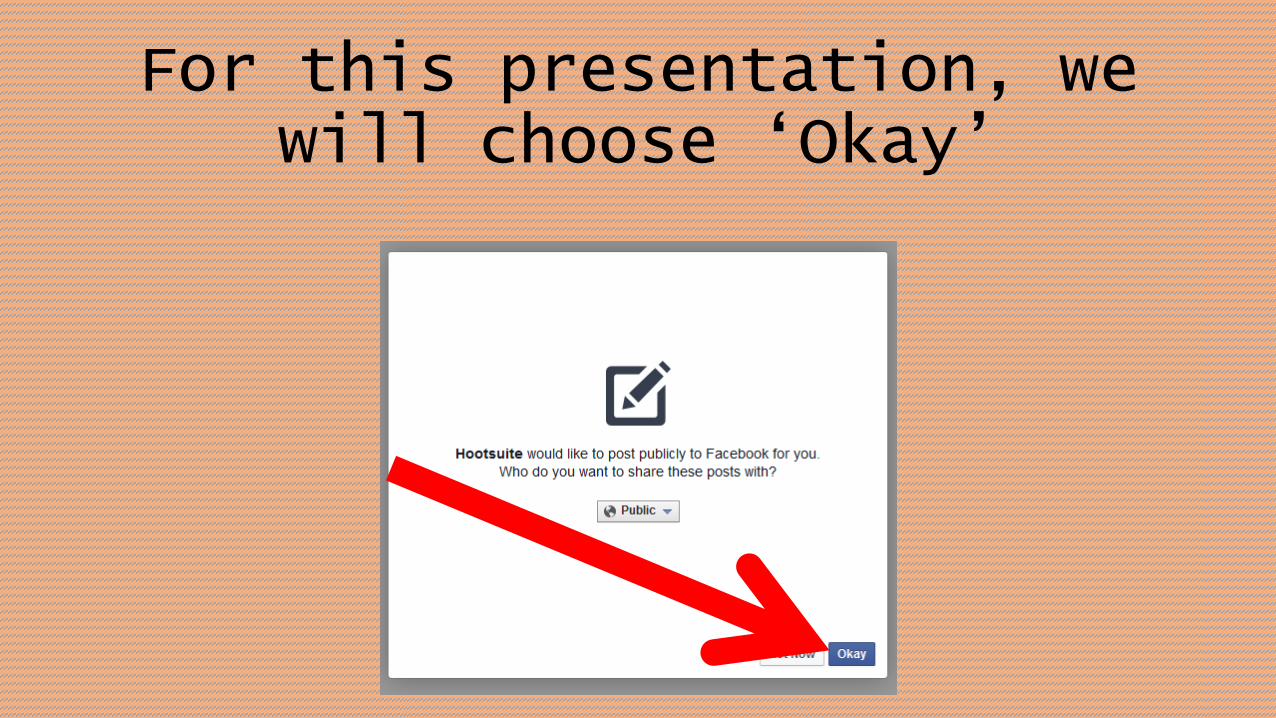
For this presentation, we will choose ‘Okay’
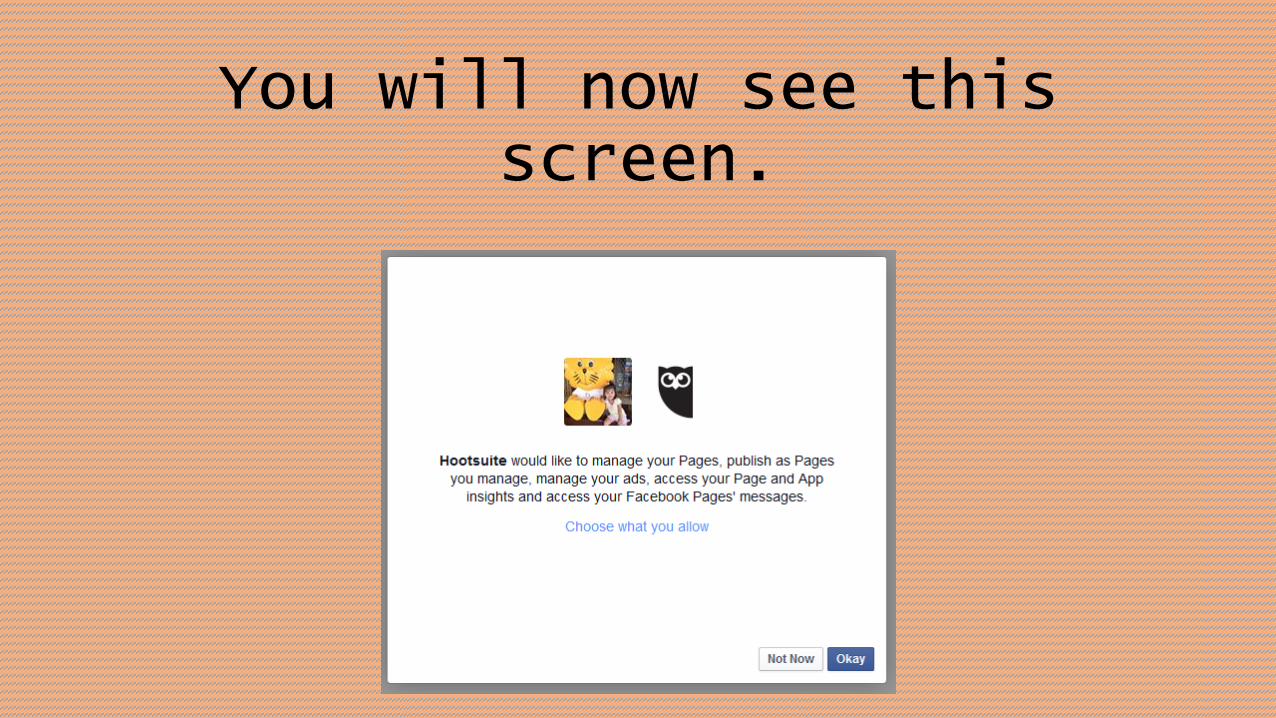
You will now see this screen.
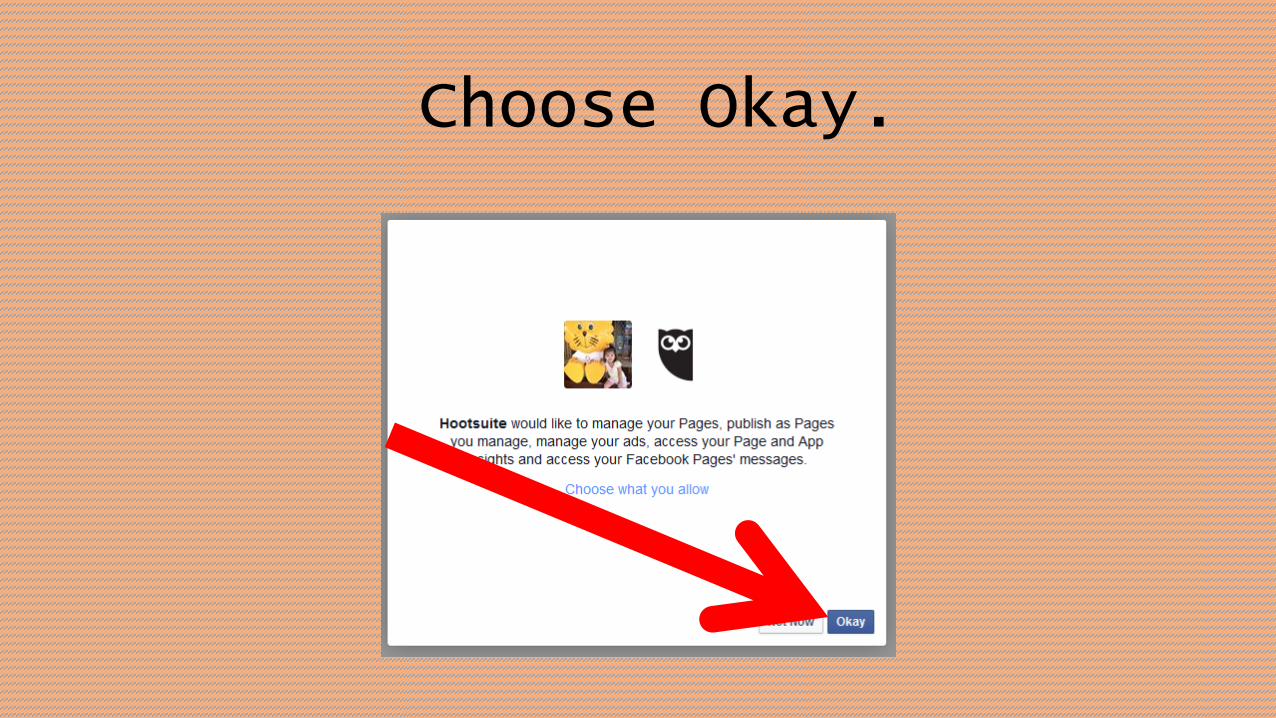
Choose Okay.

The hootsuite dashboard will now appear.
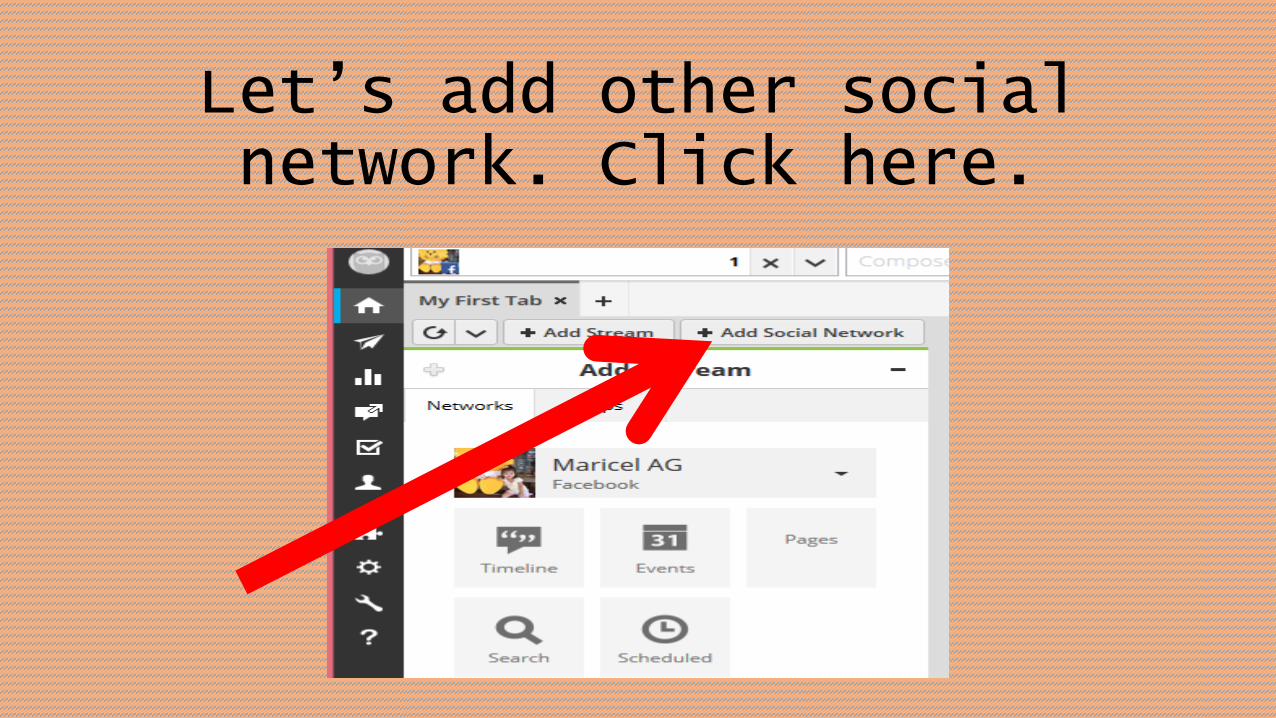
Let’s add other social network. Click here.
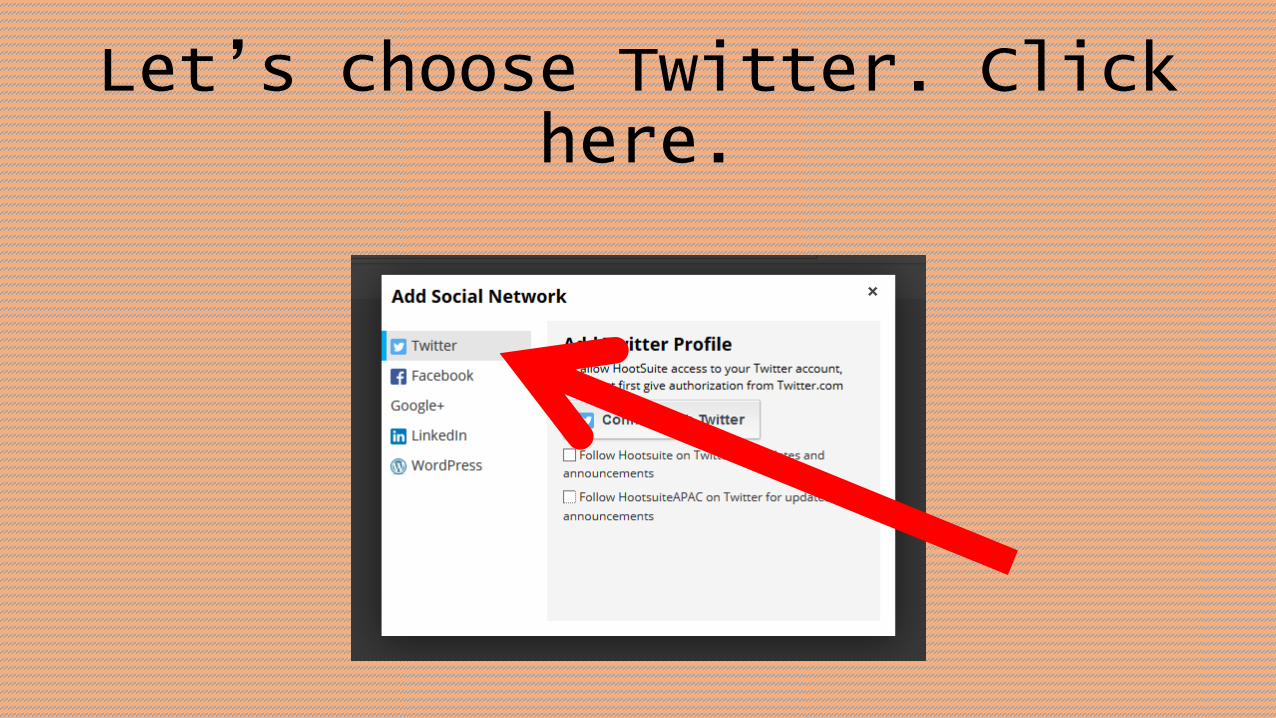
Let’s choose Twitter. Click here.
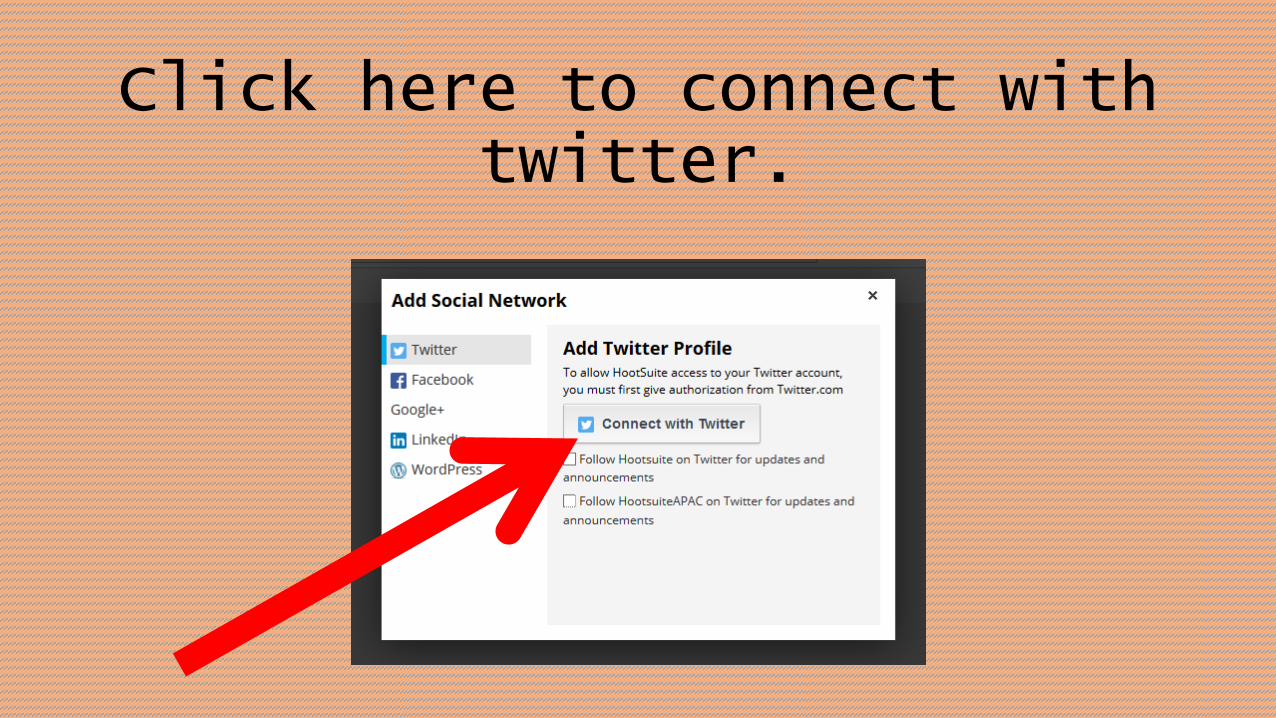
Click here to connect with twitter.
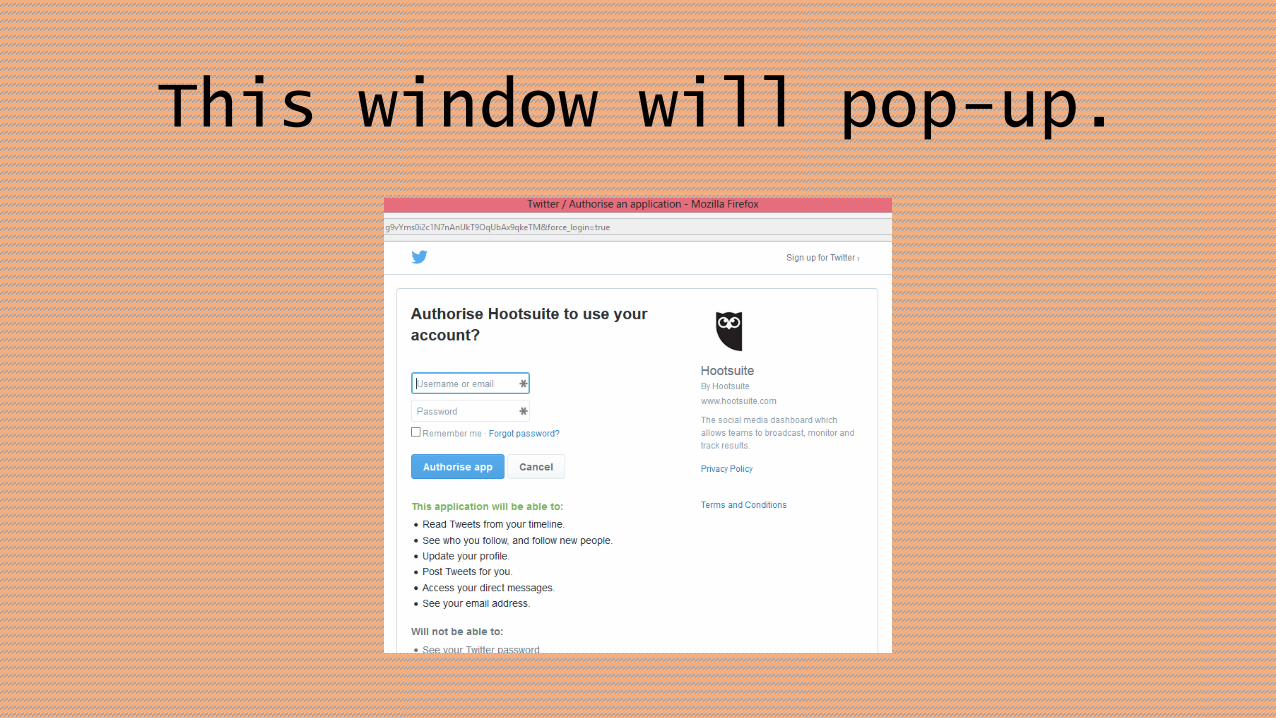
This window will pop-up.
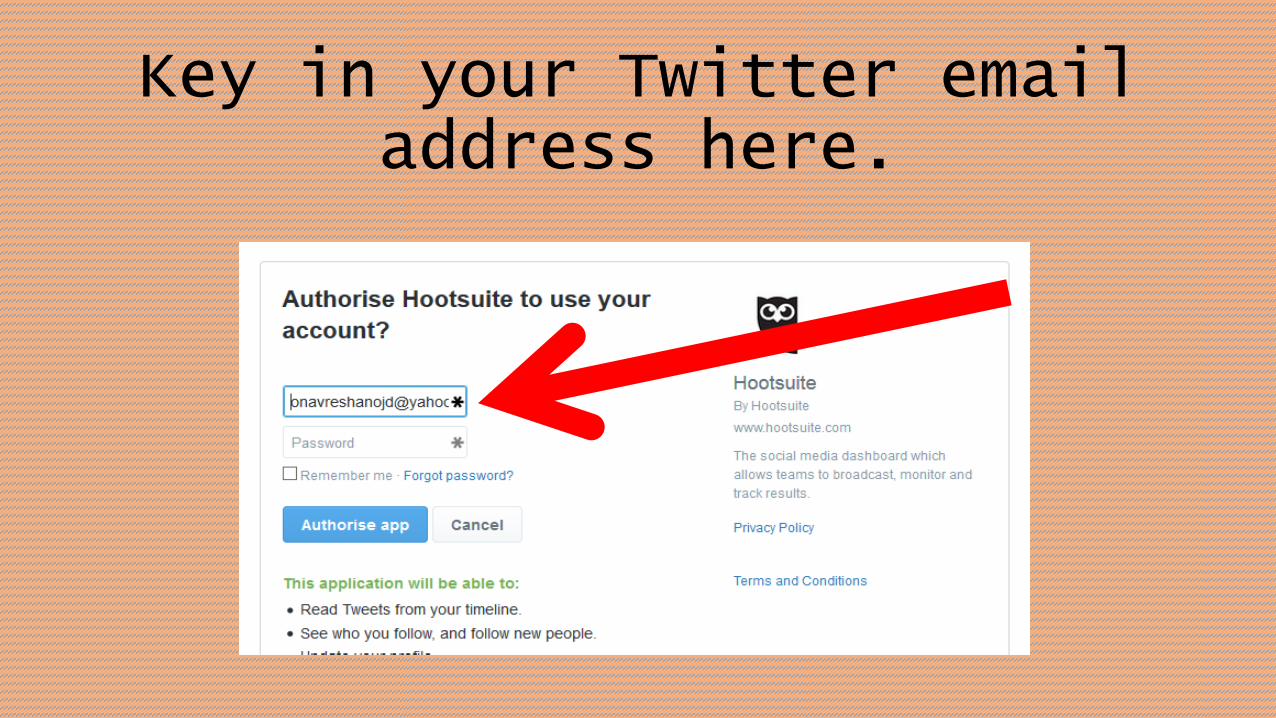
Key in your Twitter email address here.
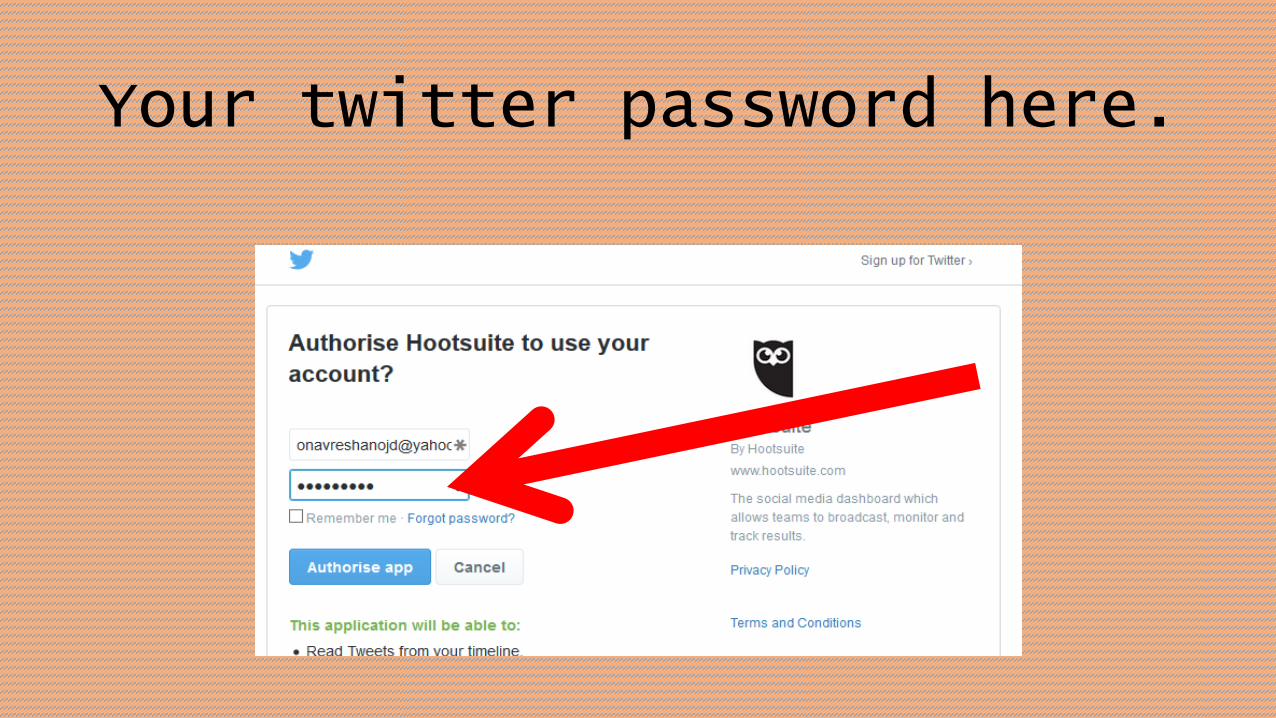
Your twitter password here.
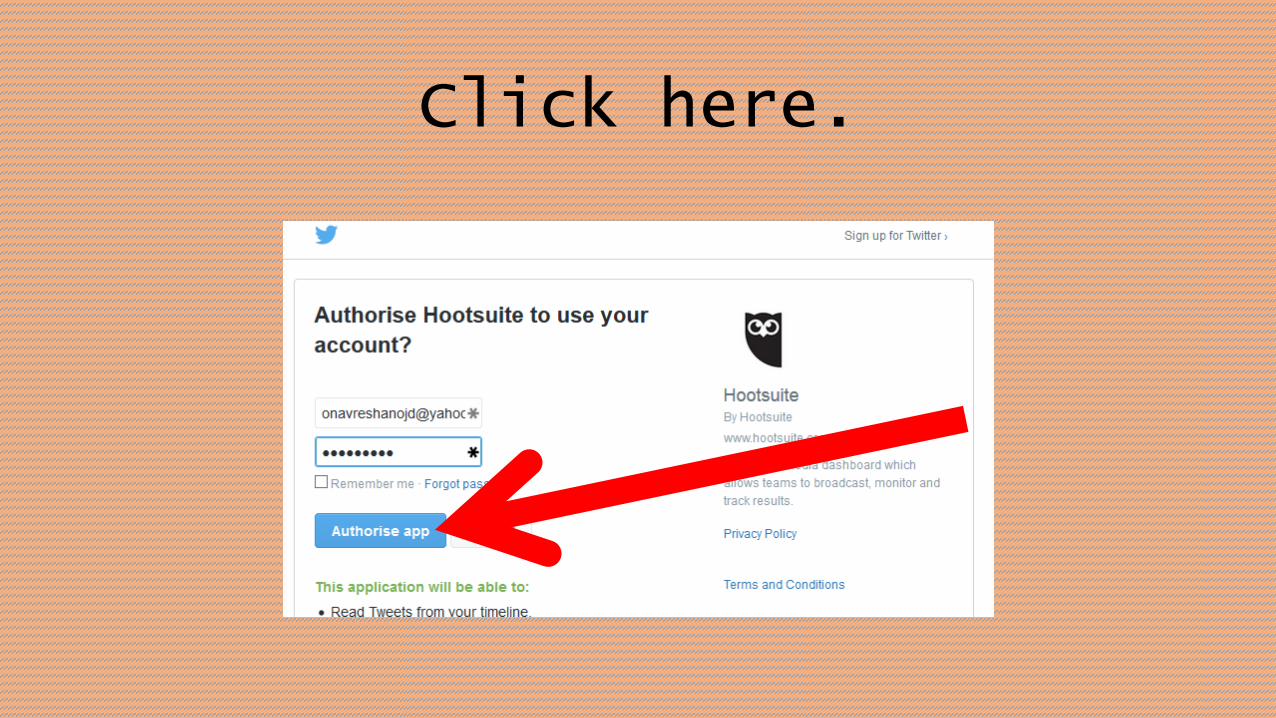
Click here.
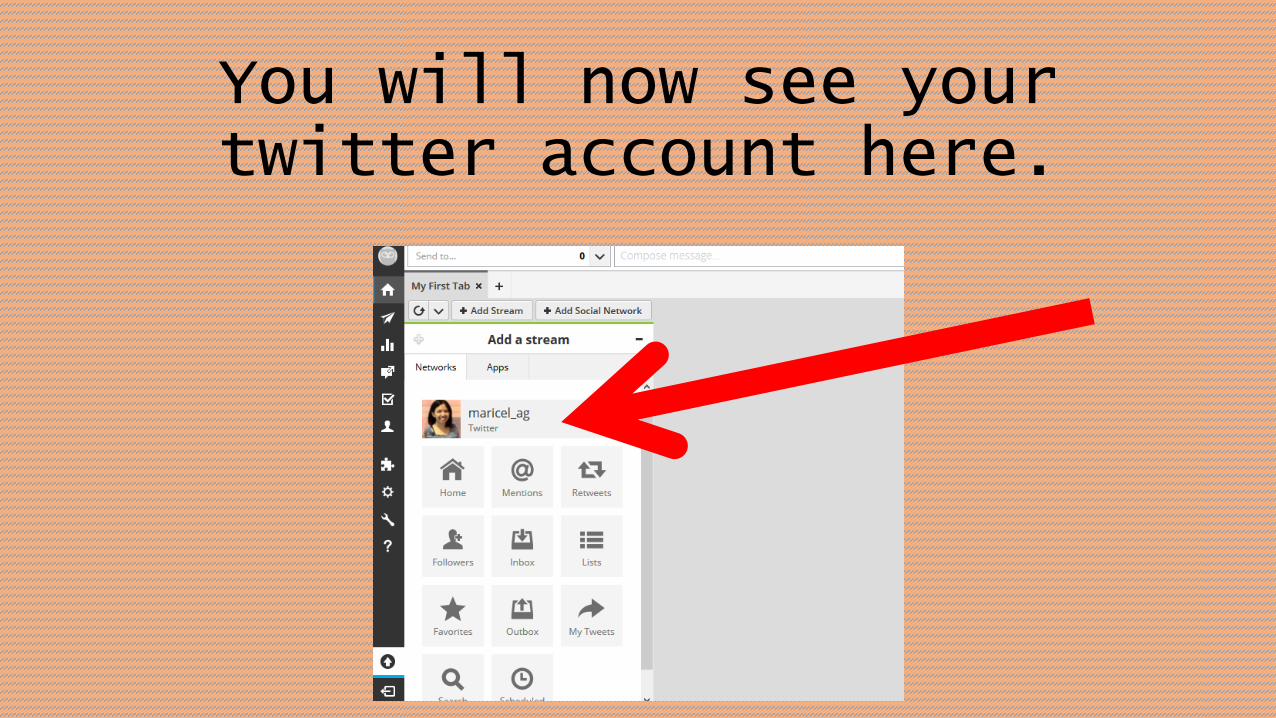
You will now see your twitter account here.
Let’s edit the name of
the first tab
as ‘Personal Twitter’
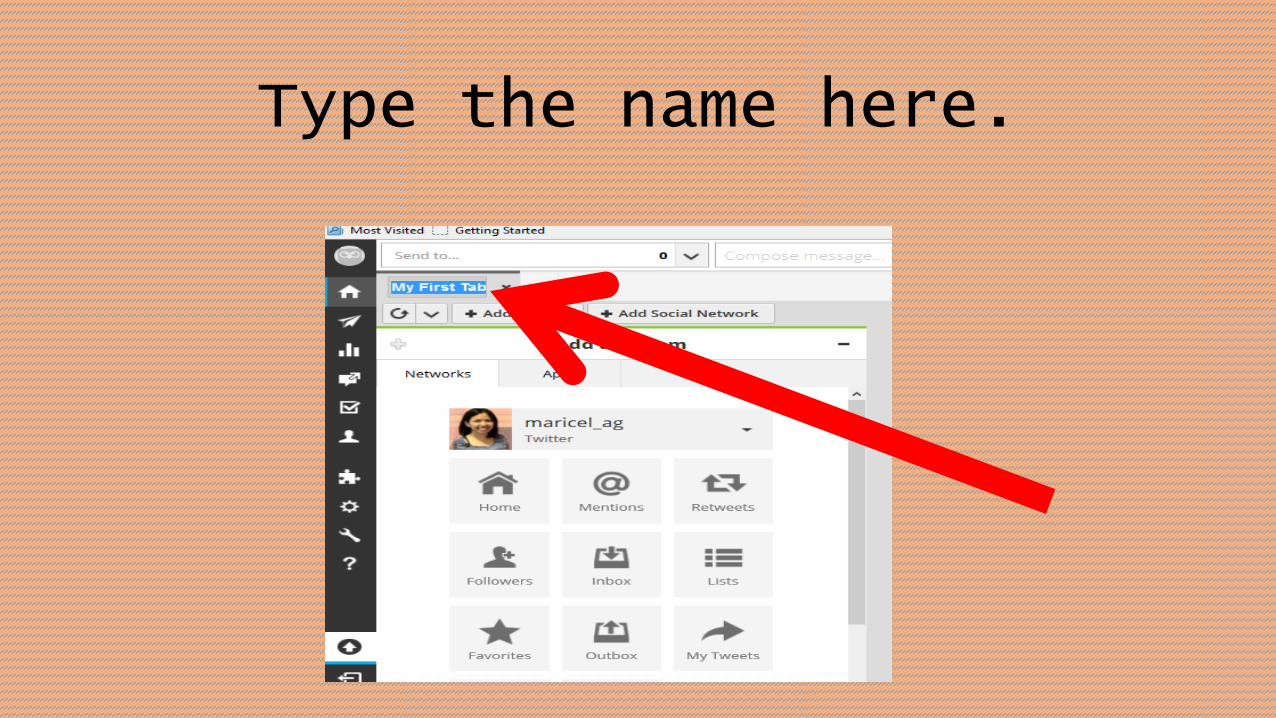
Type the name here.
Now, let’s try to add a
stream.
What are streams?
Streams are parts of your
Social media account
that help further break
down each tab in your
hootsuite account

according to social
networks, apps,
functionality, keyword
searches, etc.
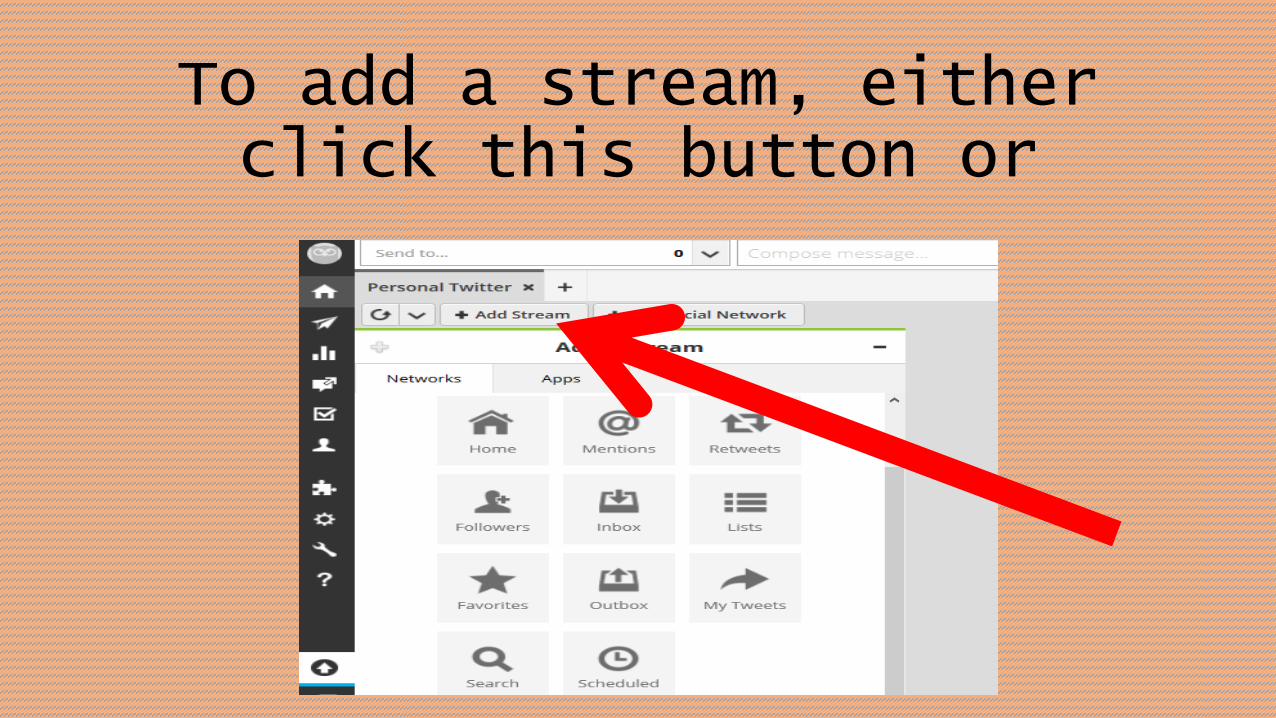
To add a stream, either click this button or
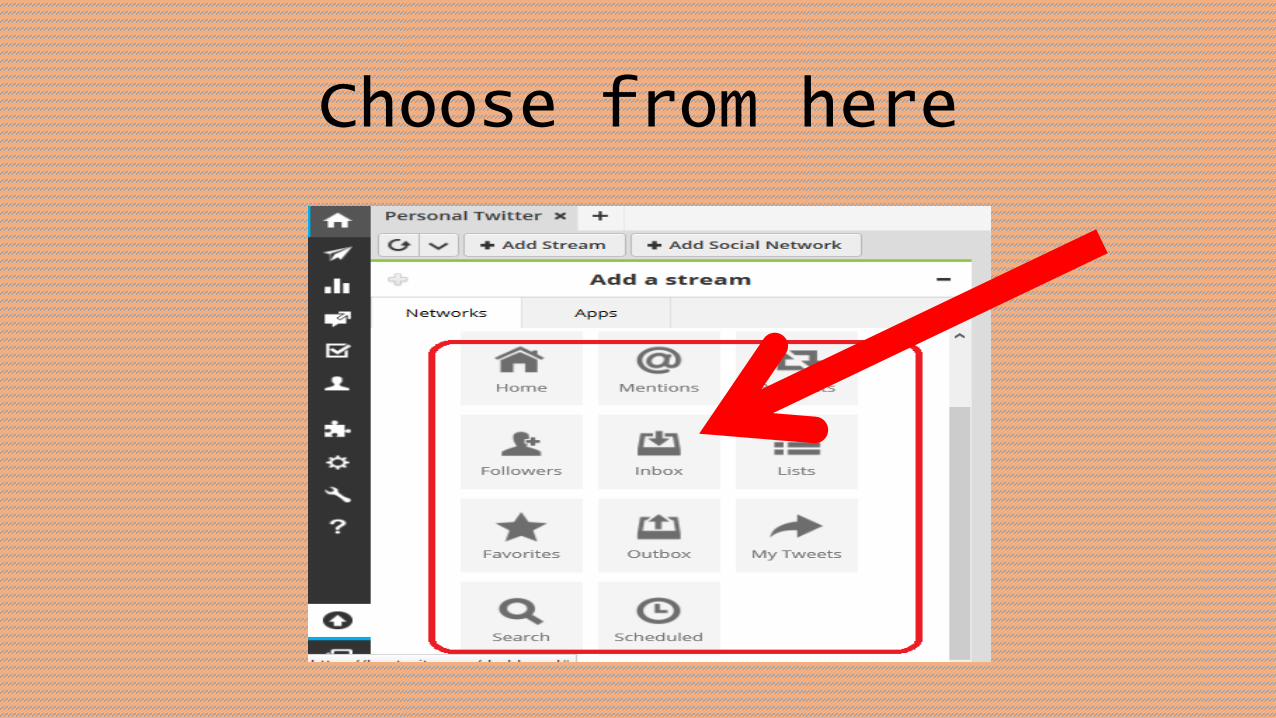
Choose from here
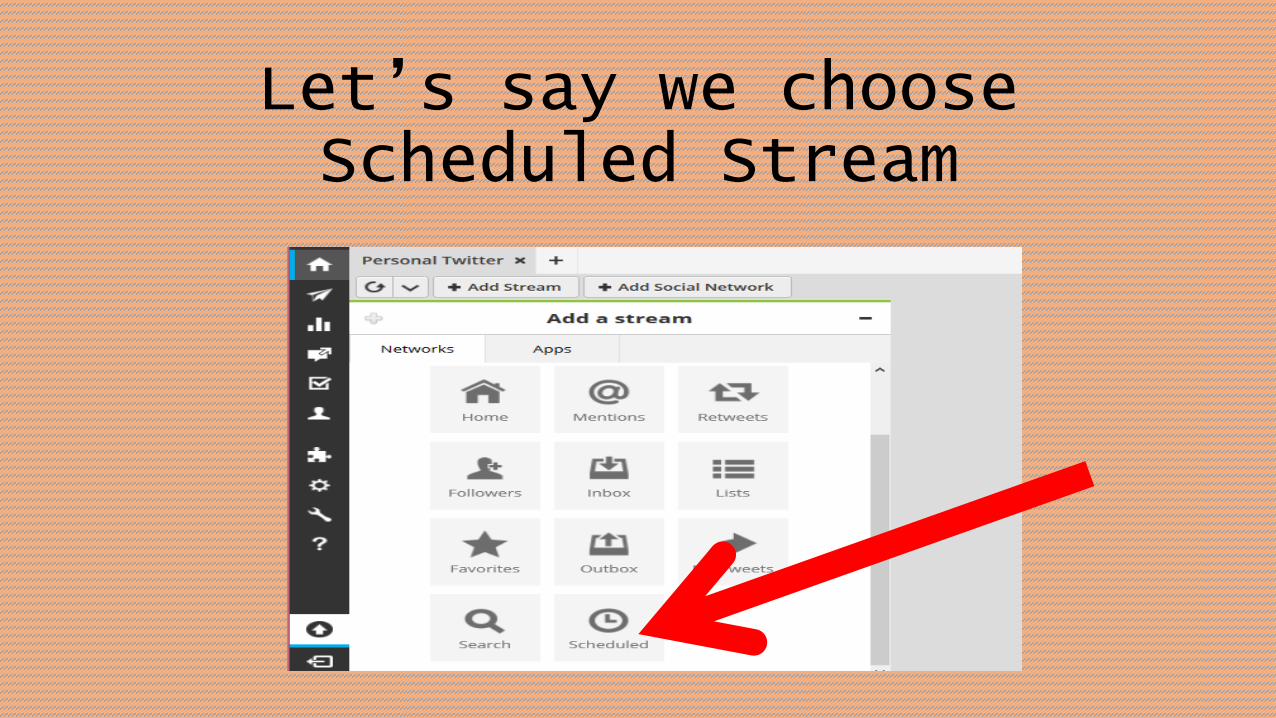
Let’s say we choose Scheduled Stream
Since there is no scheduled
message yet,
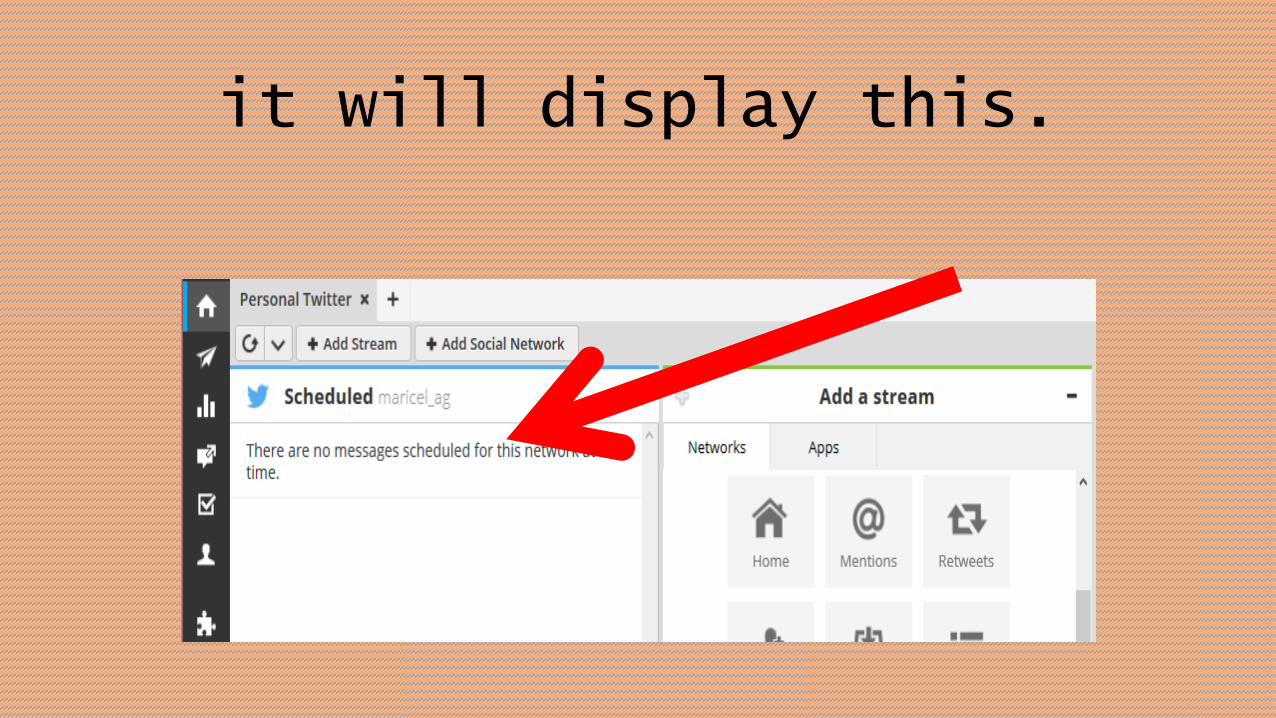
it will display this.
Before we create a message,
let’s install a hootlet
first.

What is a Hootlet?

A Hootlet is a hootsuite
extension that
automatically takes content
you want to share and pops
it into a message,
ready to go.
No need to leave the web
page.
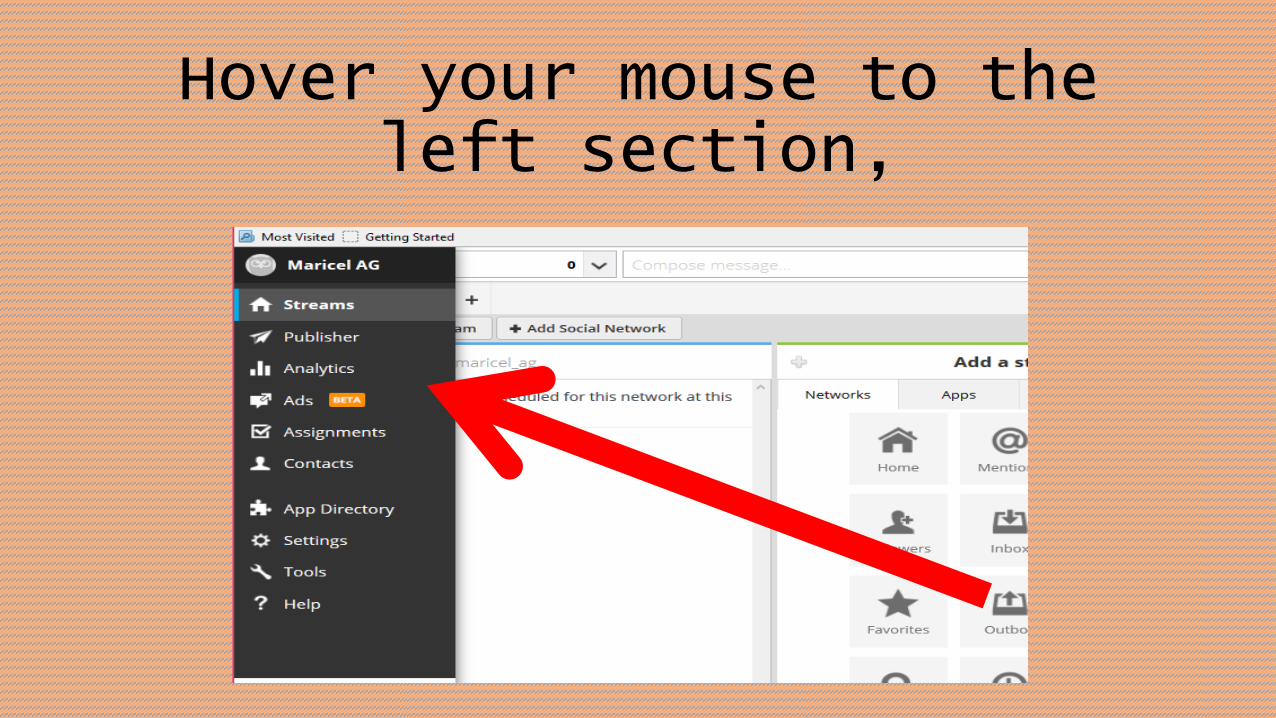
Hover your mouse to the left section,
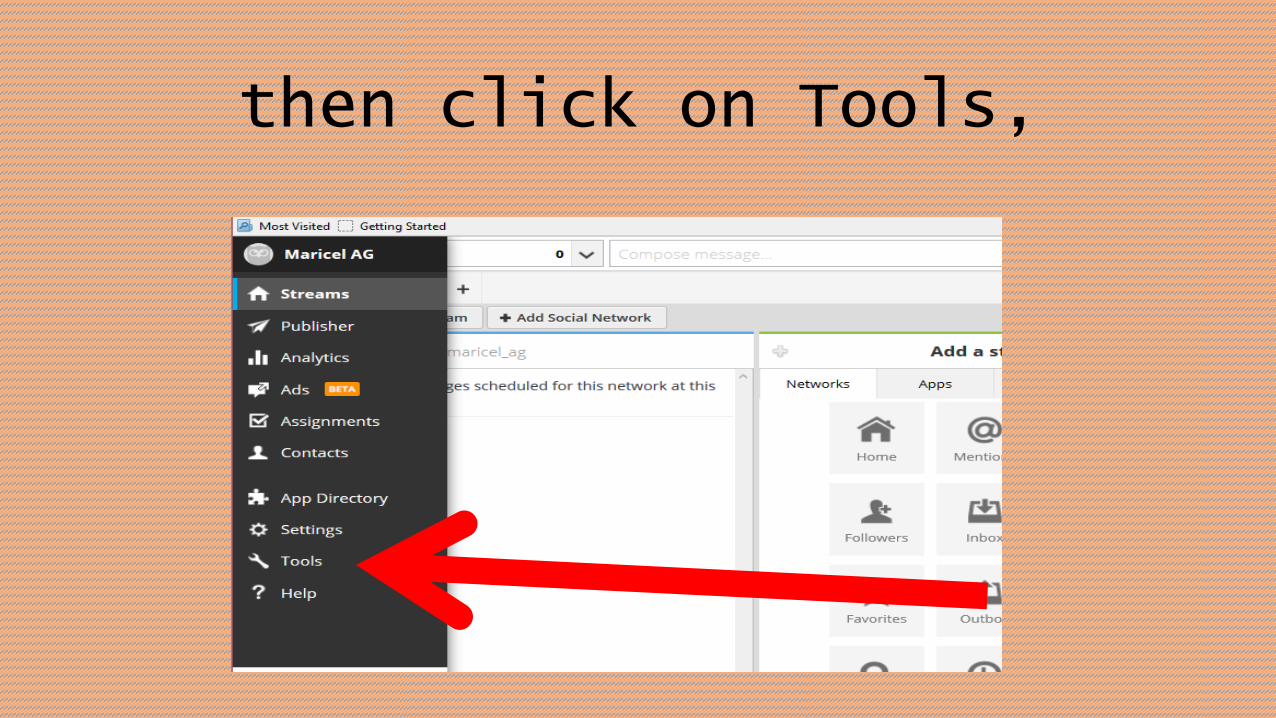
then click on Tools,
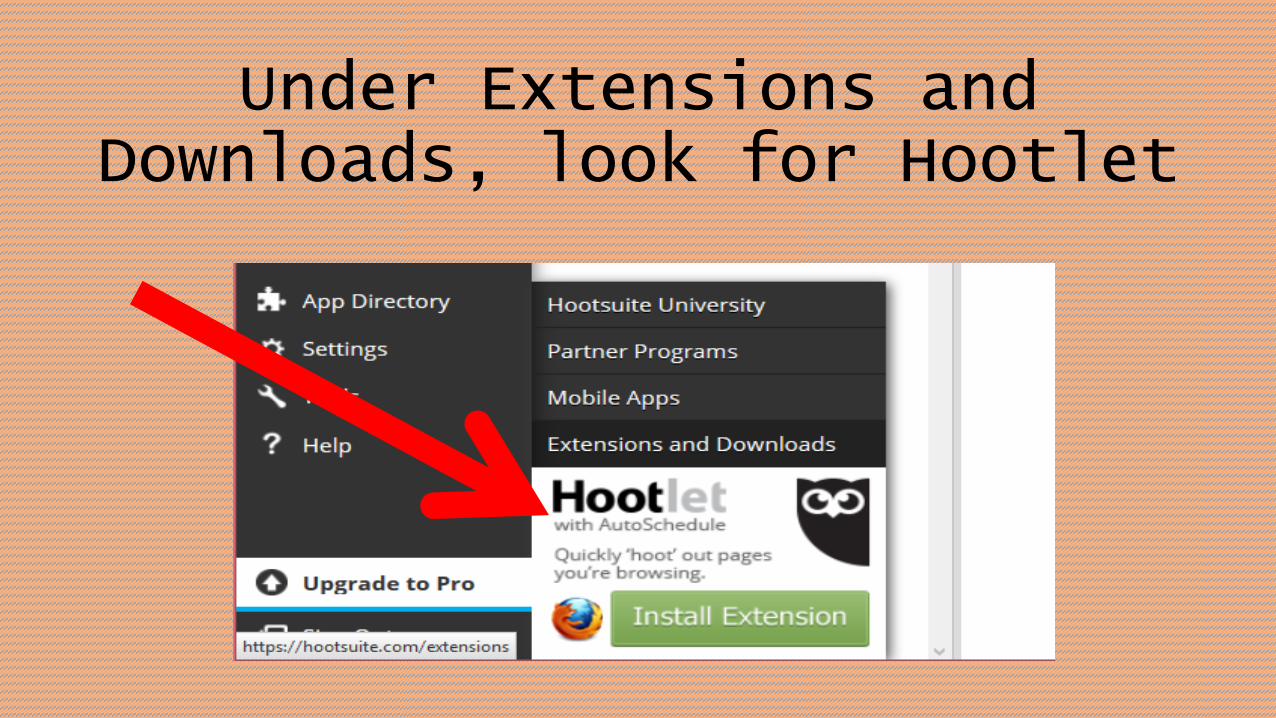
Under Extensions and Downloads, look for Hootlet

Click ‘Install Extension’
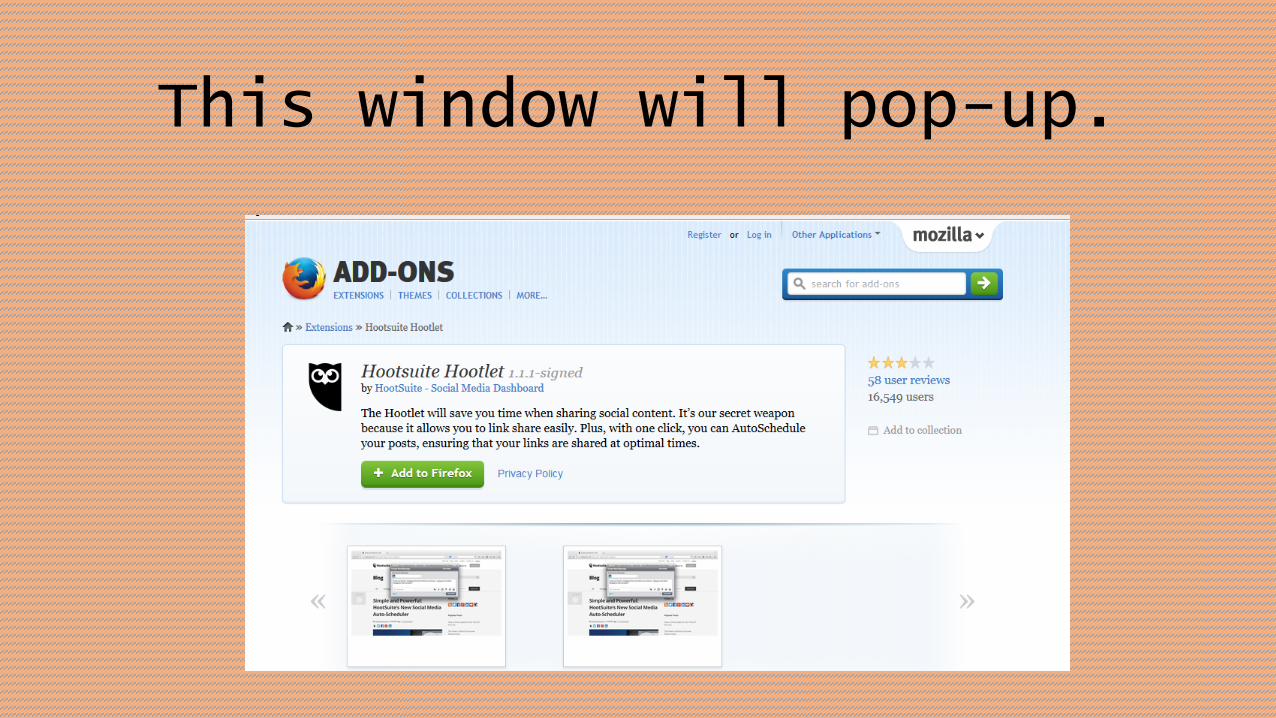
This window will pop-up.
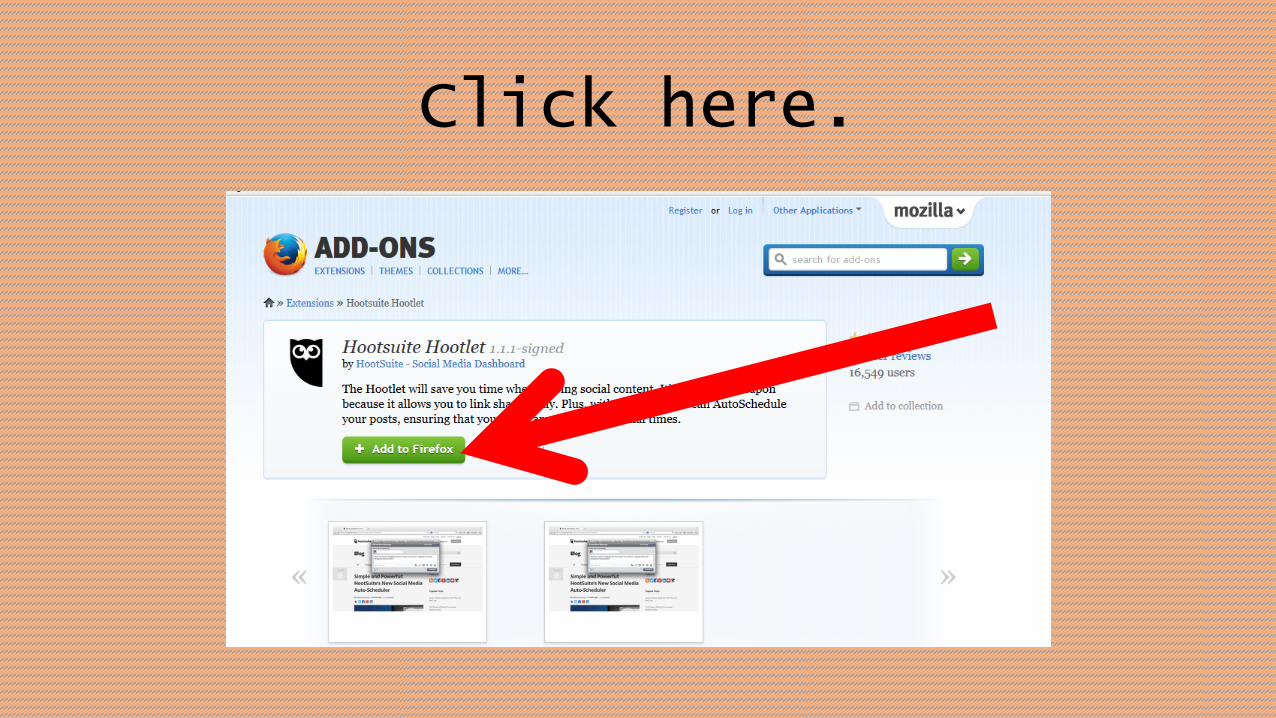
Click here.
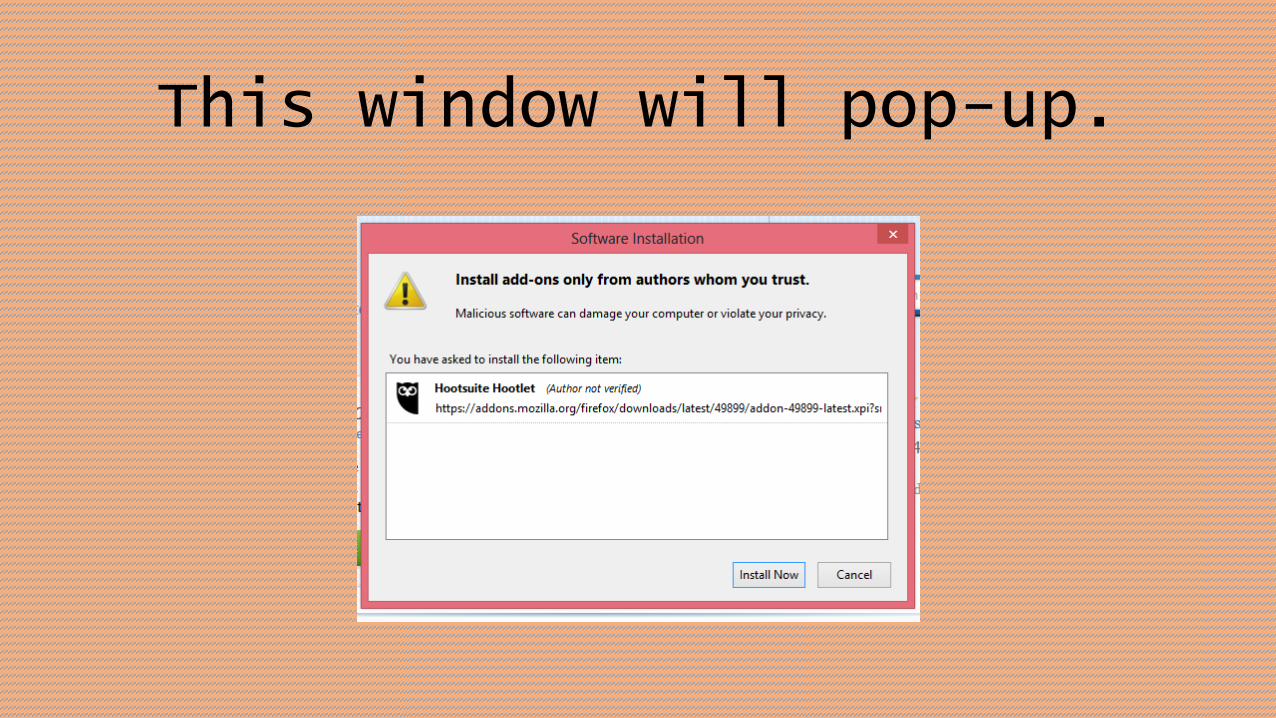
This window will pop-up.
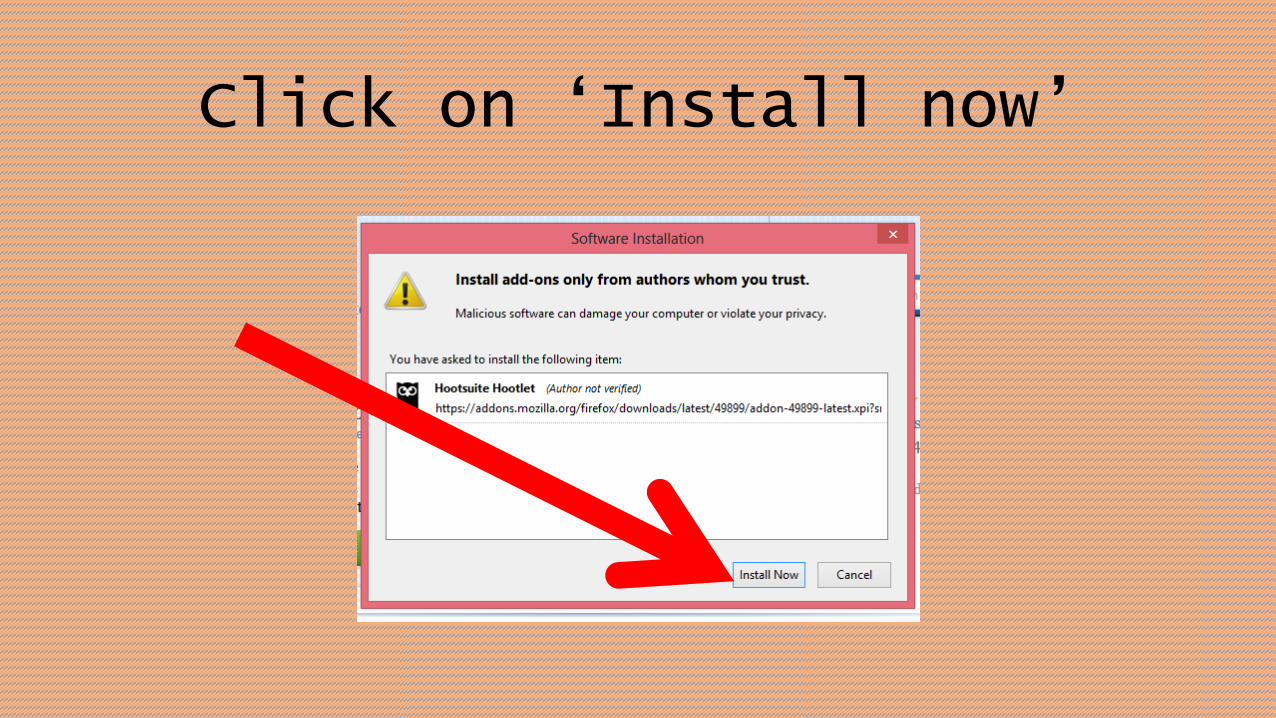
Click on ‘Install now’
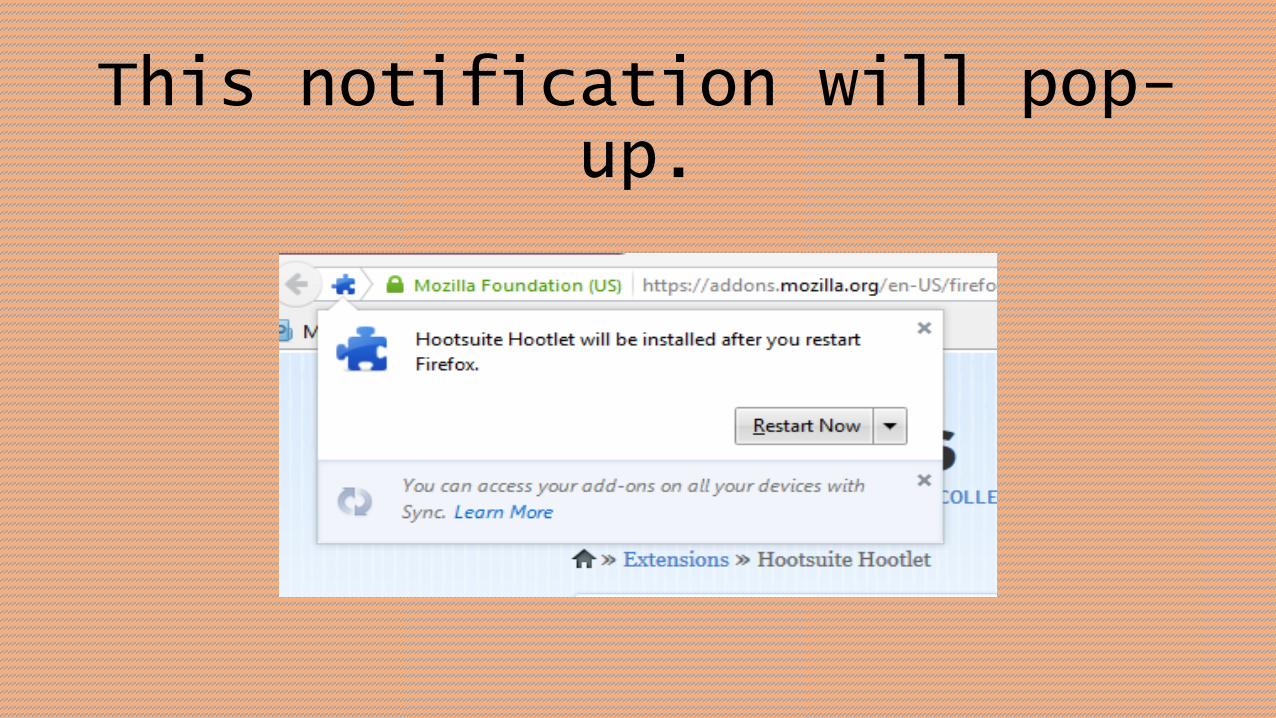
This notification will pop-up.
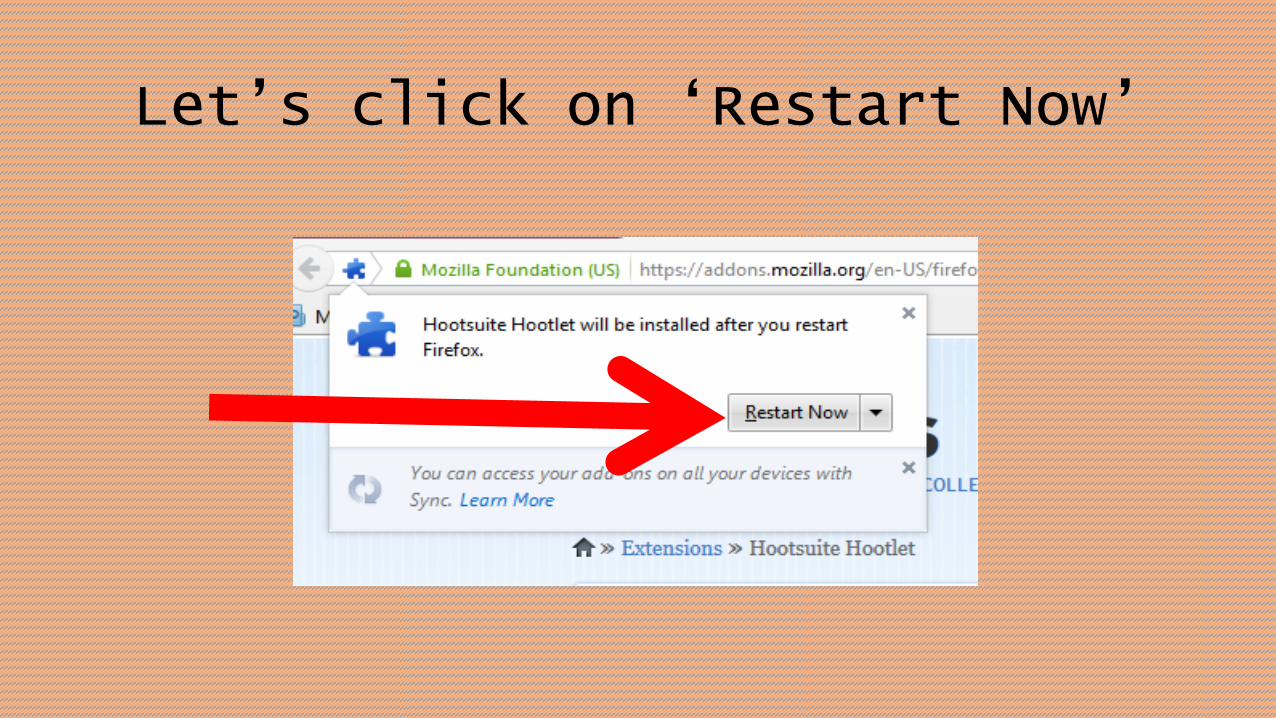
Let’s click on ‘Restart Now’
Once Mozilla
Firefox is reopened,
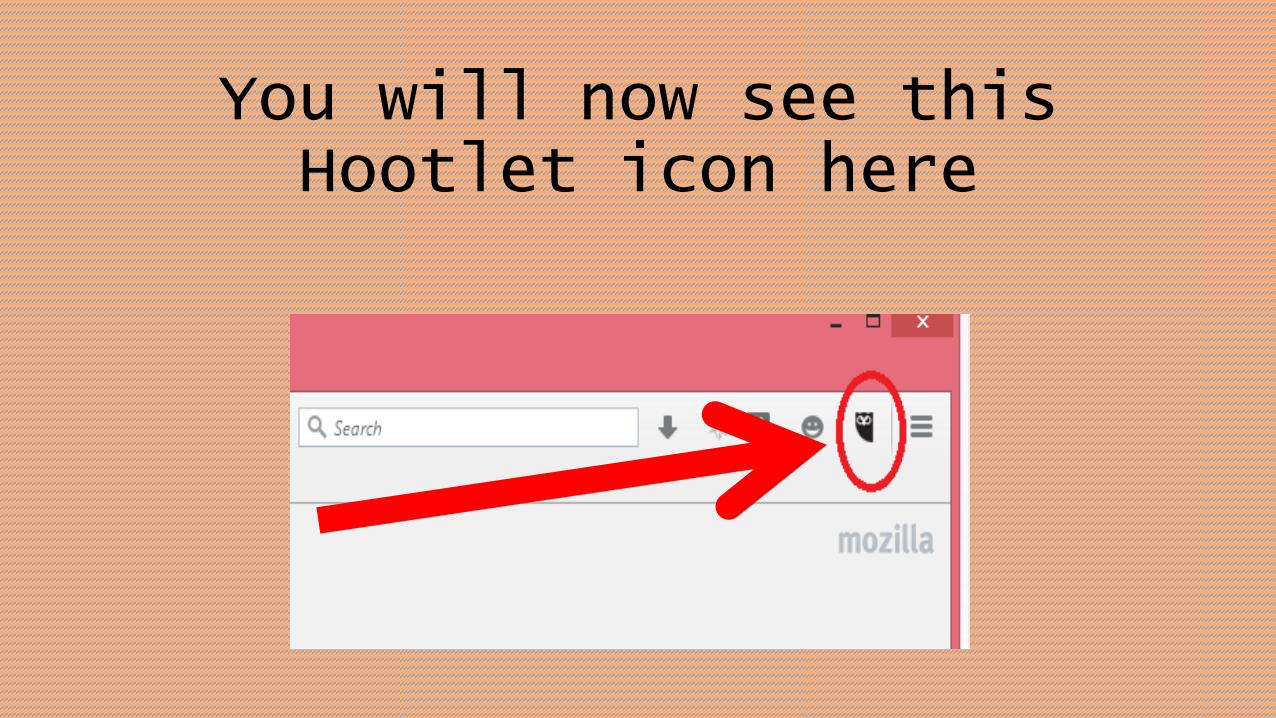
You will now see this Hootlet icon here
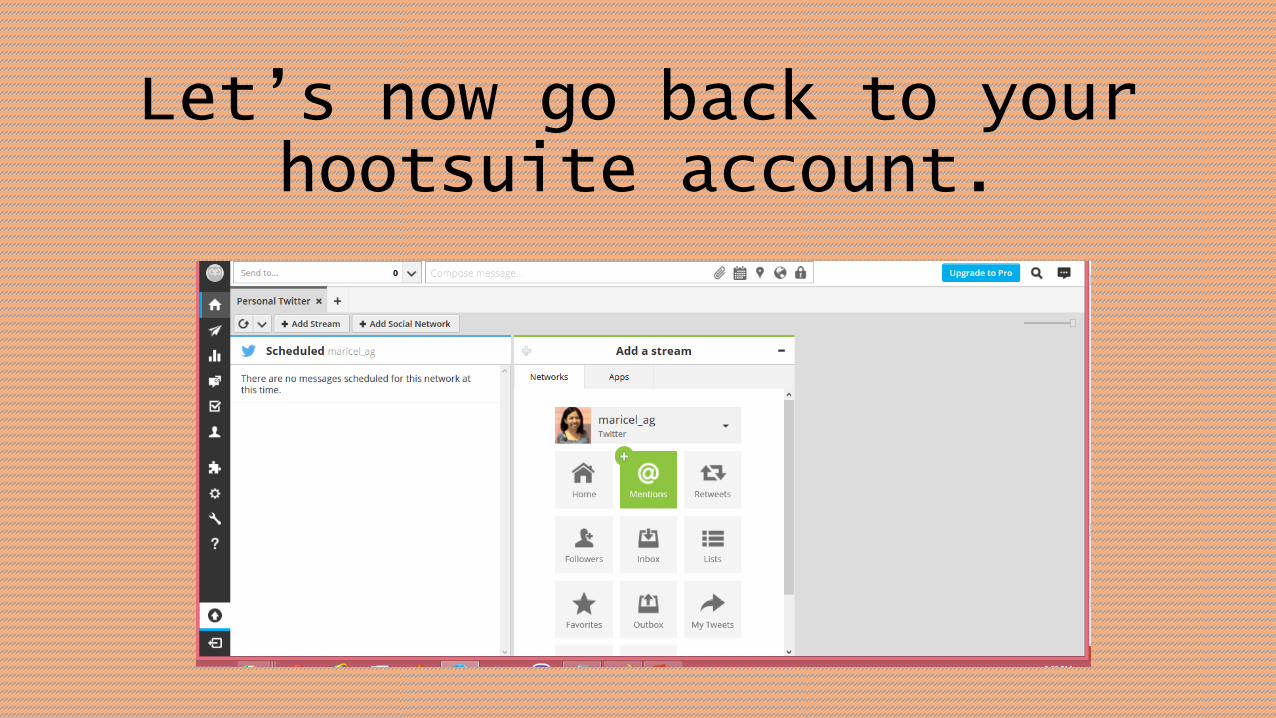
Let’s now go back to your hootsuite account.
Before we proceed to
schedule a message,
let’s add a tab for your
facebook first.
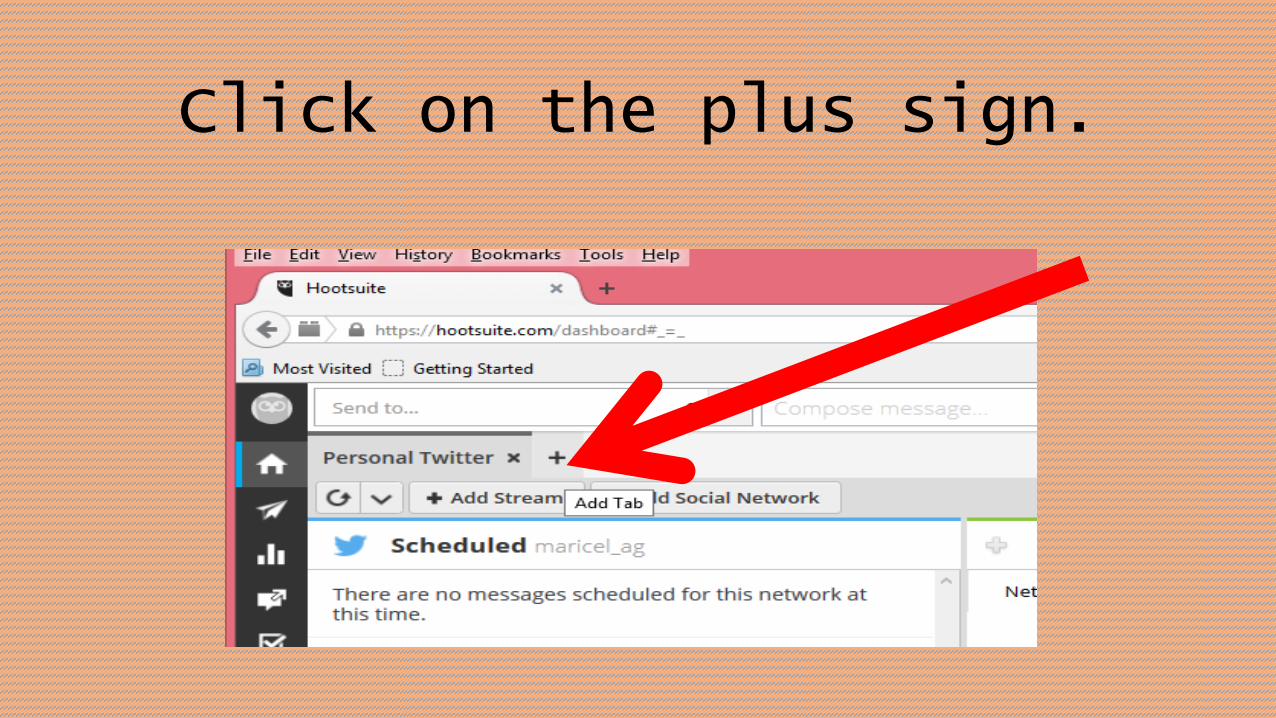
Click on the plus sign.
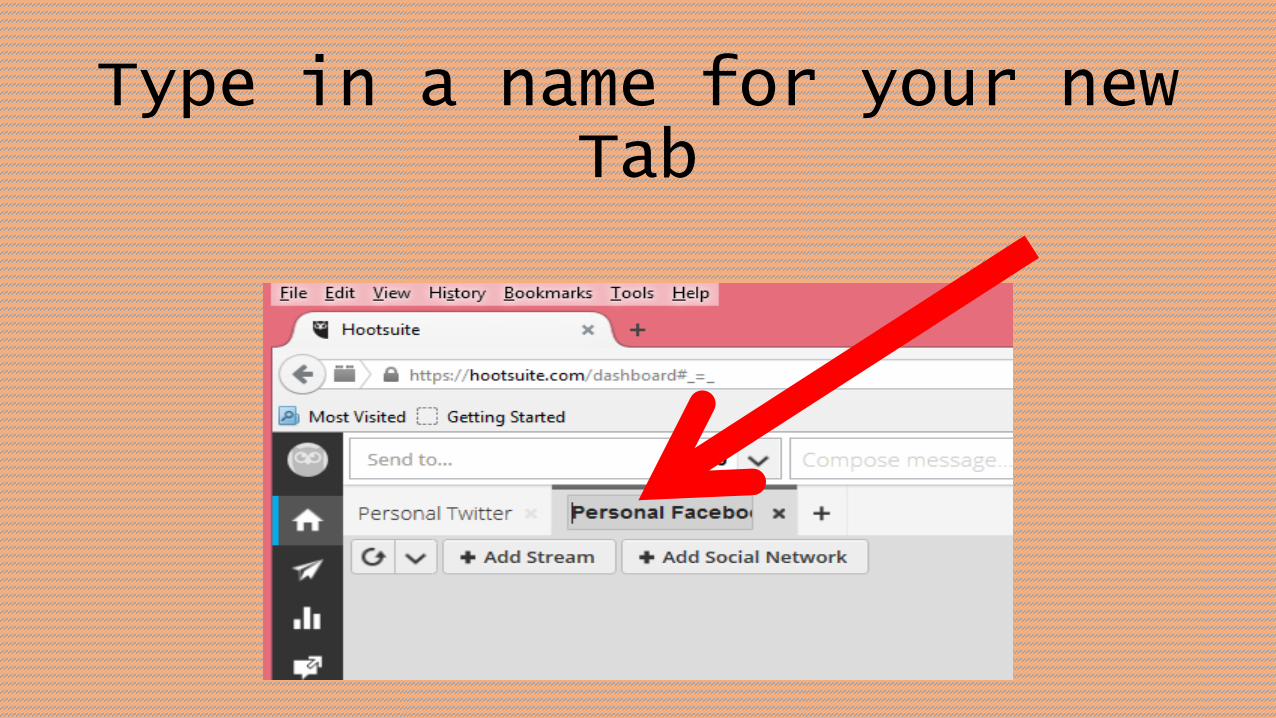
Type in a name for your new Tab
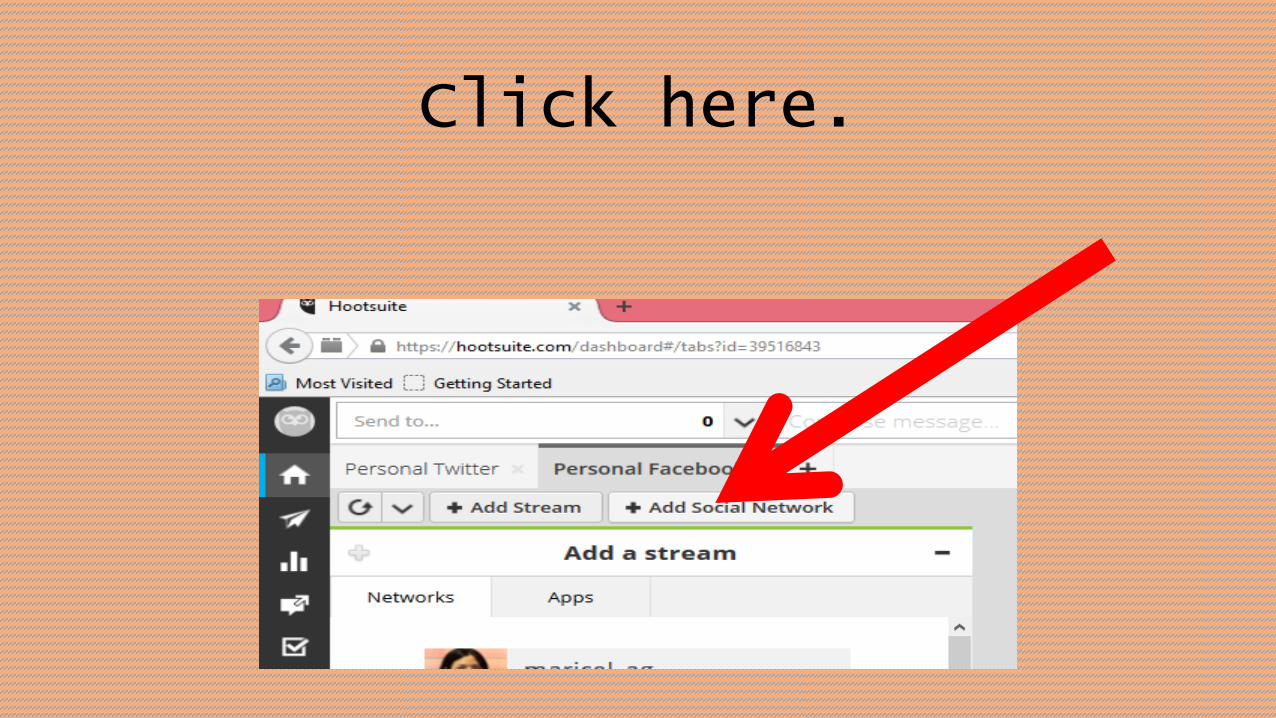
Click here.
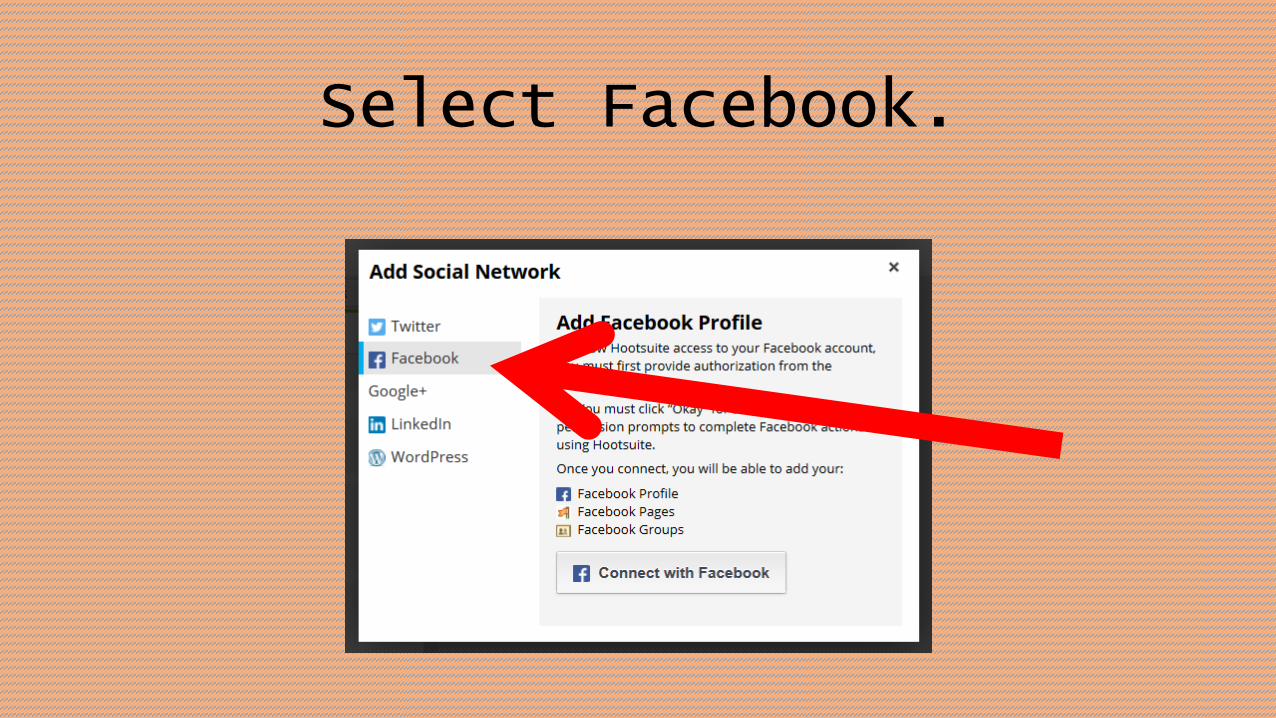
Select Facebook.

Click on ‘Connect with Facebook’
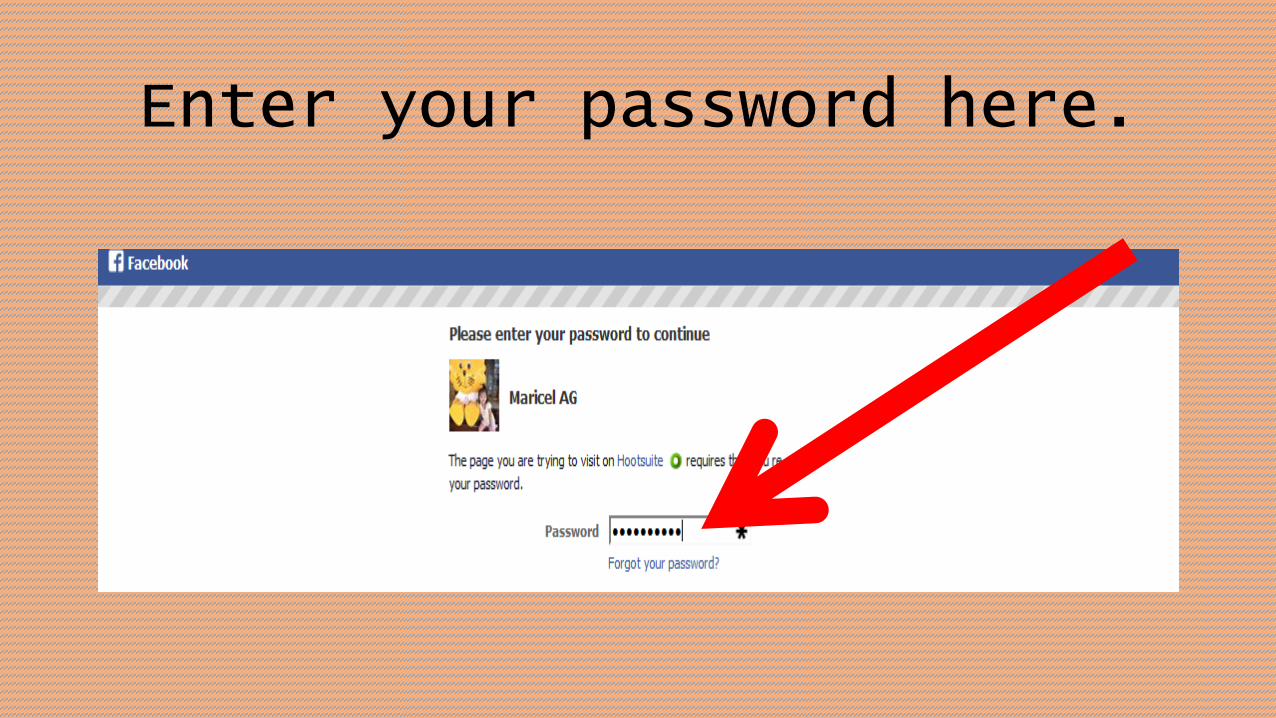
Enter your password here.
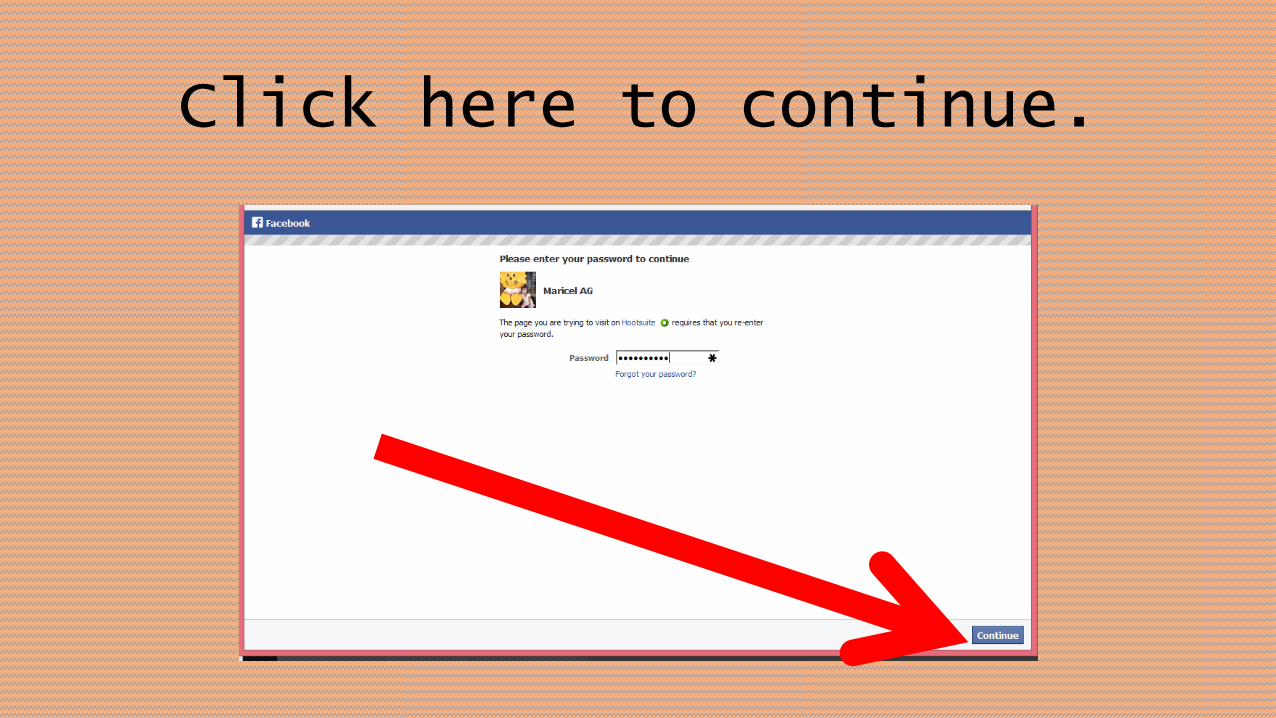
Click here to continue.
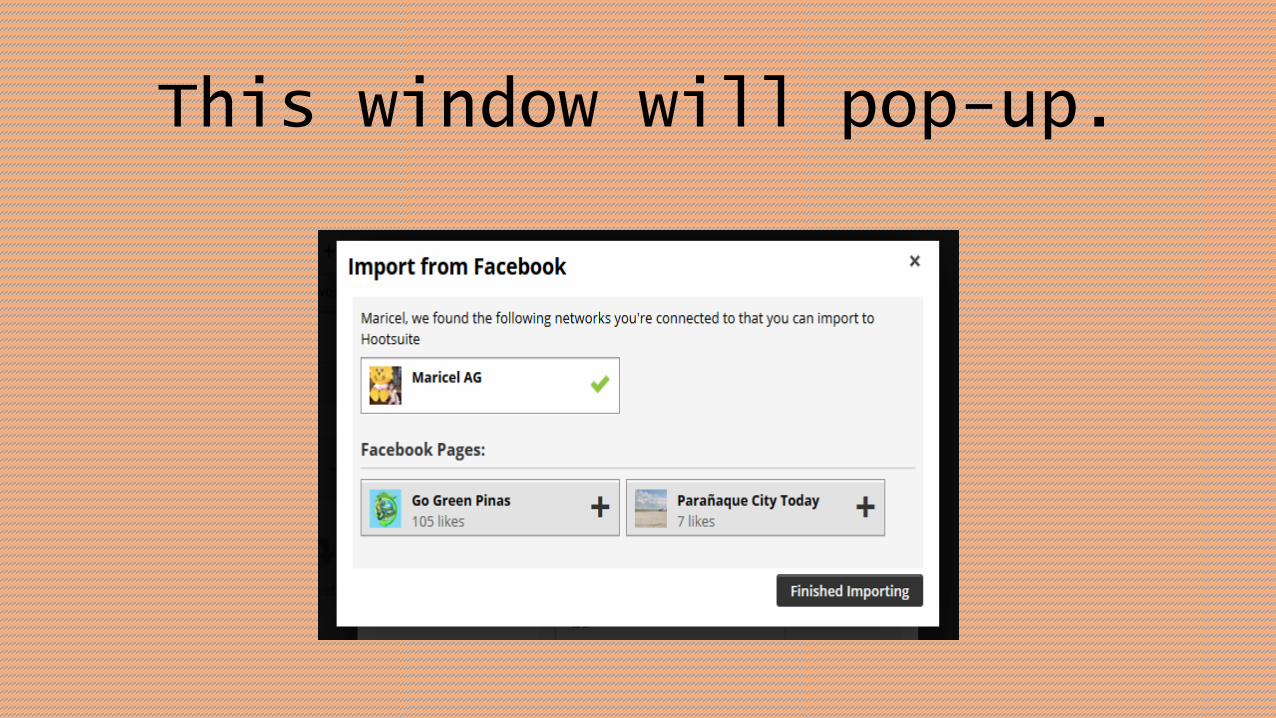
This window will pop-up.
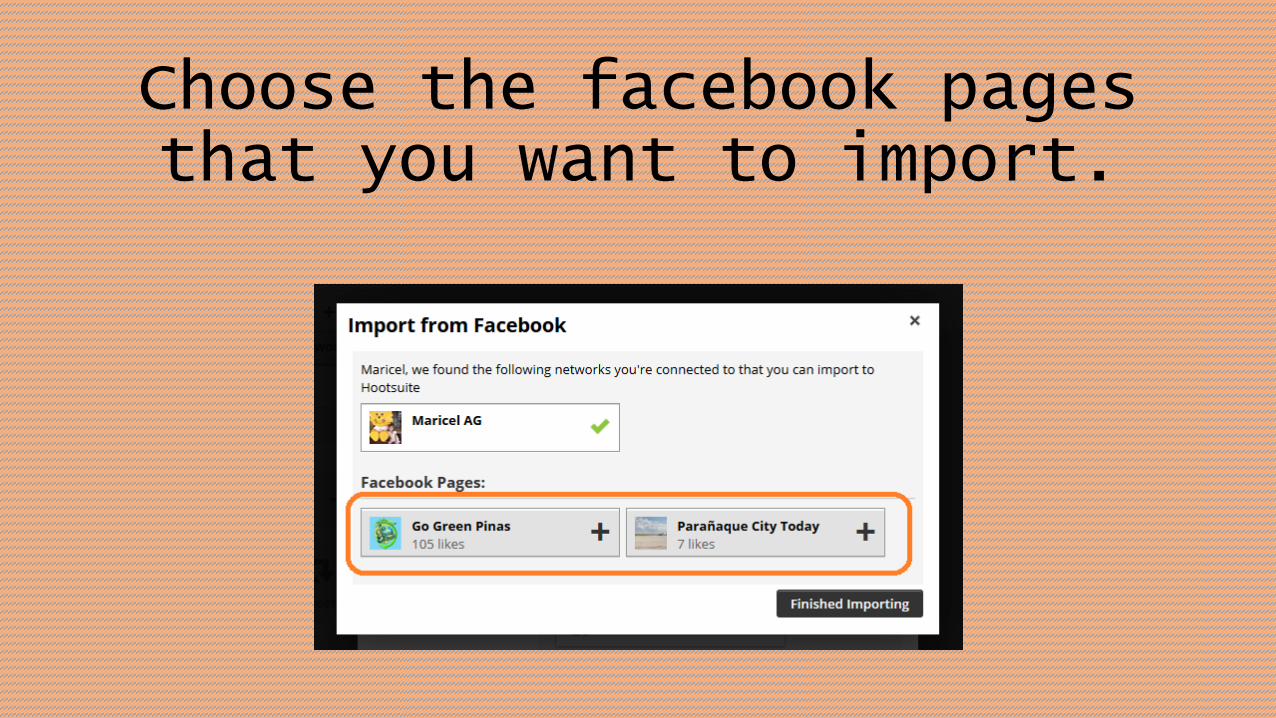
Choose the facebook pages that you want to import.
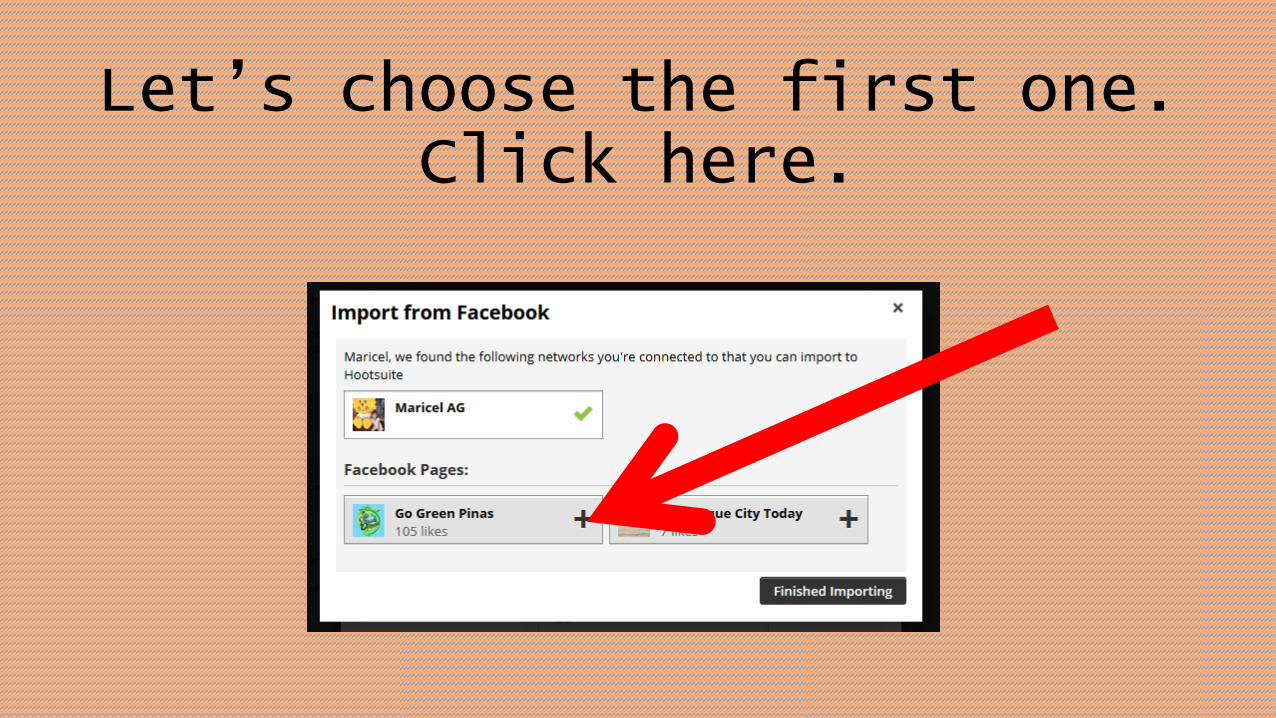
Let’s choose the first one. Click here.
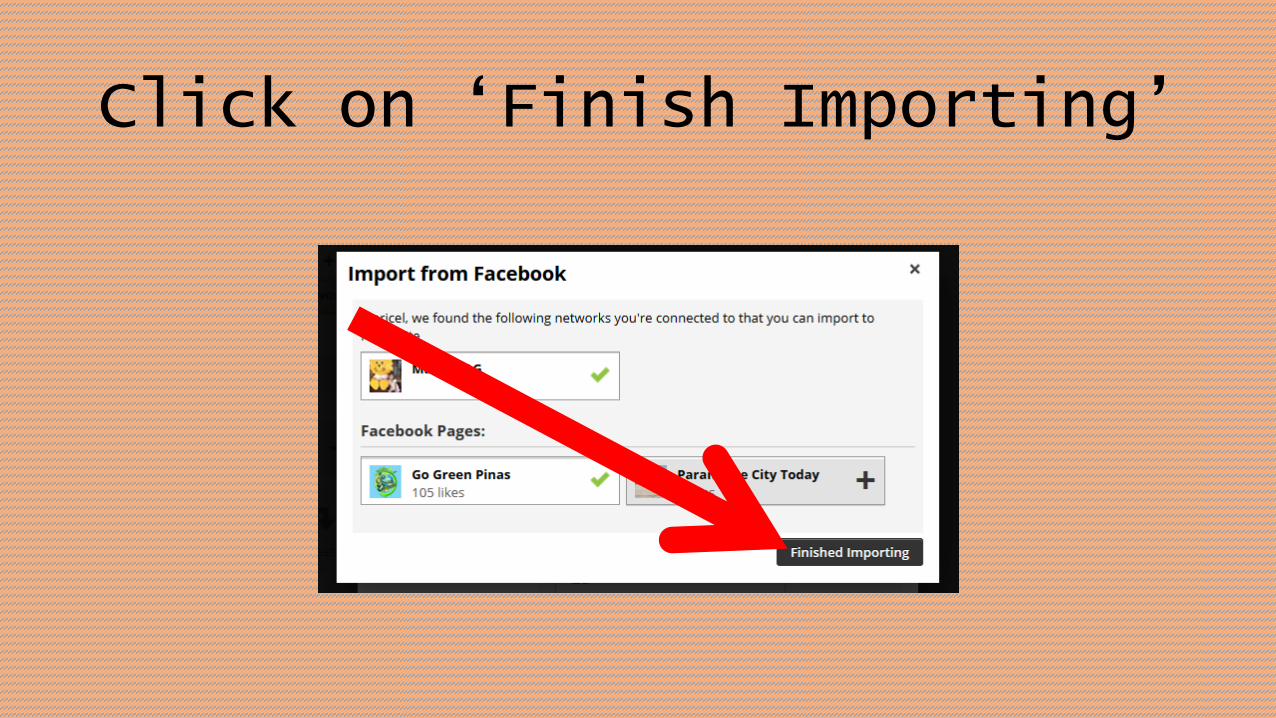
Click on ‘Finish Importing’
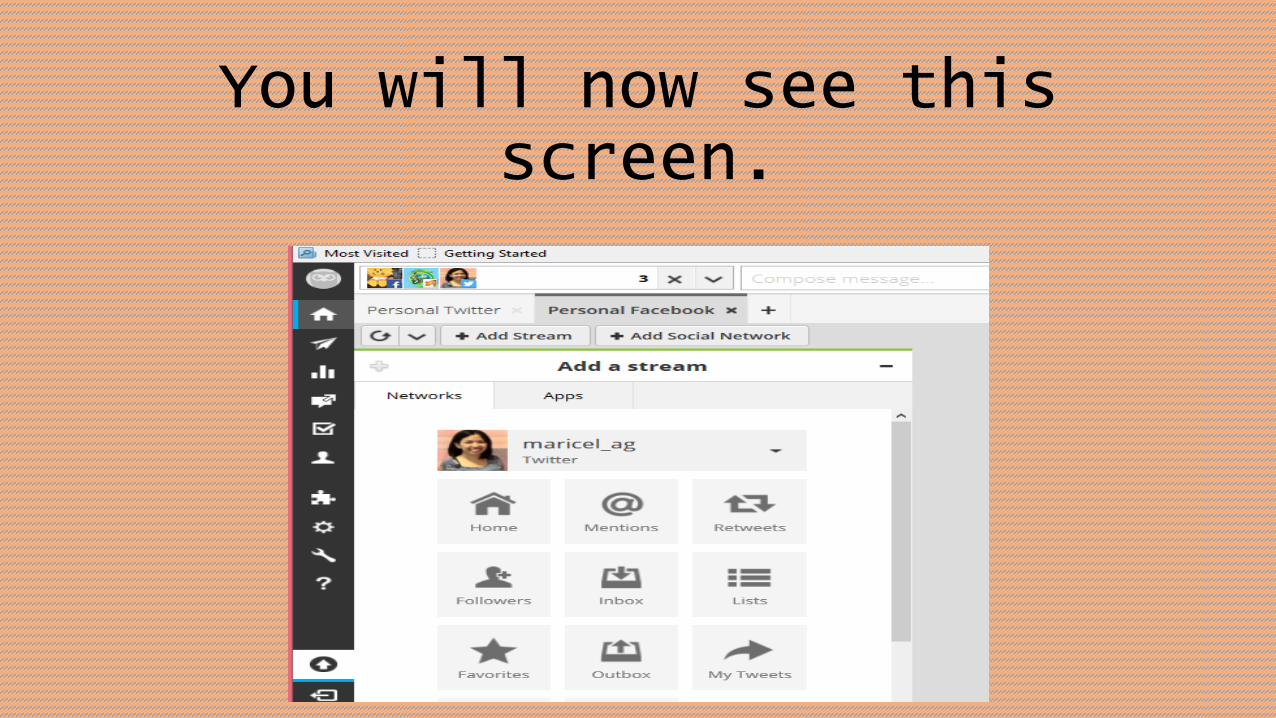
You will now see this screen.
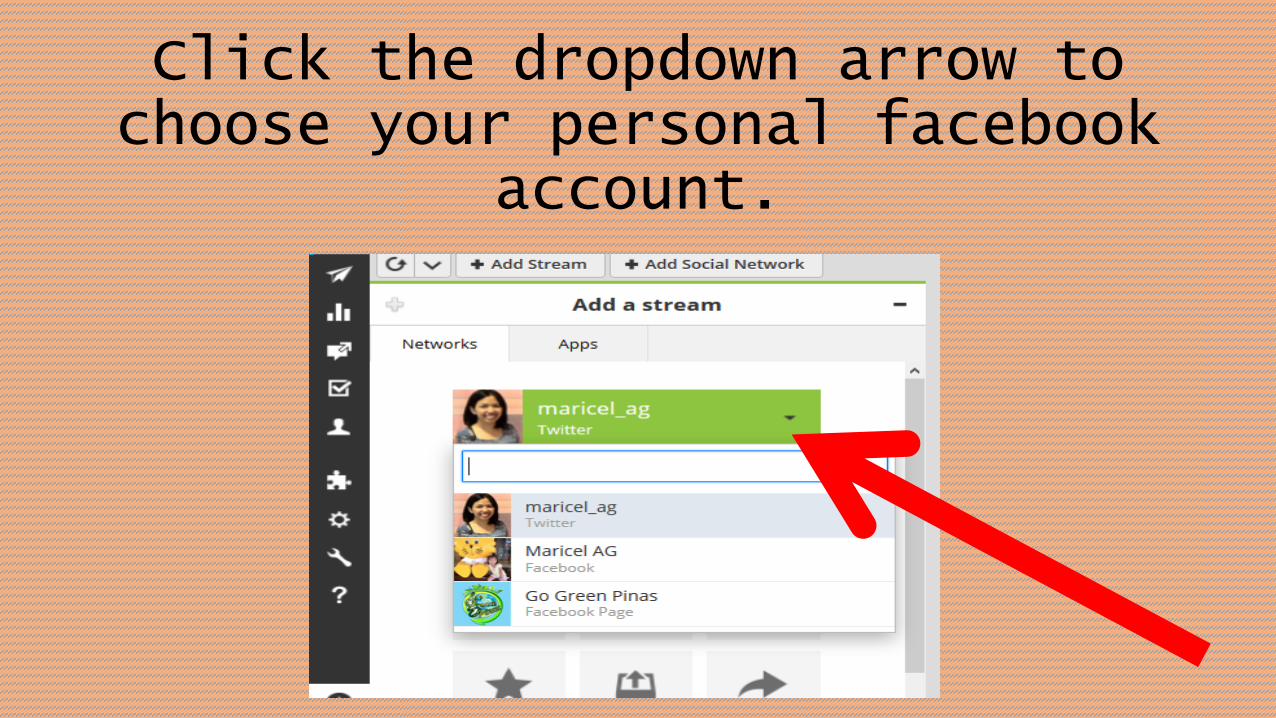
Click the dropdown arrow to choose your personal facebook
account.
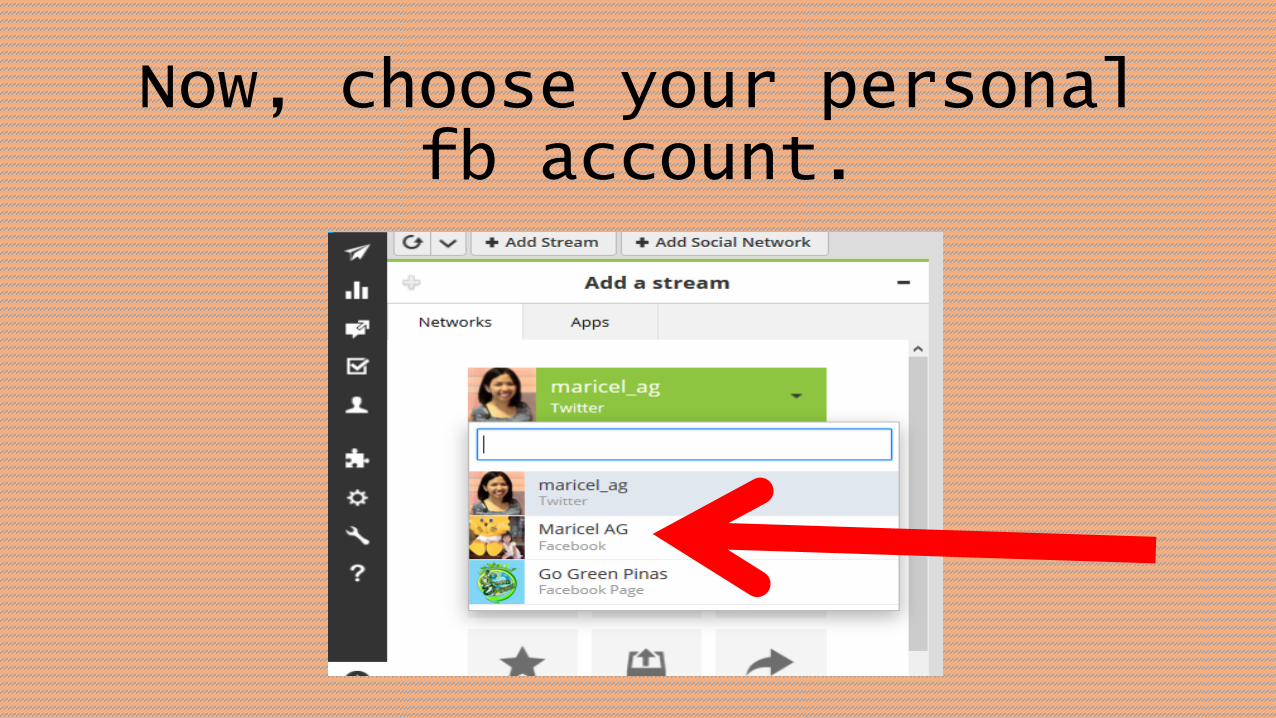
Now, choose your personal fb account.
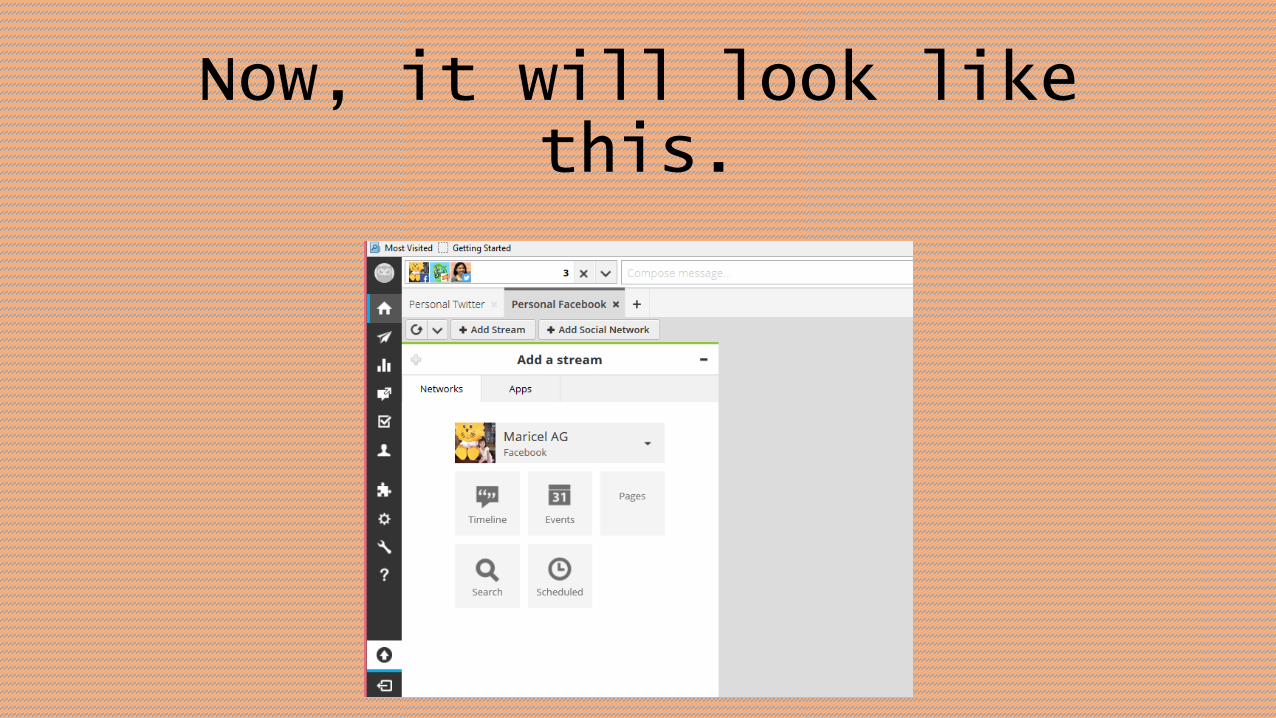
Now, it will look like this.
Let’s add 2 streams for
facebook personal account.
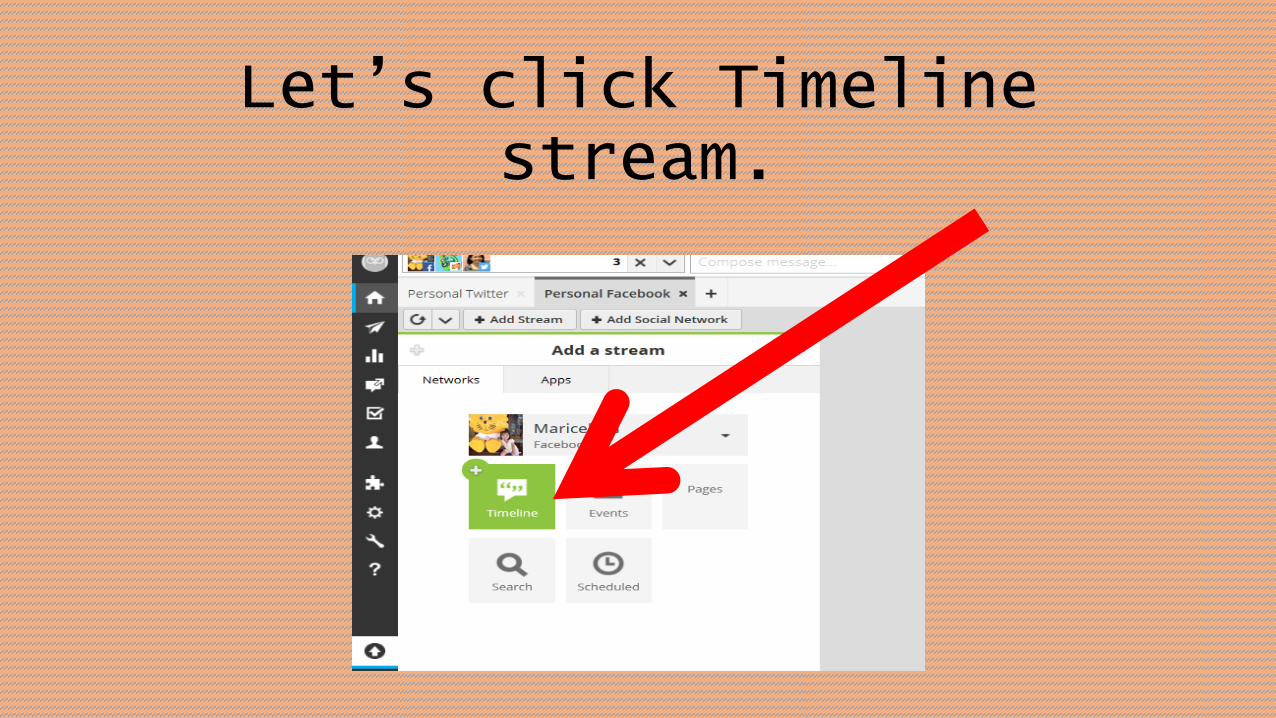
Let’s click Timeline stream.
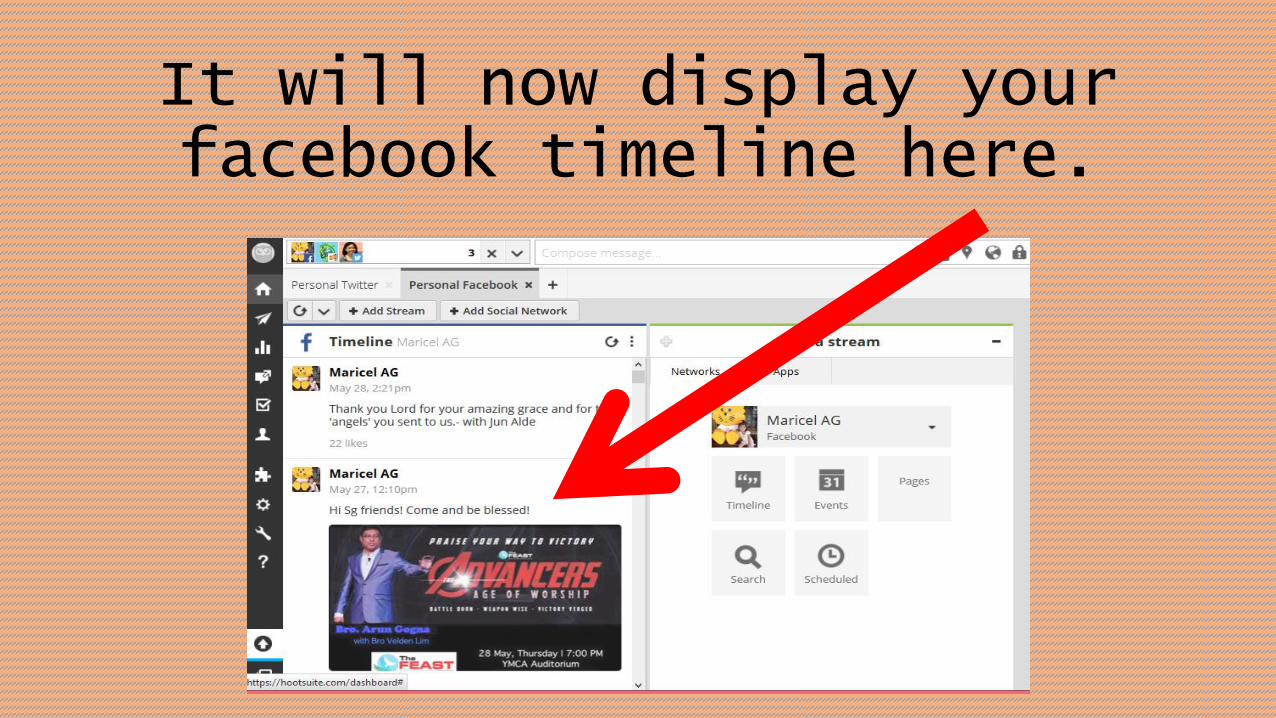
It will now display your facebook timeline here.
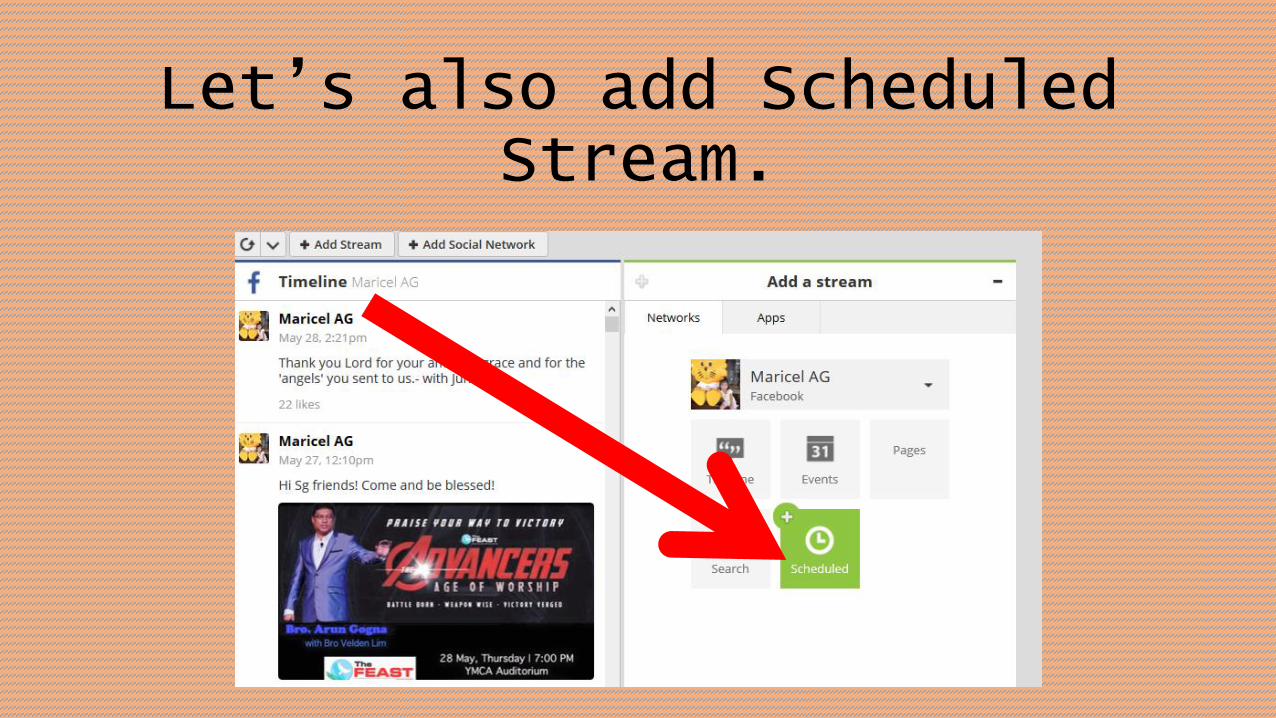
Let’s also add Scheduled Stream.
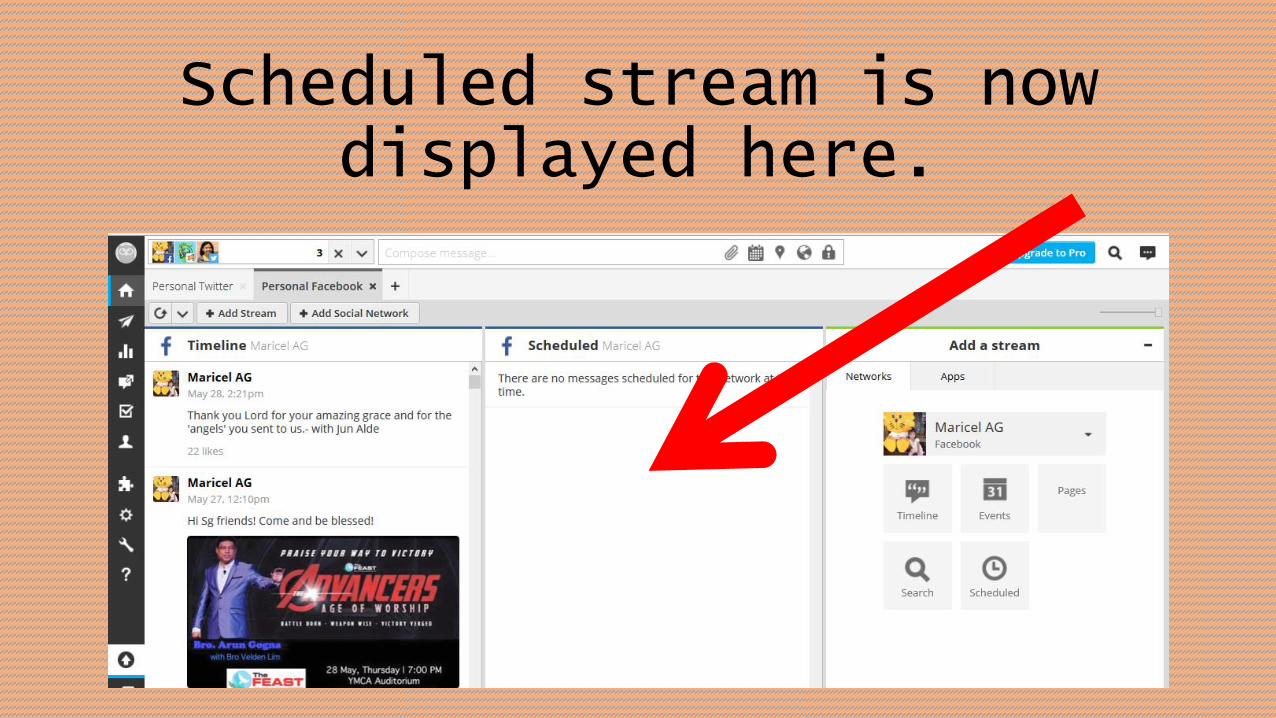
Scheduled stream is now displayed here.
Remember that when you add
social network accounts,
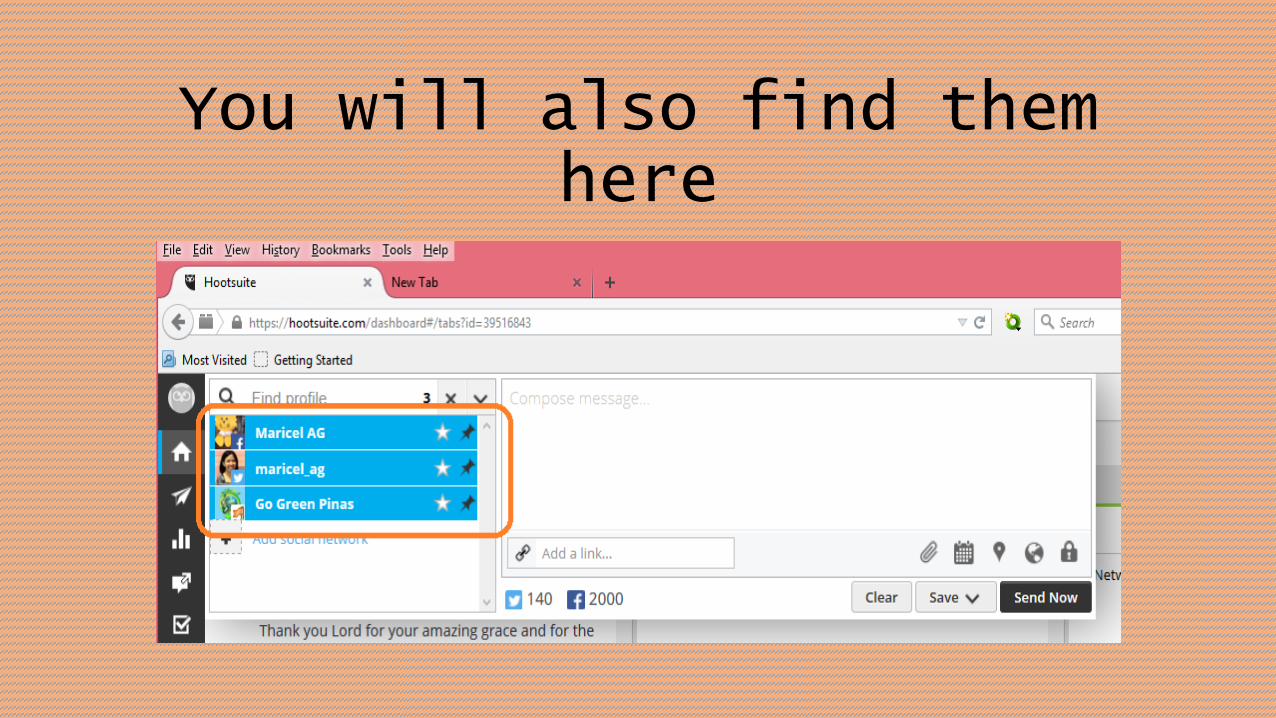
You will also find them here
Now, let’s use the Hootlet.
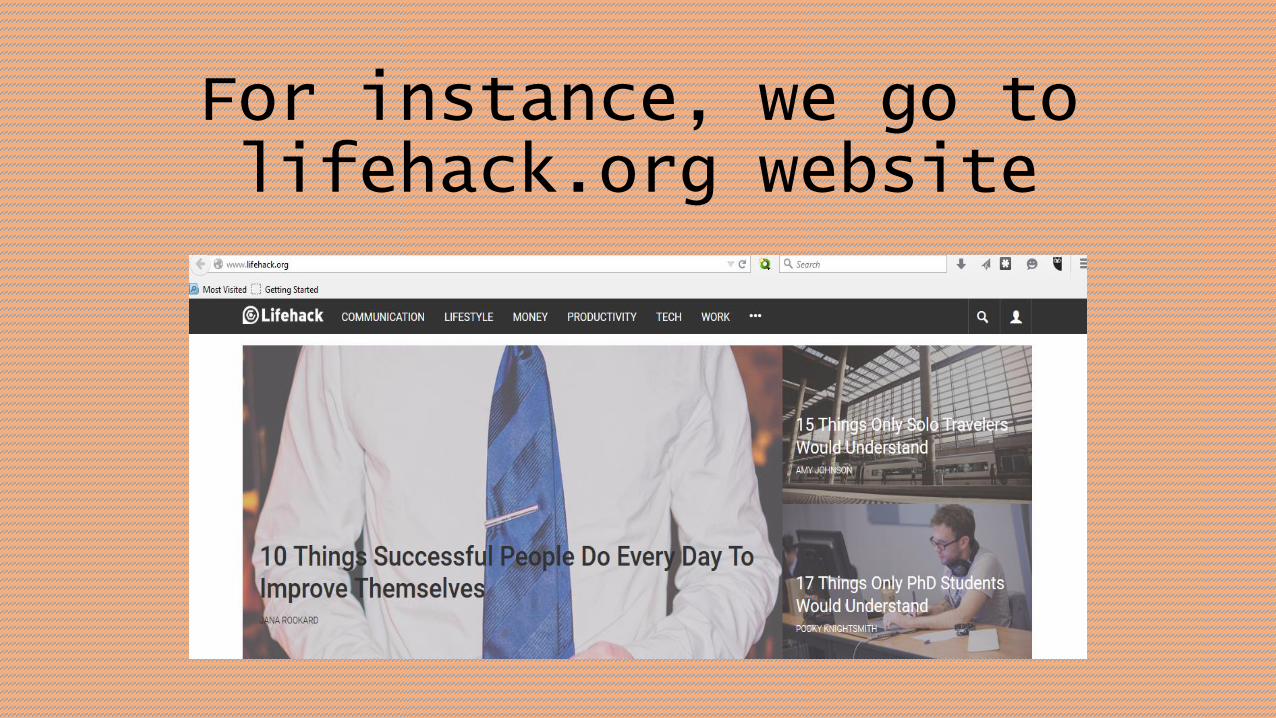
For instance, we go to lifehack.org website

Let’s say we like this article
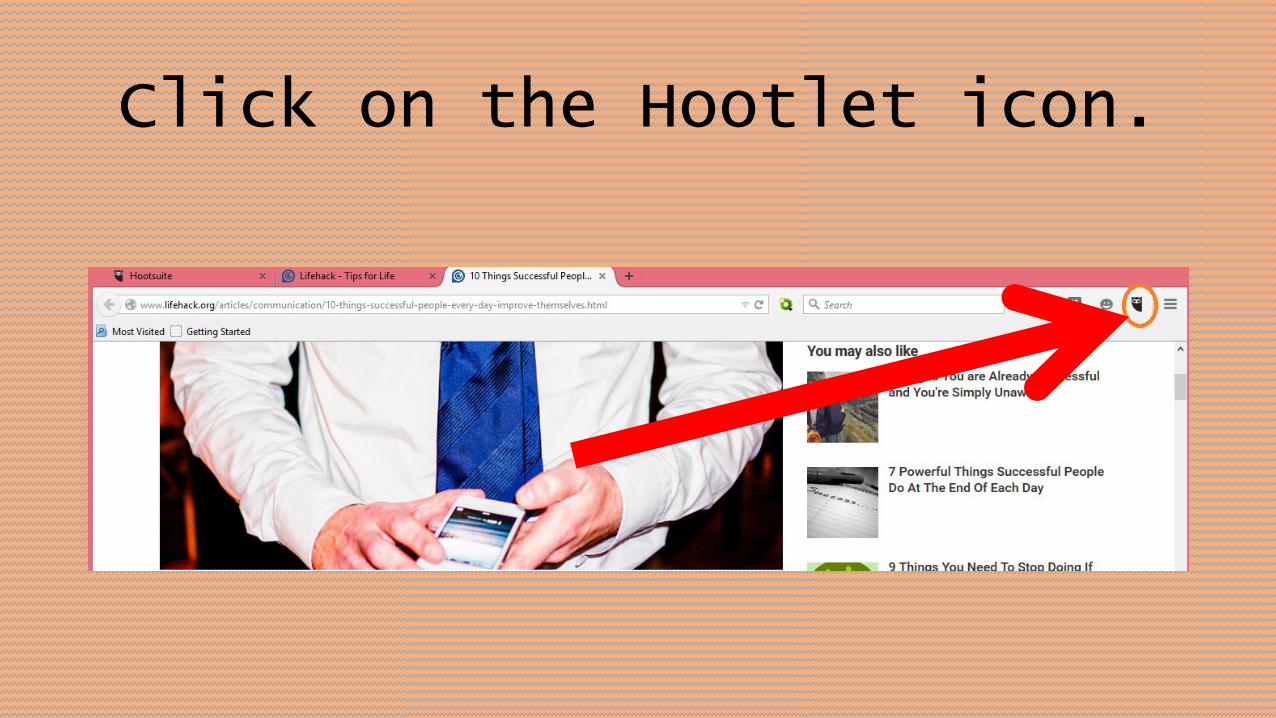
Click on the Hootlet icon.
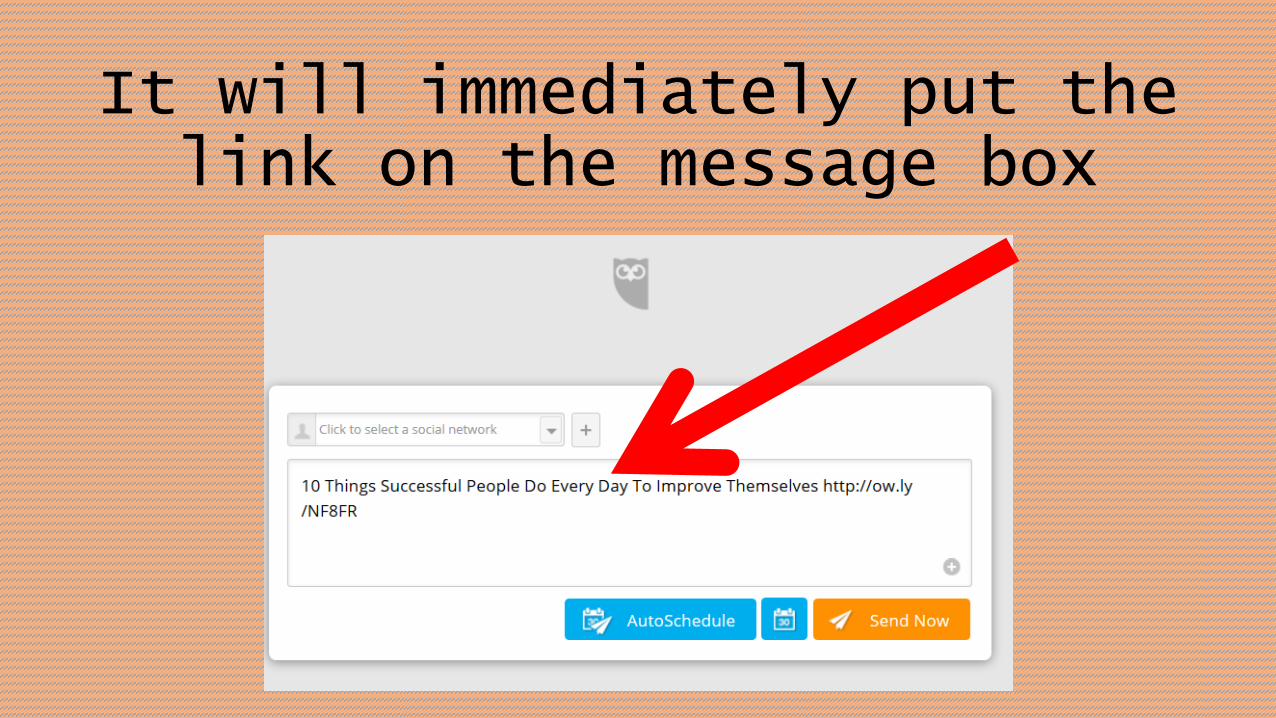
It will immediately put the link on the message box
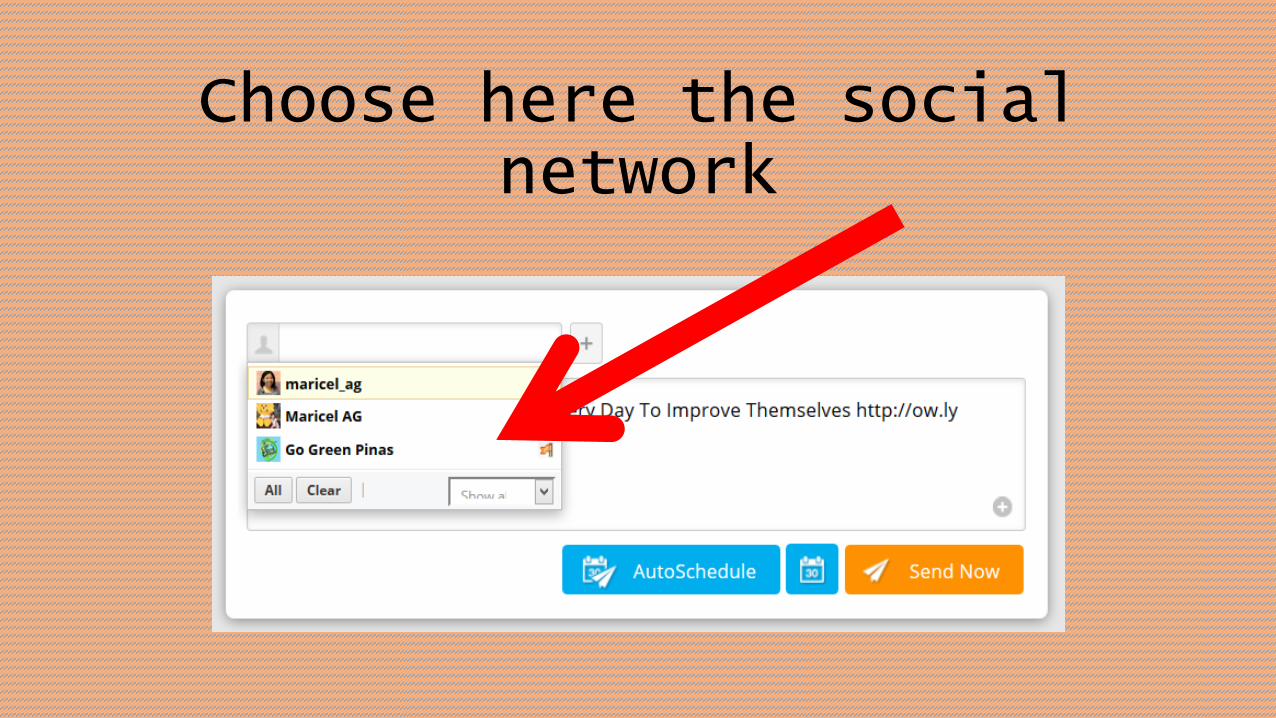
Choose here the social network
where you want to send the
message to.
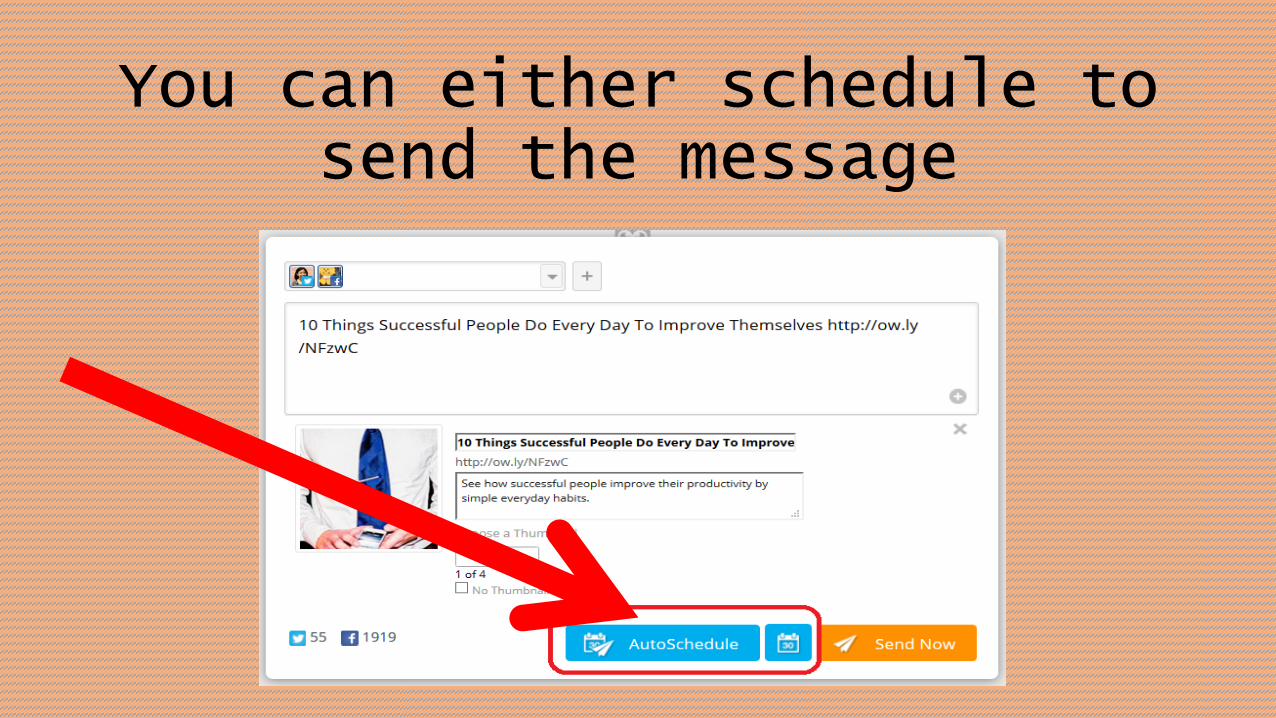
You can either schedule to send the message
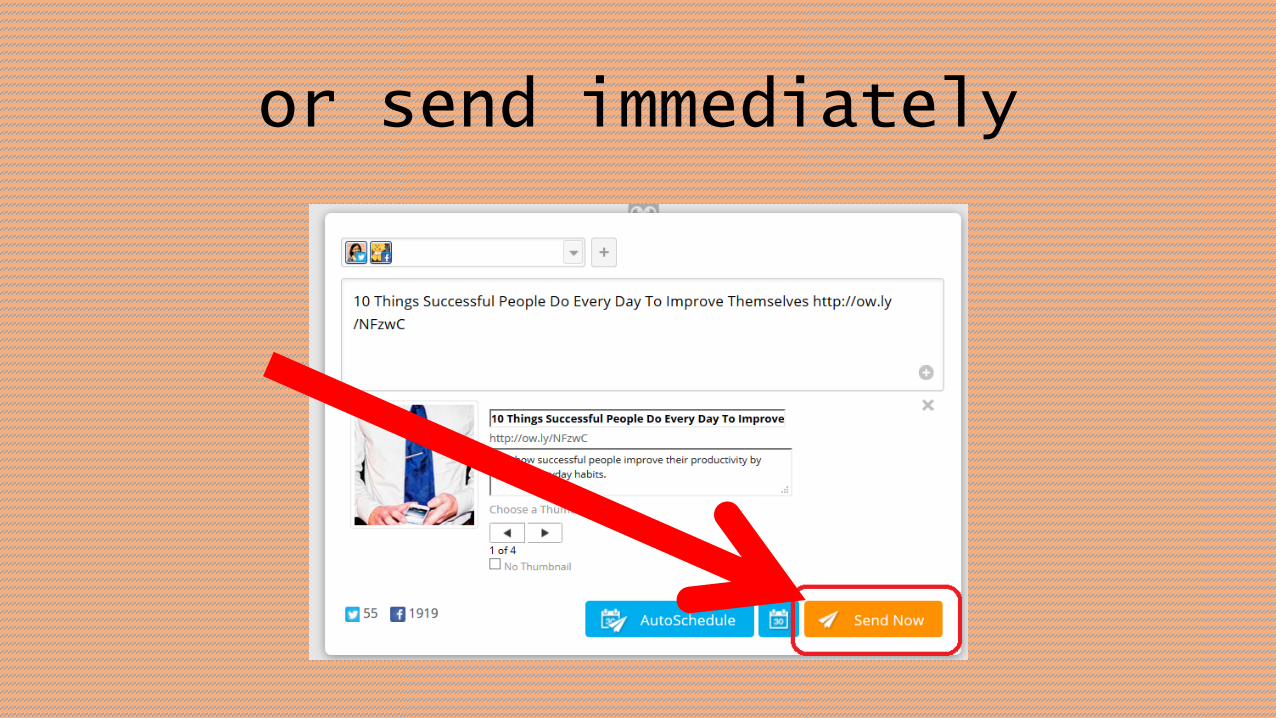
or send immediately
For this presentation, we
will schedule the message
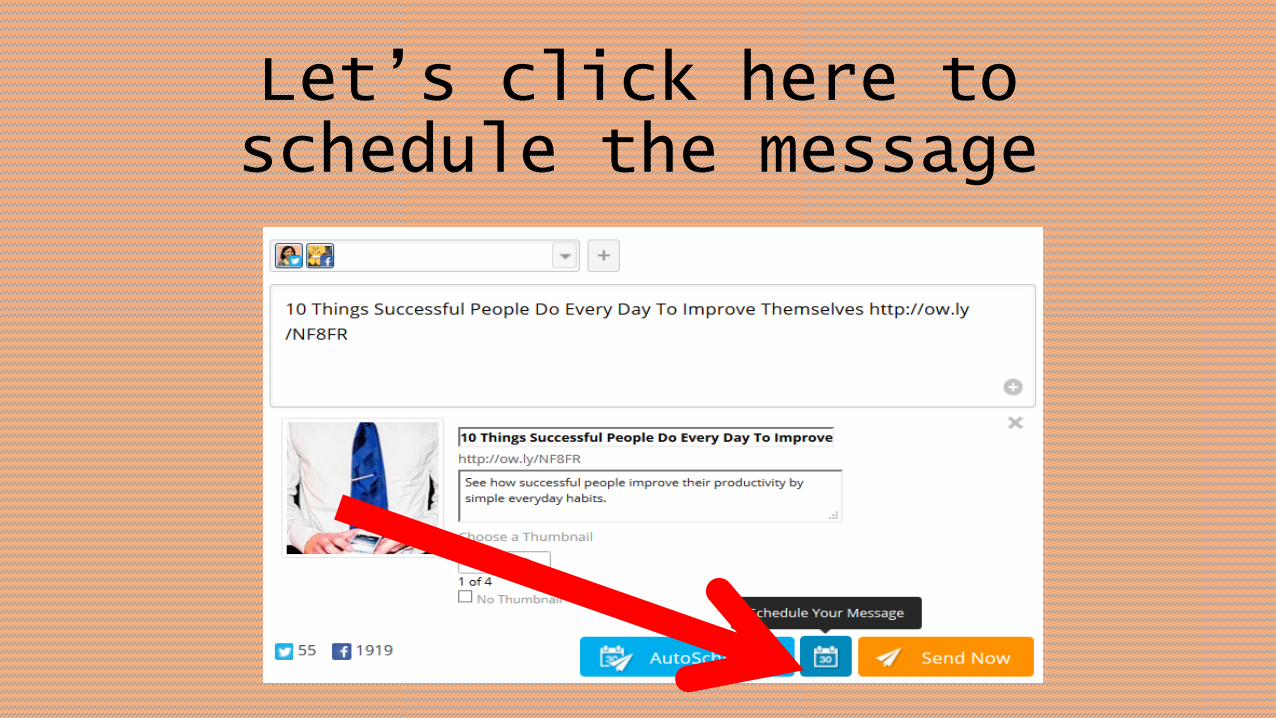
Let’s click here to schedule the message
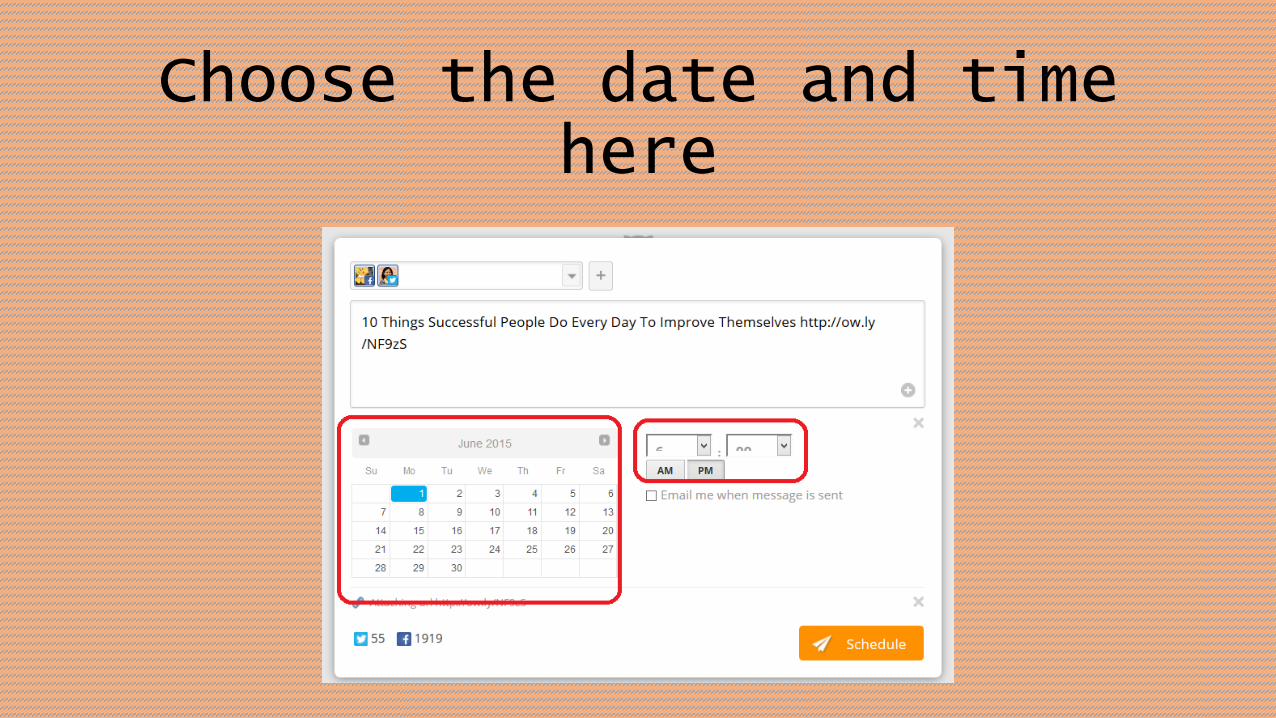
Choose the date and time here
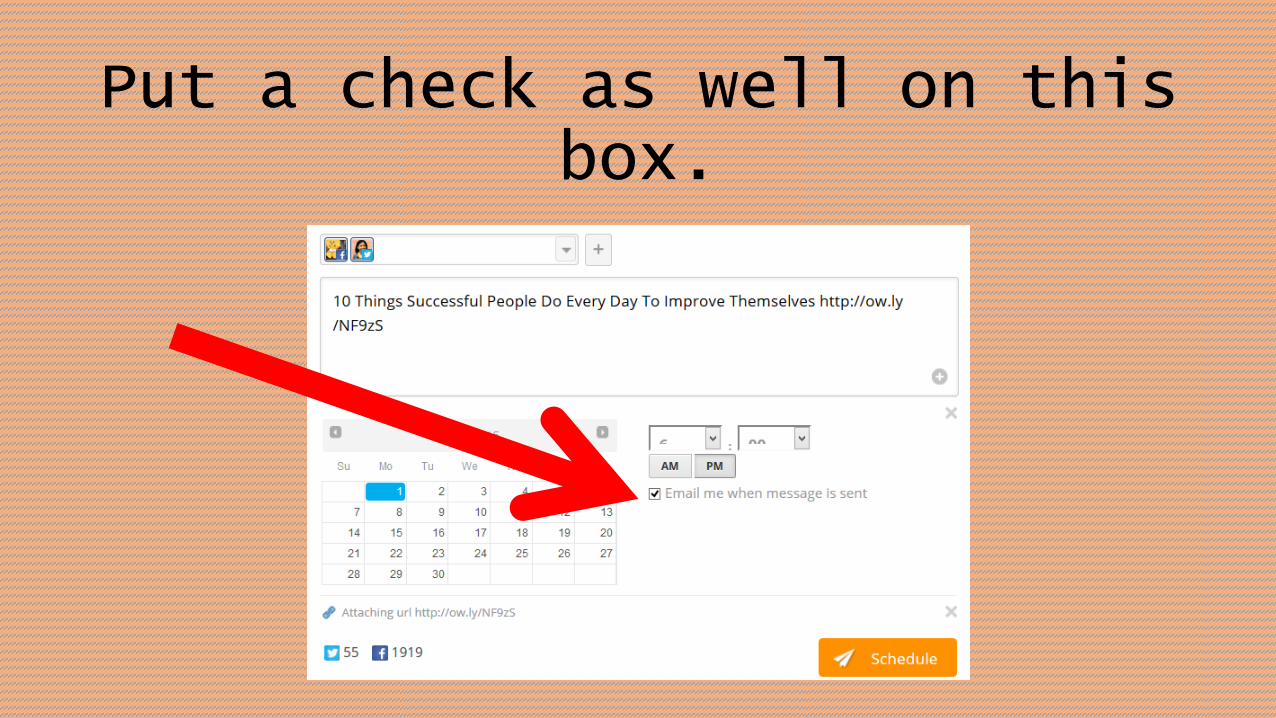
Put a check as well on this box.
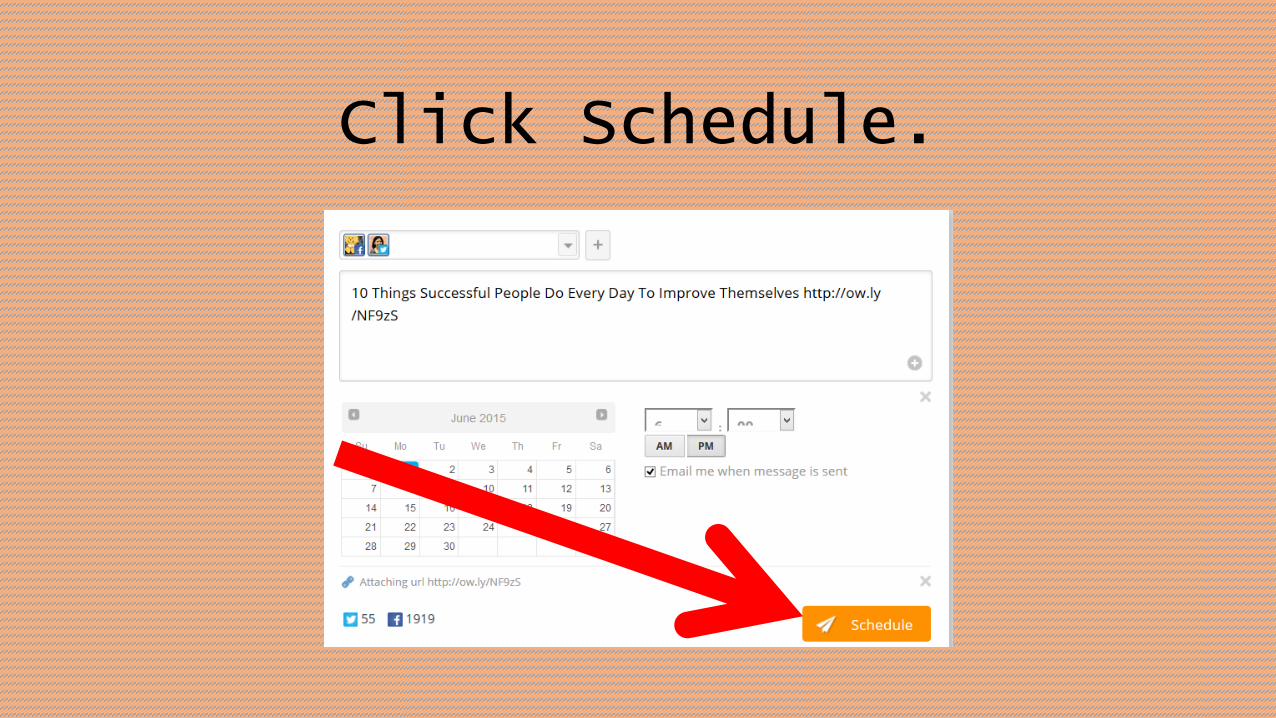
Click Schedule.
You will now see the post
in your scheduled streams.
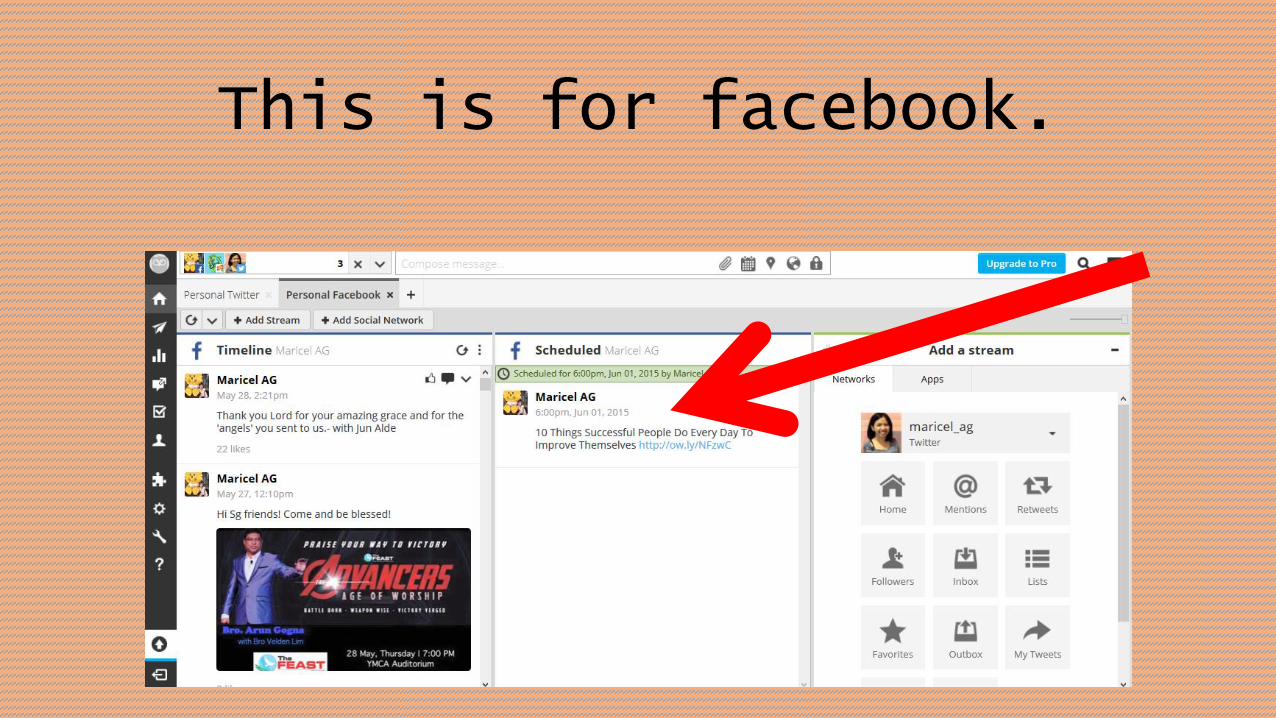
This is for facebook.
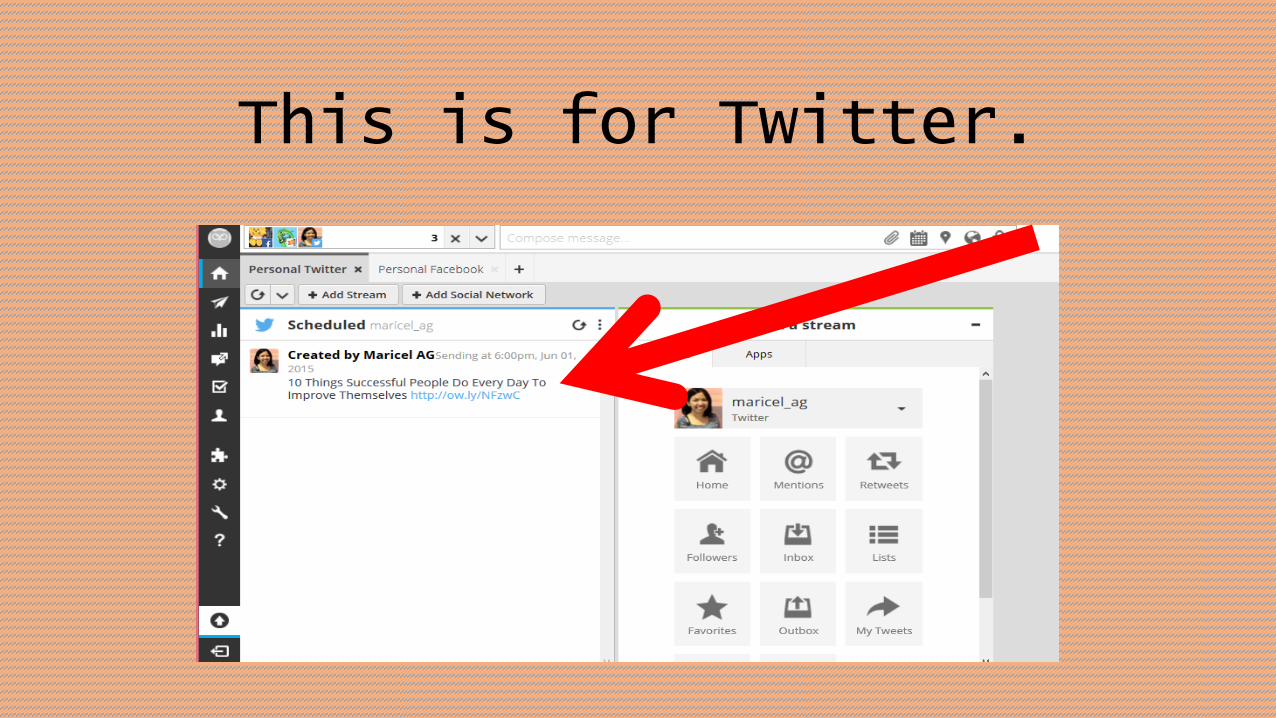
This is for Twitter.
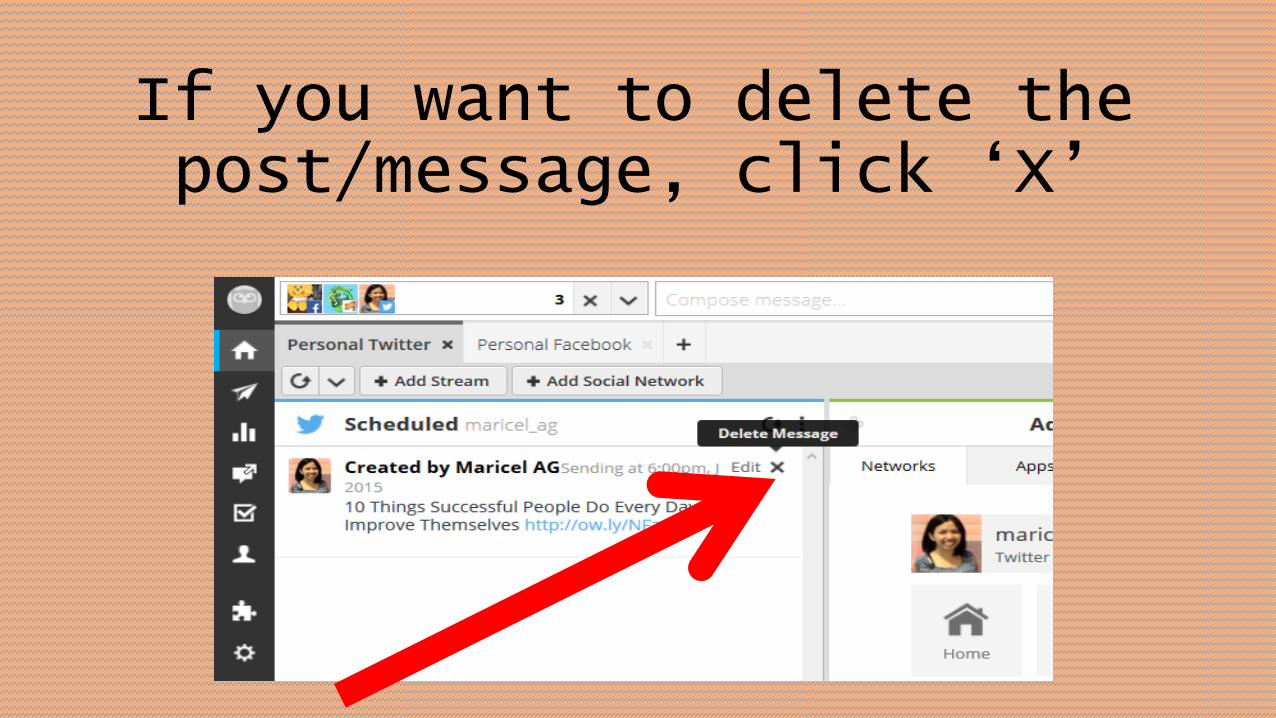
If you want to delete the post/message, click ‘X’
When composing messages,
note that you will see
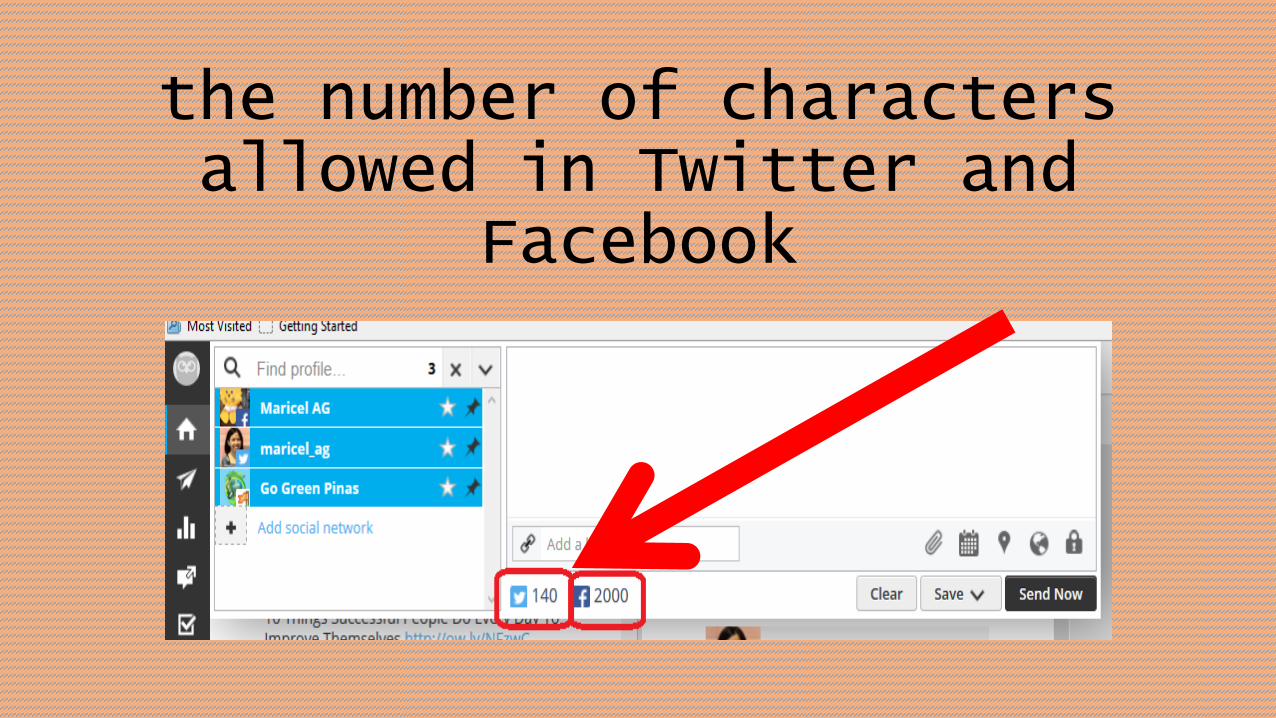
the number of characters allowed in Twitter and
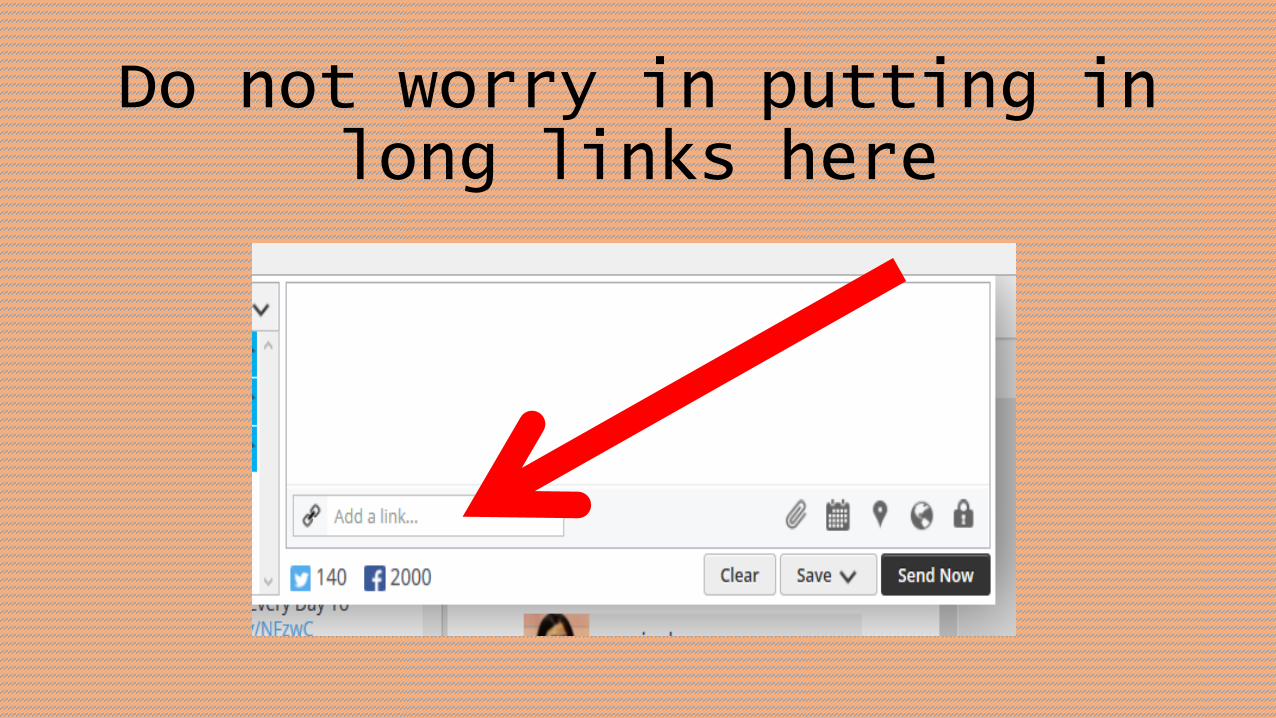
Do not worry in putting in long links here
As there is a default
option to shrink it

For example, we want to share the link below
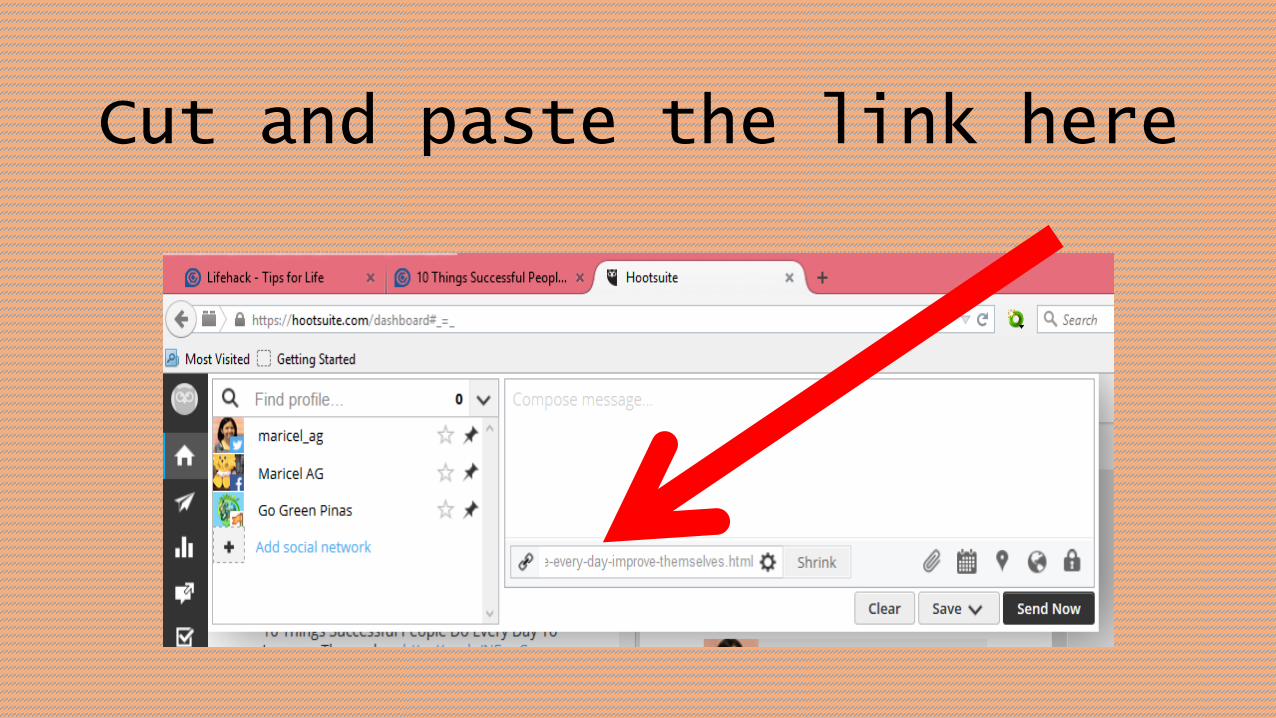
Cut and paste the link here
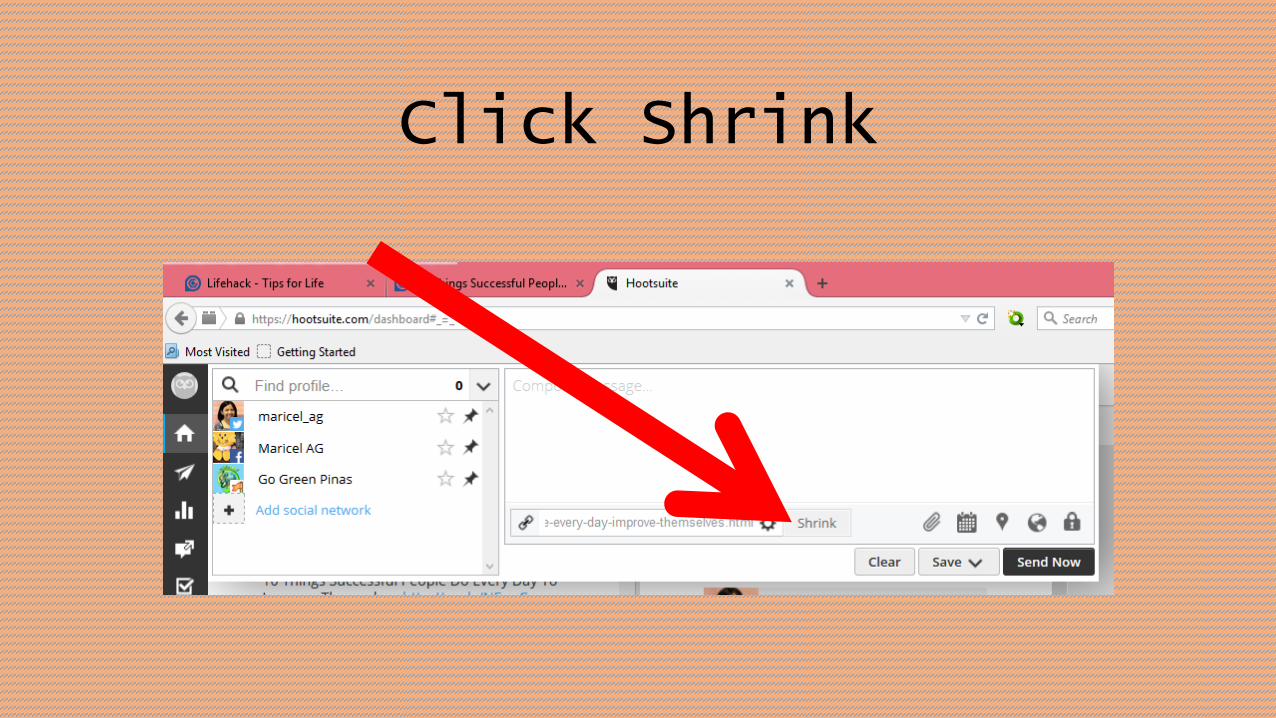
Click Shrink
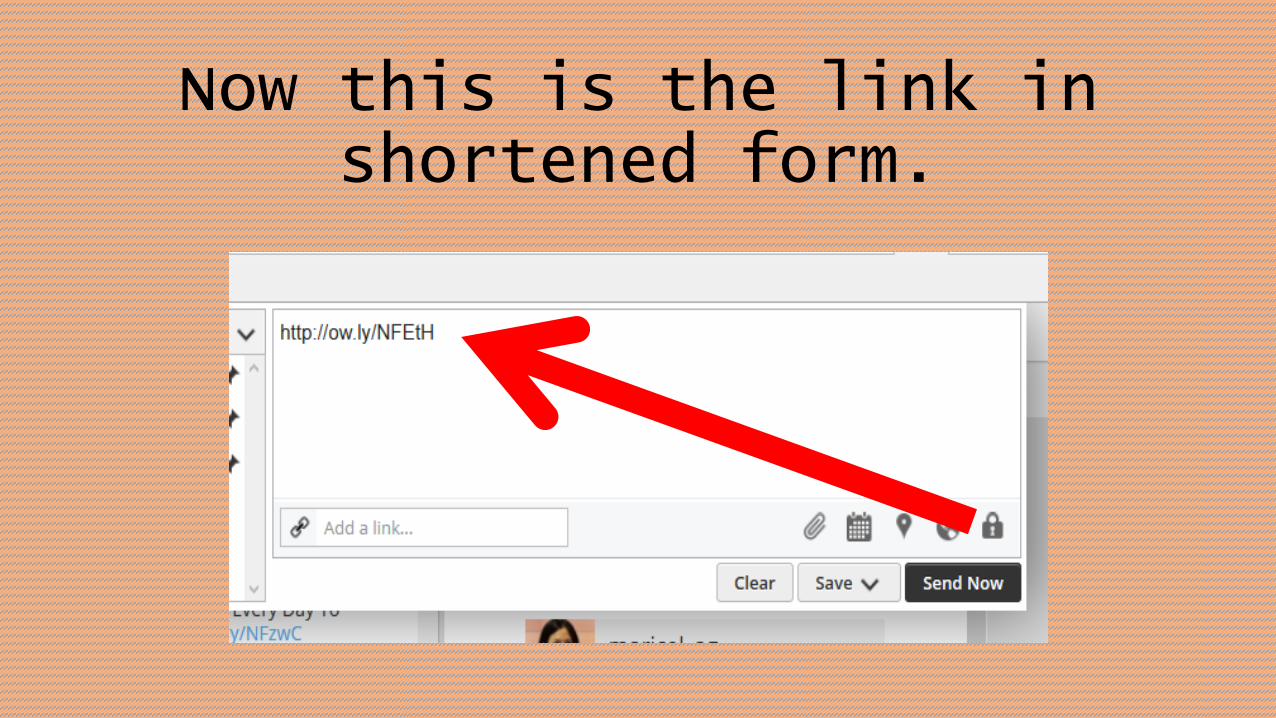
Now this is the link in shortened form.
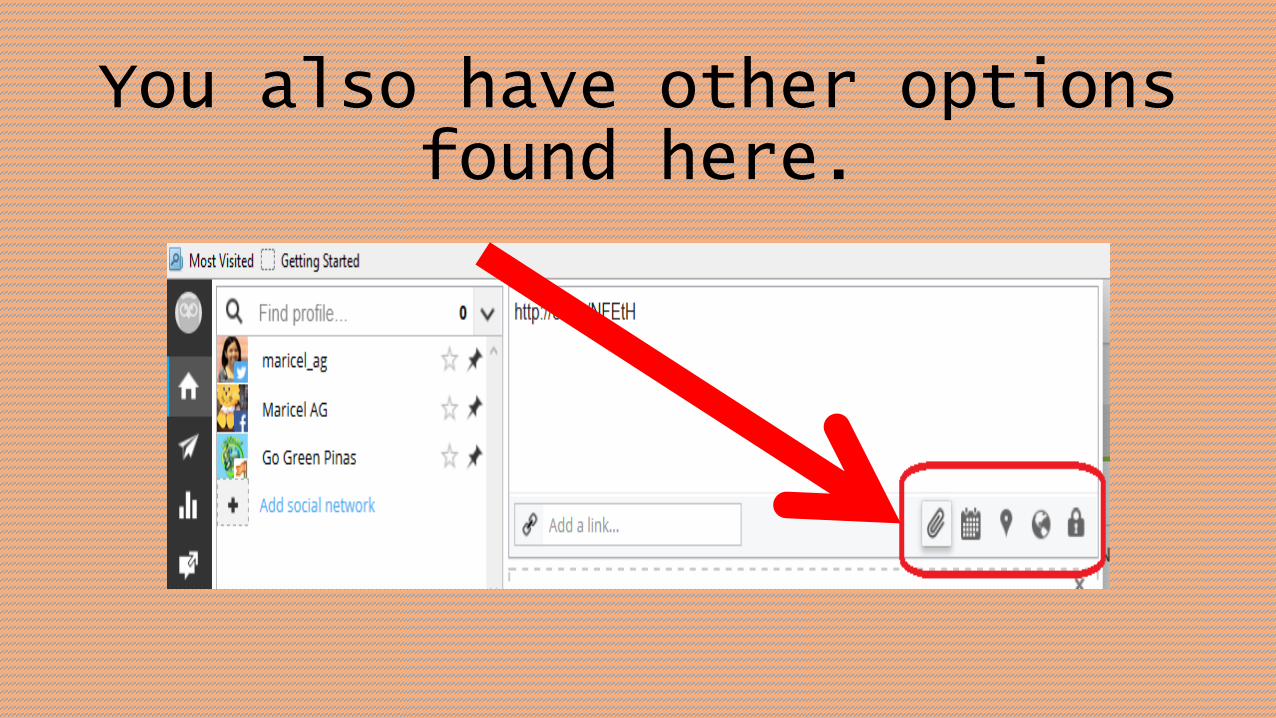
You also have other options found here.
It lets you attach a file,
schedule the message
add location, select
targeting options, and
select privacy.

THE END