Attaching a Bezel to the Classic Instruments 1956 Ford … a... · 2015-06-02 · Attaching a Bezel...
3
Attaching a Bezel to the Classic Instruments 1956 Ford F100 Gauge Cluster 1. Remove the protective paper film from the diffuser (DFFT56). Be careful not to break it around the thin sections. Set the diffuser on top of the top dial with the etched region towards the dial. 2. Remove the protective paper film from the lens (LEFT56) and clean it with a soft cloth and Windex. Use compressed air to remove any dust from the cluster and place the clean lens on top of the diffuser.
Transcript of Attaching a Bezel to the Classic Instruments 1956 Ford … a... · 2015-06-02 · Attaching a Bezel...
AttachingaBezeltotheClassicInstruments1956FordF100GaugeCluster
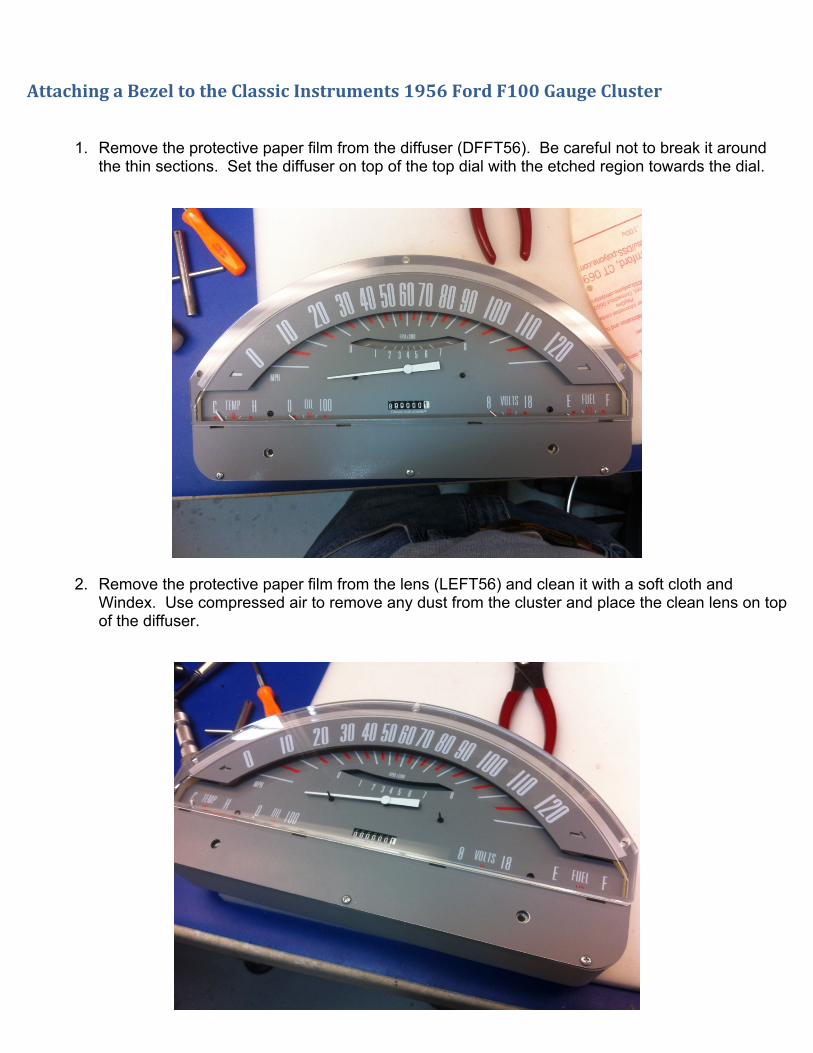
1. Remove the protective paper film from the diffuser (DFFT56). Be careful not to break it around the thin sections. Set the diffuser on top of the top dial with the etched region towards the dial.
2. Remove the protective paper film from the lens (LEFT56) and clean it with a soft cloth and Windex. Use compressed air to remove any dust from the cluster and place the clean lens on top of the diffuser.
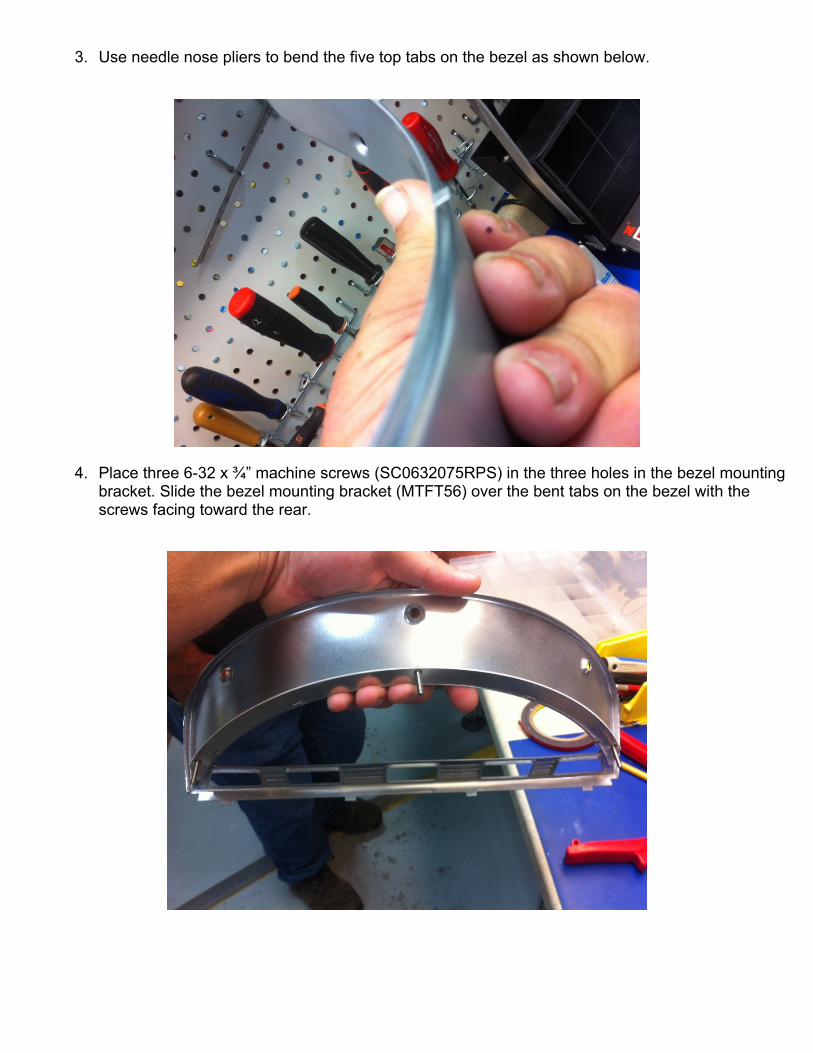
3. Use needle nose pliers to bend the five top tabs on the bezel as shown below.
4. Place three 6-32 x ¾” machine screws (SC0632075RPS) in the three holes in the bezel mounting bracket. Slide the bezel mounting bracket (MTFT56) over the bent tabs on the bezel with the screws facing toward the rear.
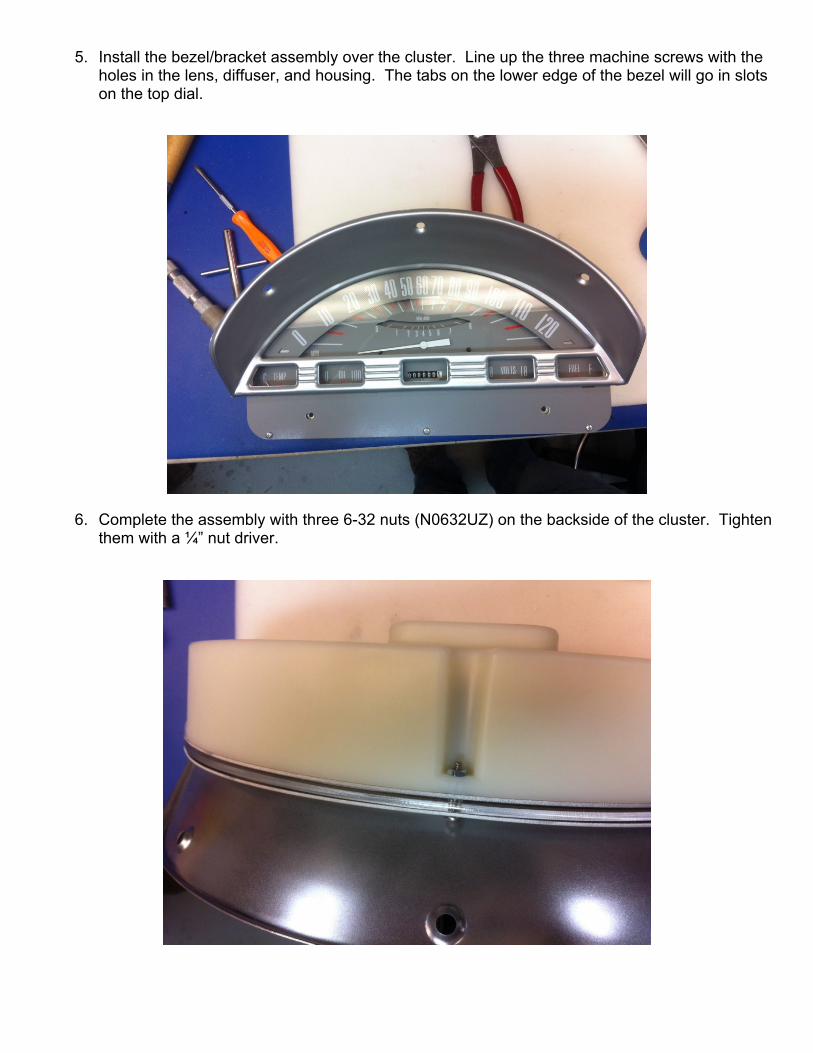
5. Install the bezel/bracket assembly over the cluster. Line up the three machine screws with the holes in the lens, diffuser, and housing. The tabs on the lower edge of the bezel will go in slots on the top dial.
6. Complete the assembly with three 6-32 nuts (N0632UZ) on the backside of the cluster. Tighten them with a ¼” nut driver.