Arch 20 final
35
Architecture 20 Spring 2015 / Laura Seymour / Instructor Jerry Lum
-
Upload
laura-seymour -
Category
Documents
-
view
219 -
download
0
description
Â
Transcript of Arch 20 final

Architecture 20 !Spring 2015 / Laura Seymour / Instructor Jerry Lum

Table of Contents Week 1 : Dog House
Week 2 : Circular Stairs
Week 3 : Malevich Inspired Construction
Week 4 : Folding Paper Airplane
Week 5 : Interior Studies
Week 6 : Photo Match
Week 7 : Final Project : 2 Story Cabin
SLO Self Assessment
3
7
12
16
20
23
27
34

Week One : Dog House Construction
• Arrow Select • Paint Bucket • Line • Rectangle • Circle • Arc • Move • Orbit • Pan • Eraser • Push/Pull • 3D Warehouse
Learning to use SketchUp tools and functions :
• Keying in desired measurement or value after function for accurate results. • Learning the single click, double click and triple click mouse functions.

Perspective View

Roof Plan Left Elevation
Front Elevation Right Elevation Back Elevation

Reflections • This was my first time using SketchUp, ever! I had a lot of basic tools to learn. • Building an understanding of the way this program works; everything in SketchUp is made up of lines and surfaces. • Utilizing the keyboard and shortcuts within the program to save time and sanity. • Using keyboard arrows to control movement along the red and green axes, and understanding the importance of this as you move or create objects in 3 dimensional space.

Week 2 : Circular Stairs and Array Exercise Continuing to learn tools from the previous week, and adding:
• Rotate Tool • Working with Layers • Move + Ctrl
– Makes a copy • Make Component
– The Make Component tool isolates a selected section, disconnecting it from the rest of the model, which is extremely helpful when creating an array of components.

We started the week with an array exercise to understand the importance and value of working with components. We also added to this the circle tool + follow me tool to make a dome shape. This was a great basic skills exercise to provide framework and understanding for the circular stairs.

Perspective View

Roof Plan Left Elevation
Front Elevation Right Elevation Back Elevation

Reflections • This exercise, for me, was all about understanding the rotate tool. I discovered
it took me awhile to think about the geometry behind what I was attempting to do within the program. Even though the exercise was very straightforward, I had to remind myself to think like the computer. After repeated attempts this got easier to do. Utilizing the Shift key to keep the rotate tool on the desired plane was a useful and necessary discovery.
• This exercise really showed the importance of repetition, of physically repeating an action over and over until you get it! Discovering the Move + Ctrl key combo (move, copy) made this stair exercise possible.
• We also explored the Layers tool. I have worked with Adobe CS in the past, so I understood the importance and usefulness of employing layers. Working with SketchUp proved to be no different. The ability to make layers visible or invisible, among other important functions, is incredibly useful towards working cleanly and efficiently.

Week 3 : Malevich Inspired Construction
• We learned how to transpose a photo or image file directly into our SketchUp model. In this case, we used the image by Kazimir Malevitch to explore building with abstract shapes.
• Further use of the Push/Pull tool.
• Line tool used to trace 2D forms from the composition.
• Utilizing the Arc tool.
• Importing more photo images to create a photo-realistic backdrop.

Perspective View

Roof Plan Left Elevation
Front Elevation Right Elevation Back Elevation

Reflections • Working off the the Malevich composition created for more abstract forms,
allowing us to break away from our preconceived ideas of “buildings”. • Developing our skills with the line tool, and understanding when a face does
not form it’s because the lines are not connected and the shape is not closed. • Working again with components here allowed for easy repetition of shapes
and forms, as well as better editing capabilities.

Week 4 : Paper Airplane + Sandbox
• Folding a rectangle with the rotate tool to form the shape of a paper plane.
• Understanding the angles and rotation.
• Working with groups and components.
• Editing components and exploding groups.
• Practice with intersecting faces.
• Creating terrain with the Sandbox tool and Fog.

Perspective View

Roof Plan Left Elevation
Front Elevation Right Elevation Back Elevation

Reflections
• The rotate tool was difficult for me to get the hang of, and although I had used it before, I had somehow forgotten everything. It was frustrating because I knew exactly the simple fold that I wanted to make, if it was in the physical world I would have that paper plane done in no time. Clumsy as I was in this virtual world, I diligently worked on until the assignment was complete.
• We worked more with the shadow tool, adjusting the date and time for the most interesting shadow play. The fog tool simply turns on and off, and it added another element to the terrain.

Week 5 : Interior Studies
• Working with components to build simple structures.
• Making windows.
• Utilizing the Tape Measure, Dimension, and Protractor tools.
• Learning to use the divide function.
• Exploring the impact of light, shape and space as well as material choices and textures.

Unfortunately I was unable to complete this week’s assignment. Struggling with my steep learning curve for all things digital, I can clearly identify this week as the point in which I was falling behind, and unable to meet my goals and expectations. I did however explore the beginnings of a structure and learned to make windows.

Assembling simple shapes to create a component that can be built up, moved and copied to create a much larger structure. Working with the beginnings of a color story. Regrettably, I was unable to finish this assignment.
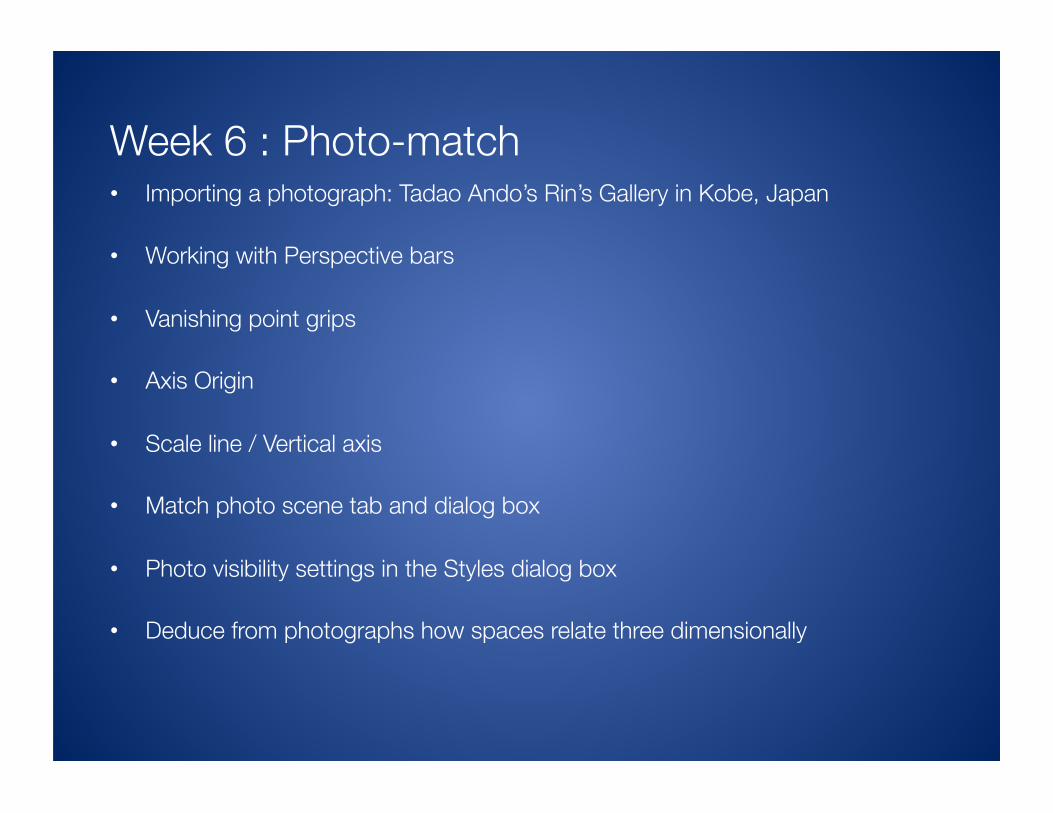
Week 6 : Photo-match • Importing a photograph: Tadao Ando’s Rin’s Gallery in Kobe, Japan
• Working with Perspective bars
• Vanishing point grips
• Axis Origin
• Scale line / Vertical axis
• Match photo scene tab and dialog box
• Photo visibility settings in the Styles dialog box
• Deduce from photographs how spaces relate three dimensionally

Perspective View

Roof Plan Left Elevation
Front Elevation Right Elevation Back Elevation

Reflections • This exercise seemed relatively easy at first, but once I began to dig in I
realized there was much more to this than simply drawing lines on top of a photograph. The photo represented only a single 2-dimensional image. With other images provided by our instructor, I was able to inference parts of the model that are unseen in the original photograph.
• In doing so, I learned the importance of working in direct accordance with the red, green and blue axis.
• This project was an exciting discovery, and has got me thinking about other applications for future projects. Virtually any photograph, old or new, could be re-interpreted in 3-D using SketchUp. Inspiring!

Week 7 : Final Project : 2 Story Cabin
• Deduce from photographs a comprehensive design presentation of my chosen case study.
• Utilizing all the tools and skills learned over the second half of the semester, model a 2 story cabin with minimal square footage, complete with fixtures and furnishings.
• Drawing from a series of inspirational photos, I opted to create my own two story loft cabin, as opposed to re-creating the Sol Duc Cabin by Tom Kundig.

2 Story Cabin : My Own Design


Roof Plan Left Elevation
Front Elevation Right Elevation Back Elevation

Reflections Choosing to create my own two story cabin presented challenges and rewards. Once I had the floor plan down, I enjoyed the freedom of implementing my own ideas, without having to track back and reference someone else’s design.
However, I still felt the limitations of my abilities within this program. Other difficulties I faced were technical, and with limited access to 3-D Warehouse, I was unable to furnish many areas of my cabin.
I would like to see my final project fully realized, and with a bit more time I plan to do so. Overall, I am extremely satisfied that I was able to overcome the frustration and produce an original design that surpassed my expectations.

SLO 1: Create accurate drawings that communicate simple architectural design intentions.
Apply graphic conven7ons and standards appropriately 4 Relate each drawing within a set to each other to fully describe significant aspects of a design from the general to the specific
4
Demonstrate a correspondence between the design inten7ons to be communicated and the graphic representa7ons produced to communicate them
4
Produce drawing that are readable and meaningful to others 4 SLO 2: Analyze the specific intentions communicated by analog and digital modes of graphic communication.
Identify the intended message(s) behind the graphic communication, whether produced by analog or digital means
5
Assess the integrity of the message(s) – identify the strengths and weaknesses of the represented intentions 5 Assess the efficacy of the related graphic representa-tion(s) 5 Propose enhancements to what is being graphically communicated 4
Arch 20 : SLO Progress Report
ARCH 20 / SPRING 2015 SLO ASSESSMENT v.2.0

SLO 3: Apply use of scales, line quality, graphic conventions, and drawing systems and techniques.
Create clear and appropriately ordered hierarchies of visual information 5 Compose elements of a drawing in a clear organized manner that relates visual information on each drawing and between sets of related drawings
5
SLO 4: Demonstrate an understanding of the purposes of various architectural graphic techniques.
Identify the similarities and differences between:
Orthographic projections: plan, section, elevations, and details
2
Paraline drawing: isometric and oblique 3
Perspective drawing: 1-, 2- and 3-point 3
Compare and contrast the graphic systems describe directly above 3 Demonstrate an integrated use of analog and digital tools in the process of developing a set of design intentions 3
Arch 20 : SLO Progress Report – continued
ARCH 20 / SPRING 2015 SLO ASSESSMENT v.2.0