Air Sketchbook
33
ALGORITHMIC SKETCHBOOK ABPL 30048: DESIGN STUDIO AIR EMILY ADAMSON (538935) 2014 SEMESTER 1
-
Upload
millyadamson -
Category
Documents
-
view
219 -
download
1
description
Â
Transcript of Air Sketchbook

ALGORITHMIC SKETCHBOOKABPL 30048: DESIGN STUDIO AIR
EMILY ADAMSON (538935)2014
SEMESTER 1


ABPL 30048 DESIGN STUDIO AIREMILY ADAMSON
2014STUDIO 11.
TUTORS: HASLETT GROUNDS AND BRADLEY ELIAS


CONTENTS
7 PART A.
8 A. 1 Lofting and Triangulation Algorithums
10 A. 2 Understanding Geometry, Transforma-tions and Intersections
12 A. 3 Controlling the Algorithm: Lists, Flow Control, Matching
15 PART B.
16 B.1 Voussoir Cloud Exploration
18 B.2 Reverse Engineering: EXOtique
20 B.3 Image Sampling
21 B.4 Kangaroo, tensile grid bodies and con-tinuous patterning


.7
PART A.

8.
A. 1 Lofting and Triangulation Algorithums
Ifirststartedbyloftingtwocurvestogethertocreateabasic curve. I then manipulated this curve through changing the position of its control points, to create even further abstraction I in-creased the amount of control points, which made the surface even more reactive. To create further manipulation I played around with theloftingoptionsfromamoremanagablesurfacetoamorefluid,uniform one.

.9
I then experimented with creating a mesh on the surface in an attempt to create some 3D panelling. This was unfortunately where I got stuck.
From here I then began Trangulation algorithums and began to experiment with the 2-dimensional plane and then the 3-dimensional plane; exploring voronoi’s to make a cube that could be manipulated and cut away. I then created a curved surface and populated the geometry with points so that I was able to apply the triangulation
OcTree and create boxes along the curve. I then played around with the group number with a slider (seen below) and changed the values from 1 to 10. This technique would be perfect for creating ideas and generating fast elements to develop a design further.

10.
The week focused on Geometry, transformation and intersections. I investigated making a topographic curved surface for fabrication. I investigated how to create curves evenly placed along an existing curve. From here I placed curves adjacent to them. From this I learnt how to create a point on the intercepting curves, place a circle over them for fabrication. This was further developed when icreatedasphere,offsetit,placedrandompointsonit,mappedcurves then lofted between the two spheres. I then experimented withdifferentshapestocreatedifferenttechniques.Thiscreatedsome technical problem.
A. 2 Understanding Geometry, Transforma-tions and Intersections

.11

12.
A. 3 Controlling the Algorithm: Lists, Flow Control, Matching
Thisweekfocusedonlists,flowcontrolandmathcing.Afterfollow-ing this weeks web tutors I was left with the polyline suface seen on the left. I then took this further and re-did the curves, and increasing the amount of points to create denser and more complex shapes. Below is a screenshot of playing around with voronois, increasing therevaluestocreatedifferentpatterns.Thistechniquecouldbeused to create a panel on a shape to cut out or create an abstracted materialthatcouldincreasetheefficiencyofmysustainableenergy.

.13


.15
PART B.

16.
B.1 Voussoir Cloud Exploration
playing around with kangaroo limits creating a force point attractor

.17
ForVoussoircloudexplorationIuseddifferentvideotutorialstopro-ducedifferntoutcomes.Thisincludedplayingaroundwithkangaroogravitational factors, creating an attraction point for circles on a surface, and changing the points to a point arragned in a spiral. This pushed and abstracted the model to weird, unattainable limits.
pluging in a sprial as the points

18.
B.2 Reverse Engineering: EXOtique

.19
ReverseengineeringEXOtiquewetriedthreedifferentway.Thefirstbeing creating our own panel to map of a surface that had circles cut out of it. This was hard and didnt produce the structure we wanted. Secondly we created a hexagonal plane that we then piped and created a surface in between these pipes. The third was just a simple hexagonal surface through using a plugin.
20.
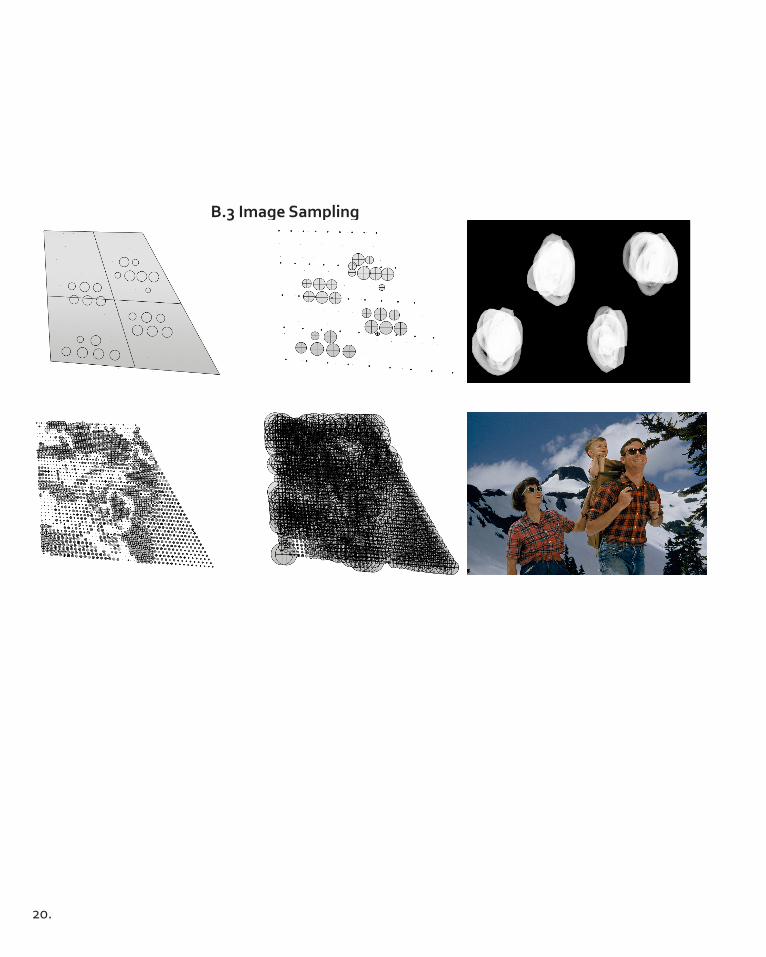
B.3 Image Sampling

.21
B.4 Kangaroo, tensile grid bodies and con-tinuous patterning


.23
PART C.

24.
C. 1 Tri-Grid
We began our design knowing that we wanted to create a triangulated surface that we could then manipulate through point charges.
Experimentingwithdifferentstyles - hexgrid

.25
Space -frame attempts
Itriedmanydifferentwaystocreateaspaceframe. Some didnt work because our shape was irregular, some caused my computer to crash (hence why they are not connected).Itriedaboutthreedifferentways before we found a way that worked without serious computer crashing issues.

26.
C. 2 Final Space frame Definition
Played around with these U and V to acheive ourfinaldesign

.27
We tried to use nodes but in the end didnt end up using theminourfinaldefinition
28.
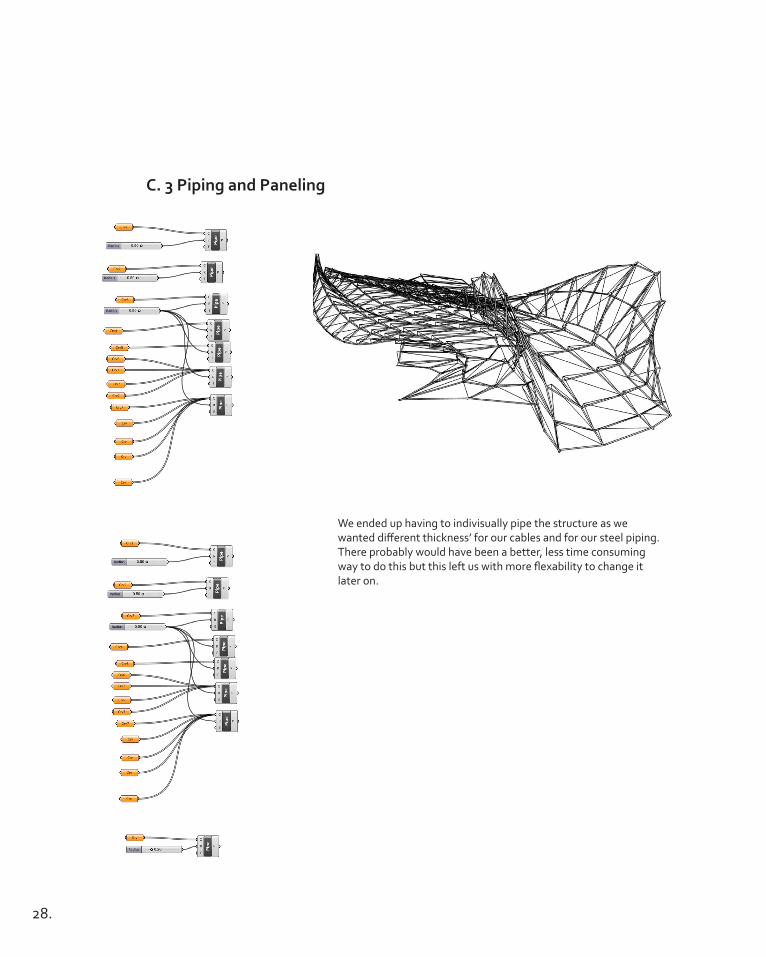
C. 3 Piping and Paneling
We ended up having to indivisually pipe the structure as we wanteddifferentthickness’forourcablesandforoursteelpiping.There probably would have been a better, less time consuming waytodothisbutthisleftuswithmoreflexabilitytochangeitlater on.

.29
DefinitiontoshowacloseupoftheFPEDconnectiontothespaceframe. I played around with VRay with materials to create thenanowireflutteringpanel.
30.
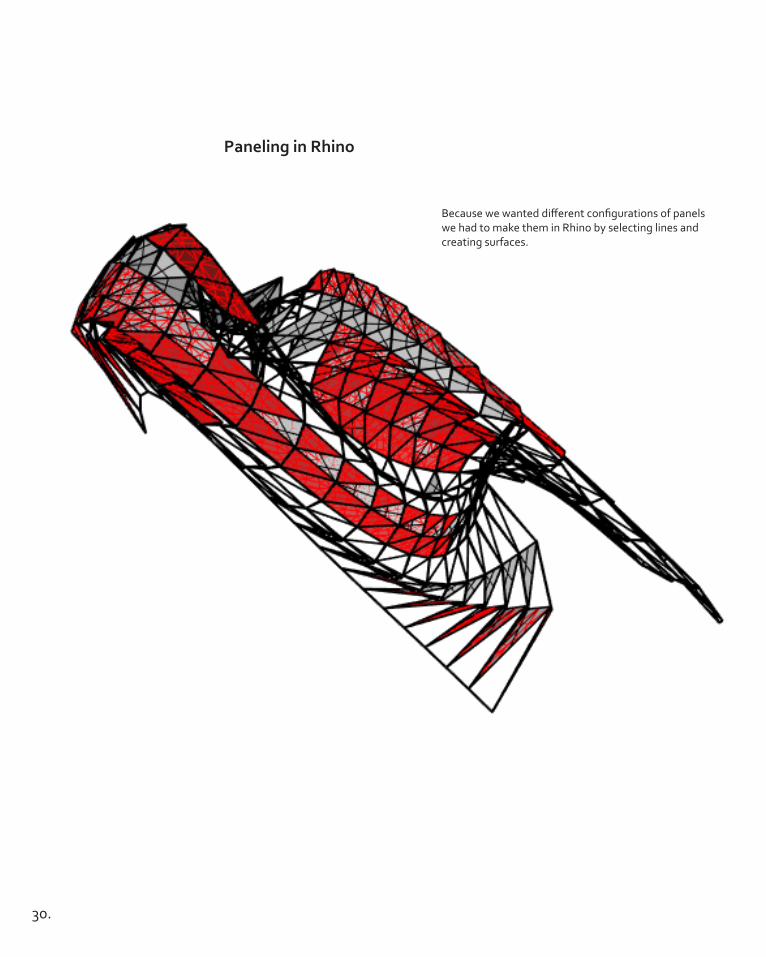
Paneling in Rhino
Becausewewanteddifferentconfigurationsofpanelswe had to make them in Rhino by selecting lines and creating surfaces.

.31
Some renders playing around with materials on VRay

32.
C. 4 Renders and explorations that didnt make the cut

.33