Advanced Authentication - Device Service - Home | NetIQ · · 2016-06-206 Advanced Authentication...
24
Installation Guide Advanced Authentication Device Service Version 5.3
Transcript of Advanced Authentication - Device Service - Home | NetIQ · · 2016-06-206 Advanced Authentication...

Installation Guide Advanced Authentication Device ServiceVersion 5.3

Legal Notices
For information about legal notices, trademarks, disclaimers, warranties, export and other use restrictions, U.S. Government rights, patent policy, and FIPS compliance, see https://www.netiq.com/company/legal/.
Copyright © 2016 NetIQ Corporation, a Micro Focus company. All Rights Reserved.
Contents
About NetIQ Corporation 5About this Book 7
1 System Requirements 91.1 Supported Card Readers and Cards . . . . . . . . . . . . . . . . . . . . . . . . . . . . . . . . . . . . . . . . . . . . . . . . . . 91.2 Supported Devices for PKI. . . . . . . . . . . . . . . . . . . . . . . . . . . . . . . . . . . . . . . . . . . . . . . . . . . . . . . . . 101.3 Supported Fingerprint Readers . . . . . . . . . . . . . . . . . . . . . . . . . . . . . . . . . . . . . . . . . . . . . . . . . . . . . 11
2 Installing and Uninstalling Device Service 132.1 Installing Device Service on Windows . . . . . . . . . . . . . . . . . . . . . . . . . . . . . . . . . . . . . . . . . . . . . . . . 132.2 Uninstalling Device Service on Windows . . . . . . . . . . . . . . . . . . . . . . . . . . . . . . . . . . . . . . . . . . . . . . 14
2.2.1 Uninstalling Device Service through Setup Wizard . . . . . . . . . . . . . . . . . . . . . . . . . . . . . . . 142.2.2 Uninstalling Device Service through Control Panel . . . . . . . . . . . . . . . . . . . . . . . . . . . . . . . 14
2.3 Installing Device Service on Linux . . . . . . . . . . . . . . . . . . . . . . . . . . . . . . . . . . . . . . . . . . . . . . . . . . . 152.4 Upgrading Device Service on Linux . . . . . . . . . . . . . . . . . . . . . . . . . . . . . . . . . . . . . . . . . . . . . . . . . . 152.5 Uninstalling Device Service on Linux . . . . . . . . . . . . . . . . . . . . . . . . . . . . . . . . . . . . . . . . . . . . . . . . . 162.6 Installing Device Service on Mac . . . . . . . . . . . . . . . . . . . . . . . . . . . . . . . . . . . . . . . . . . . . . . . . . . . . 162.7 Uninstalling Device Service on Mac. . . . . . . . . . . . . . . . . . . . . . . . . . . . . . . . . . . . . . . . . . . . . . . . . . 16
3 Configuring Device Service 173.1 Card Settings . . . . . . . . . . . . . . . . . . . . . . . . . . . . . . . . . . . . . . . . . . . . . . . . . . . . . . . . . . . . . . . . . . . 173.2 Fingerprint Settings . . . . . . . . . . . . . . . . . . . . . . . . . . . . . . . . . . . . . . . . . . . . . . . . . . . . . . . . . . . . . . 183.3 PKI Settings . . . . . . . . . . . . . . . . . . . . . . . . . . . . . . . . . . . . . . . . . . . . . . . . . . . . . . . . . . . . . . . . . . . . 18
4 Troubleshooting 214.1 Card Related Issues. . . . . . . . . . . . . . . . . . . . . . . . . . . . . . . . . . . . . . . . . . . . . . . . . . . . . . . . . . . . . . 224.2 FIDO U2F Related Issues . . . . . . . . . . . . . . . . . . . . . . . . . . . . . . . . . . . . . . . . . . . . . . . . . . . . . . . . . 224.3 Fingerprint Related Issues . . . . . . . . . . . . . . . . . . . . . . . . . . . . . . . . . . . . . . . . . . . . . . . . . . . . . . . . . 234.4 PKI Related Issues. . . . . . . . . . . . . . . . . . . . . . . . . . . . . . . . . . . . . . . . . . . . . . . . . . . . . . . . . . . . . . . 23
Contents 3

4 Advanced Authentication - Device Service
About NetIQ Corporation
We are a global, enterprise software company, with a focus on the three persistent challenges in your environment: Change, complexity and risk—and how we can help you control them.
Our ViewpointAdapting to change and managing complexity and risk are nothing new
In fact, of all the challenges you face, these are perhaps the most prominent variables that deny you the control you need to securely measure, monitor, and manage your physical, virtual, and cloud computing environments.
Enabling critical business services, better and faster We believe that providing as much control as possible to IT organizations is the only way to enable timelier and cost effective delivery of services. Persistent pressures like change and complexity will only continue to increase as organizations continue to change and the technologies needed to manage them become inherently more complex.
Our PhilosophySelling intelligent solutions, not just software
In order to provide reliable control, we first make sure we understand the real-world scenarios in which IT organizations like yours operate—day in and day out. That's the only way we can develop practical, intelligent IT solutions that successfully yield proven, measurable results. And that's so much more rewarding than simply selling software.
Driving your success is our passion We place your success at the heart of how we do business. From product inception to deployment, we understand that you need IT solutions that work well and integrate seamlessly with your existing investments; you need ongoing support and training post-deployment; and you need someone that is truly easy to work with—for a change. Ultimately, when you succeed, we all succeed.
Our SolutionsIdentity & Access Governance Access Management Security Management Systems & Application Management Workload Management Service Management
About NetIQ Corporation 5
Contacting Sales SupportFor questions about products, pricing, and capabilities, contact your local partner. If you cannot contact your partner, contact our Sales Support team.
Contacting Technical SupportFor specific product issues, contact our Technical Support team.
Contacting Documentation SupportOur goal is to provide documentation that meets your needs. The documentation for this product is available on the NetIQ Web site in HTML and PDF formats on a page that does not require you to log in. If you have suggestions for documentation improvements, click Add Comment at the bottom of any page in the HTML version of the documentation posted at www.netiq.com/documentation. You can also email [email protected]. We value your input and look forward to hearing from you.
Contacting the Online User CommunityNetIQ Communities, the NetIQ online community, is a collaborative network connecting you to your peers and NetIQ experts. By providing more immediate information, useful links to helpful resources, and access to NetIQ experts, NetIQ Communities helps ensure you are mastering the knowledge you need to realize the full potential of IT investments upon which you rely. For more information, visit community.netiq.com.
Worldwide: www.netiq.com/about_netiq/officelocations.asp
United States and Canada: 1-888-323-6768
Email: [email protected]
Web Site: www.netiq.com
Worldwide: www.netiq.com/support/contactinfo.asp
North and South America: 1-713-418-5555
Europe, Middle East, and Africa: +353 (0) 91-782 677
Email: [email protected]
Web Site: www.netiq.com/support
6 Advanced Authentication - Device Service
About this Book
The Advanced Authentication Device Service Guide has been designed for all users and describes system requirements that must be fulfilled before the installation of Advanced Authentication Device Service.
Intended AudienceThis book provides information for individuals responsible for understanding administration concepts and implementing a secure, distributed administration model.
About Device ServiceDevice Service provides you with an ability to use compliant fingerprint devices, contact and contactless cards, PKI smart cards, crypto sticks, and FIDO U2F tokens during enrollment in Advanced Authentication Self-Service Portal and for further authentication.
About this Book 7

8 Advanced Authentication - Device Service
1 1System Requirements
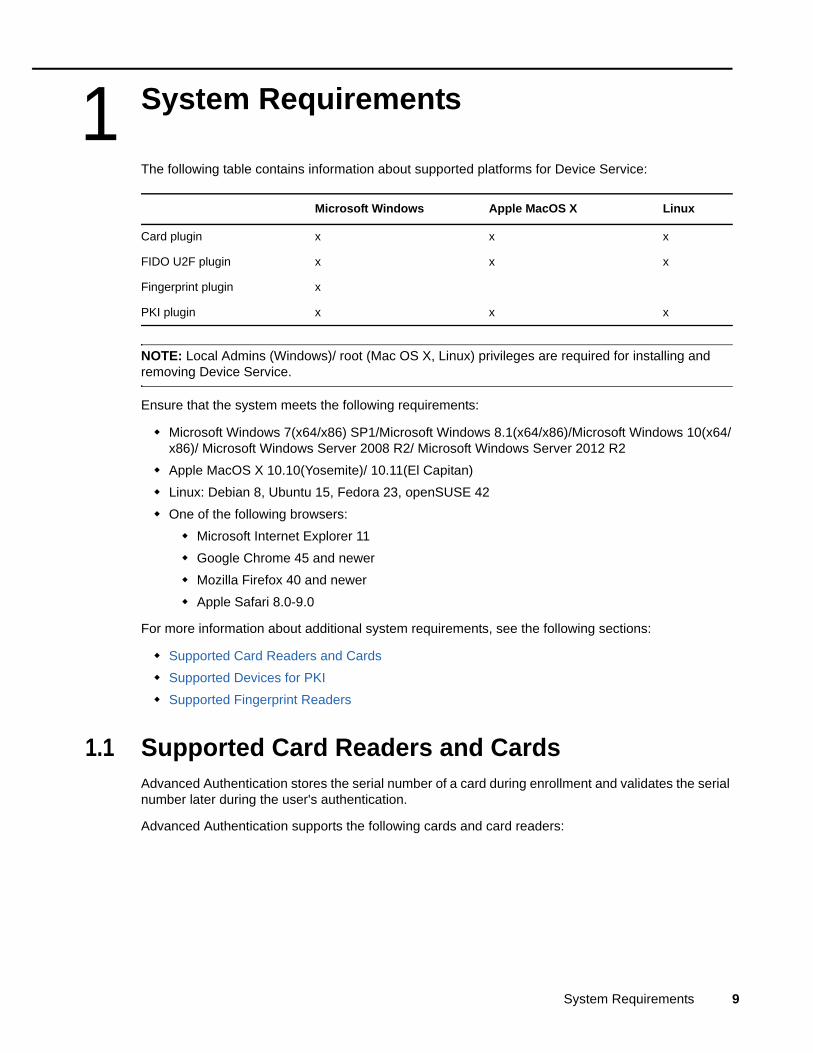
The following table contains information about supported platforms for Device Service:
NOTE: Local Admins (Windows)/ root (Mac OS X, Linux) privileges are required for installing and removing Device Service.
Ensure that the system meets the following requirements:
Microsoft Windows 7(x64/x86) SP1/Microsoft Windows 8.1(x64/x86)/Microsoft Windows 10(x64/x86)/ Microsoft Windows Server 2008 R2/ Microsoft Windows Server 2012 R2Apple MacOS X 10.10(Yosemite)/ 10.11(El Capitan)Linux: Debian 8, Ubuntu 15, Fedora 23, openSUSE 42One of the following browsers:
Microsoft Internet Explorer 11Google Chrome 45 and newerMozilla Firefox 40 and newerApple Safari 8.0-9.0
For more information about additional system requirements, see the following sections:
Supported Card Readers and CardsSupported Devices for PKISupported Fingerprint Readers
1.1 Supported Card Readers and CardsAdvanced Authentication stores the serial number of a card during enrollment and validates the serial number later during the user's authentication.
Advanced Authentication supports the following cards and card readers:
Microsoft Windows Apple MacOS X Linux
Card plugin x x x
FIDO U2F plugin x x x
Fingerprint plugin x
PKI plugin x x x
System Requirements 9
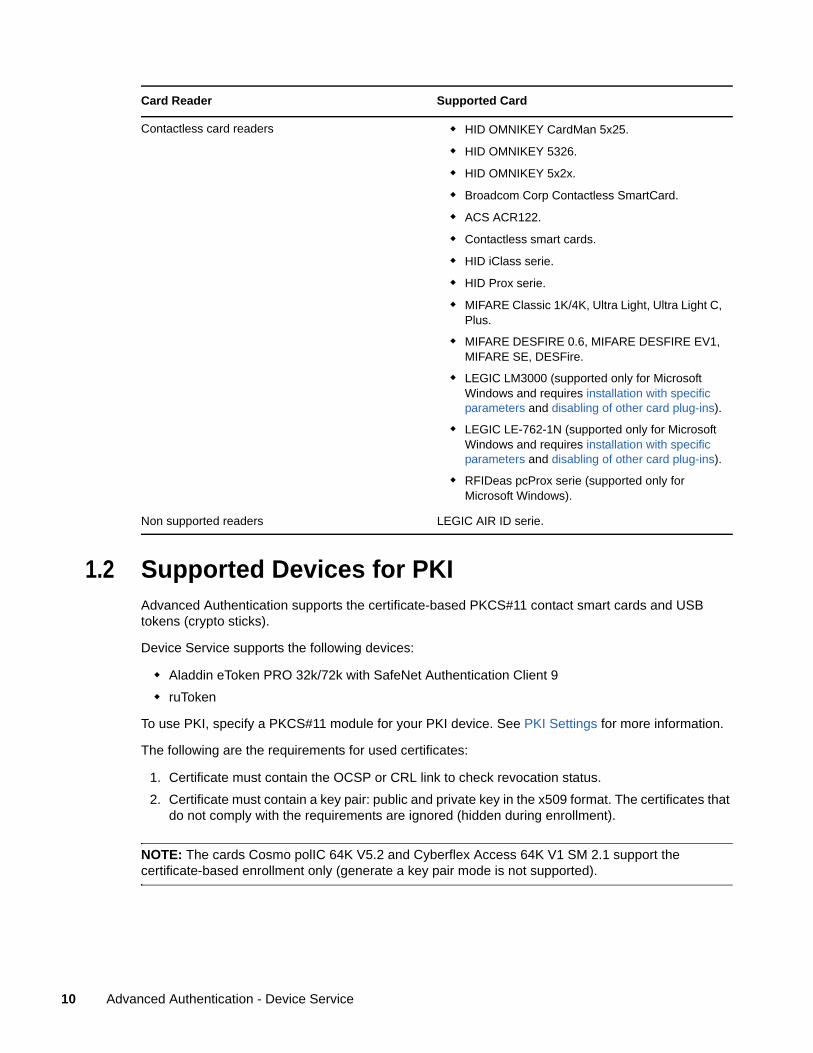
1.2 Supported Devices for PKIAdvanced Authentication supports the certificate-based PKCS#11 contact smart cards and USB tokens (crypto sticks).
Device Service supports the following devices:
Aladdin eToken PRO 32k/72k with SafeNet Authentication Client 9ruToken
To use PKI, specify a PKCS#11 module for your PKI device. See PKI Settings for more information.
The following are the requirements for used certificates:
1. Certificate must contain the OCSP or CRL link to check revocation status.2. Certificate must contain a key pair: public and private key in the x509 format. The certificates that
do not comply with the requirements are ignored (hidden during enrollment).
NOTE: The cards Cosmo polIC 64K V5.2 and Cyberflex Access 64K V1 SM 2.1 support the certificate-based enrollment only (generate a key pair mode is not supported).
Card Reader Supported Card
Contactless card readers HID OMNIKEY CardMan 5x25.
HID OMNIKEY 5326.
HID OMNIKEY 5x2x.
Broadcom Corp Contactless SmartCard.
ACS ACR122.
Contactless smart cards.
HID iClass serie.
HID Prox serie.
MIFARE Classic 1K/4K, Ultra Light, Ultra Light C, Plus.
MIFARE DESFIRE 0.6, MIFARE DESFIRE EV1, MIFARE SE, DESFire.
LEGIC LM3000 (supported only for Microsoft Windows and requires installation with specific parameters and disabling of other card plug-ins).
LEGIC LE-762-1N (supported only for Microsoft Windows and requires installation with specific parameters and disabling of other card plug-ins).
RFIDeas pcProx serie (supported only for Microsoft Windows).
Non supported readers LEGIC AIR ID serie.
10 Advanced Authentication - Device Service
1.3 Supported Fingerprint ReadersDevice Service supports fingerprint readers that use Windows Biometric Framework (WBF), Lumidigm readers, and Digital Persona readers.
Ensure that the system meets the following requirements for the WBF compliant readers:
A reader must be available in Device Manager in the Biometric devices section. The Windows Biometric Service (in services.msc) must be set to Automatic and must be in a running state.The policies Allow to use of biometrics, Allow users to log on using biometrics, Allow domain users to log on using biometrics (Computer Configuration - Administrative Templates - Windows Components - Biometrics) must be enabled.
Device Service supports the following WBF compliant fingerprint readers:
NEXT Biometrics NB-3010-UL (Fingerprint Settings only).Precise Biometrics 100 X with AuthenTec AES2501B.Zvetco Verifi P2500 with AuthenTec AES2550.Zvetco Verifi P5100.Zvetco Verifi P5200 with TouchChip Fingerprint Coprocessor.Zvetco Verifi P6000.Validity Sensors (HP laptops).SecuGen Hamster Plus (HSDU03P).
Device Service does not support the following devices:
SecuGen Hamster IV (HFDU04).SecuGen Hamster (HFDU02R).
Usage of fingerprint readers requires manual configuration. For more information, see Fingerprint Settings.
NOTE: Swipe readers may face issues with fingerprint matching because of low quality sensors.
System Requirements 11

12 Advanced Authentication - Device Service
2 2Installing and Uninstalling Device Service
Close all web browsers before installing Device Service. The installation procedure varies for different operating systems.
Device Service on Microsoft Windows
Installing Device Service on WindowsUninstalling Device Service on Windows
Device Service on Apple Mac OS X
Installing Device Service on MacUninstalling Device Service on Mac
Device Service on Linux
Installing Device Service on LinuxUpgrading Device Service on LinuxUninstalling Device Service on Linux
WARNING: During the upgrade of Device Service on Apple Mac OS X and Linux, the configuration file is overwritten with a default one. Ensure that you have a copy of the file and put it back to the folder after the Device Service upgrade.
2.1 Installing Device Service on Windows1. Run NAAF-DeviceServiceSetup-Win32-Release-<version>.msi.
IMPORTANT: For LEGIC readers, you need to install Device Service by running the command line:
msiexec /i NAAF-DeviceServiceSetup-Win32-Release-<version>.msi TOKEN="XXX" KEY="YYY"
XXX - Token value (HEX <= 12 byte)
YYY - 3Des Key (HEX 16 byte)
If you leave the TOKEN/KEY parameters blank or enter invalid commands, Device Service does not detect the LEGIC reader.
2. Click Next.3. Read and accept the licence agreement.
Installing and Uninstalling Device Service 13
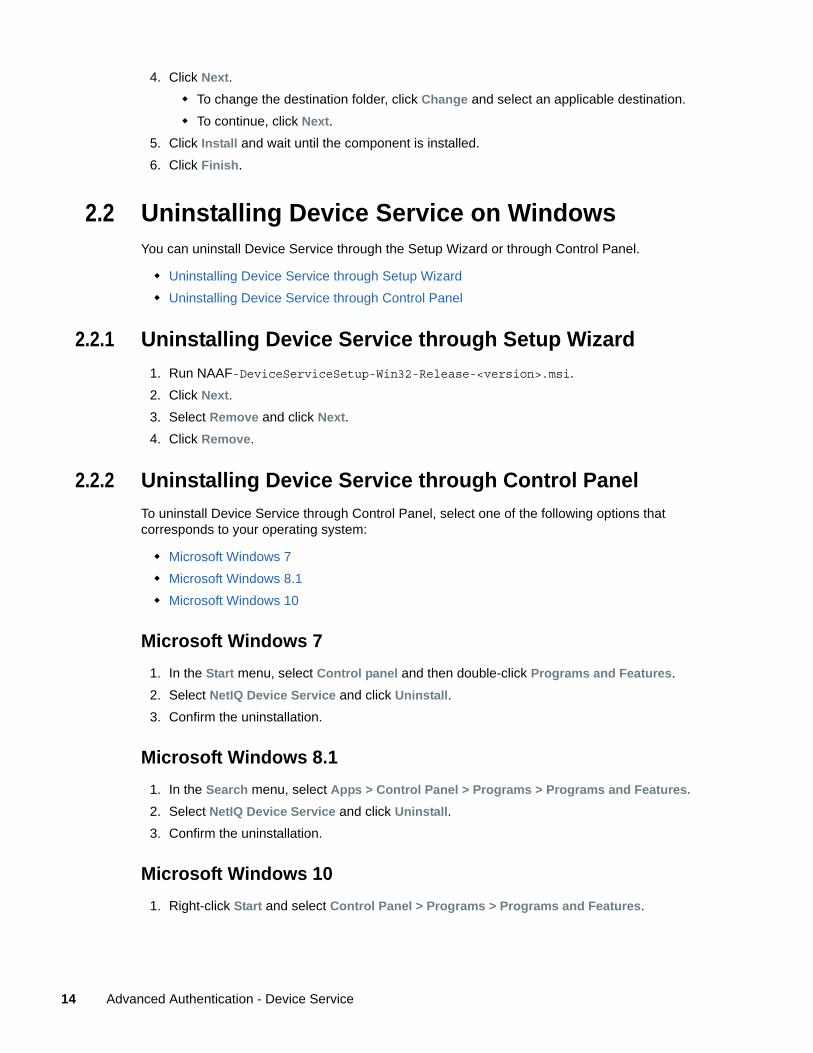
4. Click Next.To change the destination folder, click Change and select an applicable destination.To continue, click Next.
5. Click Install and wait until the component is installed.6. Click Finish.
2.2 Uninstalling Device Service on WindowsYou can uninstall Device Service through the Setup Wizard or through Control Panel.
Uninstalling Device Service through Setup WizardUninstalling Device Service through Control Panel
2.2.1 Uninstalling Device Service through Setup Wizard1. Run NAAF-DeviceServiceSetup-Win32-Release-<version>.msi. 2. Click Next.3. Select Remove and click Next.4. Click Remove.
2.2.2 Uninstalling Device Service through Control PanelTo uninstall Device Service through Control Panel, select one of the following options that corresponds to your operating system:
Microsoft Windows 7Microsoft Windows 8.1Microsoft Windows 10
Microsoft Windows 71. In the Start menu, select Control panel and then double-click Programs and Features.2. Select NetIQ Device Service and click Uninstall.3. Confirm the uninstallation.
Microsoft Windows 8.11. In the Search menu, select Apps > Control Panel > Programs > Programs and Features.2. Select NetIQ Device Service and click Uninstall.3. Confirm the uninstallation.
Microsoft Windows 101. Right-click Start and select Control Panel > Programs > Programs and Features.
14 Advanced Authentication - Device Service
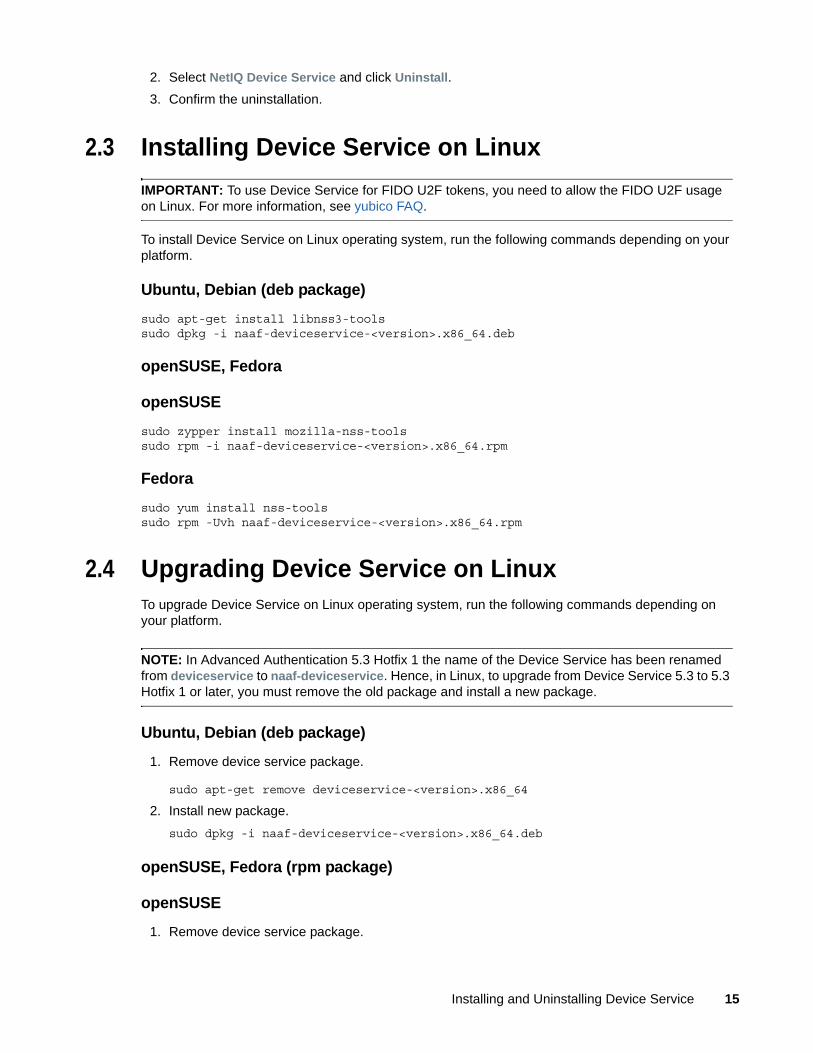
2. Select NetIQ Device Service and click Uninstall.3. Confirm the uninstallation.
2.3 Installing Device Service on LinuxIMPORTANT: To use Device Service for FIDO U2F tokens, you need to allow the FIDO U2F usage on Linux. For more information, see yubico FAQ.
To install Device Service on Linux operating system, run the following commands depending on your platform.
Ubuntu, Debian (deb package)sudo apt-get install libnss3-toolssudo dpkg -i naaf-deviceservice-<version>.x86_64.deb
openSUSE, Fedora
openSUSEsudo zypper install mozilla-nss-toolssudo rpm -i naaf-deviceservice-<version>.x86_64.rpm
Fedorasudo yum install nss-toolssudo rpm -Uvh naaf-deviceservice-<version>.x86_64.rpm
2.4 Upgrading Device Service on LinuxTo upgrade Device Service on Linux operating system, run the following commands depending on your platform.
NOTE: In Advanced Authentication 5.3 Hotfix 1 the name of the Device Service has been renamed from deviceservice to naaf-deviceservice. Hence, in Linux, to upgrade from Device Service 5.3 to 5.3 Hotfix 1 or later, you must remove the old package and install a new package.
Ubuntu, Debian (deb package)
1. Remove device service package.
sudo apt-get remove deviceservice-<version>.x86_64
2. Install new package.sudo dpkg -i naaf-deviceservice-<version>.x86_64.deb
openSUSE, Fedora (rpm package)
openSUSE
1. Remove device service package.
Installing and Uninstalling Device Service 15
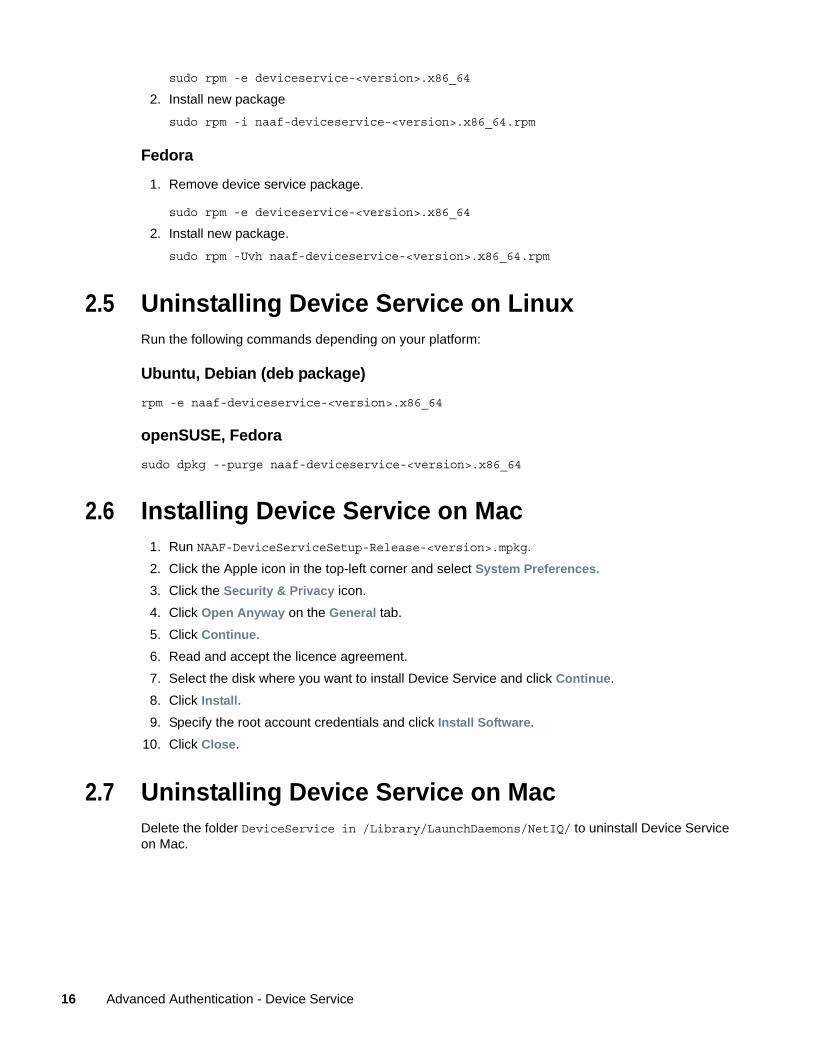
sudo rpm -e deviceservice-<version>.x86_64
2. Install new packagesudo rpm -i naaf-deviceservice-<version>.x86_64.rpm
Fedora
1. Remove device service package.
sudo rpm -e deviceservice-<version>.x86_64
2. Install new package.sudo rpm -Uvh naaf-deviceservice-<version>.x86_64.rpm
2.5 Uninstalling Device Service on LinuxRun the following commands depending on your platform:
Ubuntu, Debian (deb package)rpm -e naaf-deviceservice-<version>.x86_64
openSUSE, Fedorasudo dpkg --purge naaf-deviceservice-<version>.x86_64
2.6 Installing Device Service on Mac1. Run NAAF-DeviceServiceSetup-Release-<version>.mpkg. 2. Click the Apple icon in the top-left corner and select System Preferences.3. Click the Security & Privacy icon.4. Click Open Anyway on the General tab.5. Click Continue.6. Read and accept the licence agreement.7. Select the disk where you want to install Device Service and click Continue.8. Click Install.9. Specify the root account credentials and click Install Software.
10. Click Close.
2.7 Uninstalling Device Service on MacDelete the folder DeviceService in /Library/LaunchDaemons/NetIQ/ to uninstall Device Service on Mac.
16 Advanced Authentication - Device Service
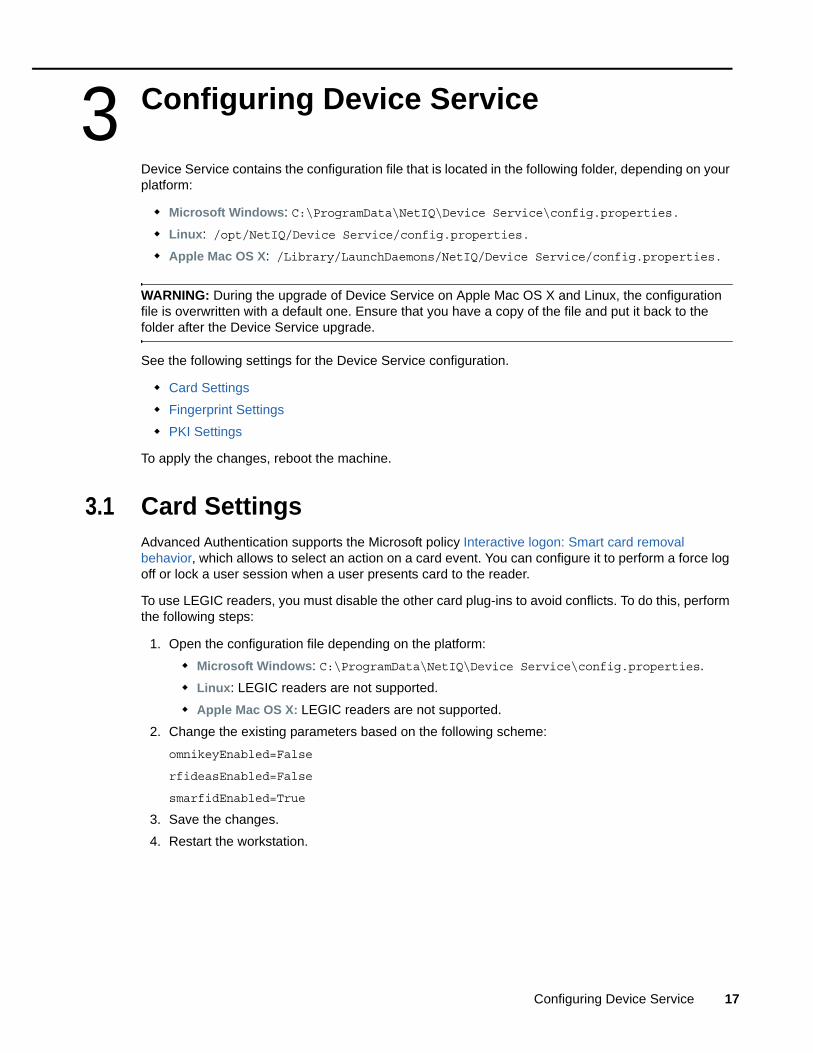
3 3Configuring Device Service
Device Service contains the configuration file that is located in the following folder, depending on your platform:
Microsoft Windows: C:\ProgramData\NetIQ\Device Service\config.properties.Linux: /opt/NetIQ/Device Service/config.properties.Apple Mac OS X: /Library/LaunchDaemons/NetIQ/Device Service/config.properties.
WARNING: During the upgrade of Device Service on Apple Mac OS X and Linux, the configuration file is overwritten with a default one. Ensure that you have a copy of the file and put it back to the folder after the Device Service upgrade.
See the following settings for the Device Service configuration.
Card SettingsFingerprint SettingsPKI Settings
To apply the changes, reboot the machine.
3.1 Card SettingsAdvanced Authentication supports the Microsoft policy Interactive logon: Smart card removal behavior, which allows to select an action on a card event. You can configure it to perform a force log off or lock a user session when a user presents card to the reader.
To use LEGIC readers, you must disable the other card plug-ins to avoid conflicts. To do this, perform the following steps:
1. Open the configuration file depending on the platform:Microsoft Windows: C:\ProgramData\NetIQ\Device Service\config.properties.Linux: LEGIC readers are not supported.Apple Mac OS X: LEGIC readers are not supported.
2. Change the existing parameters based on the following scheme:omnikeyEnabled=False
rfideasEnabled=False
smarfidEnabled=True
3. Save the changes.4. Restart the workstation.
Configuring Device Service 17
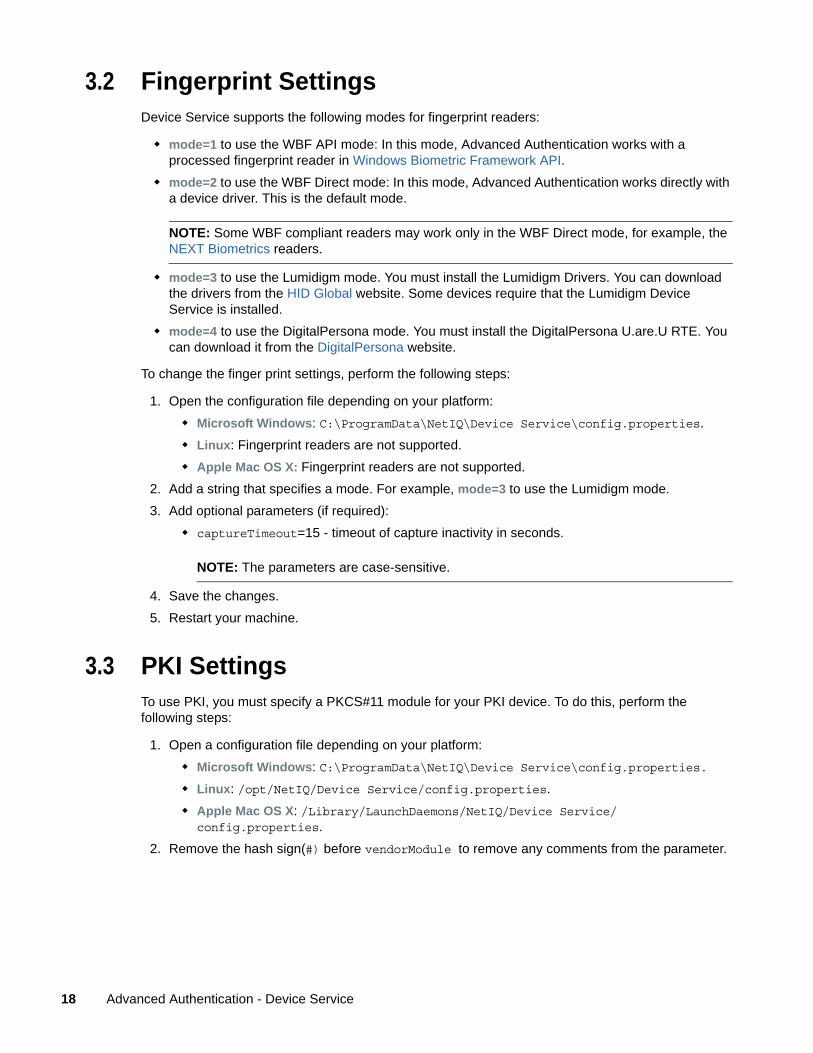
3.2 Fingerprint SettingsDevice Service supports the following modes for fingerprint readers:
mode=1 to use the WBF API mode: In this mode, Advanced Authentication works with a processed fingerprint reader in Windows Biometric Framework API.mode=2 to use the WBF Direct mode: In this mode, Advanced Authentication works directly with a device driver. This is the default mode.
NOTE: Some WBF compliant readers may work only in the WBF Direct mode, for example, the NEXT Biometrics readers.
mode=3 to use the Lumidigm mode. You must install the Lumidigm Drivers. You can download the drivers from the HID Global website. Some devices require that the Lumidigm Device Service is installed.mode=4 to use the DigitalPersona mode. You must install the DigitalPersona U.are.U RTE. You can download it from the DigitalPersona website.
To change the finger print settings, perform the following steps:
1. Open the configuration file depending on your platform:Microsoft Windows: C:\ProgramData\NetIQ\Device Service\config.properties.Linux: Fingerprint readers are not supported.Apple Mac OS X: Fingerprint readers are not supported.
2. Add a string that specifies a mode. For example, mode=3 to use the Lumidigm mode. 3. Add optional parameters (if required):
captureTimeout=15 - timeout of capture inactivity in seconds.
NOTE: The parameters are case-sensitive.
4. Save the changes.5. Restart your machine.
3.3 PKI SettingsTo use PKI, you must specify a PKCS#11 module for your PKI device. To do this, perform the following steps:
1. Open a configuration file depending on your platform:Microsoft Windows: C:\ProgramData\NetIQ\Device Service\config.properties.Linux: /opt/NetIQ/Device Service/config.properties.Apple Mac OS X: /Library/LaunchDaemons/NetIQ/Device Service/config.properties.
2. Remove the hash sign(#) before vendorModule to remove any comments from the parameter.
18 Advanced Authentication - Device Service
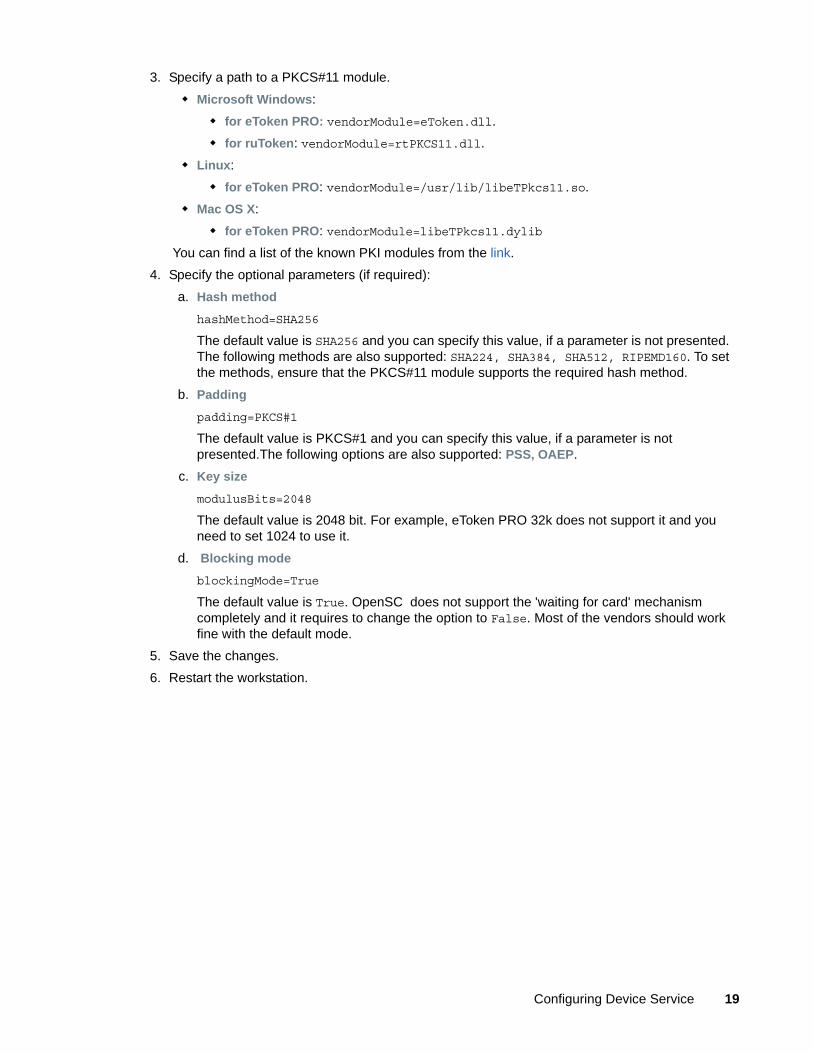
3. Specify a path to a PKCS#11 module.Microsoft Windows:
for eToken PRO: vendorModule=eToken.dll.for ruToken: vendorModule=rtPKCS11.dll.
Linux:for eToken PRO: vendorModule=/usr/lib/libeTPkcs11.so.
Mac OS X: for eToken PRO: vendorModule=libeTPkcs11.dylib
You can find a list of the known PKI modules from the link.4. Specify the optional parameters (if required):
a. Hash method hashMethod=SHA256
The default value is SHA256 and you can specify this value, if a parameter is not presented. The following methods are also supported: SHA224, SHA384, SHA512, RIPEMD160. To set the methods, ensure that the PKCS#11 module supports the required hash method.
b. Paddingpadding=PKCS#1
The default value is PKCS#1 and you can specify this value, if a parameter is not presented.The following options are also supported: PSS, OAEP.
c. Key sizemodulusBits=2048
The default value is 2048 bit. For example, eToken PRO 32k does not support it and you need to set 1024 to use it.
d. Blocking modeblockingMode=True
The default value is True. OpenSC does not support the 'waiting for card' mechanism completely and it requires to change the option to False. Most of the vendors should work fine with the default mode.
5. Save the changes.6. Restart the workstation.
Configuring Device Service 19

20 Advanced Authentication - Device Service
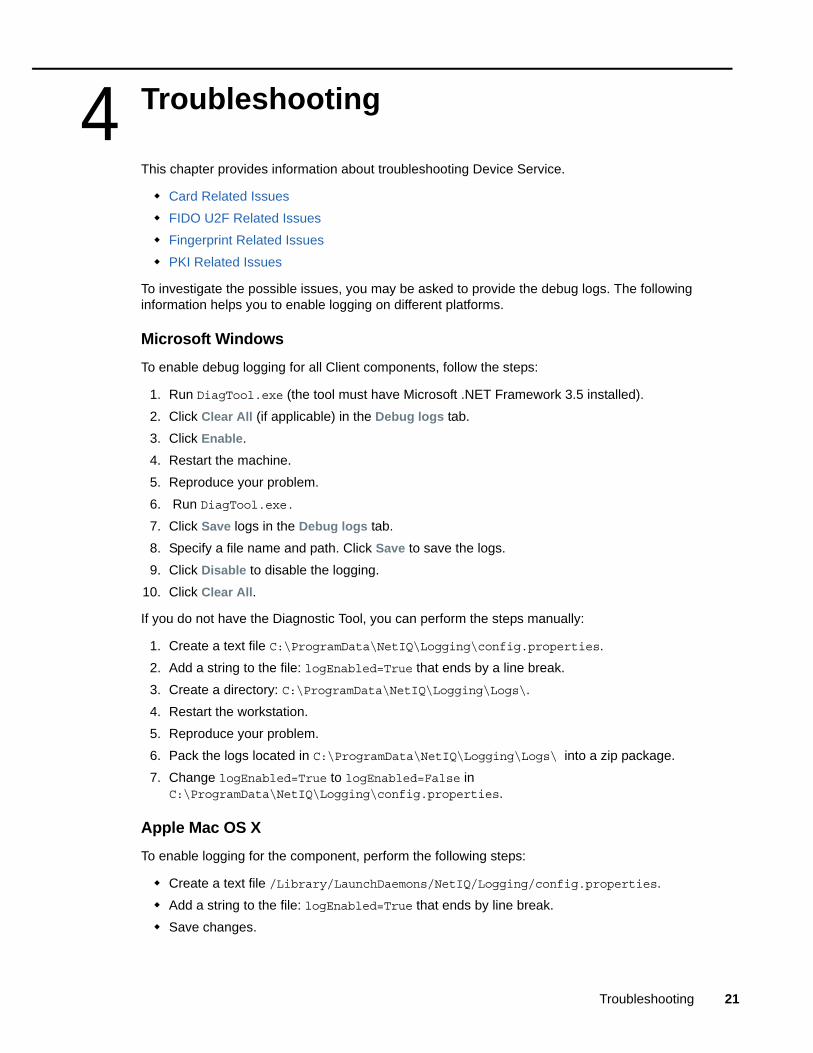
4 4Troubleshooting
This chapter provides information about troubleshooting Device Service.
Card Related IssuesFIDO U2F Related IssuesFingerprint Related IssuesPKI Related Issues
To investigate the possible issues, you may be asked to provide the debug logs. The following information helps you to enable logging on different platforms.
Microsoft WindowsTo enable debug logging for all Client components, follow the steps:
1. Run DiagTool.exe (the tool must have Microsoft .NET Framework 3.5 installed).2. Click Clear All (if applicable) in the Debug logs tab.3. Click Enable.4. Restart the machine.5. Reproduce your problem.6. Run DiagTool.exe.7. Click Save logs in the Debug logs tab.8. Specify a file name and path. Click Save to save the logs.9. Click Disable to disable the logging.
10. Click Clear All.
If you do not have the Diagnostic Tool, you can perform the steps manually:
1. Create a text file C:\ProgramData\NetIQ\Logging\config.properties.2. Add a string to the file: logEnabled=True that ends by a line break.3. Create a directory: C:\ProgramData\NetIQ\Logging\Logs\.4. Restart the workstation.5. Reproduce your problem.6. Pack the logs located in C:\ProgramData\NetIQ\Logging\Logs\ into a zip package.7. Change logEnabled=True to logEnabled=False in
C:\ProgramData\NetIQ\Logging\config.properties.
Apple Mac OS XTo enable logging for the component, perform the following steps:
Create a text file /Library/LaunchDaemons/NetIQ/Logging/config.properties.Add a string to the file: logEnabled=True that ends by line break.Save changes.
Troubleshooting 21
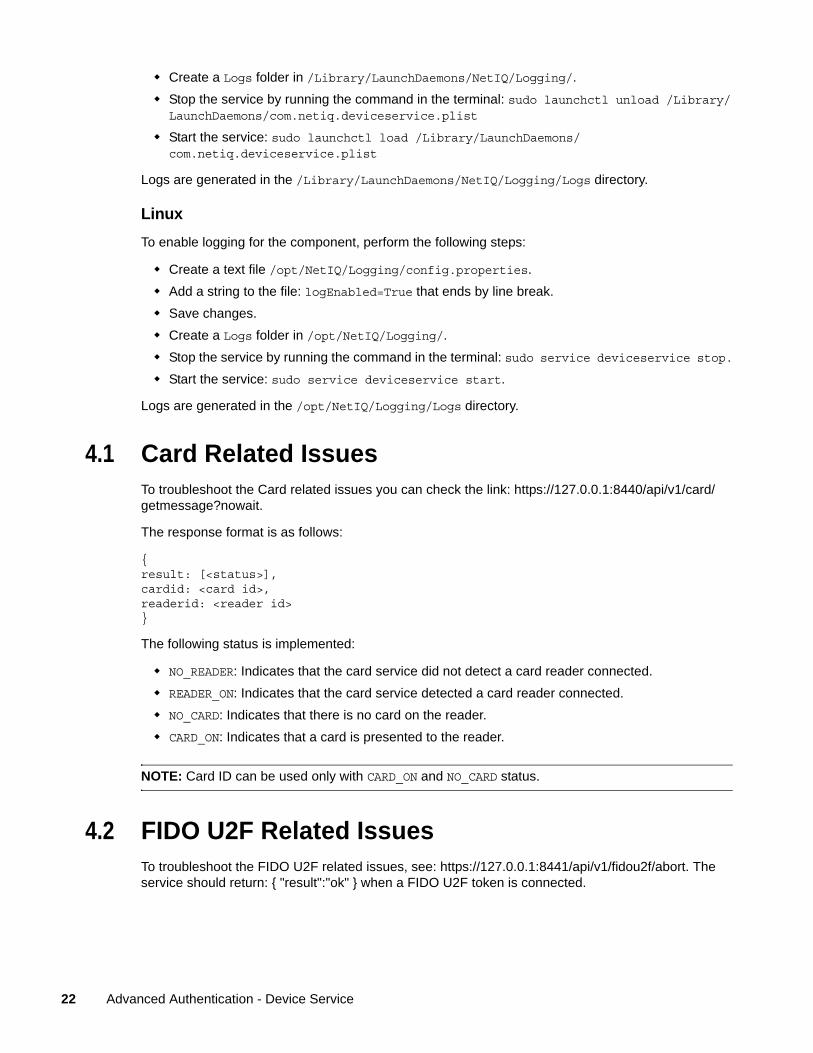
Create a Logs folder in /Library/LaunchDaemons/NetIQ/Logging/.Stop the service by running the command in the terminal: sudo launchctl unload /Library/LaunchDaemons/com.netiq.deviceservice.plist
Start the service: sudo launchctl load /Library/LaunchDaemons/com.netiq.deviceservice.plist
Logs are generated in the /Library/LaunchDaemons/NetIQ/Logging/Logs directory.
LinuxTo enable logging for the component, perform the following steps:
Create a text file /opt/NetIQ/Logging/config.properties.Add a string to the file: logEnabled=True that ends by line break.Save changes.Create a Logs folder in /opt/NetIQ/Logging/.Stop the service by running the command in the terminal: sudo service deviceservice stop.Start the service: sudo service deviceservice start.
Logs are generated in the /opt/NetIQ/Logging/Logs directory.
4.1 Card Related IssuesTo troubleshoot the Card related issues you can check the link: https://127.0.0.1:8440/api/v1/card/getmessage?nowait.
The response format is as follows:
{result: [<status>],cardid: <card id>,readerid: <reader id>}
The following status is implemented:
NO_READER: Indicates that the card service did not detect a card reader connected.READER_ON: Indicates that the card service detected a card reader connected.NO_CARD: Indicates that there is no card on the reader.CARD_ON: Indicates that a card is presented to the reader.
NOTE: Card ID can be used only with CARD_ON and NO_CARD status.
4.2 FIDO U2F Related IssuesTo troubleshoot the FIDO U2F related issues, see: https://127.0.0.1:8441/api/v1/fidou2f/abort. The service should return: { "result":"ok" } when a FIDO U2F token is connected.
22 Advanced Authentication - Device Service
4.3 Fingerprint Related IssuesTo troubleshoot the fingerprint related issues, see: https://127.0.0.1:8442/api/v1/fingerprint/capture. Open the URL while you are presenting your finger on the reader.
The following fields are included in the output:
captureStatus: Can be 'Ok', 'Timeout', 'Error', 'NoReader'.Width, Height: Fingerprint image size (in pixels).Dpi: Dots per inch (used on matching side).BitsPerPixel: Bits per pixel (usually 8 bits).BytesPerLine: Bytes per one line in image (include align).Image: Fingerprint image encoded using base-64 in gray scale.
An example of a sample output: {"BitsPerPixel":8,"BytesPerLine":256,"Dpi":508,"Height":360,"Image":"<fingerprintdata>","Width":256,"captureStatus":"Ok"}.
4.4 PKI Related IssuesTo troubleshoot the PKI related issues you can check the URL: https://127.0.0.1:8440/api/v1/pki/getmessage?nowait.
The service returns:
NO_READER if no reader is connected. NO_CARD if a card is not presented.CARD_ON if a card is presented.
Troubleshooting 23

24 Advanced Authentication - Device Service