6 th grade 3D weaving Wild Weaving See slide 48 for new procedure idea.
69
6 th grade 3D weaving Wild Weaving See slide 48 for new procedure idea
-
Upload
aubrey-holt -
Category
Documents
-
view
214 -
download
0
Transcript of 6 th grade 3D weaving Wild Weaving See slide 48 for new procedure idea.

6th grade 3D weaving
Wild Weaving
See slide 48 for new procedure idea

3D weaving purposes
• To design your own 3-D loom• Challenge yourself, but make it no more than 2 feet big,
unless you have LOTS of time to spend in it at home.• To draw a 3-D object on paper (enhance spatial
reasoning) from at least 2 points of view• Solve spatial problems by making a maquette• Try tapestry weaving and other experiments• Show color harmony• Plan your time/person• Relate to Robert Puryear and basketry worldwide

Needle art
• World’s smallest sculptures
• http://www.willard-wigan.com/

steps
• Get idea approved
• Draw project 3d
• Talk to Mrs. Sturm
• Make maquette
• Get approved

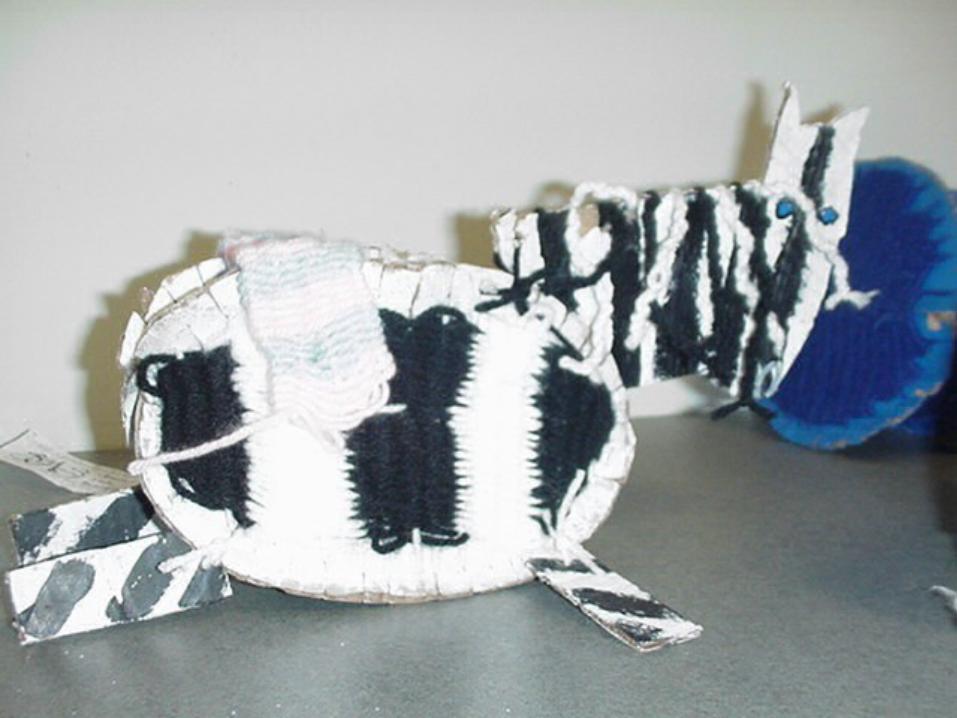
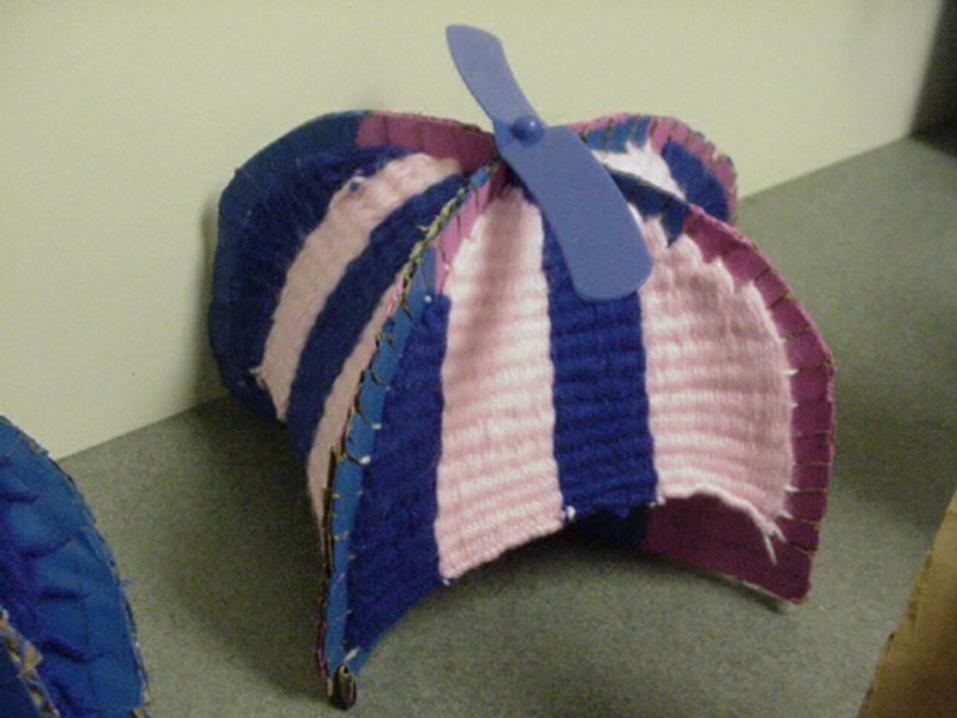
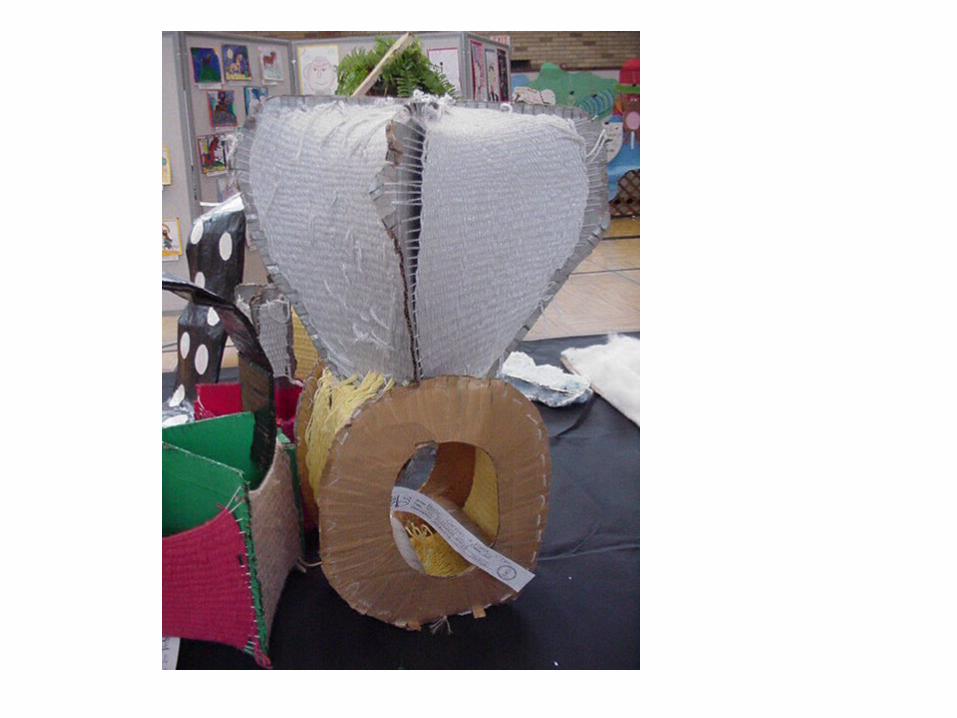
• Images from previous classes…

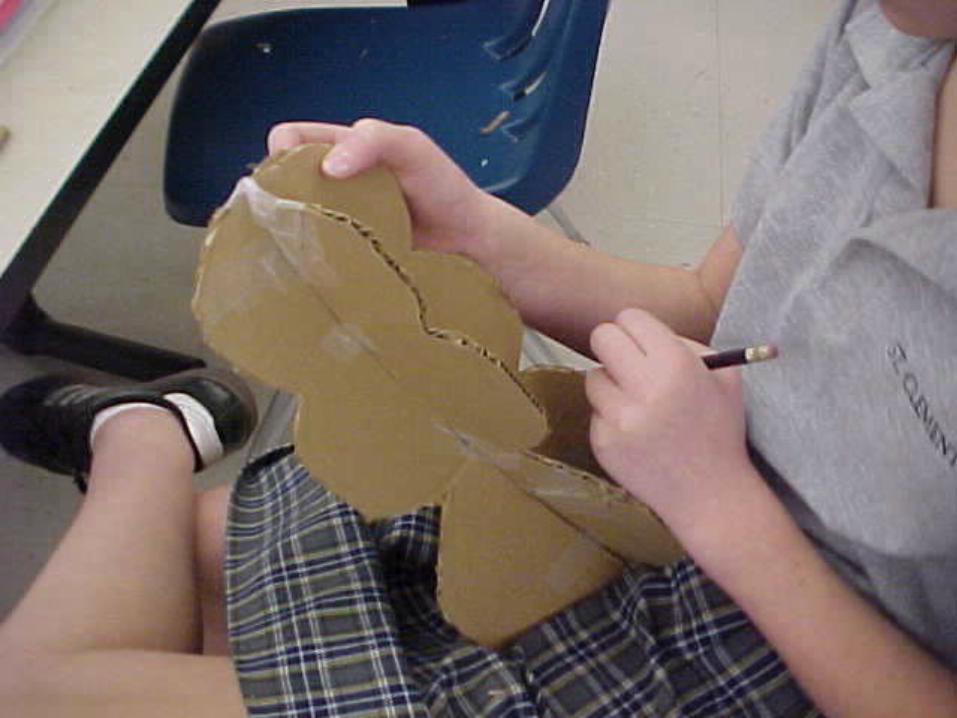
Use of cardboard
• Pick a size that matches your project size
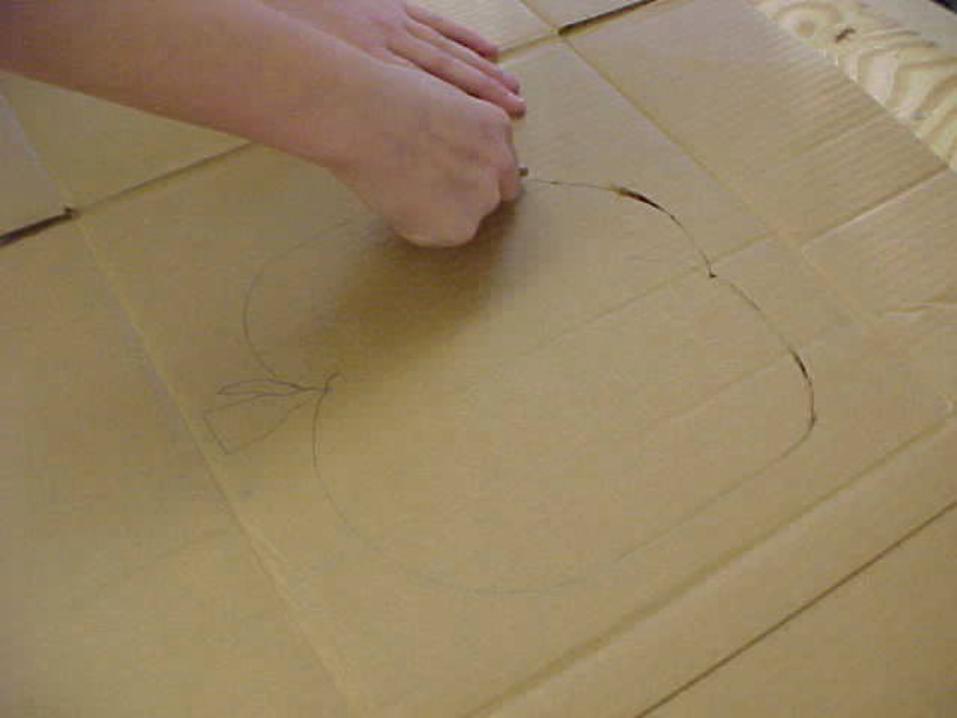
• Use the cardboard from the corner
• Avoid bent cardboard
• Make a splint if you have to use bent cardboard
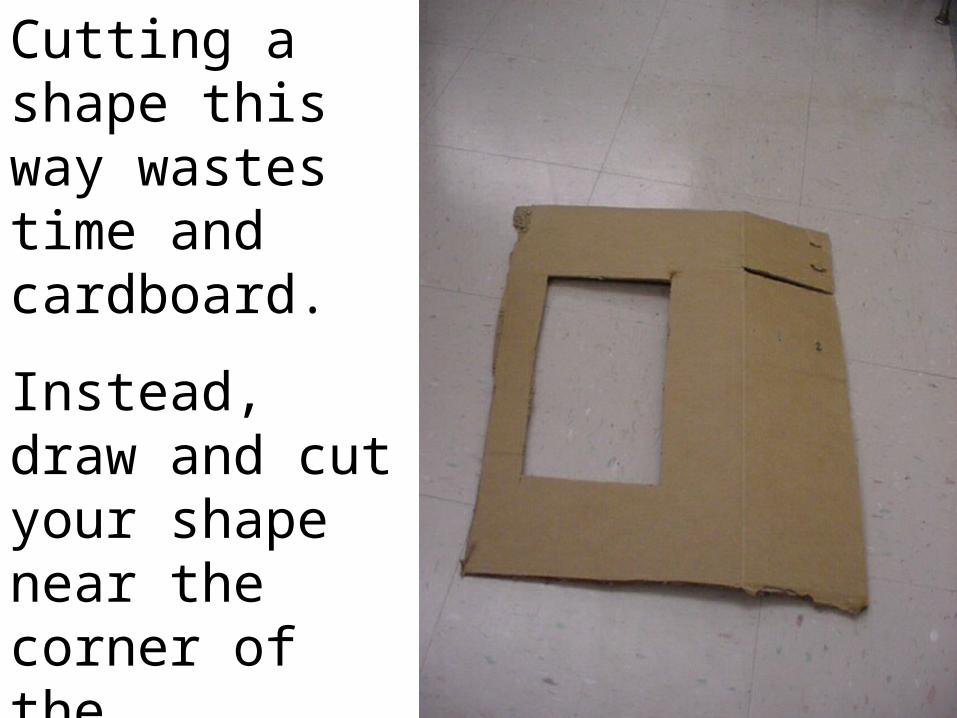
Cutting a shape this way wastes time and cardboard.
Instead, draw and cut your shape near the corner of the cardboard.

GLUE AND TAPE THE SPLINT
You only need to do one side

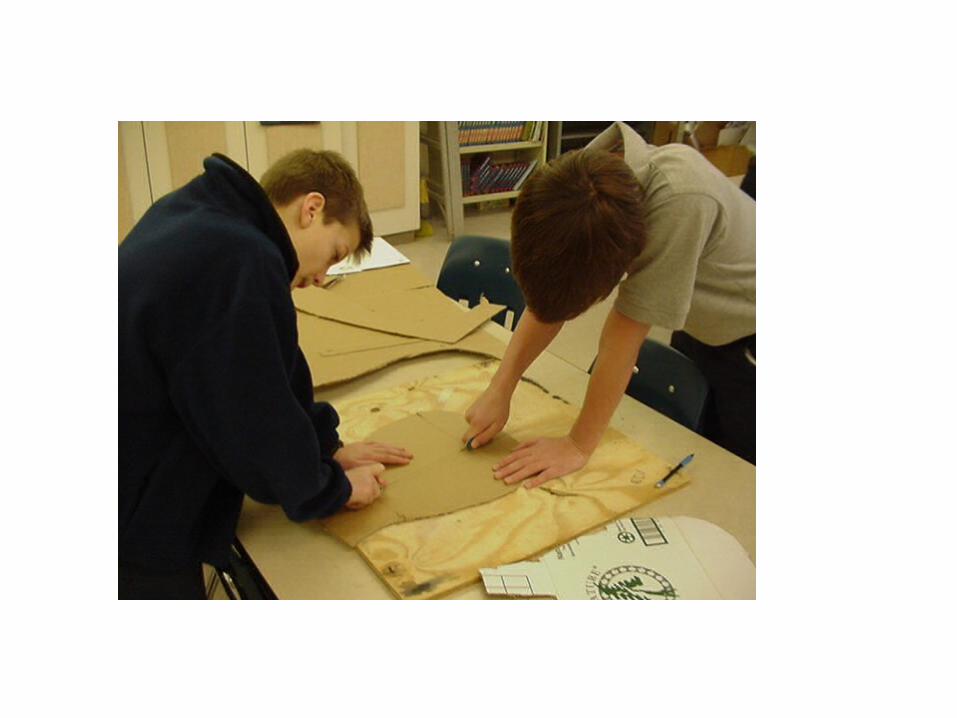
cutting
• Use a razor blade to cut the shape
• Use yellow scissors to cut the grooves
• Make grooves about a centimeter deep and a centimeter apart (or ½ inch)
• Make sure you line your cuts up with each other
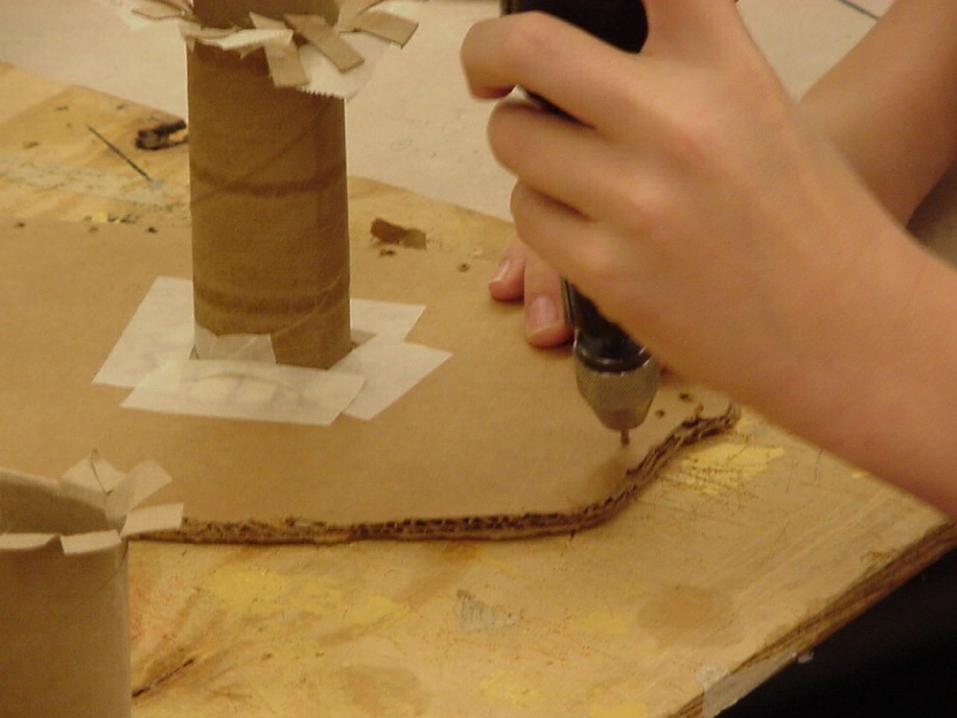
• You can also drill holes.

Hold the tool vertically. If you tilt it, it will likely break the blade!

Make sure the slots are as wide as the cardboard pieces that will go in them.


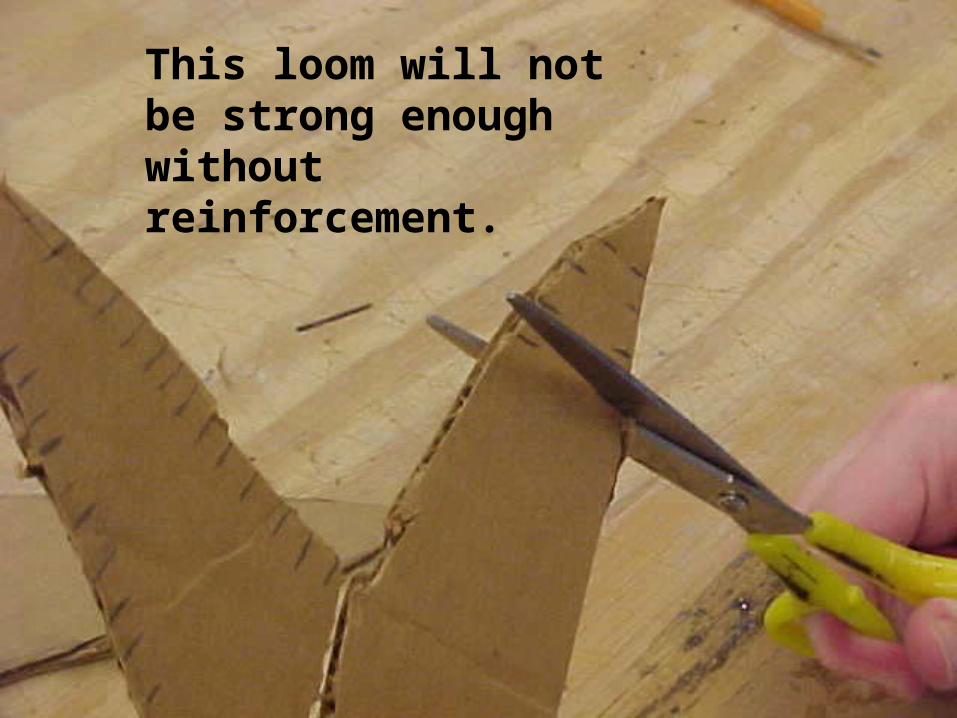
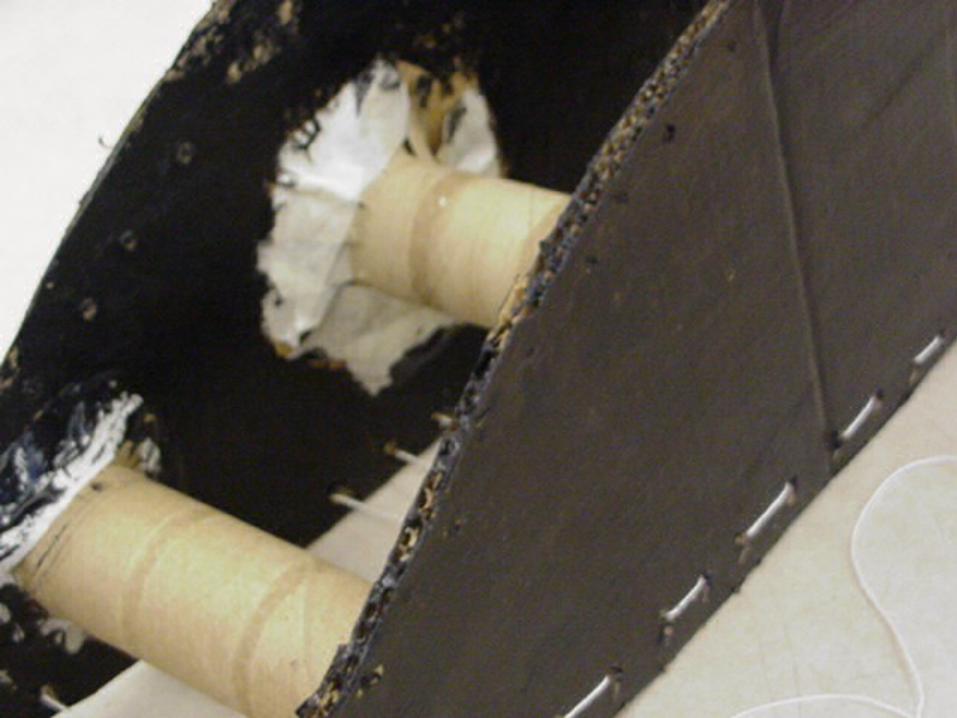
This loom will not be strong enough without reinforcement.

storage
• Small stuff…in your table folder
• If it fits… in our cabinet, on our cabinet shelf
• If it is flat and big, above our cabinet
• If it is 3-D…on the wooden shelf
• If it is wet…on the drying rack
• Put your name on all your pieces.
After you cut…
• Throw away any cardboard pieces that don’t look inviting– Small in trash– Larger in hall
• Return all good cardboard

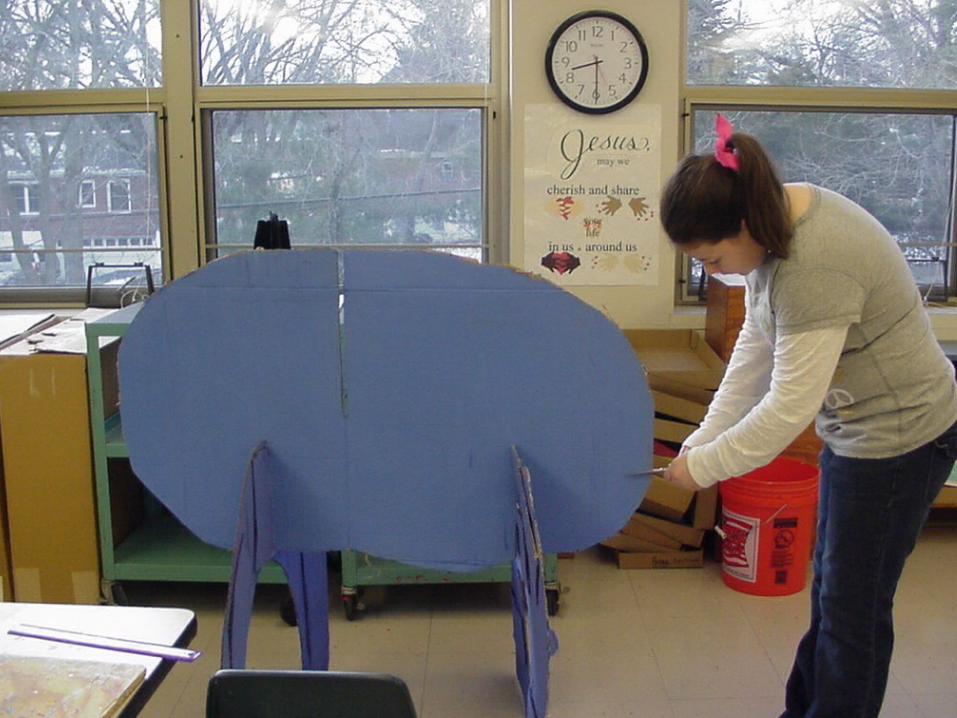
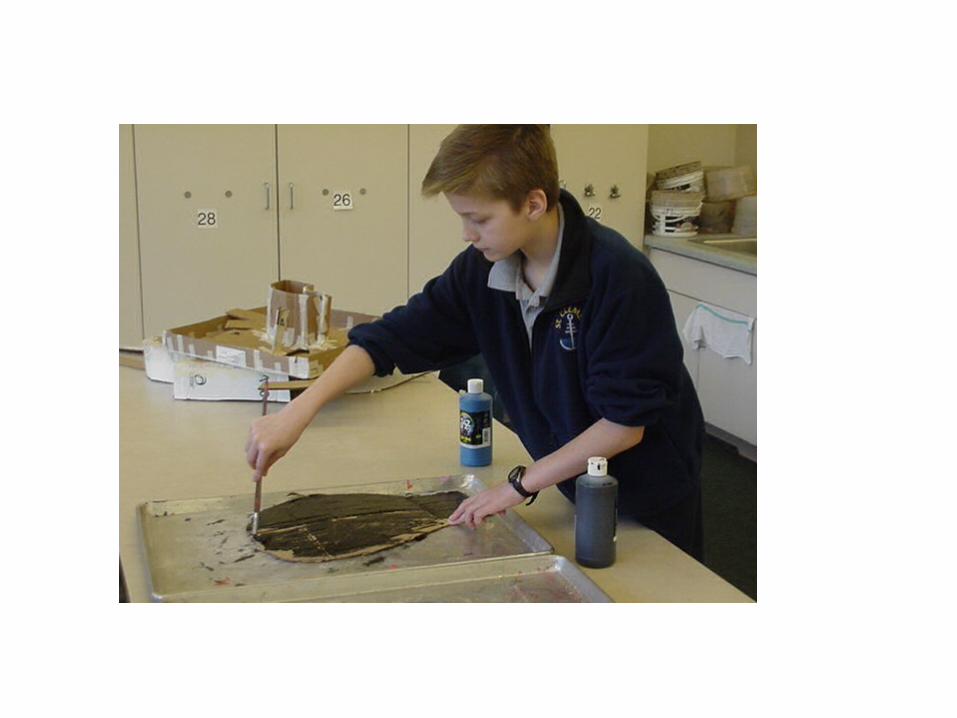
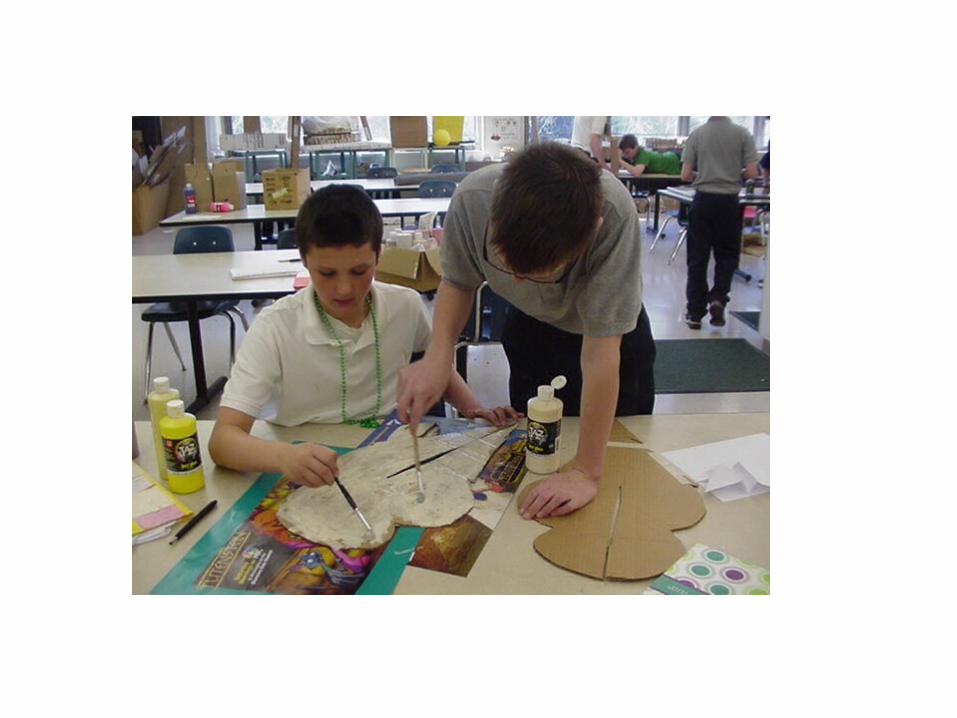
Your loom is part of your sculpture
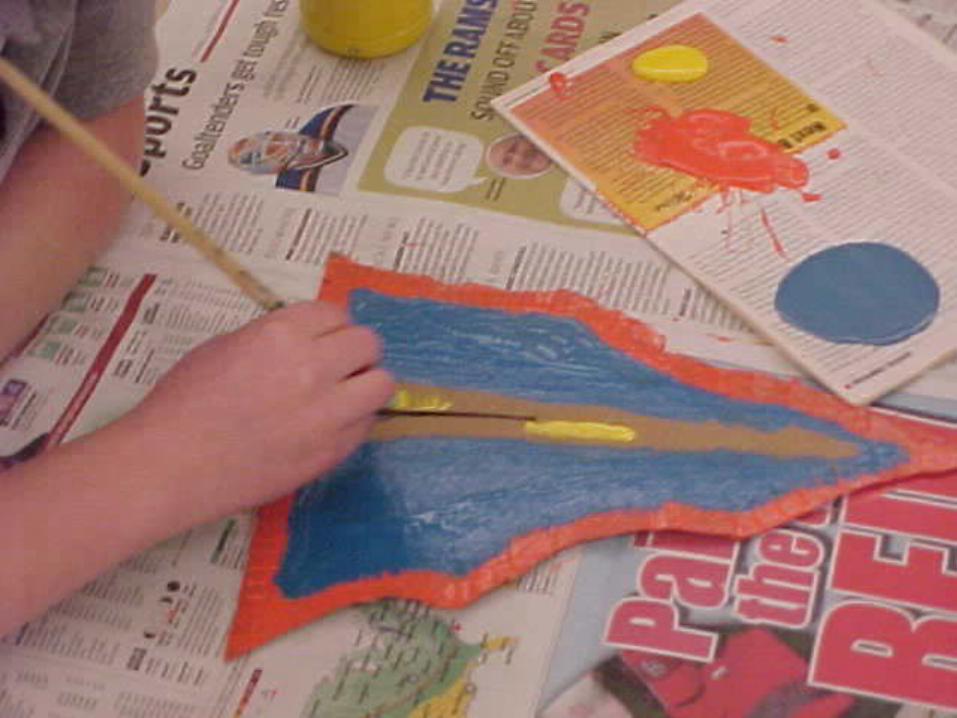
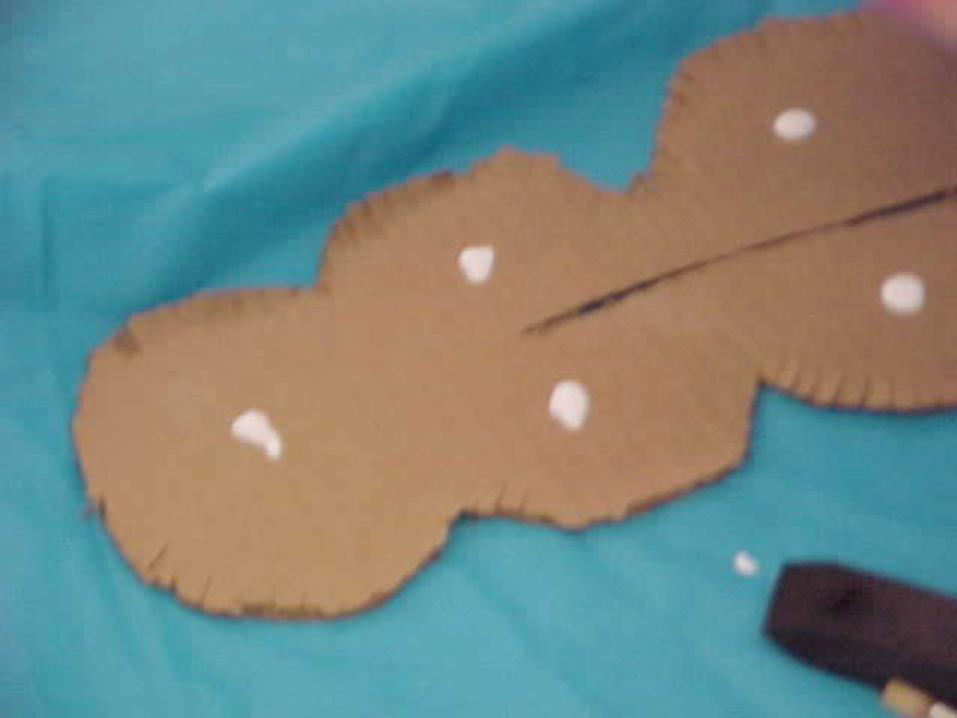
• If you want a colored, shiny, plastic-y coating, paint your loom with Jazz tempera (it makes the loom stronger).
• Put newspaper on your table. Mix the paint on a magazine, or put paint directly on your project.
• It is expensive. Use only what you need.• Use special, stiffer brushes. • It dries to a plastic-y coating. It is important to wash your
brush and table completely. Return them to the separate storage.
• Paint what will show,…mainly the edge. • Paint after you notch your cardboard. Don’t clog the
grooves in your loom.


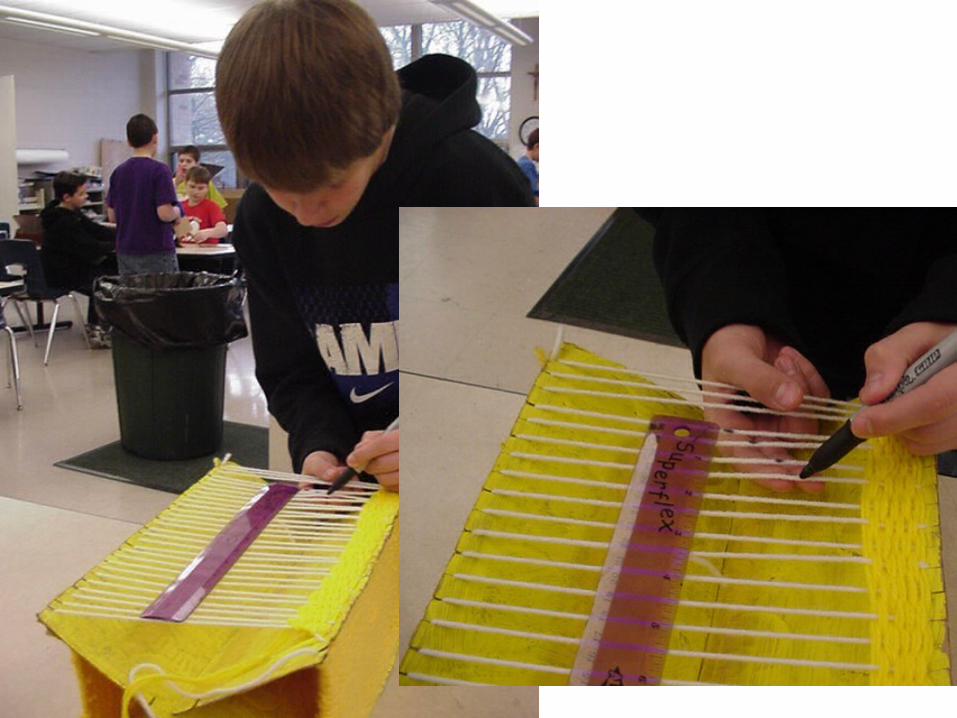
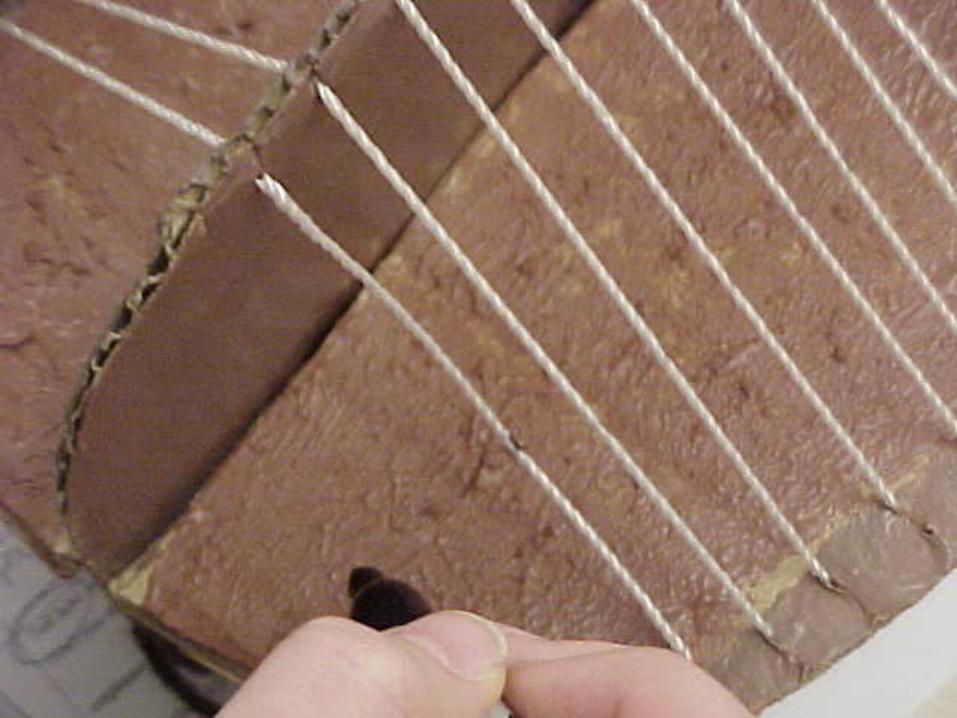
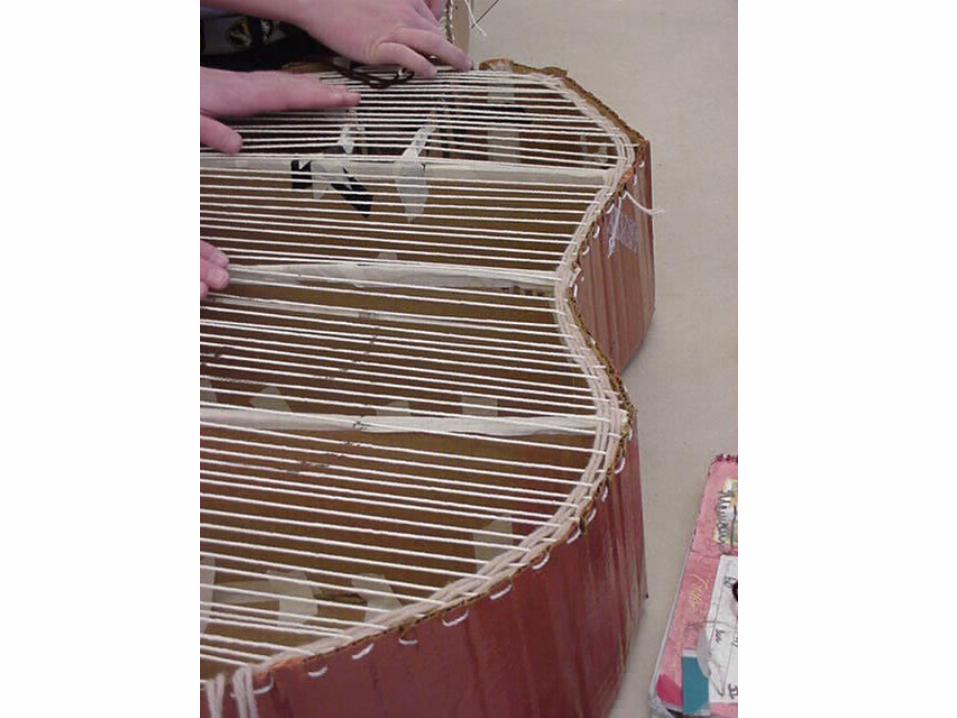
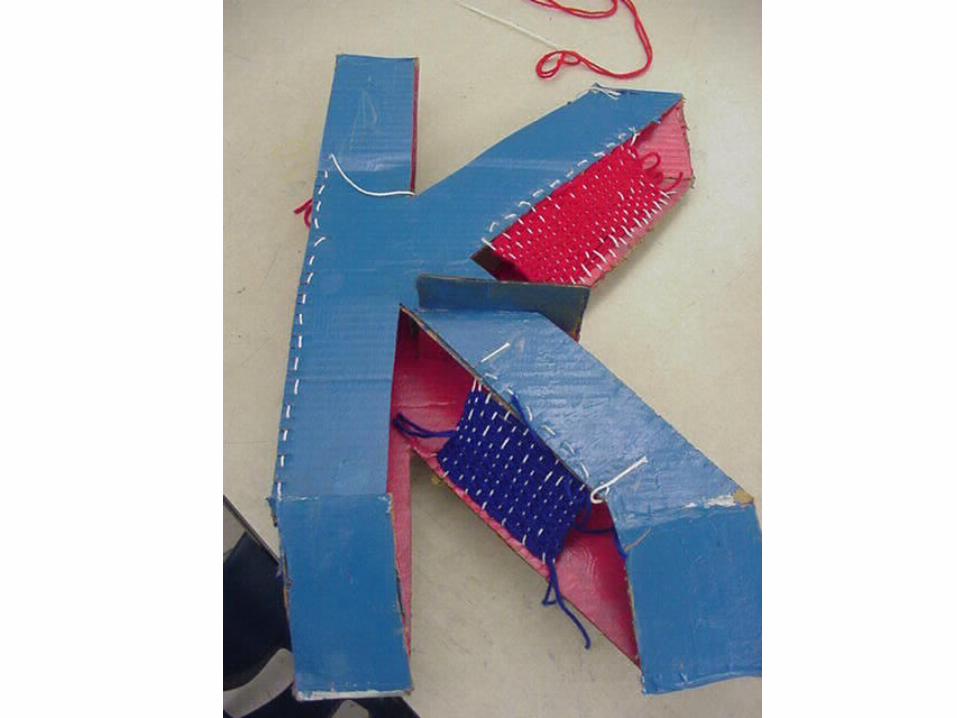
Warp it with string
• Solve the problems
• Keep the loom straight
• Recut the grooves as necessary
• You can also drill holes
• You can draw on your warp to tell you wear you are going to change colors.


New idea for ’10-’11…
• Cover the grooves with colored masking tape.
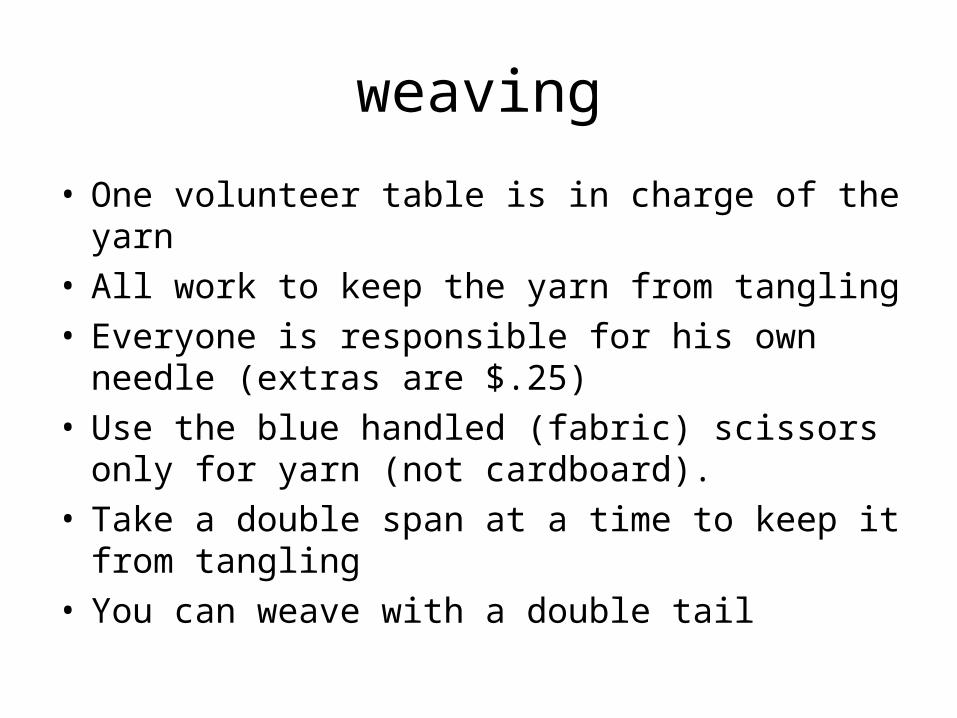
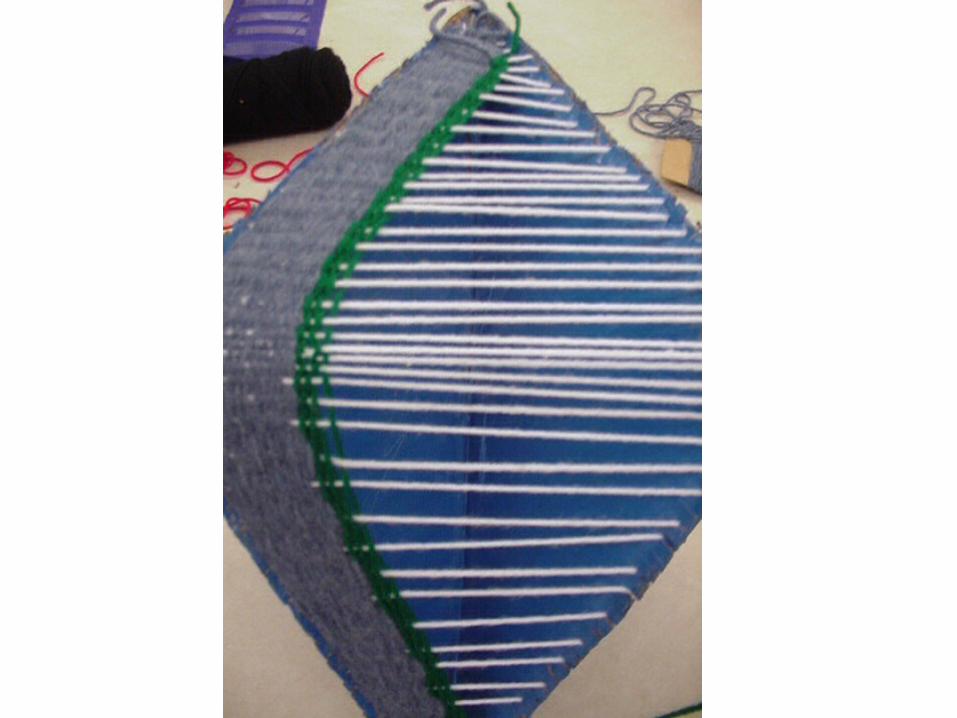
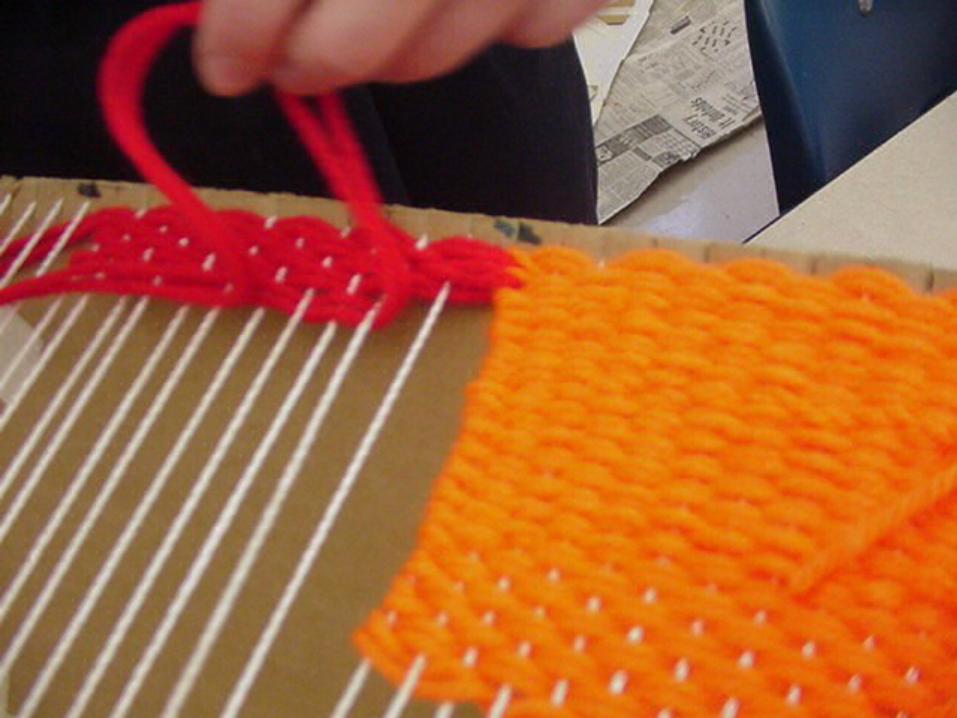
weaving
• One volunteer table is in charge of the yarn• All work to keep the yarn from tangling• Everyone is responsible for his own needle
(extras are $.25)• Use the blue handled (fabric) scissors only for
yarn (not cardboard).• Take a double span at a time to keep it from
tangling • You can weave with a double tail


Tapestry weaving
• Turn around at the same warp string when making 2 colors meet.

Tapestry weaving
• At the Craft Alliance 2/07

Craft Alliance Exhibit
Matters at Hand:
Contemporary Narrative Tapestry
January 12 - March 4, 2007


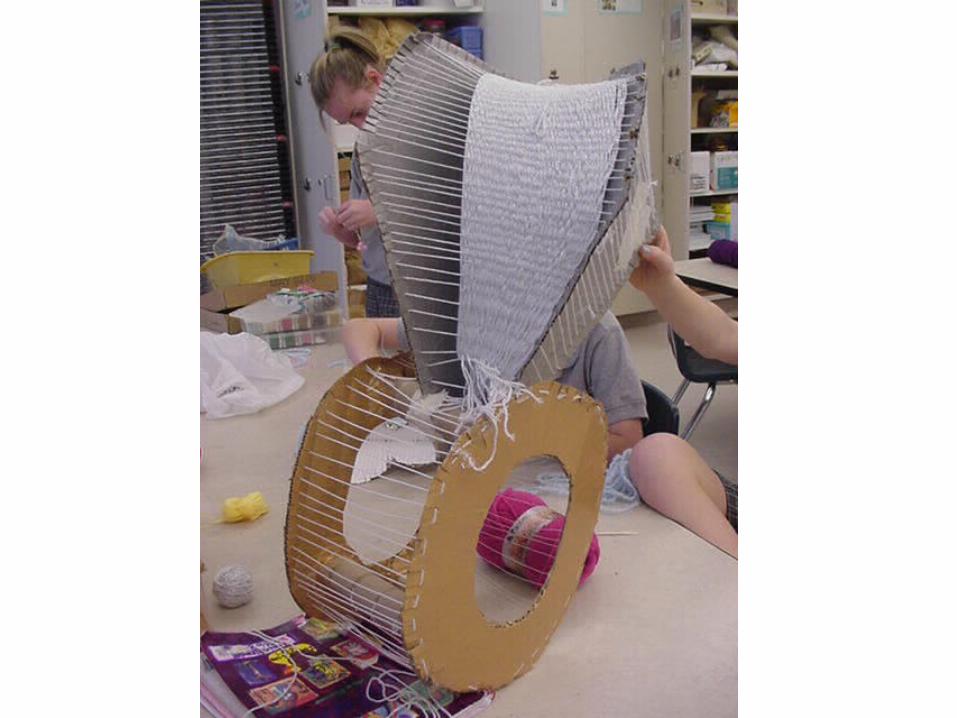


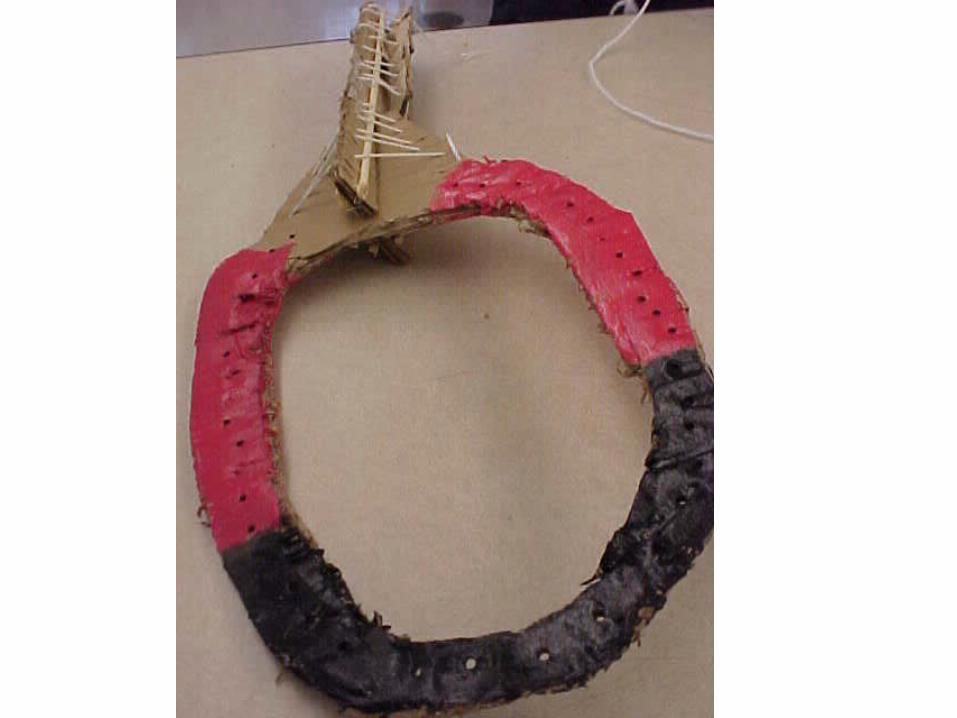
The arch took 3 people 15 hours.
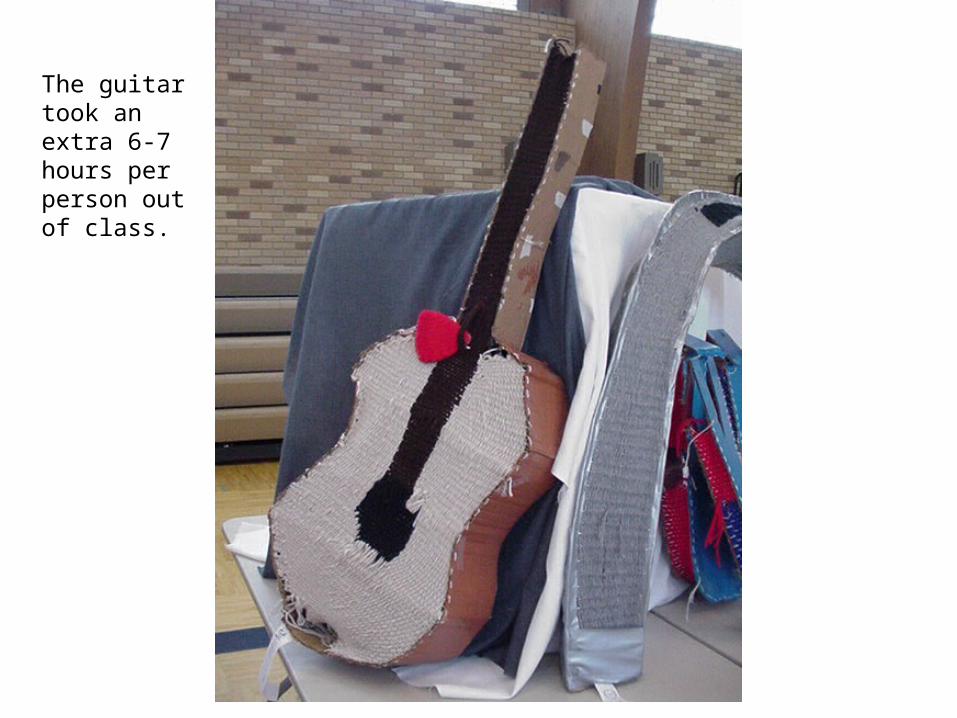
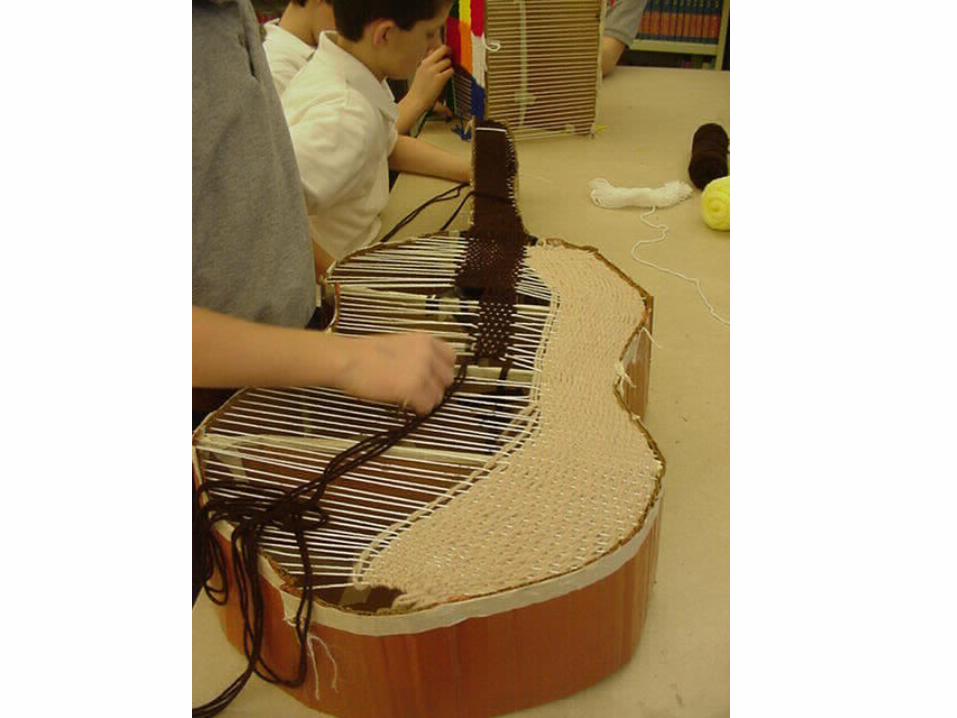
The guitar took an extra 6-7 hours per person out of class.