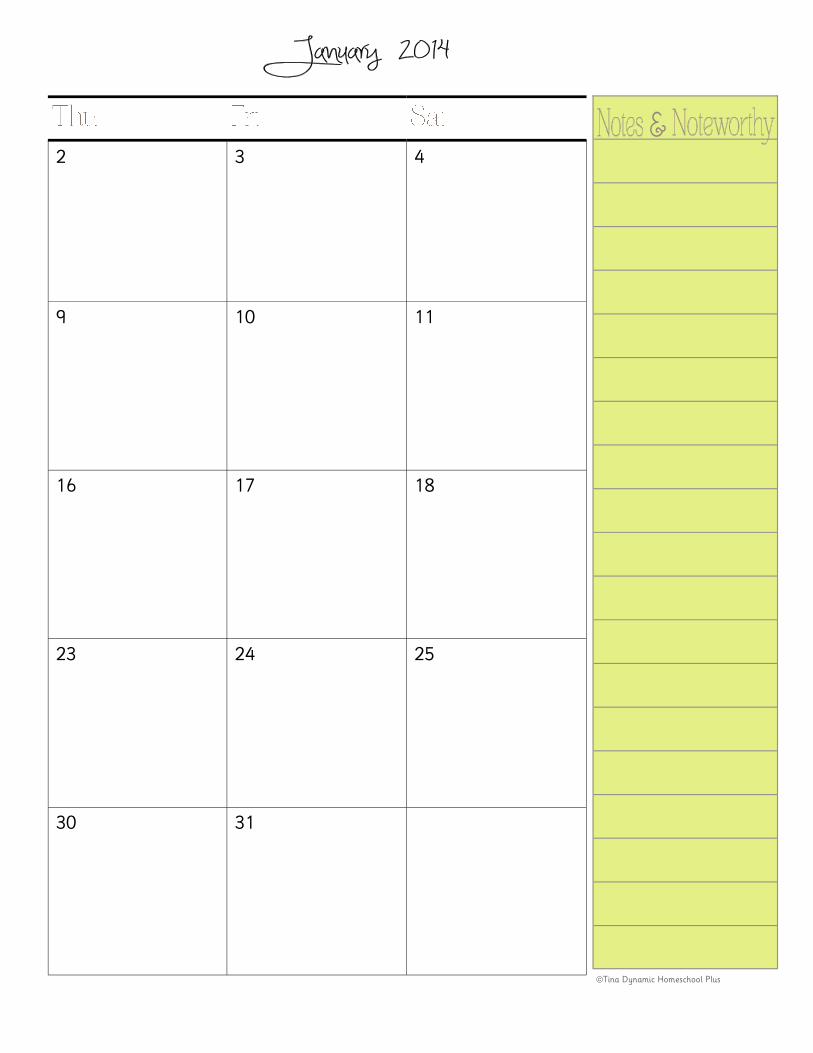
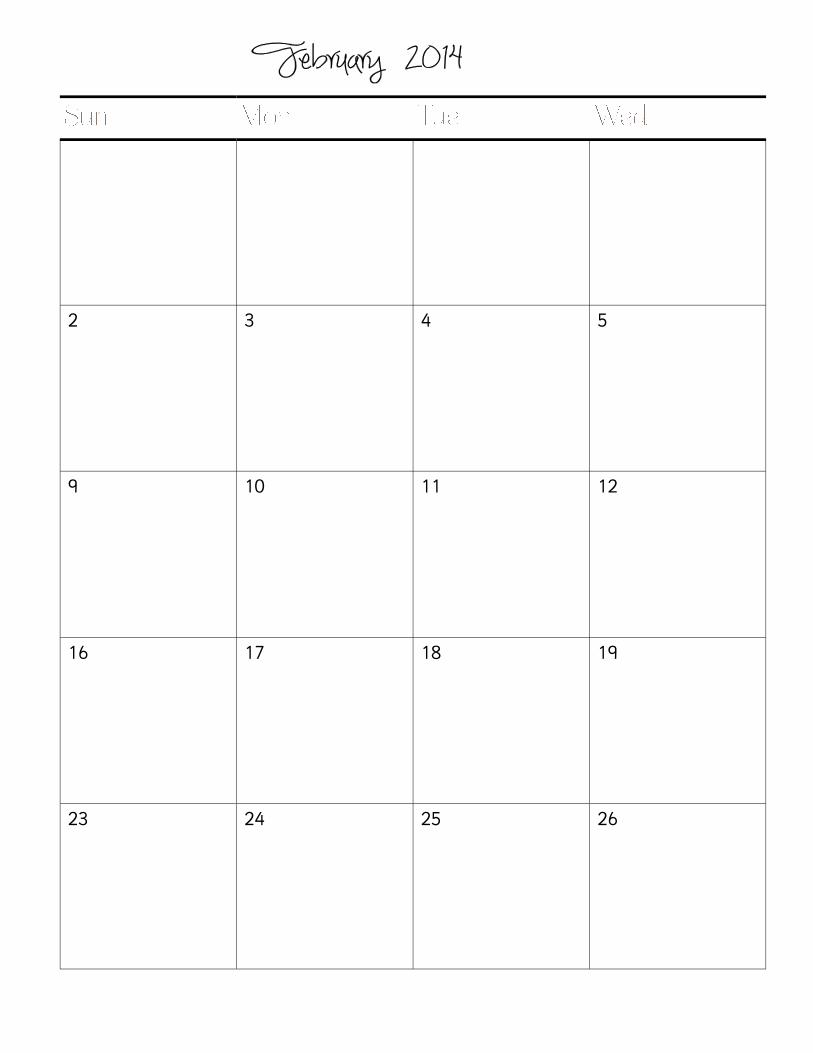
2014 - 2 Pages Per Month Light as Air
25
DO NOT PRINT THIS PAGE 1 OR THE PLACING ON YOUR planner will be off. Take time to read this please so you don’t waste your time or precious ink. I know everybody does not need such lengthy explanations, but I would rather you have this explanation. {Let me explain why I can’t delete this page - If I delete this page some pages that are meant to be left handed will be right handed and visa versa. I set this up with a two page spread and it needs to stay that way so the months match up}. So do not print page 1. Instructions for Double Sided Printing. Easiest and quickest way to print this nice layout. 1. Print ONLY Pages 3 - 24 using the “double sided” feature in your printer box. If you have double sided printing it will be found here on some printers. File > Print > Properties > Printing Shortcuts > Printing on Both Sides . Se- lect “automatically” then Print. 2. Print pages 2 and 25 separately so that only one side is printed on. . Instructions for printing if you don’t have a double side printer. 1. Print pages 3 - 25 BUT choose ODD pages only. This is found under Printing Range and finding Subset in that section. It will drop down and choose ODD pages. 2. After it finishes printing, reverse the order of your stack or move the top page to the bottom. For me, I moved the page for the one side of January to the bottom and November is now on top of my stack. 3. REMOVE December all together so that the pages print correctly on the side they are suppose to. Your stack goes now from top to bottom and should be Nov - Jan. Note you can also REVERSE this on your printer but be sure to remove DECEMBER. 4. Put the stack back in the printer. Then Print EVEN pages 3 - 25. 5. Put your finished stack in order with the Month layout starting on the Left hand side and the Notes page for each month on the Right hand side. 6. Print Page 2 for January and add it to your stack. Place December that you removed earlier back to the stack. Now you will see a blank page on both the top and bottom of your stack. YOU GOT IT! - Now isn’t that a professional looking stack! Hugs ~Tina~ ©Tina Dynamic Homeschool Plus Tina’s Dynamic Homeschool New Bee Homeschooler
description
planner pages
Transcript of 2014 - 2 Pages Per Month Light as Air

DO NOT PRINT THIS PAGE 1 OR THE PLACING ON YOUR planner will be off. Take time to read
this please so you don’t waste your time or precious ink. I know everybody does not need such
lengthy explanations, but I would rather you have this explanation. {Let me explain why I can’t delete this
page - If I delete this page some pages that are meant to be left handed will be right handed and visa versa. I set
this up with a two page spread and it needs to stay that way so the months match up}.
So do not print page 1.
Instructions for Double Sided Printing.
Easiest and quickest way to print this nice layout.
1. Print ONLY Pages 3 - 24 using the “double sided” feature in your printer box. If you have double sided printing it
will be found here on some printers. File > Print > Properties > Printing Shortcuts > Printing on Both Sides . Se-
lect “automatically” then Print.
2. Print pages 2 and 25 separately so that only one side is printed on.
.
Instructions for printing if you don’t have a double side printer.
1. Print pages 3 - 25 BUT choose ODD pages only. This is found under Printing Range and finding Subset in that
section. It will drop down and choose ODD pages.
2. After it finishes printing, reverse the order of your stack or move the top page to the bottom. For me, I moved
the page for the one side of January to the bottom and November is now on top of my stack.
3. REMOVE December all together so that the pages print correctly on the side they are suppose to. Your stack
goes now from top to bottom and should be Nov - Jan.
Note you can also REVERSE this on your printer but be sure to remove DECEMBER.
4. Put the stack back in the printer. Then Print EVEN pages 3 - 25.
5. Put your finished stack in order with the Month layout starting on the Left hand side and the Notes page for each
month on the Right hand side.
6. Print Page 2 for January and add it to your stack. Place December that you removed earlier back to the stack.
Now you will see a blank page on both the top and bottom of your stack.
YOU GOT IT! - Now isn’t that a professional looking stack!
Hugs
~Tina~
©Tina Dynamic Homeschool Plus
Tina’s Dynamic Homeschool
New Bee Homeschooler

1
5 6 7 8
12 13 14 15
19 20 21 22
26 27 28 29
2 3 4
9
10 11
16 17 18
23 24 25
30 31
©Tina Dynamic Homeschool Plus
2 3 4 5
9 10 11 12
16 17 18 19
23 24 25 26

1
6 7 8
13 14 15
20 21 22
27 28
©Tina Dynamic Homeschool Plus

2 3 4 5
9 10 11 12
16 17 18 19
23 24 25 26
30 31
1
6 7 8
13 14 15
20 21 22
27 28 29
©Tina Dynamic Homeschool Plus

1 2
6 7 8 9
13 14 15 16
20 21 22 23
27 28 29 30

3 4 5
10 11 12
17 18 19
24 25 26
©Tina Dynamic Homeschool Plus

4 5 6 7
11 12 13 14
18 19 20 21
25 26 27 28

1 2 3
8 9 10
15 16 17
22 23 24
29 30 31
©Tina Dynamic Homeschool Plus

1 2 3 4
8 9 10 11
15 16 17 18
22 23 24 25
29 30
5 6 7
12 13 14
19 20 21
26 27 28
©Tina Dynamic Homeschool Plus
1 2
6 7 8 9
13 14 15 16
20 21 22 23
27 28 29 30

3 4 5
10 11 12
17 18 19
24 25 26
31
©Tina Dynamic Homeschool Plus

3 4 5 6
10 11 12 13
17 18 19 20
24 25 26 27
31

1 2
7 8 9
14 15 16
21 22 23
28 29 30
©Tina Dynamic Homeschool Plus

1 2 3
7 8 9 10
14 15 16 17
21 22 23 24
28 29 30

4 5 6
11 12 13
18 19 20
25 26 27
©Tina Dynamic Homeschool Plus
1
5 6 7 8
12 13 14 15
19 20 21 22
26 27 28 29
2 3 4
9 10 11
16 17 18
23 24 25
30 31
©Tina Dynamic Homeschool Plus

2 3 4 5
9 10 11 12
16 17 18 19
23 24 25 26
30

1
6 7 8
13 14 15
20 21 22
27 28 29
©Tina Dynamic Homeschool Plus
1 2 3
7 8 9 10
14 15 16 17
21 22 23 24
28 29 30 31

4 5 6
11 12 13
18 19 20
25 26 27
©Tina Dynamic Homeschool Plus