16 how to set up a gait lab (nov 2014)
73
How to set up a gait lab Richard Baker Professor of Clinical Gait Analysis Blog: wwRichard.net 1
-
Upload
richard-baker -
Category
Education
-
view
236 -
download
4
Transcript of 16 how to set up a gait lab (nov 2014)

How to set up a gait lab
Richard Baker
Professor of Clinical Gait Analysis
Blog: wwRichard.net
1

How to set up a gait lab
• General facilities
• Mocap systems
• Maintenance
2
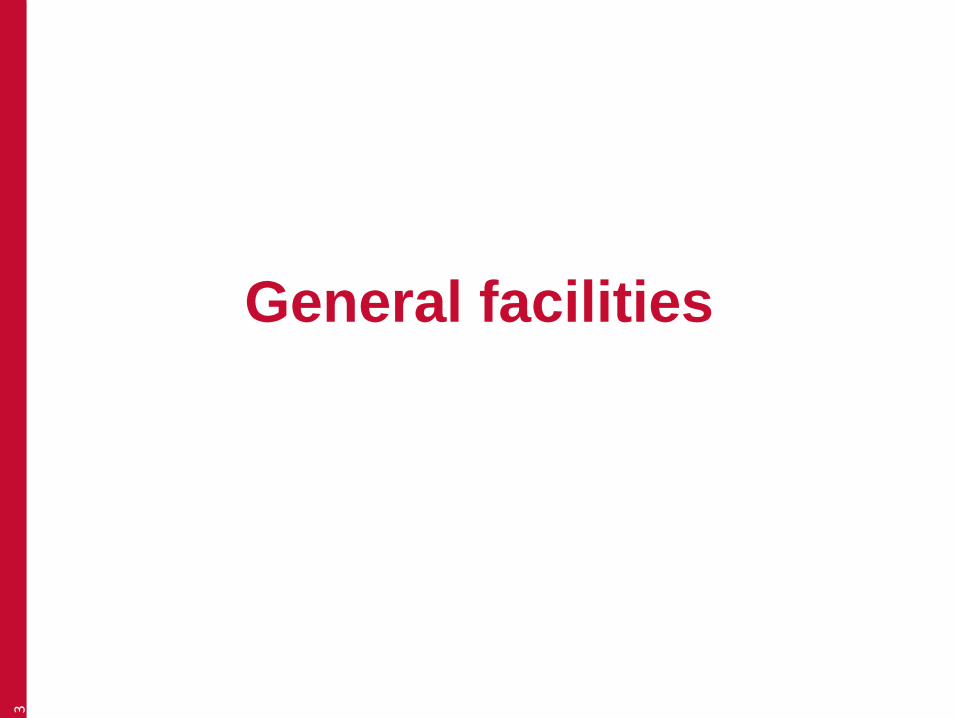
General facilities
3
4
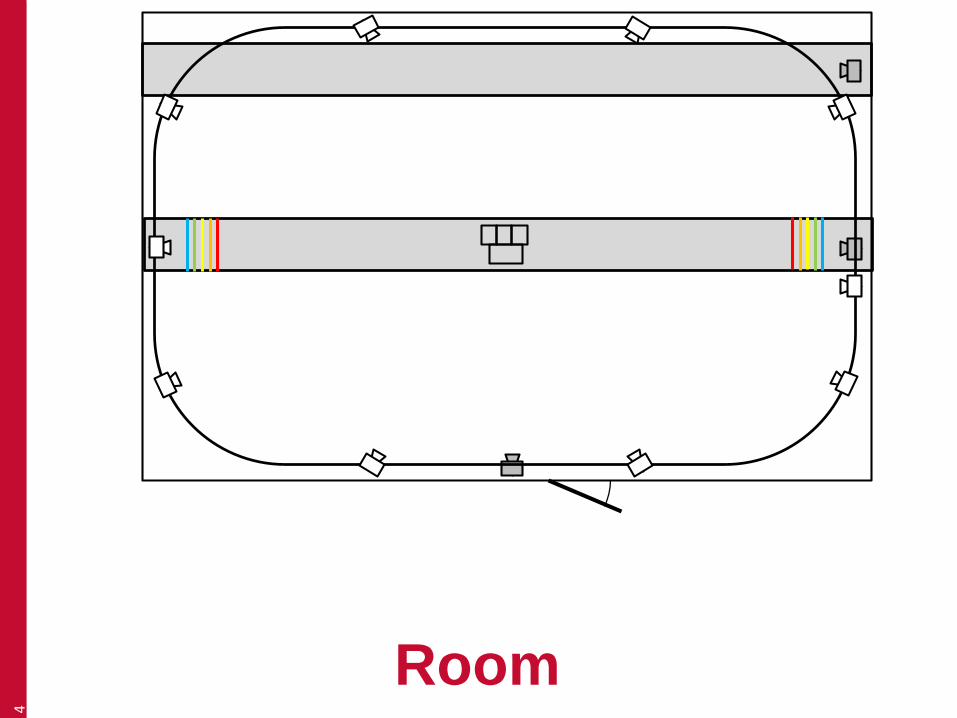
Room
5
Room
12m
8m
6
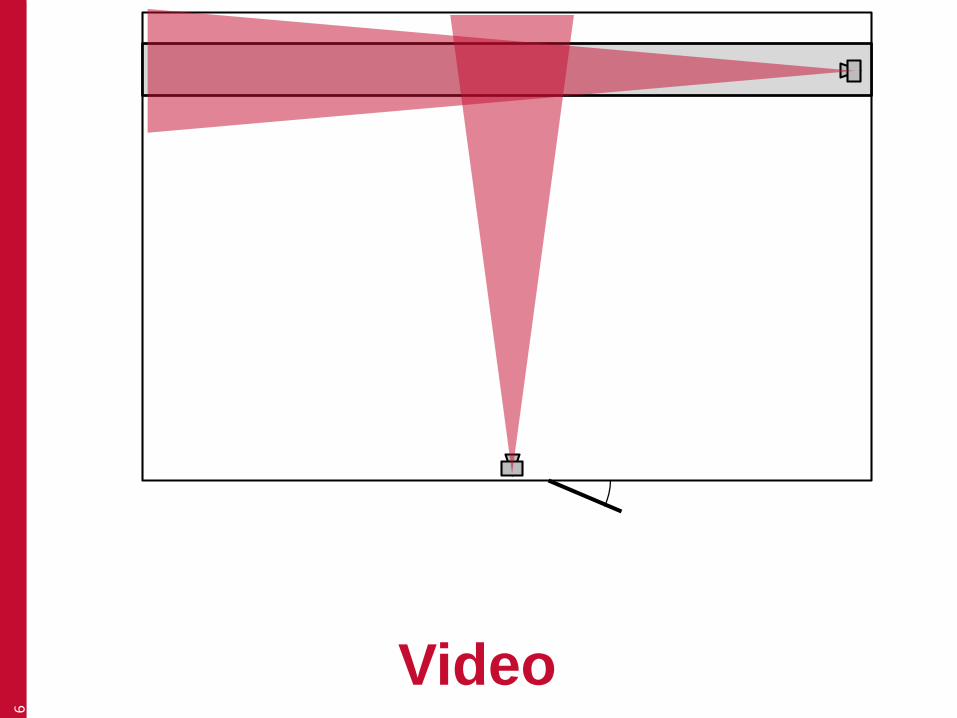
Video

7
Mocap system

8
Force plates
Plate 1 Plate 2 Plate 3
Direction of walking

9
Force plates
Plate 1 Plate 2 Plate 3
Plate 4
Direction of walking

10
Force plates
11
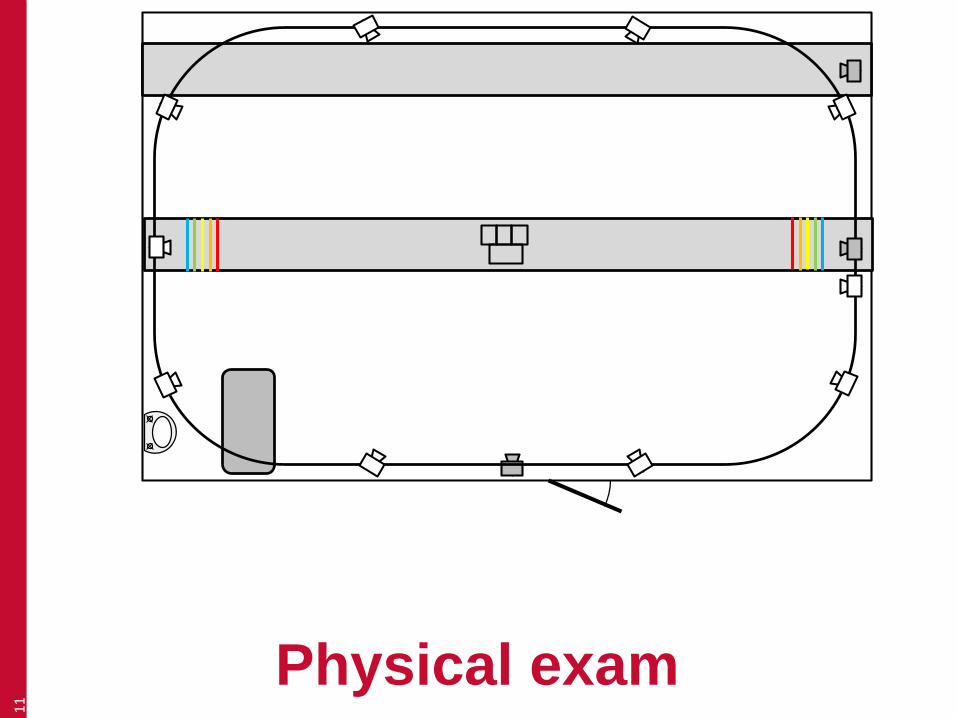
Physical exam
12
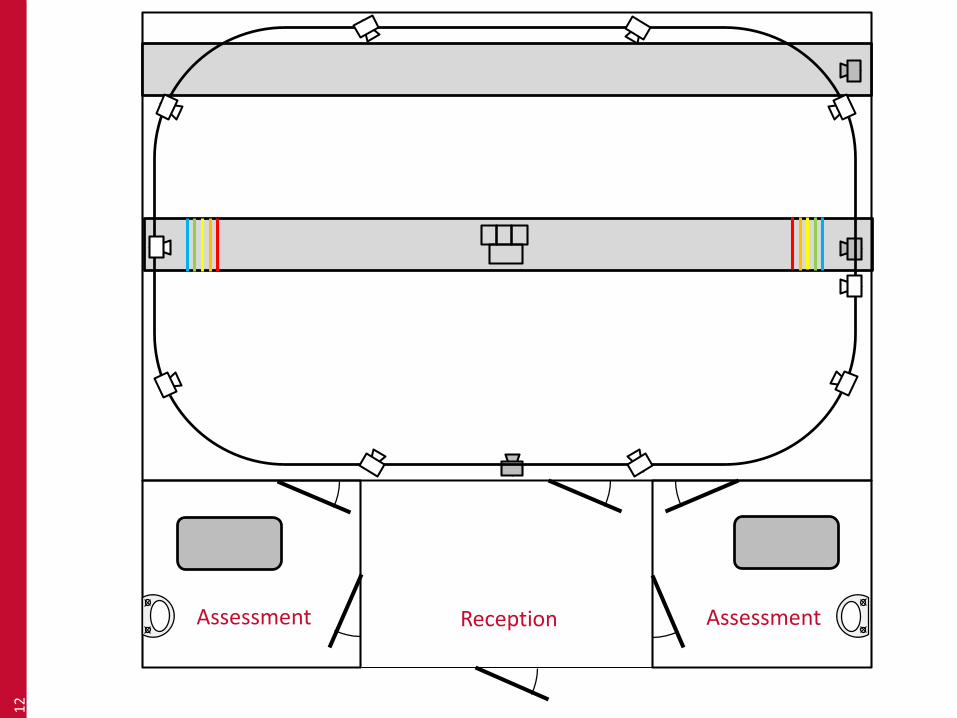
ReceptionAssessment Assessment

Colours
• Contrast with skin colour
• Similar tone to skin
– (auto exposure on video cameras can be
tricked if too light or too dark)
• Only matters in areas seen by video
cameras
13
Floor
• Same colour rules
• Have something with a little “give”
• Ensure force plates are mechanically
isolated
• Very useful to be able to see them
– (place operators desk with good visibility)
14

Privacy and confidentiality
• Lab should not be a general purpose space
• Do not use as office space
• Try and maintain clinical and professional
environment
• Incorportate specific spaces for privacy
– dressing and undressing
– physical examination
15

Mocap systems
16
General principles
• Maximise marker resolution
• Minimise marker masking
17
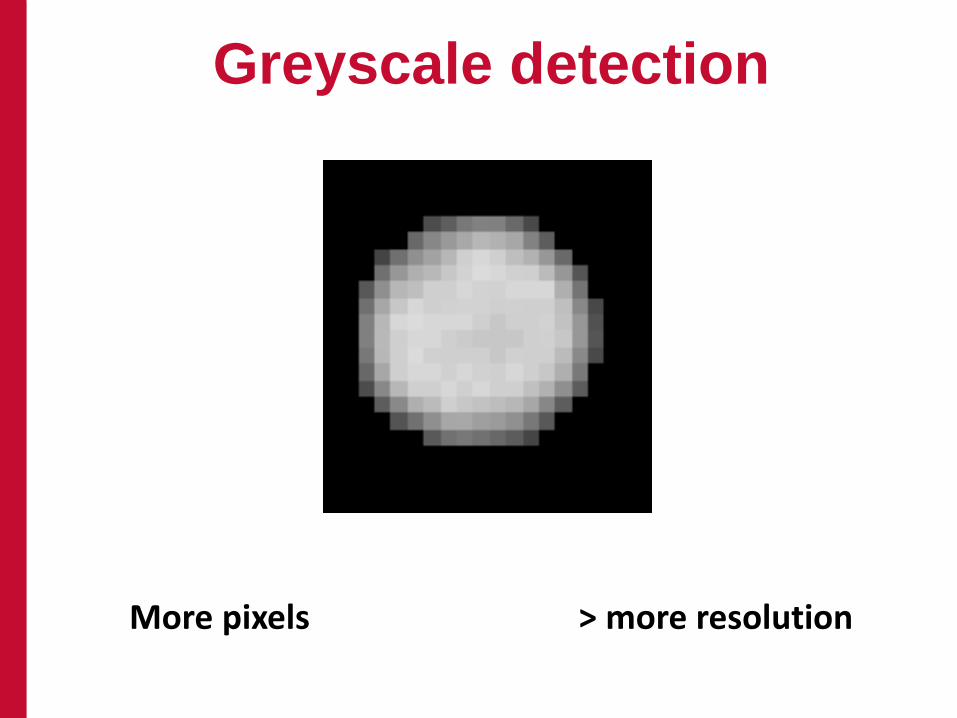
Greyscale detection
More pixels + finer greyscale > more resolution
19
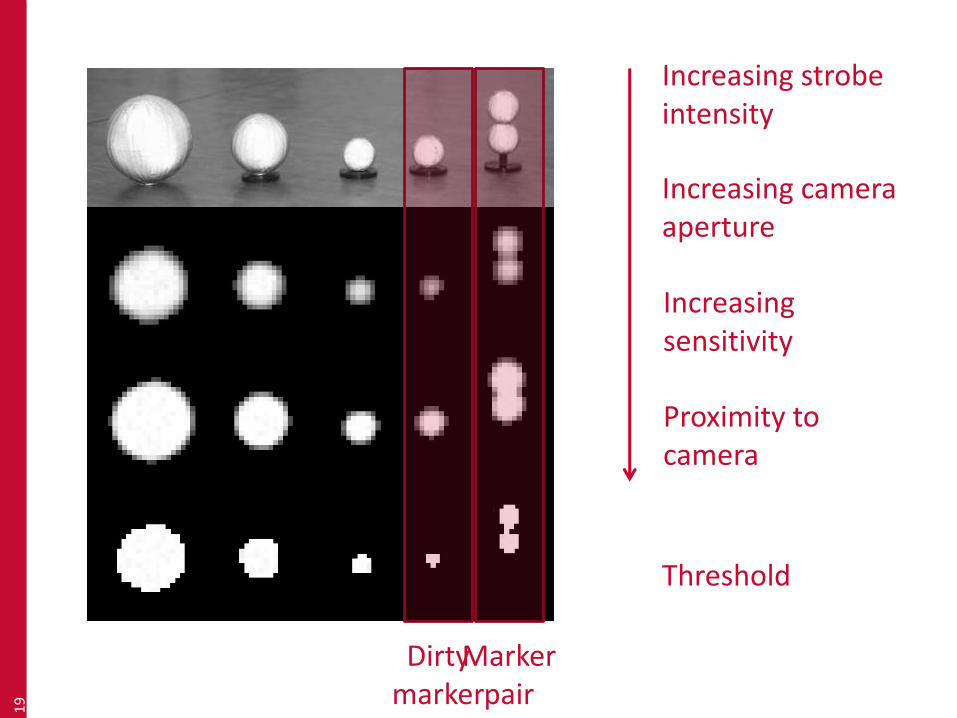
Increasing strobe intensity
Increasing camera aperture
Increasing sensitivity
Dirty marker
Threshold
Marker pair
Proximity to camera

0
0.1
0.2
0.3
2 3 4 5 6 7 8 9 10
Marker diameter (pixels)
Ce
ntr
oid
re
so
luti
on
(p
ixe
ls)
edge detection
1 bit greyscale
2 bit greyscale
3 bit greyscale
4 bit greyscale
5 bit greyscale
0
0.1
0.2
0.3
2 3 4 5 6 7 8 9 10
Marker diameter (pixels)
Ce
ntr
oid
re
so
luti
on
(p
ixe
ls)
edge detection
1 bit greyscale
2 bit greyscale
3 bit greyscale
4 bit greyscale
5 bit greyscale
Resolution

Pixel size
One pixel = field of view .
linear resolution
1 Megapixel camera (1,000 x 1,000)
One pixel = field of view .
1000
Resolution
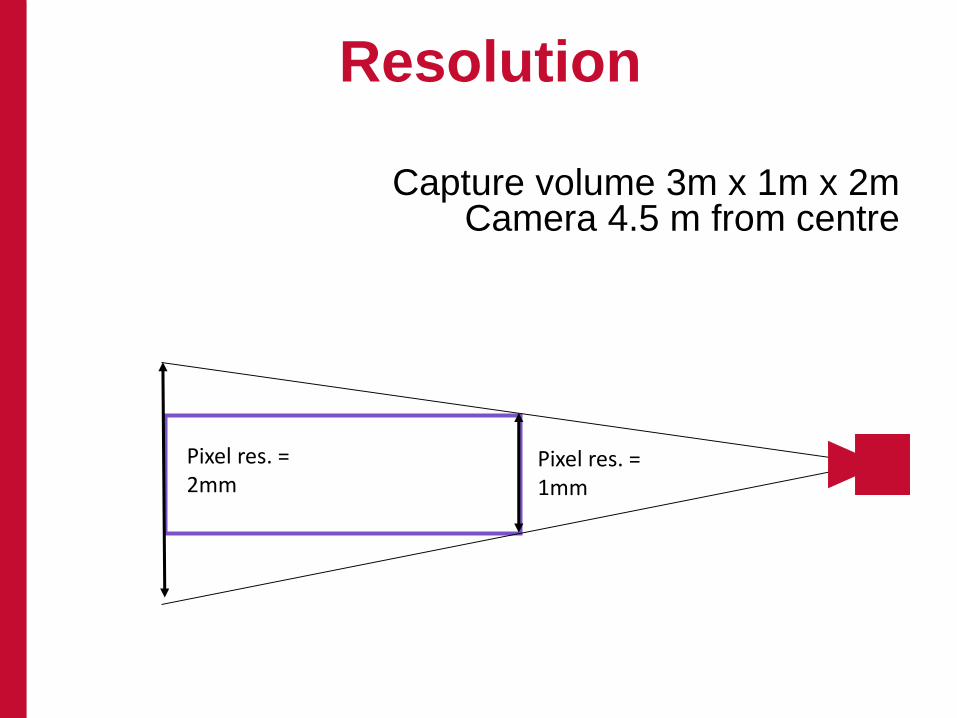
Capture volume 3m x 1m x 2mCamera 4.5 m from centre
Pixel res. = 1mm
Pixel res. = 2mm
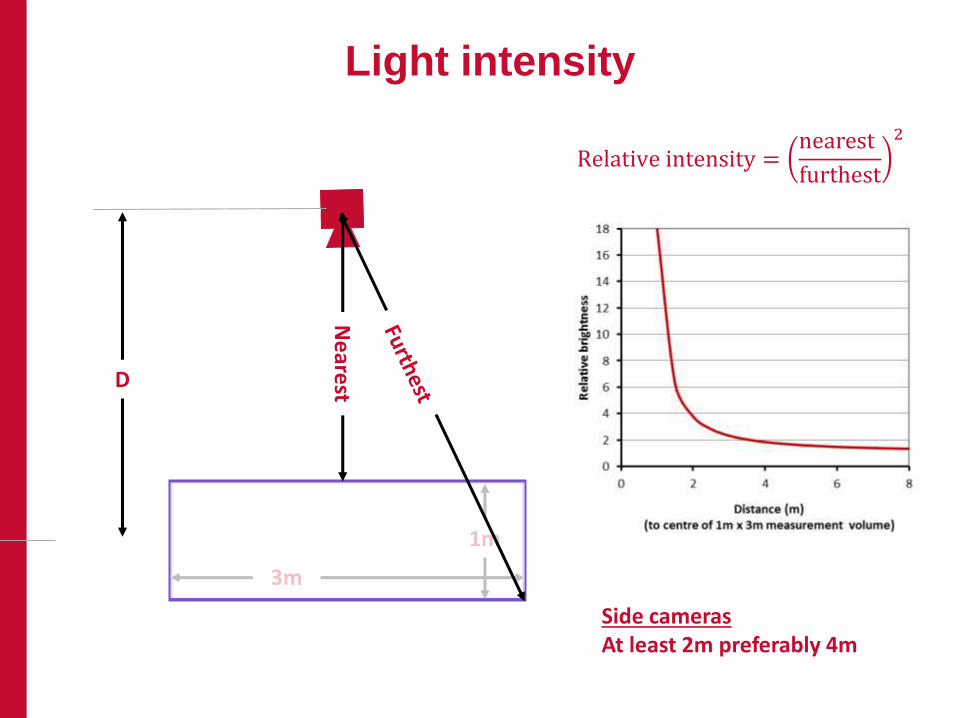
Light intensity
1m
3m
D
Ne
arest
Relative intensity =nearest
furthest
2
Side cameras At least 2m preferably 4m

D
Light intensity
1m
3m
Nearest
Front cameras At least 4m preferably 6m
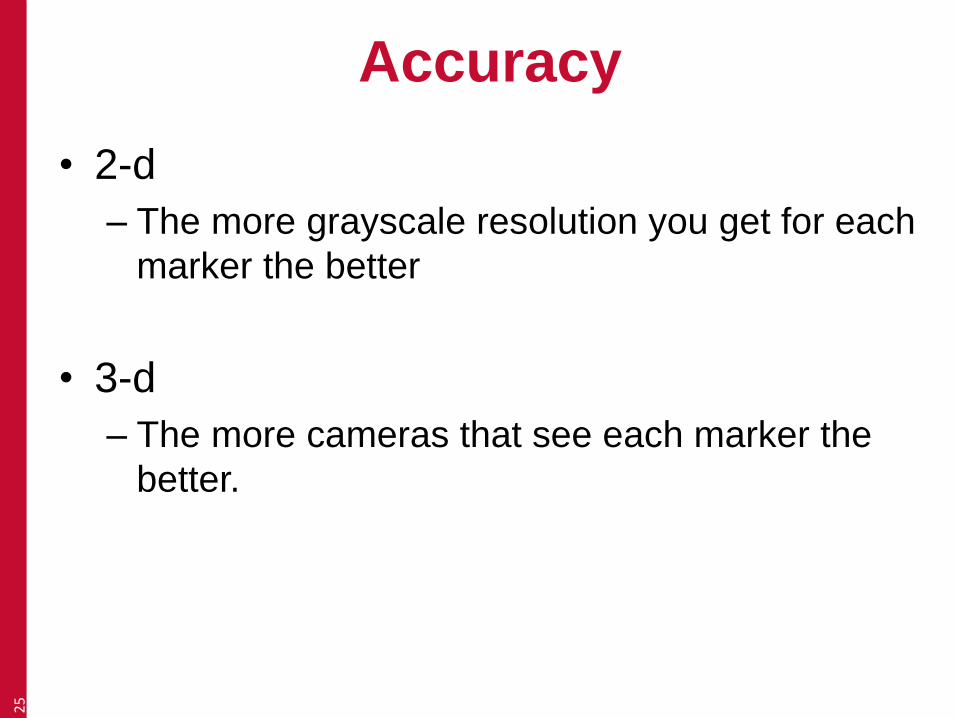
Accuracy
• 2-d
– The more grayscale resolution you get for each
marker the better
• 3-d
– The more cameras that see each marker the
better.
25
Setting up a lab
26

Steps
• Define requirements
• Obtain system
• Map out capture volume
• Place cameras
• Tune settings
27

1 Define requirements
• One type of movement
– (eg gait, sit-to-stand, posture)
• Different types of movement
• Mainly one movement but occasionally
others.
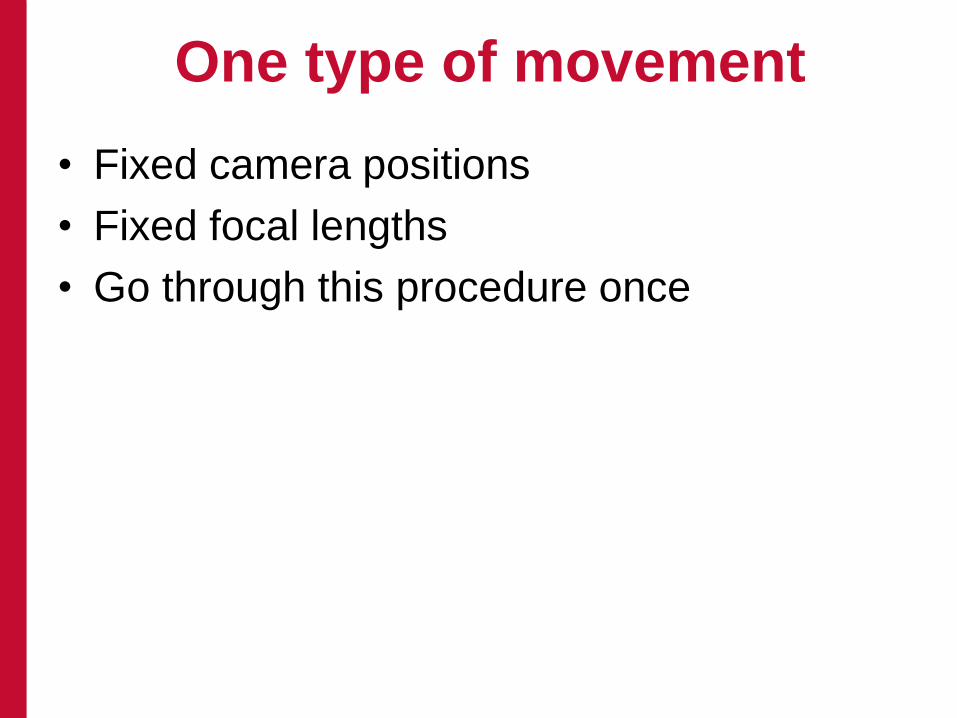
One type of movement
• Fixed camera positions
• Fixed focal lengths
• Go through this procedure once

Many types of movement
• Flexible camera positions
• Variable focal lengths
• Go through this procedure every time you
set up for a different movement
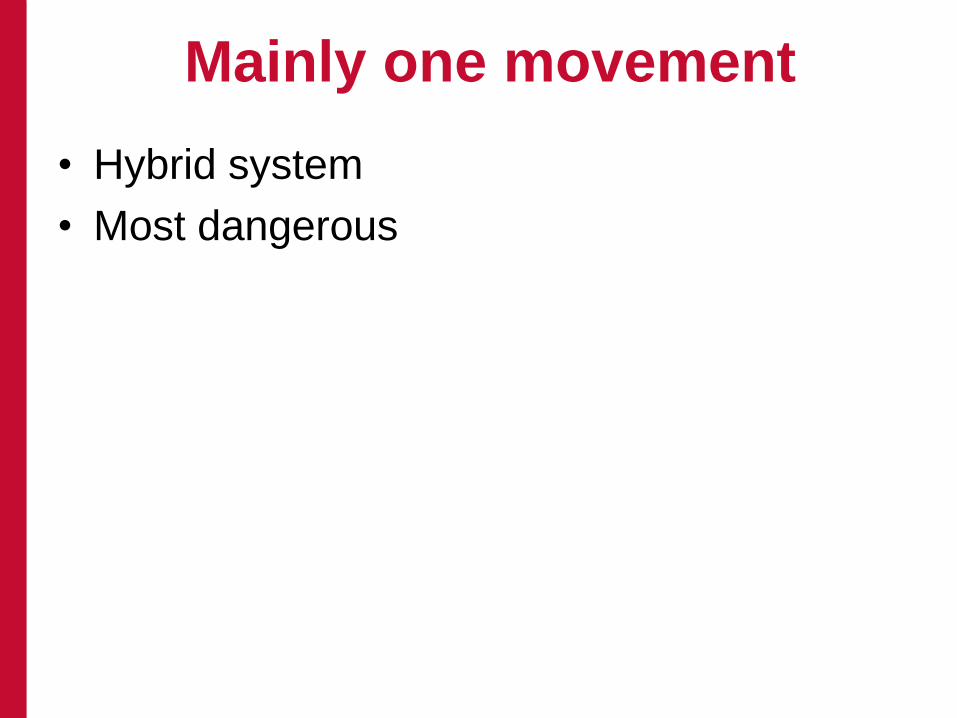
Mainly one movement
• Hybrid system
• Most dangerous
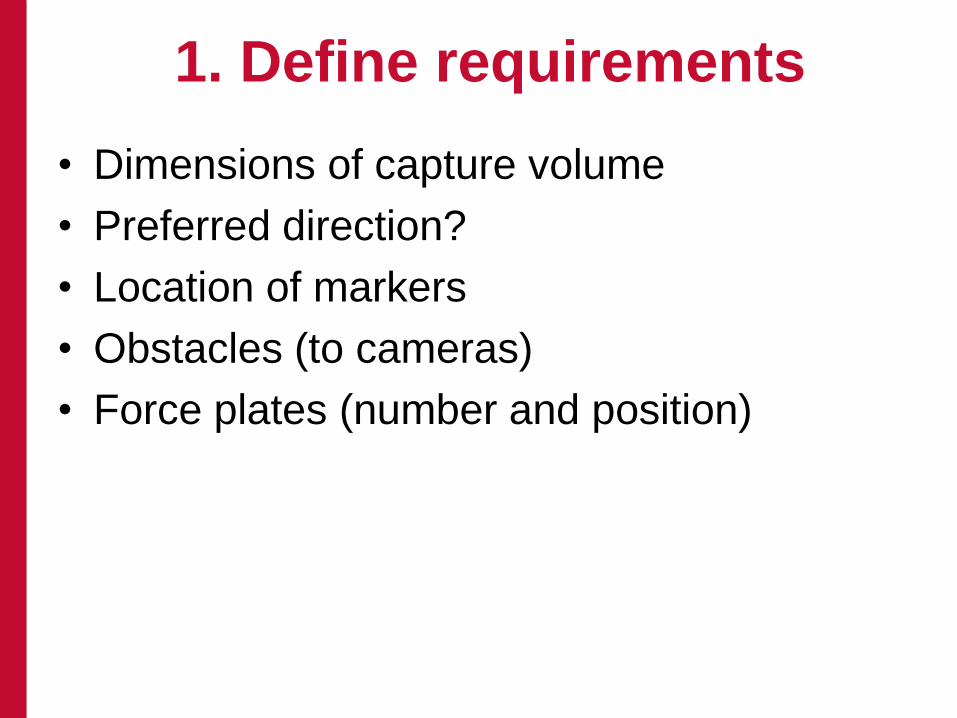
1. Define requirements
• Dimensions of capture volume
• Preferred direction?
• Location of markers
• Obstacles (to cameras)
• Force plates (number and position)
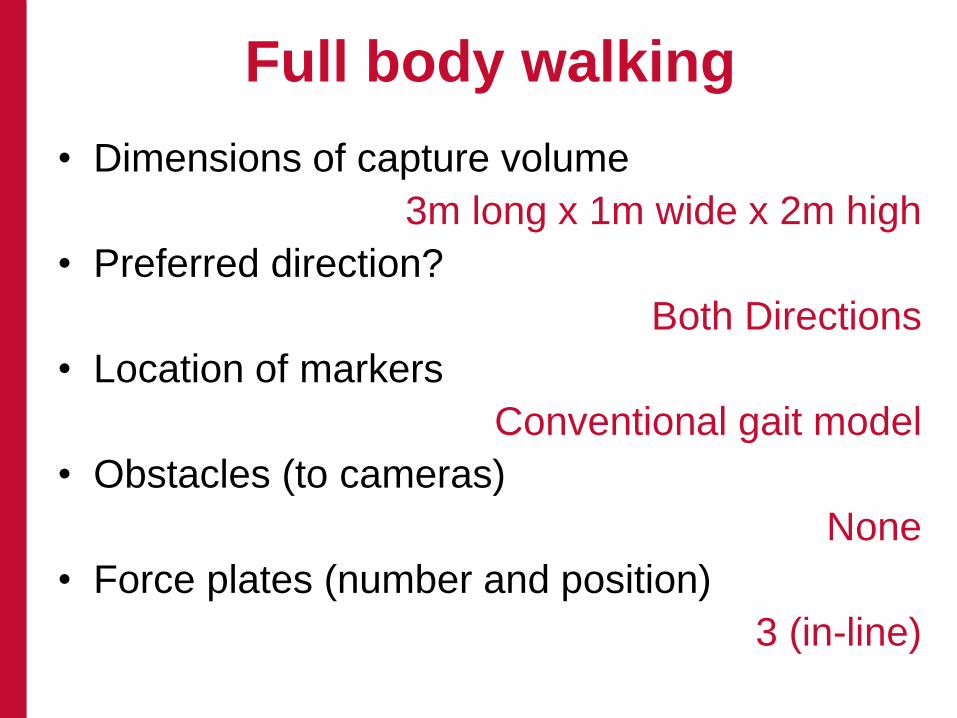
Full body walking
• Dimensions of capture volume
3m long x 1m wide x 2m high
• Preferred direction?
Both Directions
• Location of markers
Conventional gait model
• Obstacles (to cameras)
None
• Force plates (number and position)
3 (in-line)
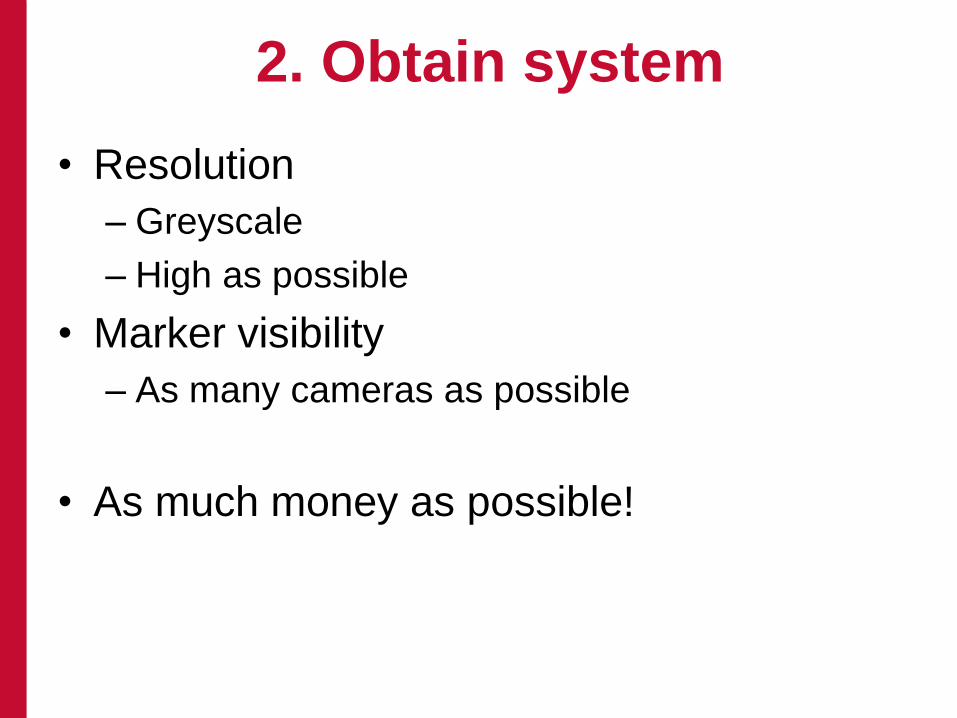
2. Obtain system
• Resolution
– Greyscale
– High as possible
• Marker visibility
– As many cameras as possible
• As much money as possible!

2. Obtain system
• Greyscale imaging
• Sufficient cameras for each marker to be seen by
at least 3 cameras throughout movement.
• Purchase this number of cameras at as high a
resolution as you can afford.
• If you’ve still got more money purchase more
cameras.
More money
• In my university it is as easy to apply for
$400,000 of equipment as it is to apply for
$600,000 with about the same chance of
actually getting it.
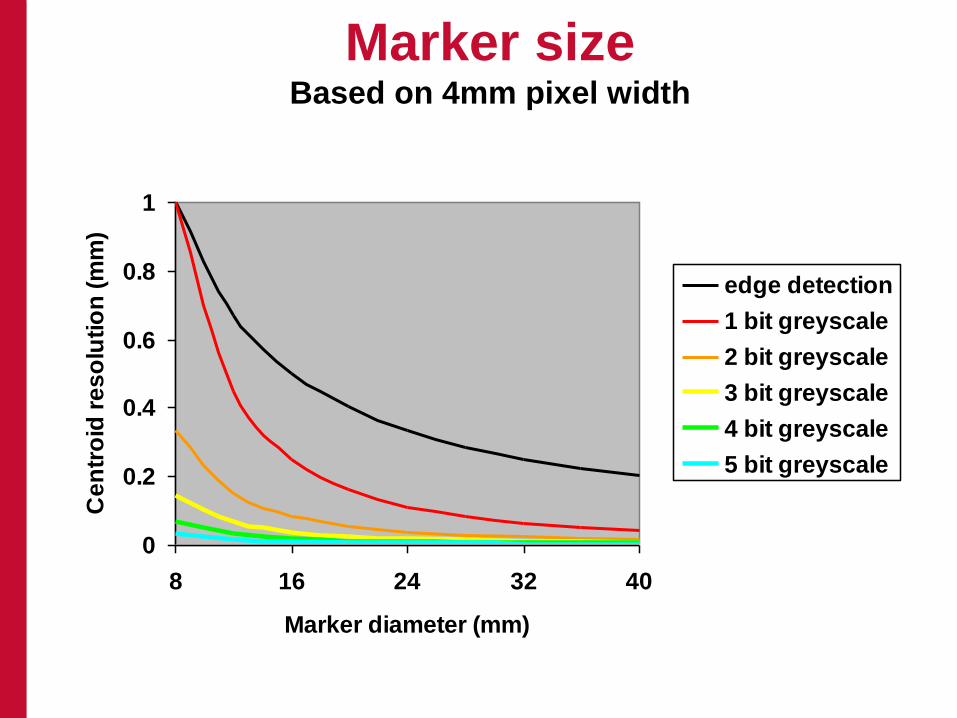
Marker sizeBased on 4mm pixel width
0
0.2
0.4
0.6
0.8
1
8 16 24 32 40
Marker diameter (mm)
Ce
ntr
oid
re
so
luti
on
(m
m)
edge detection
1 bit greyscale
2 bit greyscale
3 bit greyscale
4 bit greyscale
5 bit greyscale

Marker size
• Use 14mm markers for good resolution for
walking
– (with greyscale detection)
• Safer to use 25mm for edge detection
• No obvious advantage to using smaller
markers.

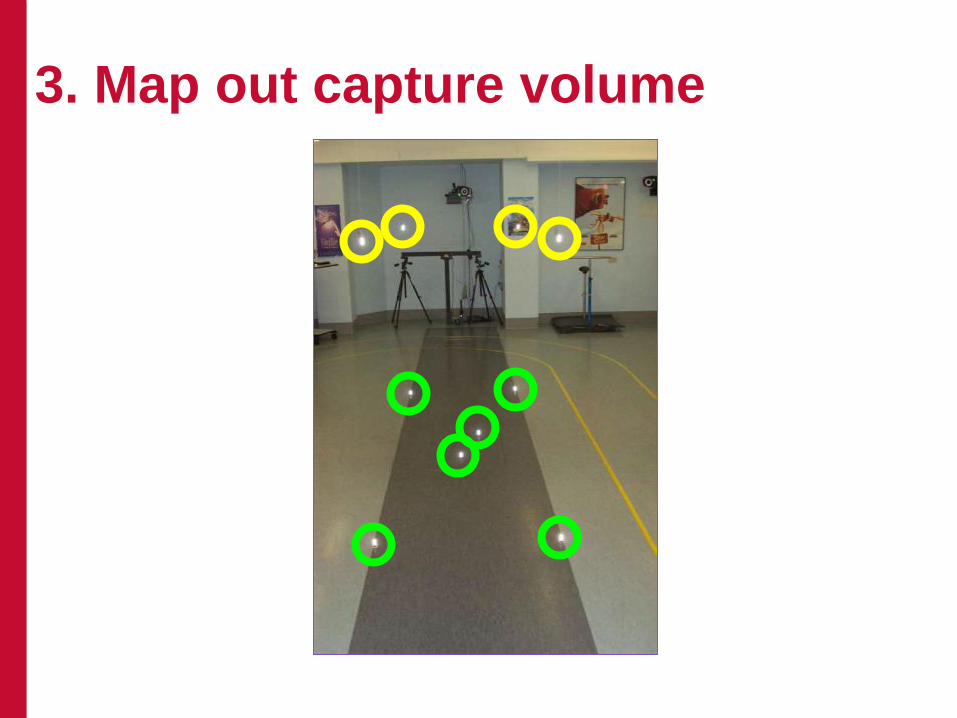
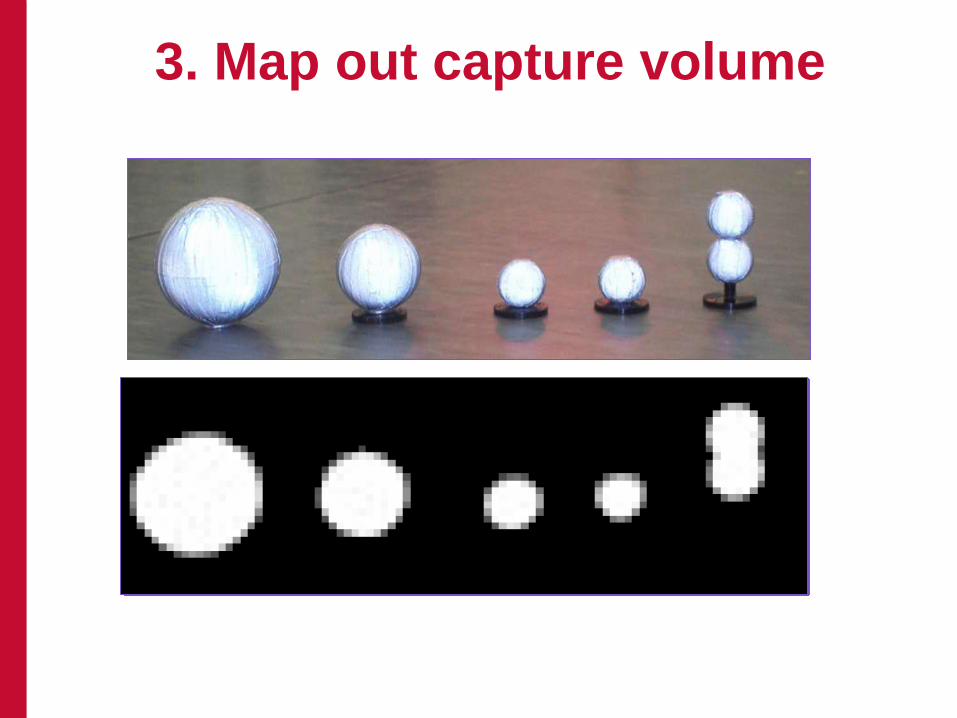
3. Map out capture volume
• Yes, physically!
• Marker pairs
– Same diameter as markerset
• Cover floor of capture volume at least
– Try and cover full volume.
– Centre as well as periphery
• Map out significant obstacles
• Make centre of volume the system origin
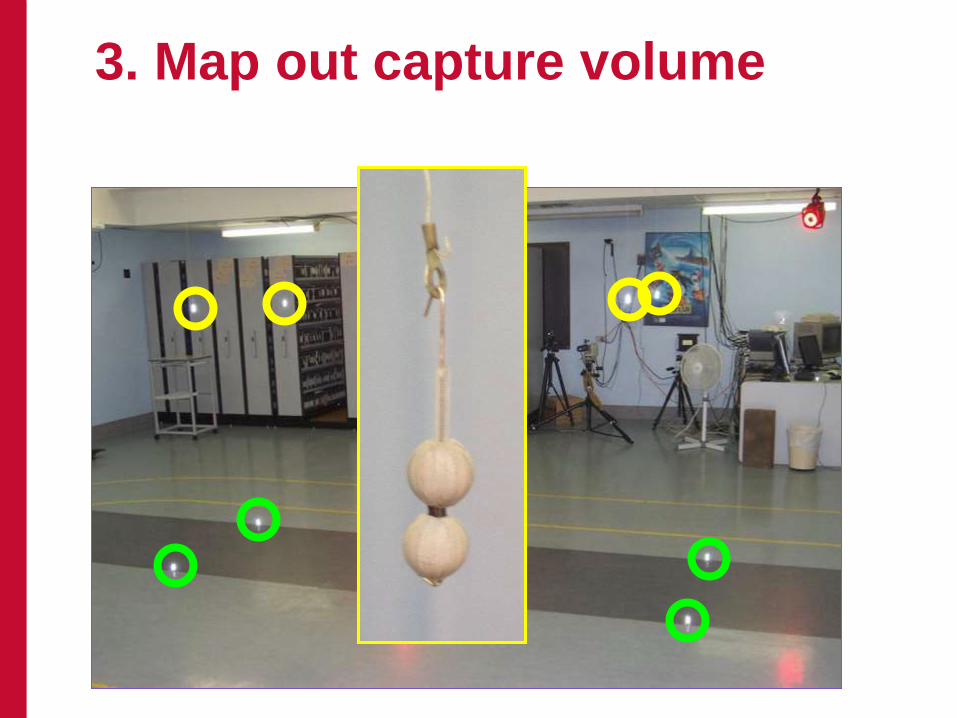
3. Map out capture volume
3. Map out capture volume
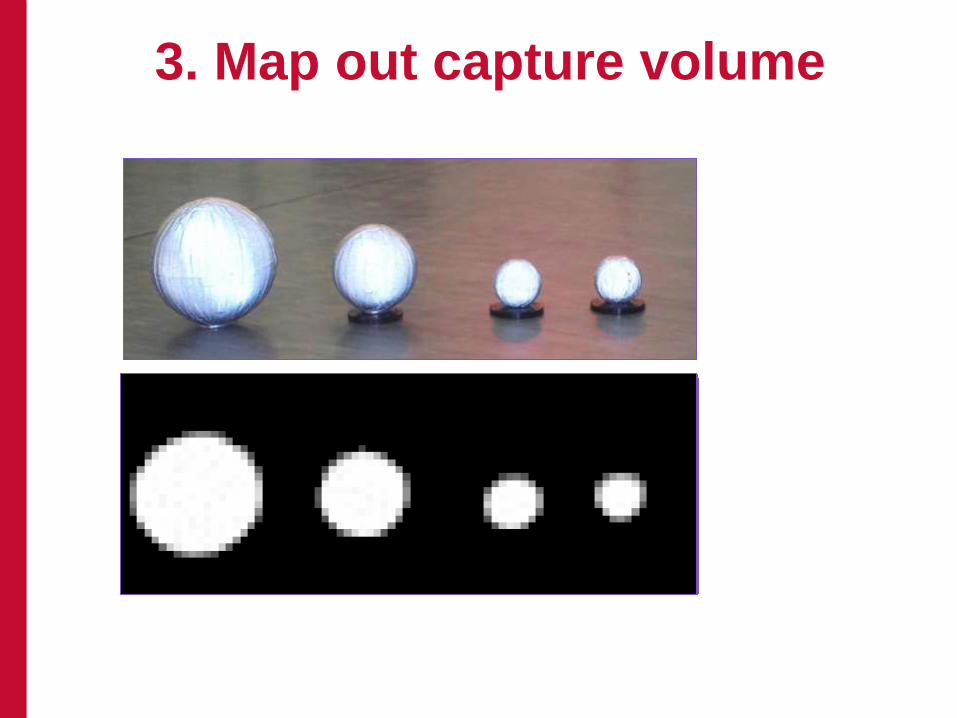
3. Map out capture volume
3. Map out capture volume
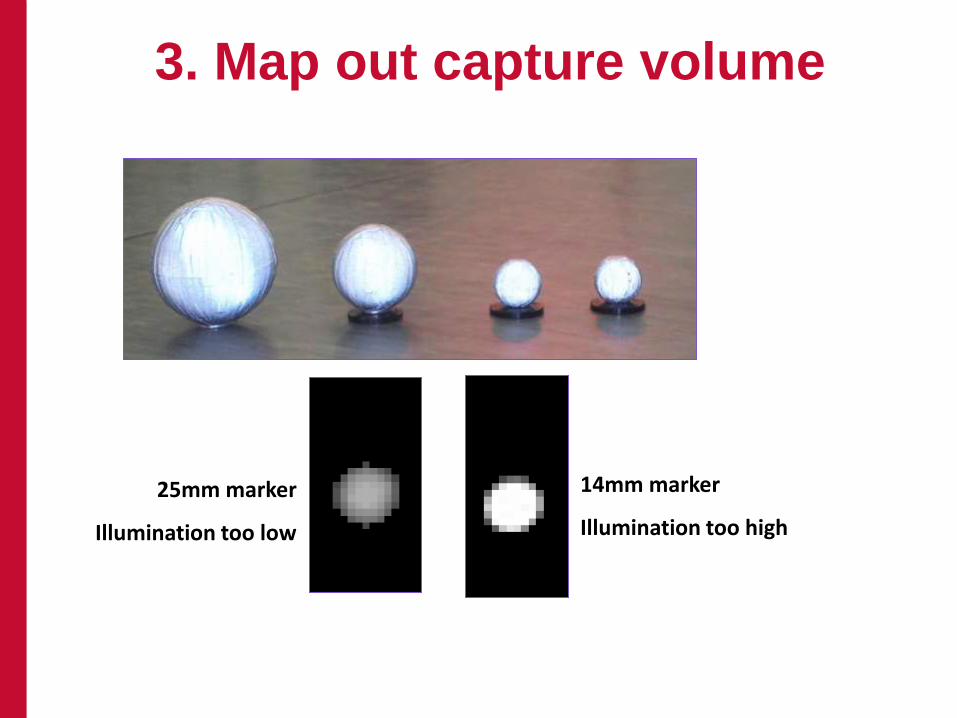
14mm marker
Illumination too high
25mm marker
Illumination too low
3. Map out capture volume
4. Place cameras
• Mix of theory and practice
• Use tripods to start with
• Find what software is provided to support
camera placement

Direction
• More cameras
• Determined by
– Orientation of capture volume
– Markerset
– Movement
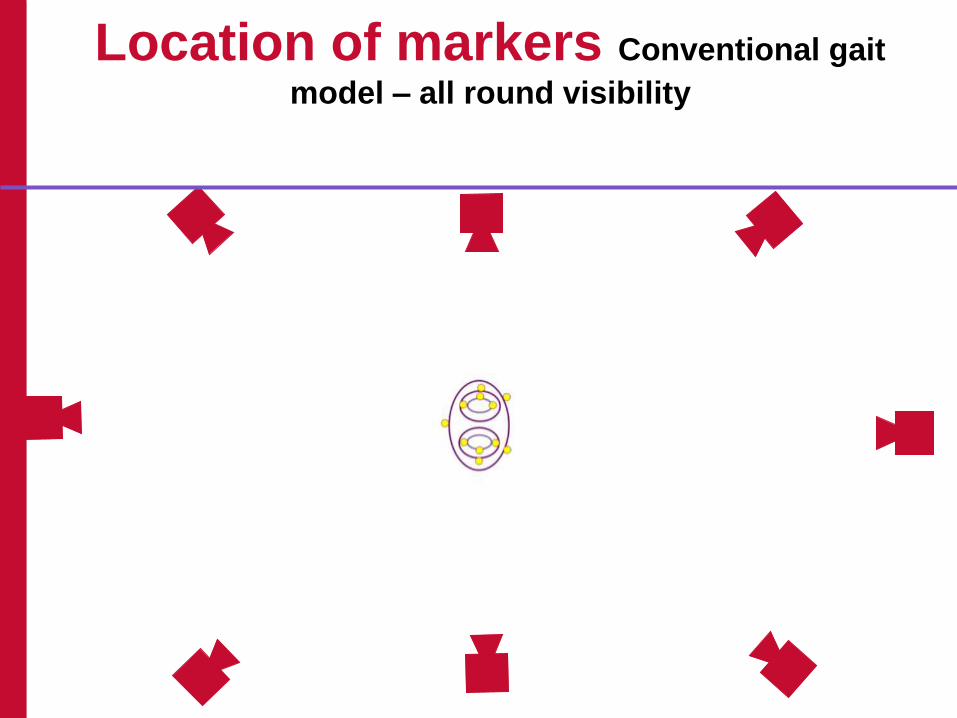
Location of markers Conventional gait
model – all round visibility
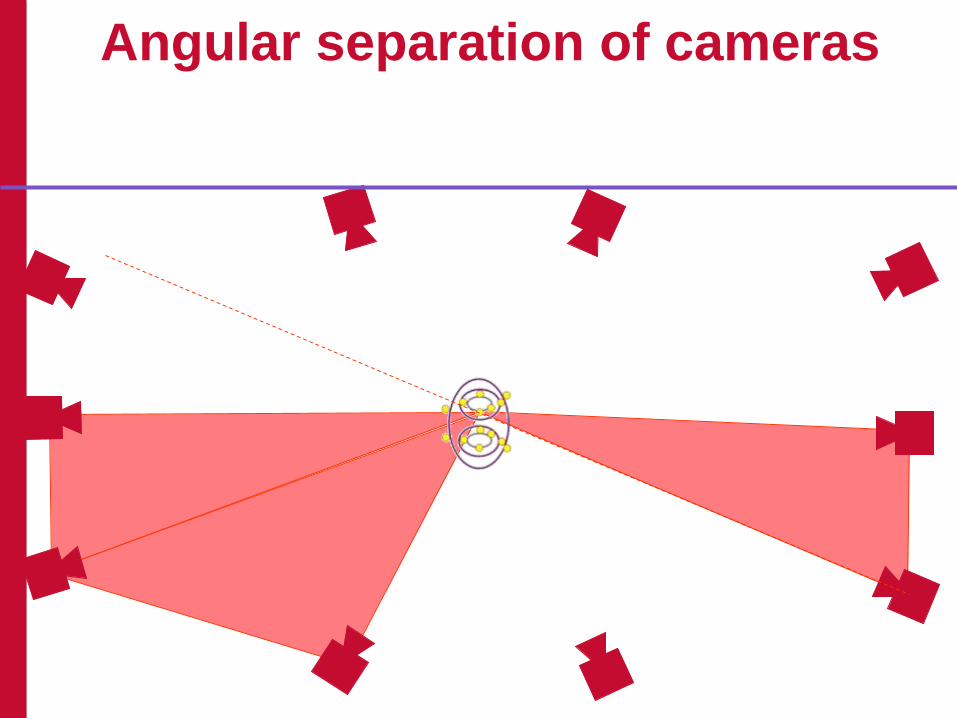
Angular separation of cameras

Effective Resolution
Turn a 1 megapixel camera to a 0.1 megapixel camera
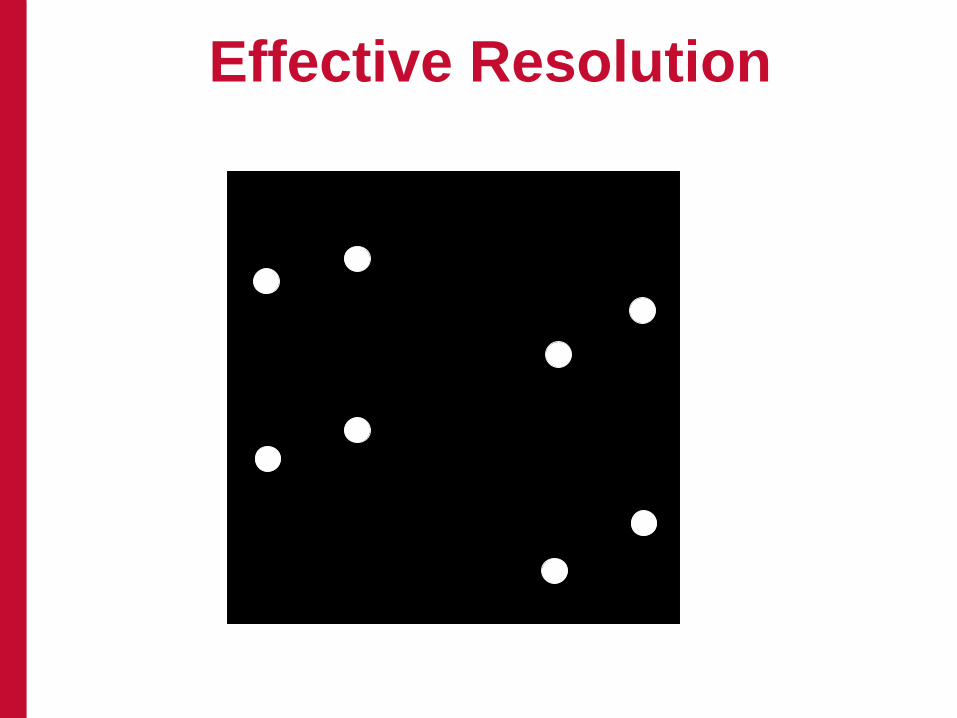
Effective Resolution

Distance and focal length
• Move cameras as far back as possible
• Choose lens of focal length to maximise effective resolution
• Avoid wide angle lenses wherever possible

Height
Cameras just higher than measuring volume work well and are generally out of the way

Height
• Slightly higher than capture volume
• If reflections are a problem
– Matt flooring
– Different heights
– Different strobe frequencies
• May be required to view round obstacles
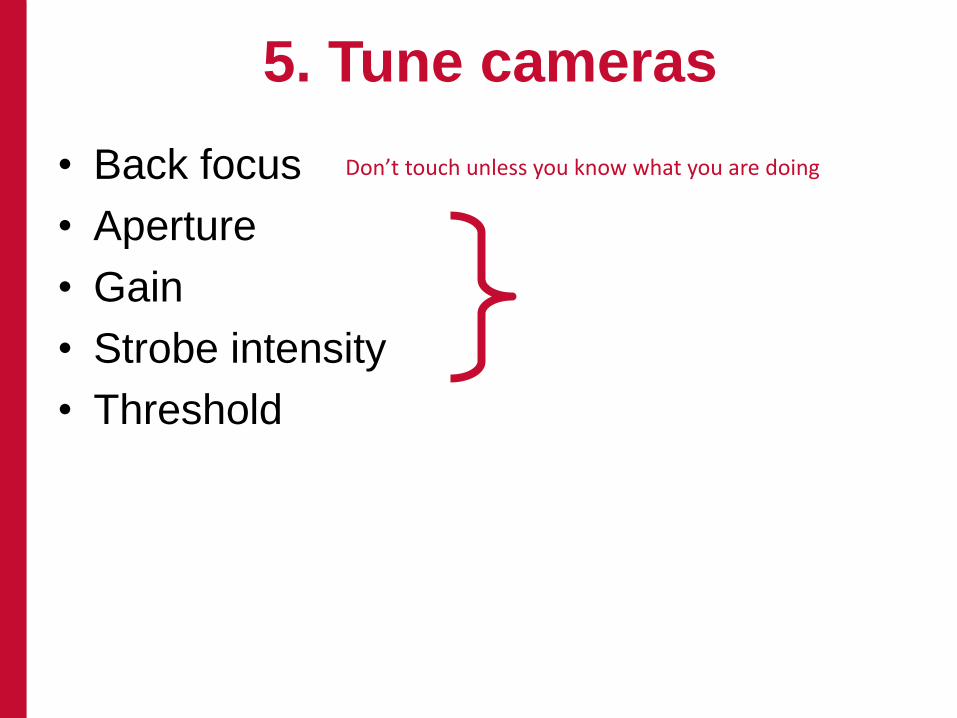
5. Tune cameras
• Back focus
• Aperture
• Gain
• Strobe intensity
• Threshold
Don’t touch unless you know what you are doing

Aperture
• Optical quality of better with smaller
aperture

Gain
• Grey scale resolution is effectively limited
by noise
• Increasing gain will increase noise

Strobe intensity
• No problem with high intensity
• (Although some current visible strobes
irritate the eyes)
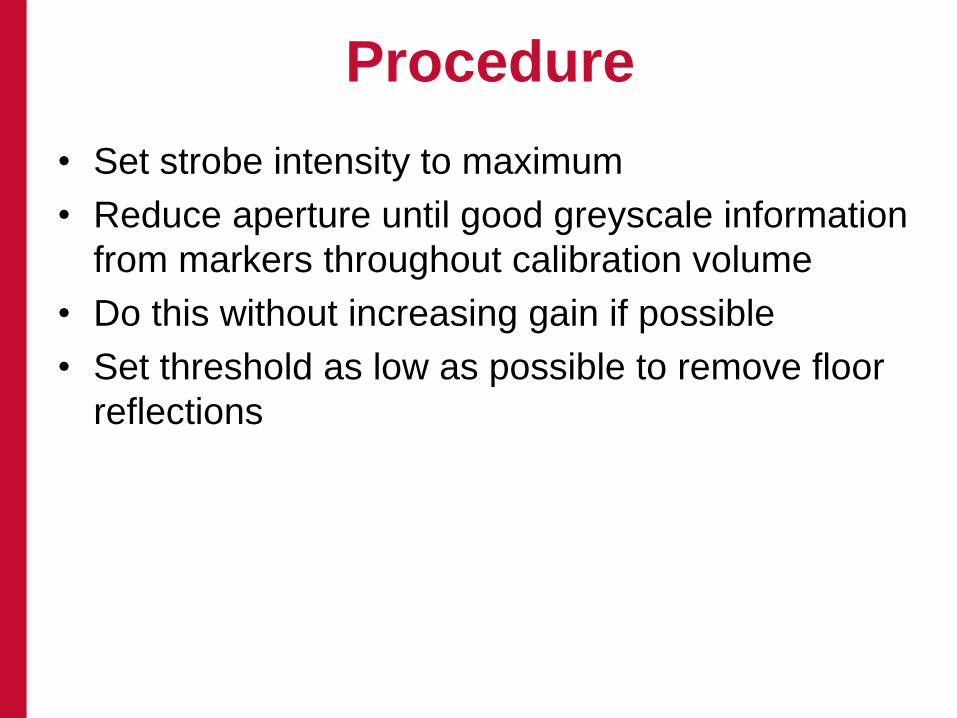
Procedure
• Set strobe intensity to maximum
• Reduce aperture until good greyscale information
from markers throughout calibration volume
• Do this without increasing gain if possible
• Set threshold as low as possible to remove floor
reflections
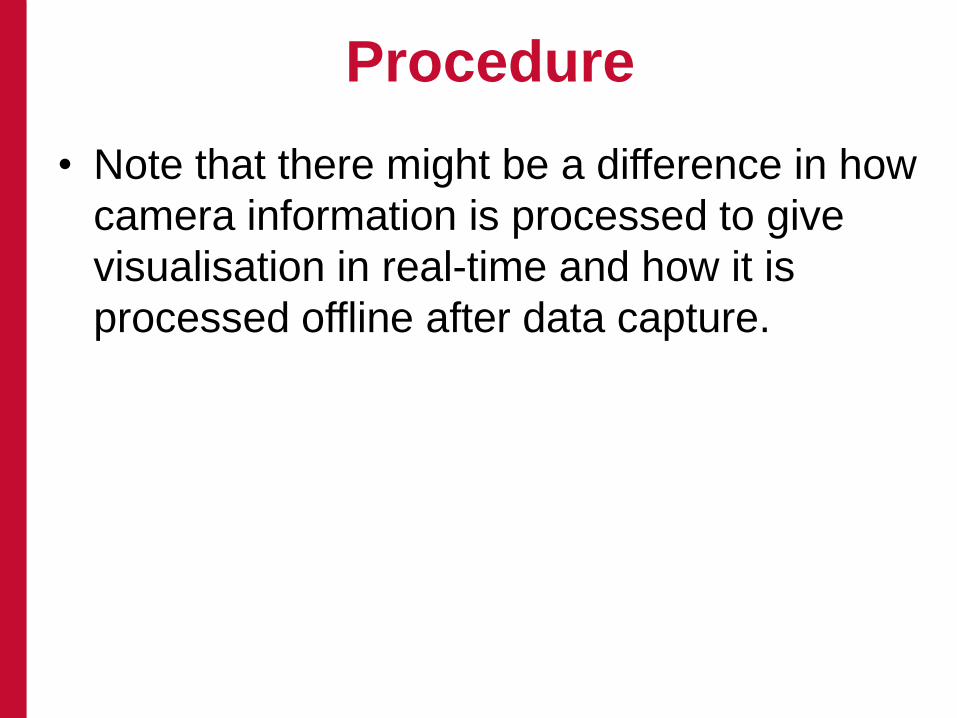
Procedure
• Note that there might be a difference in how
camera information is processed to give
visualisation in real-time and how it is
processed offline after data capture.

Maintenance
60

Maintenance
• Very little
• Calibrate frequently
• Look at results
61

Calibrate - Cameras
• Made easy with current system
• Need an object with known dimensions

Calibrate - Cameras
• The object have to move through the entire
volume
Camera views
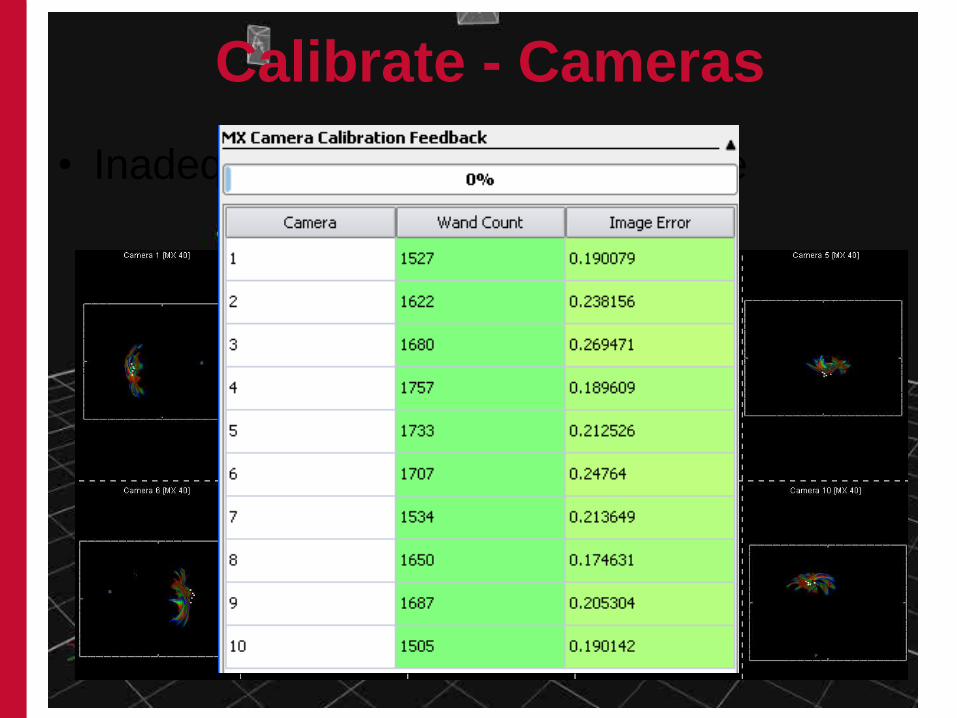
Calibrate - Cameras
• Inadequate mapping of the volume
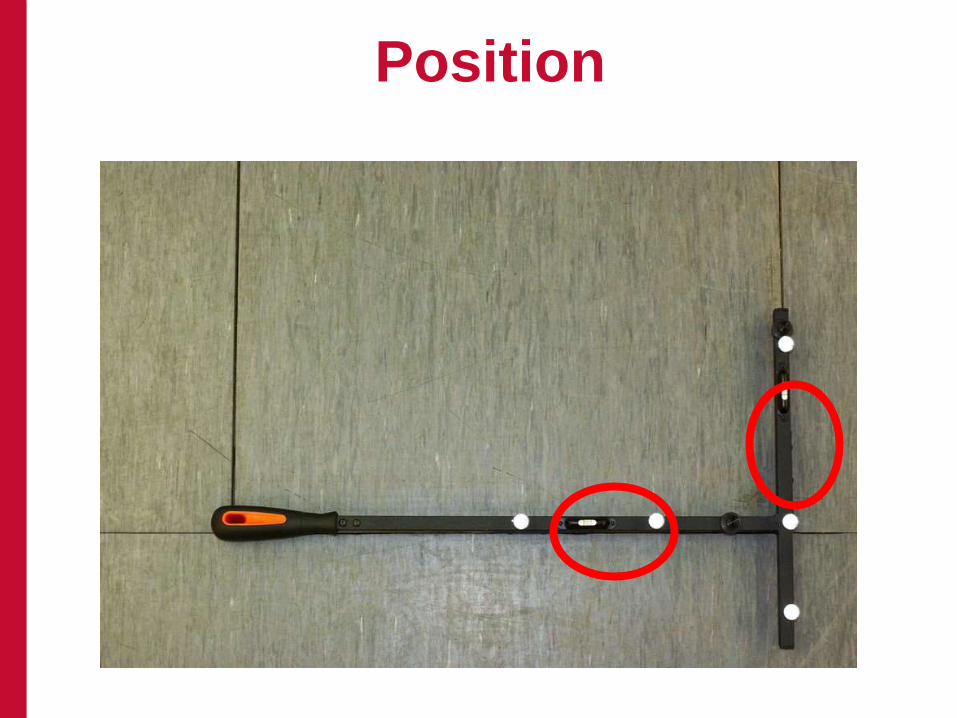
Position

Orientation
1deg = 17mm at 1m

Level
Spot checks
68

Camera settings
Remove dirty markers

Effect of time / use

Camera calibration SAMSA
Piazza SJ et al. A proposed standard for assessing the marker-location accuracy of video-based motion analysis systems. Proceedings GCMAS (2007), Springfield, MA

Poker test
Holden JP, Selbie WS, Stanhope SJ. A proposed test to support the clinical movement analysis laboratory accreditation process. Gait Posture. 2003 17(3):205-13.
Ground reaction should pass through the tip of the poker and along the shaft

Thanks for listening
Richard Baker
Professor of Clinical Gait Analysis
Blog: wwRichard.net
73