people.ucalgary.capeople.ucalgary.ca/.../94_enma_101_Lect_1.pdf · ENME$101,$Instructor:$S$Spiewak...
24
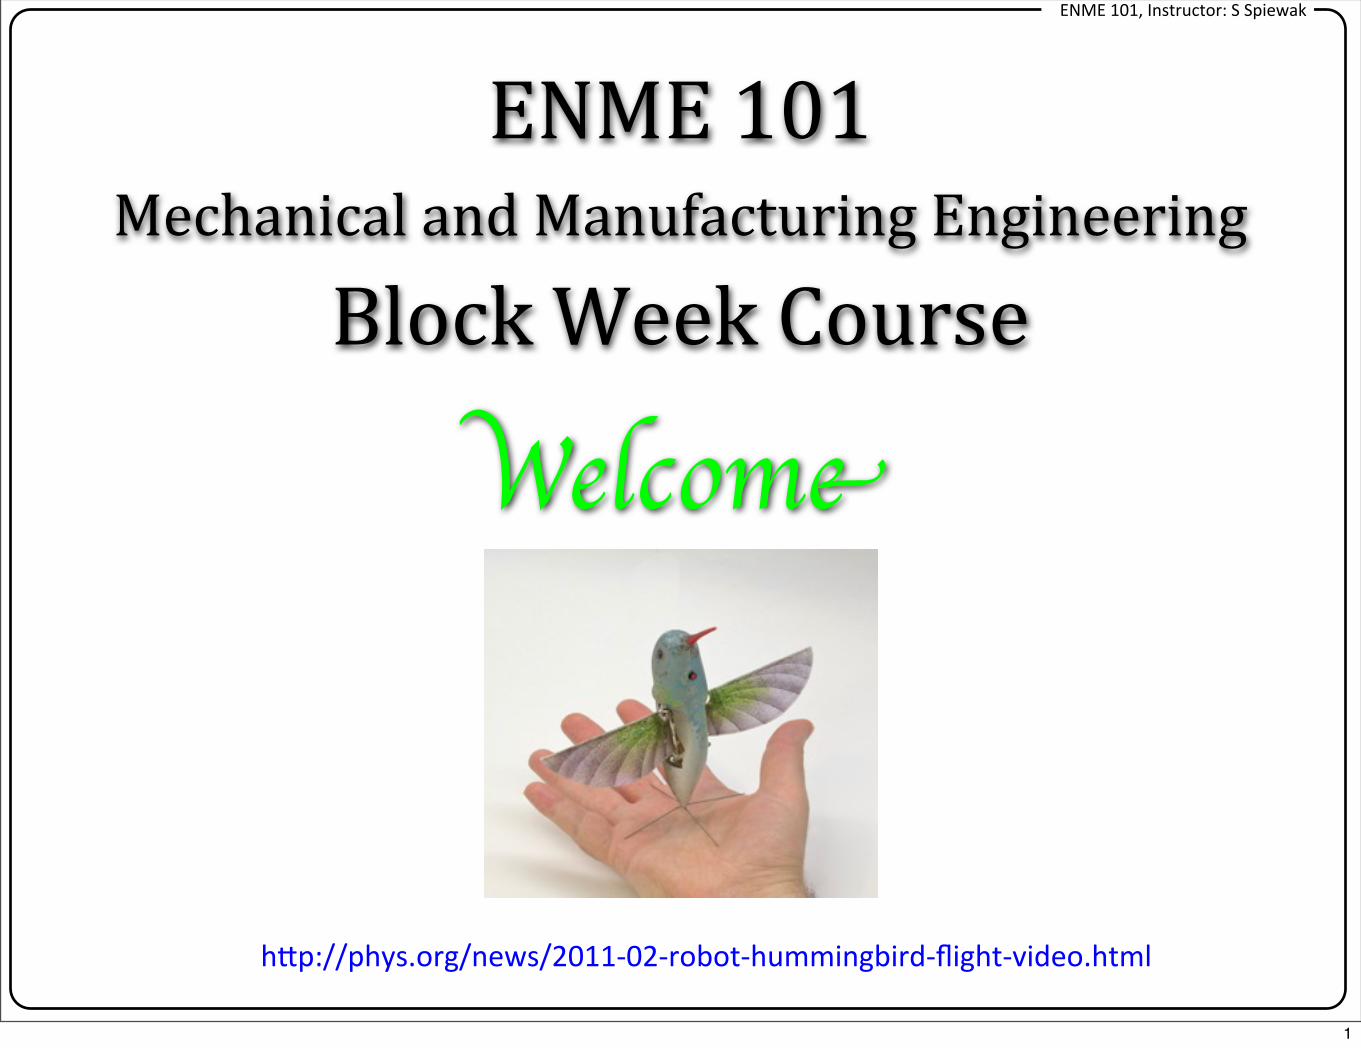
ENME 101, Instructor: S Spiewak ENME 101 Mechanical and Manufacturing Engineering Block Week Course W elcome h"p://phys.org/news/201102robothummingbirdflightvideo.html 1
Transcript of people.ucalgary.capeople.ucalgary.ca/.../94_enma_101_Lect_1.pdf · ENME$101,$Instructor:$S$Spiewak...
ENME 101, Instructor: S Spiewak
ENME 101 Mechanical and Manufacturing Engineering
Block Week Course
Welcome
h"p://phys.org/news/2011-‐02-‐robot-‐hummingbird-‐flight-‐video.html
1
ENME 101, Instructor: S Spiewak
Introduction
Part 1
2

ENME 101, Instructor: S Spiewak
Engineering is the application of scienti1ic, economic, social, and practical knowledge in order to design, build, and maintain structures, machines, devices, systems, materials and processes. It may encompass using insights to conceive, model and scale an appropriate solution to a problem or objective. The discipline of engineering is extremely broad, and encompasses a range of more specialized 1ields of engineering, each with a more speci1ic emphasis on particular areas of technology and types of application.
The application of science to the optimum conversion of the resources of nature to the uses of humankind. The 1ield has been de1ined by the Engineers Council for Professional Development, in the United States, as the creative application of “scienti1ic principles to design or develop structures, machines, apparatus, or manufacturing processes, or works utilizing them singly or in combination; or to construct or operate the same with full cognizance of their design; or to forecast their behaviour under speci1ic operating conditions; all as respects an intended function, economics of operation and safety to life and property.”
Engineering
Encyclopedia Britannica
Wikipedia
3
ENME 101, Instructor: S Spiewak
1. Identify and have an understanding of the Mechanical Engineering profession.
2. Understand what society and industry expects from Mechanical Engineers.
3. Understand the complexities associated with diverse areas on Mechanical Engineering.
4. Run selected software packages, which are representa-‐tive of the Mechanical Engineering program (e.g., MATLAB and Arduino IDE), on your personal computers
At the end of this course, you will be able to:
4
ENME 337/L02, Instructor: S Spiewak
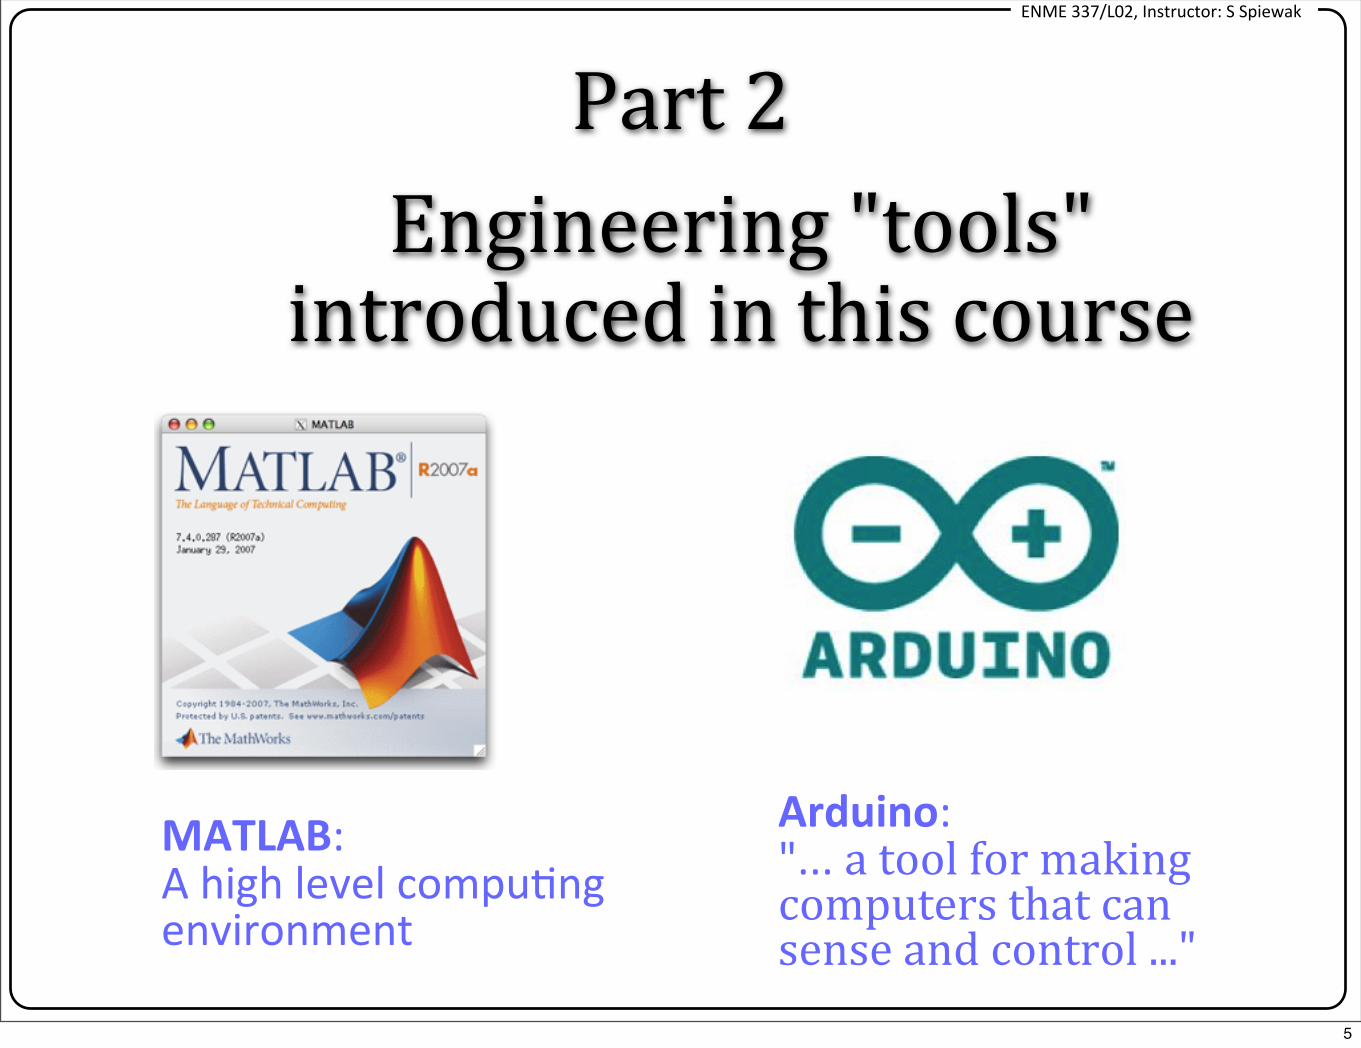
MATLAB: A high level compu/ng environment
Arduino: "... a tool for making computers that can sense and control ..."
Part 2Engineering "tools"
introduced in this course
5

ENME 337/L02, Instructor: S Spiewak
About MATLABWhat is it ?
Part 2a
6

ENME 337/L02, Instructor: S Spiewak
The language of technical computing
According to MathWorks MATLAB is
7

ENME 337/L02, Instructor: S Spiewak
... a numerical computing environment and programming language
SOURCE: http://en.wikipedia.org/wiki/Matlab
According to Wikipedia it is ...
Programming language: artificial language to write programs which control ...
8
ENME 337/L02, Instructor: S Spiewak
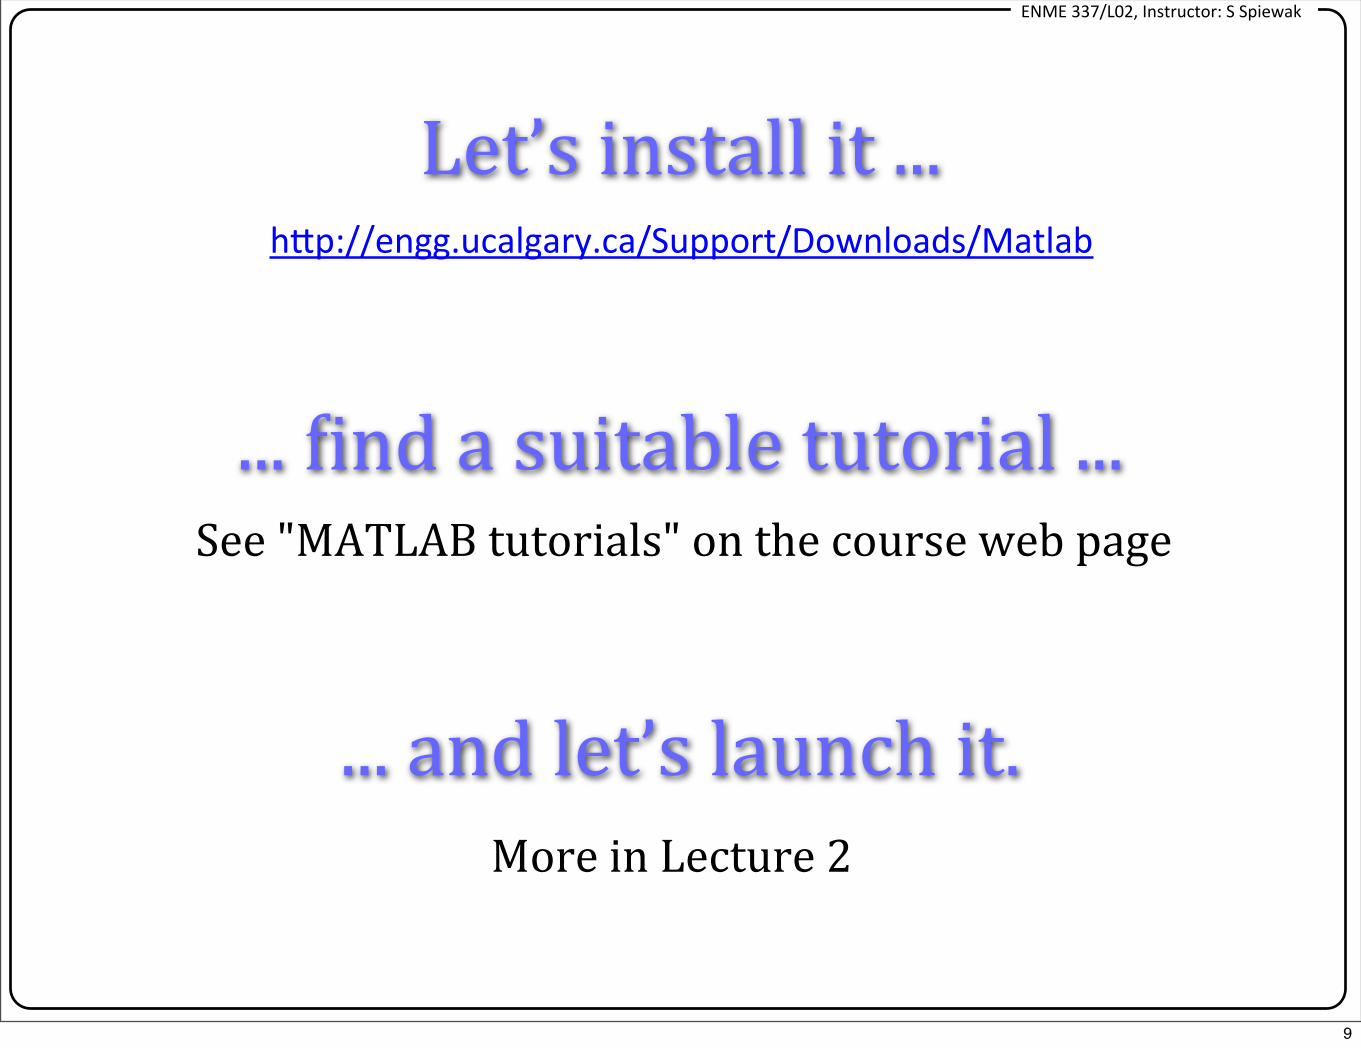
... and let’s launch it.
Let’s install it ...
More in Lecture 2
h>p://engg.ucalgary.ca/Support/Downloads/Matlab
... 1ind a suitable tutorial ...See "MATLAB tutorials" on the course web page
9
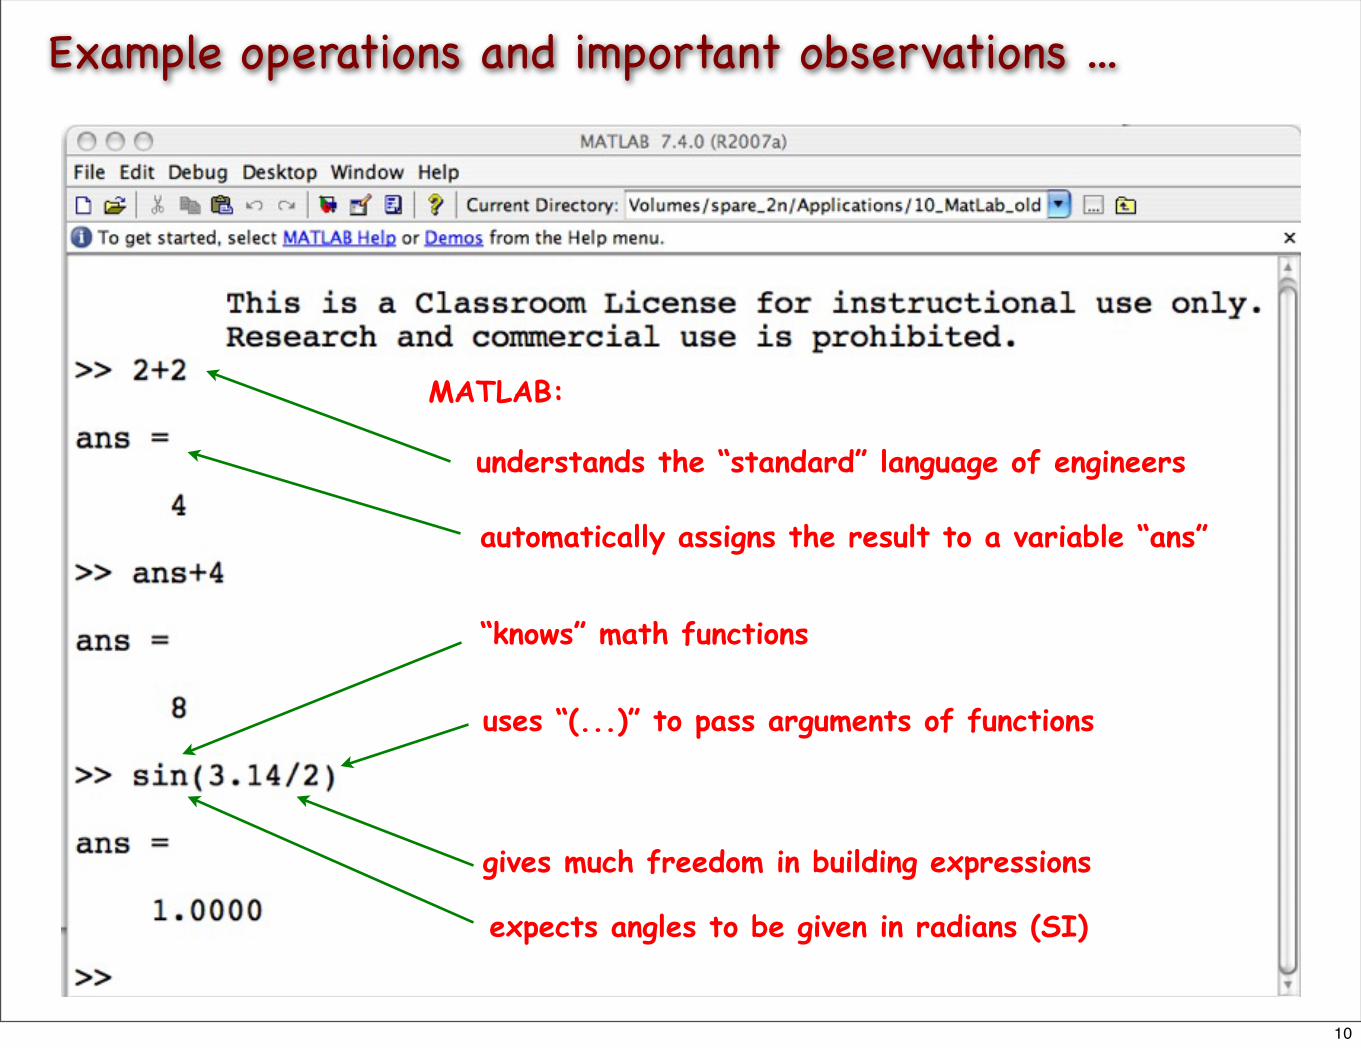
Example operations and important observations ...
MATLAB:
understands the “standard” language of engineers
automatically assigns the result to a variable “ans”
“knows” math functions
uses “(...)” to pass arguments of functions
expects angles to be given in radians (SI)
gives much freedom in building expressions
10
ENME 101, Instructor: S Spiewak
About Arduino and
Microcontrollers
Part 2b
h5p://arduino.cc/en/Guide/HomePage
Getting Started with Arduino
11

ENME 101, Instructor: S Spiewak
ATMEGA328 8 bit microcontroller
Edge connectorsLED
(Light Emitting Diode) controlled by Pin 13
Edge connectors
5V power supply is provided via USB
12
ENME 101, Instructor: S Spiewak
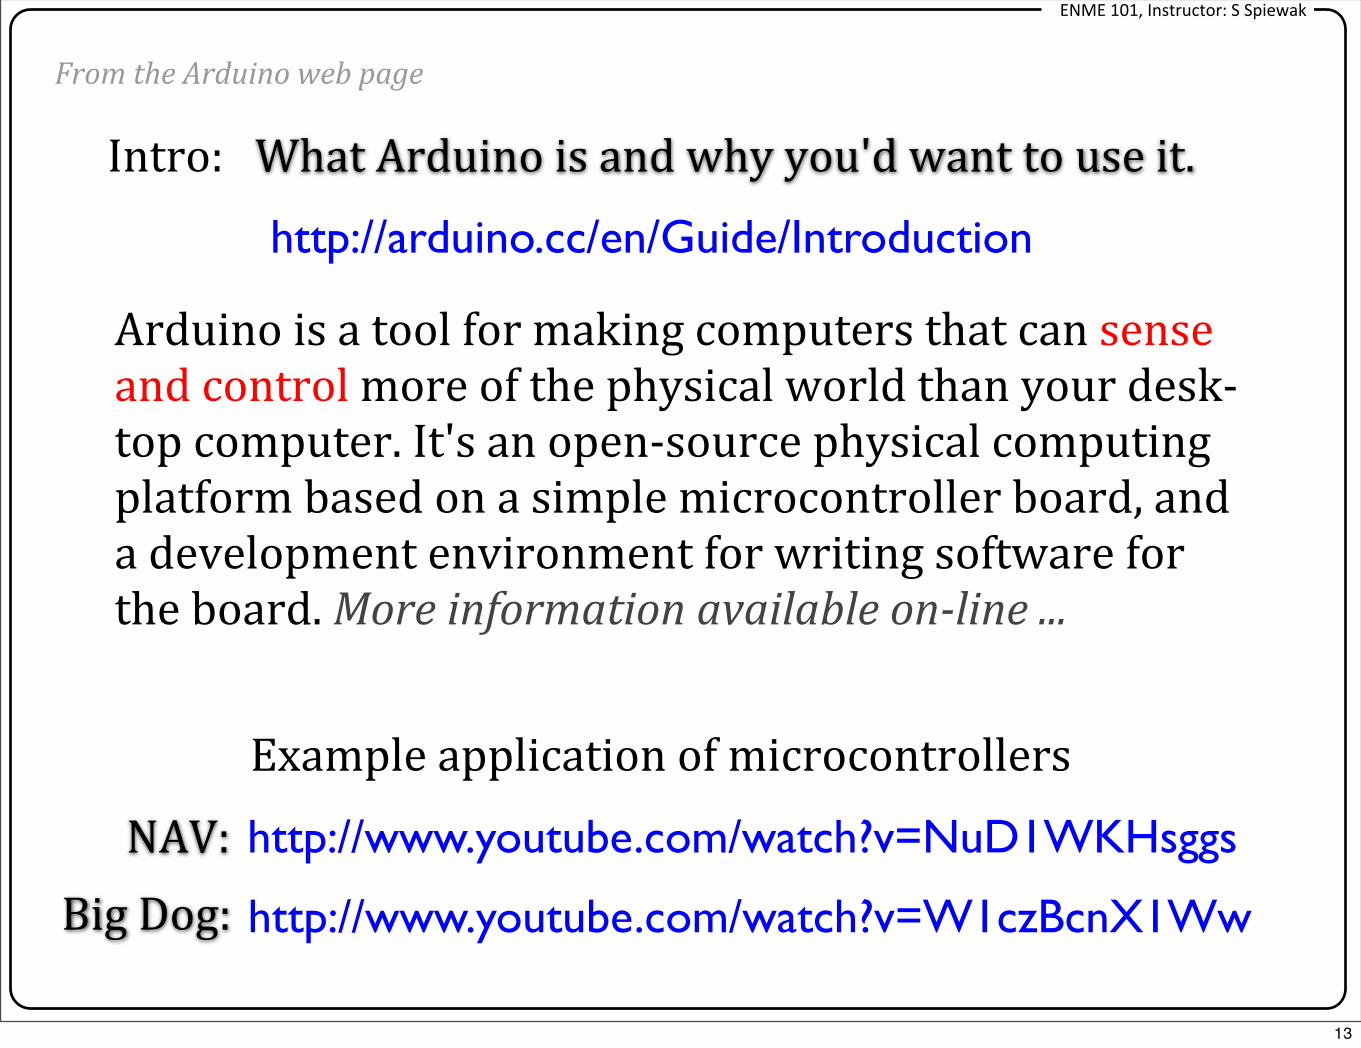
http://arduino.cc/en/Guide/Introduction
Intro: What Arduino is and why you'd want to use it.
Arduino is a tool for making computers that can sense and control more of the physical world than your desk-‐top computer. It's an open-‐source physical computing platform based on a simple microcontroller board, and a development environment for writing software for the board. More information available on-‐line ...
Example application of microcontrollers
http://www.youtube.com/watch?v=NuD1WKHsggsNAV:http://www.youtube.com/watch?v=W1czBcnX1WwBig Dog:
From the Arduino web page
13
ENME 101, Instructor: S Spiewak
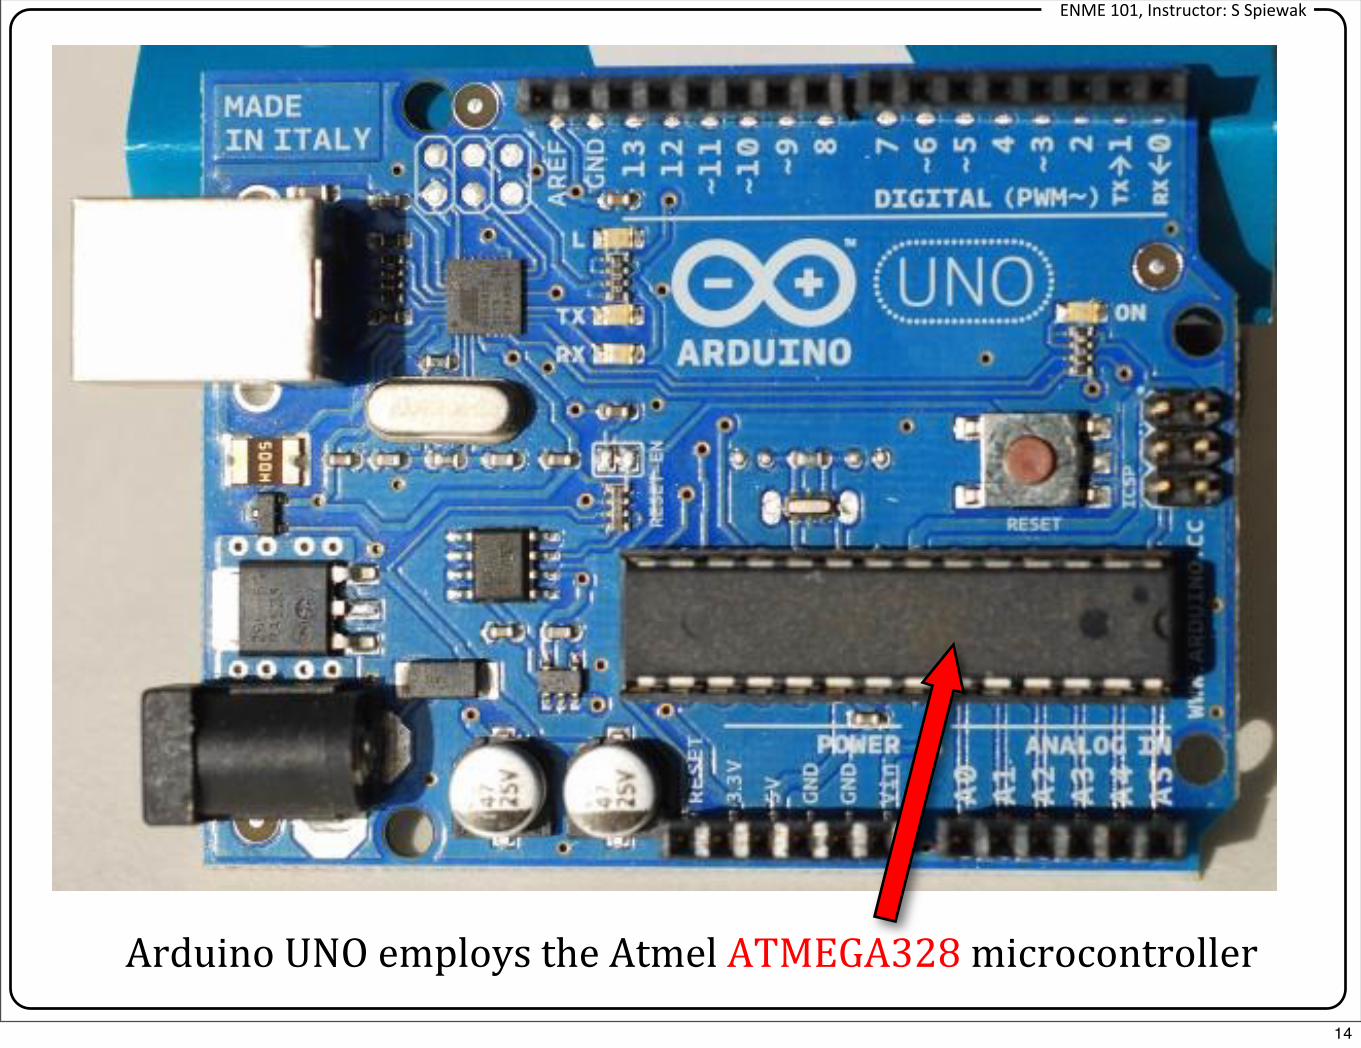
Arduino UNO employs the Atmel ATMEGA328 microcontroller
14
ENME 101, Instructor: S Spiewak
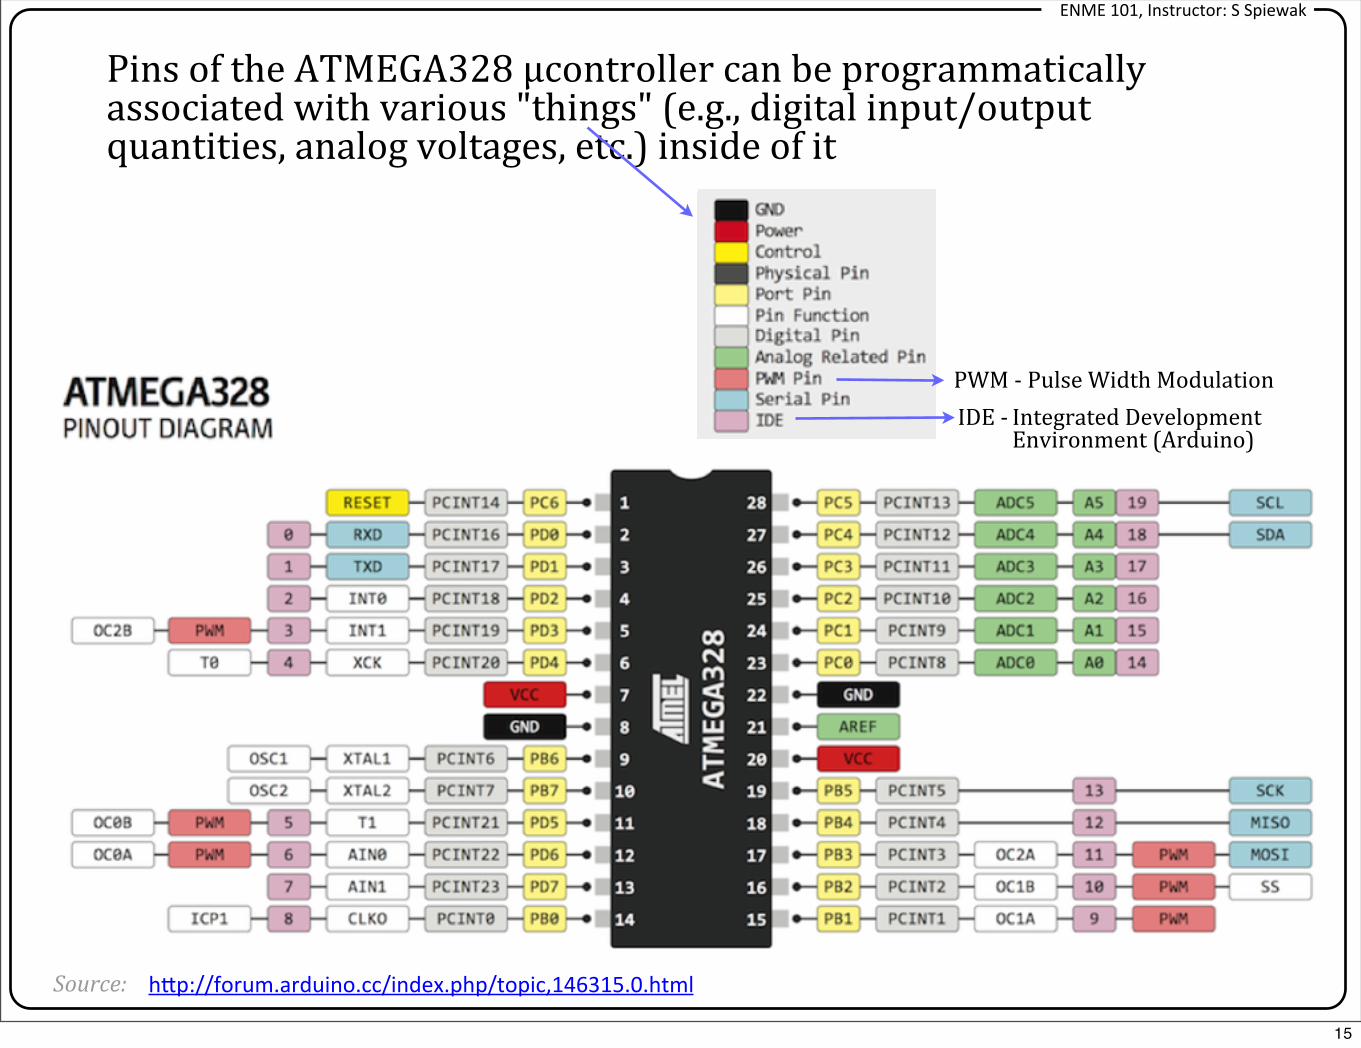
Pins of the ATMEGA328 μcontroller can be programmatically associated with various "things" (e.g., digital input/output quantities, analog voltages, etc.) inside of it
PWM -‐ Pulse Width ModulationIDE -‐ Integrated Development Environment (Arduino)
Source: h>p://forum.arduino.cc/index.php/topic,146315.0.html
15
ENME 101, Instructor: S Spiewak
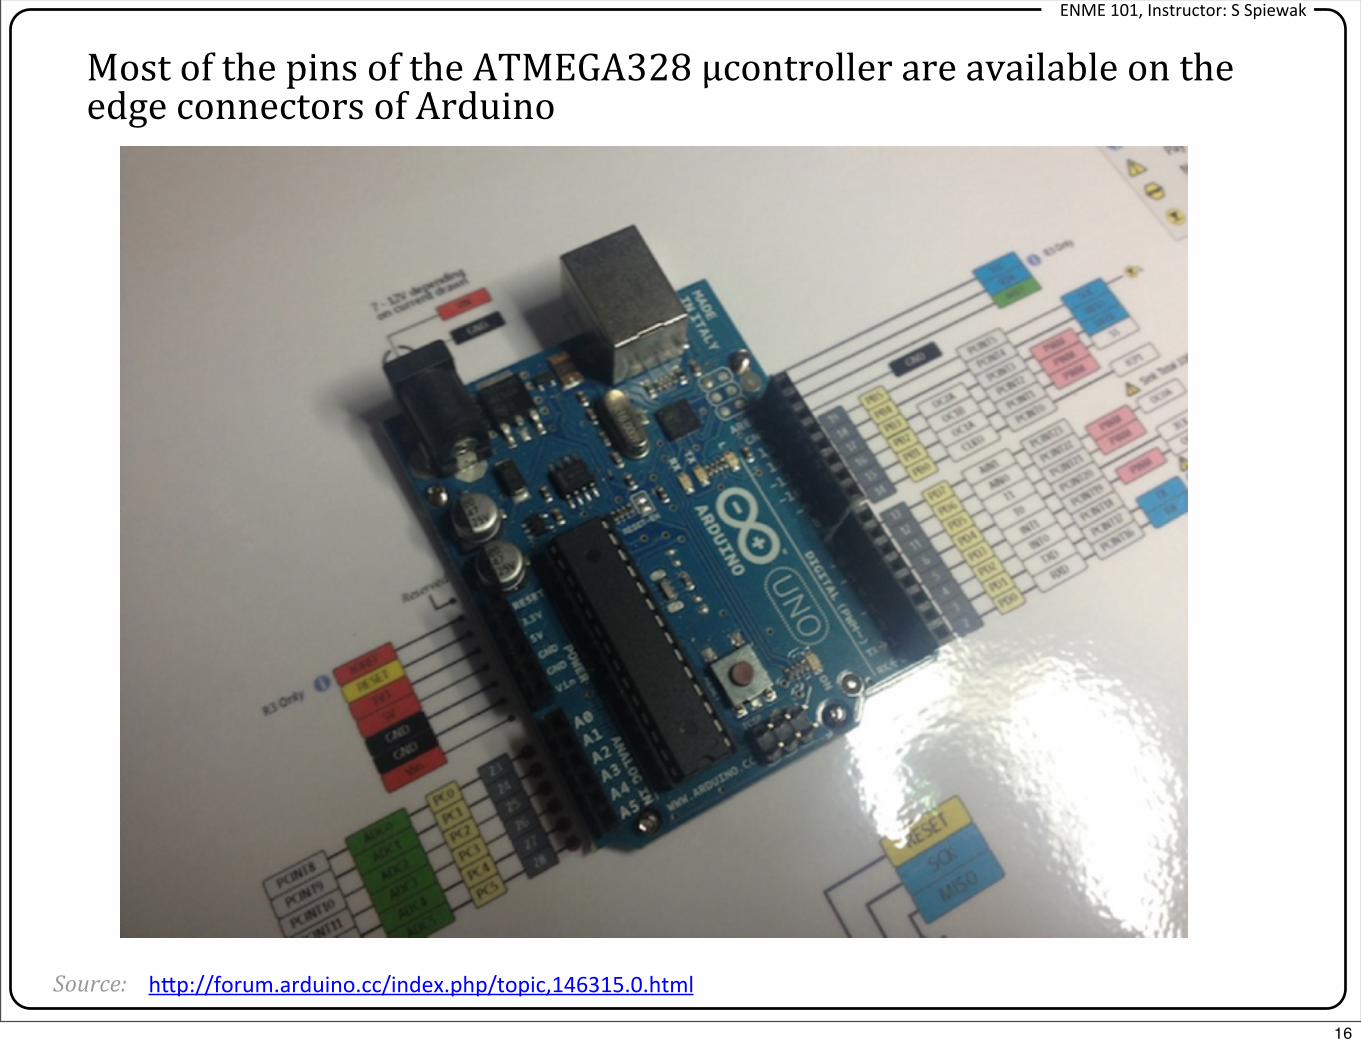
Most of the pins of the ATMEGA328 μcontroller are available on the edge connectors of Arduino
Source: h>p://forum.arduino.cc/index.php/topic,146315.0.html
16
ENME 101, Instructor: S Spiewak
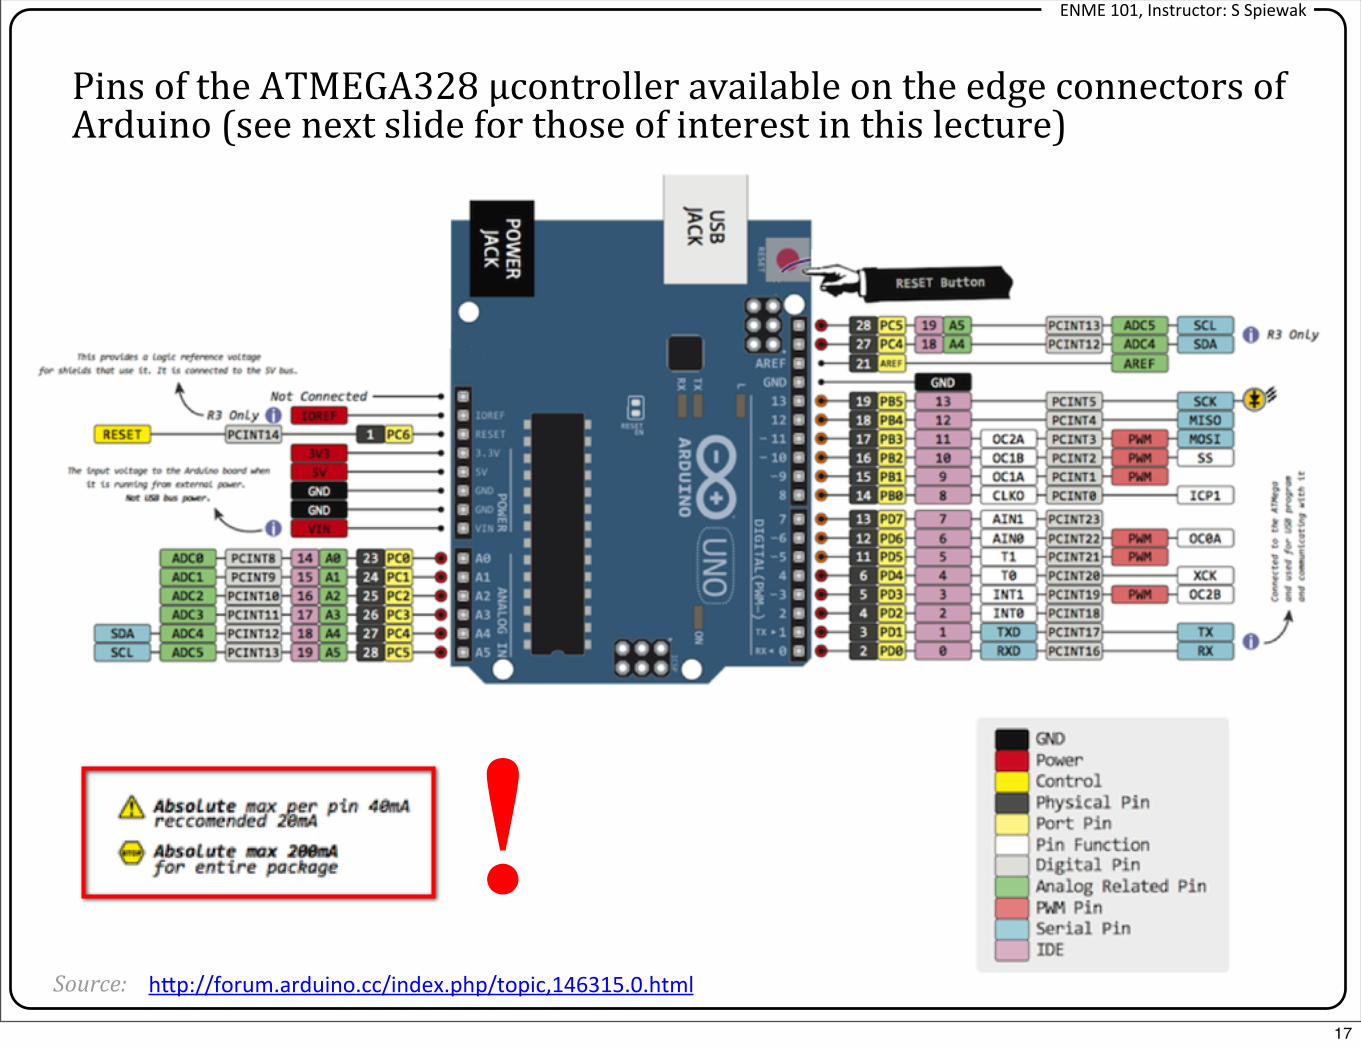
Pins of the ATMEGA328 μcontroller available on the edge connectors of Arduino (see next slide for those of interest in this lecture)
!Source: h>p://forum.arduino.cc/index.php/topic,146315.0.html
17
ENME 101, Instructor: S Spiewak
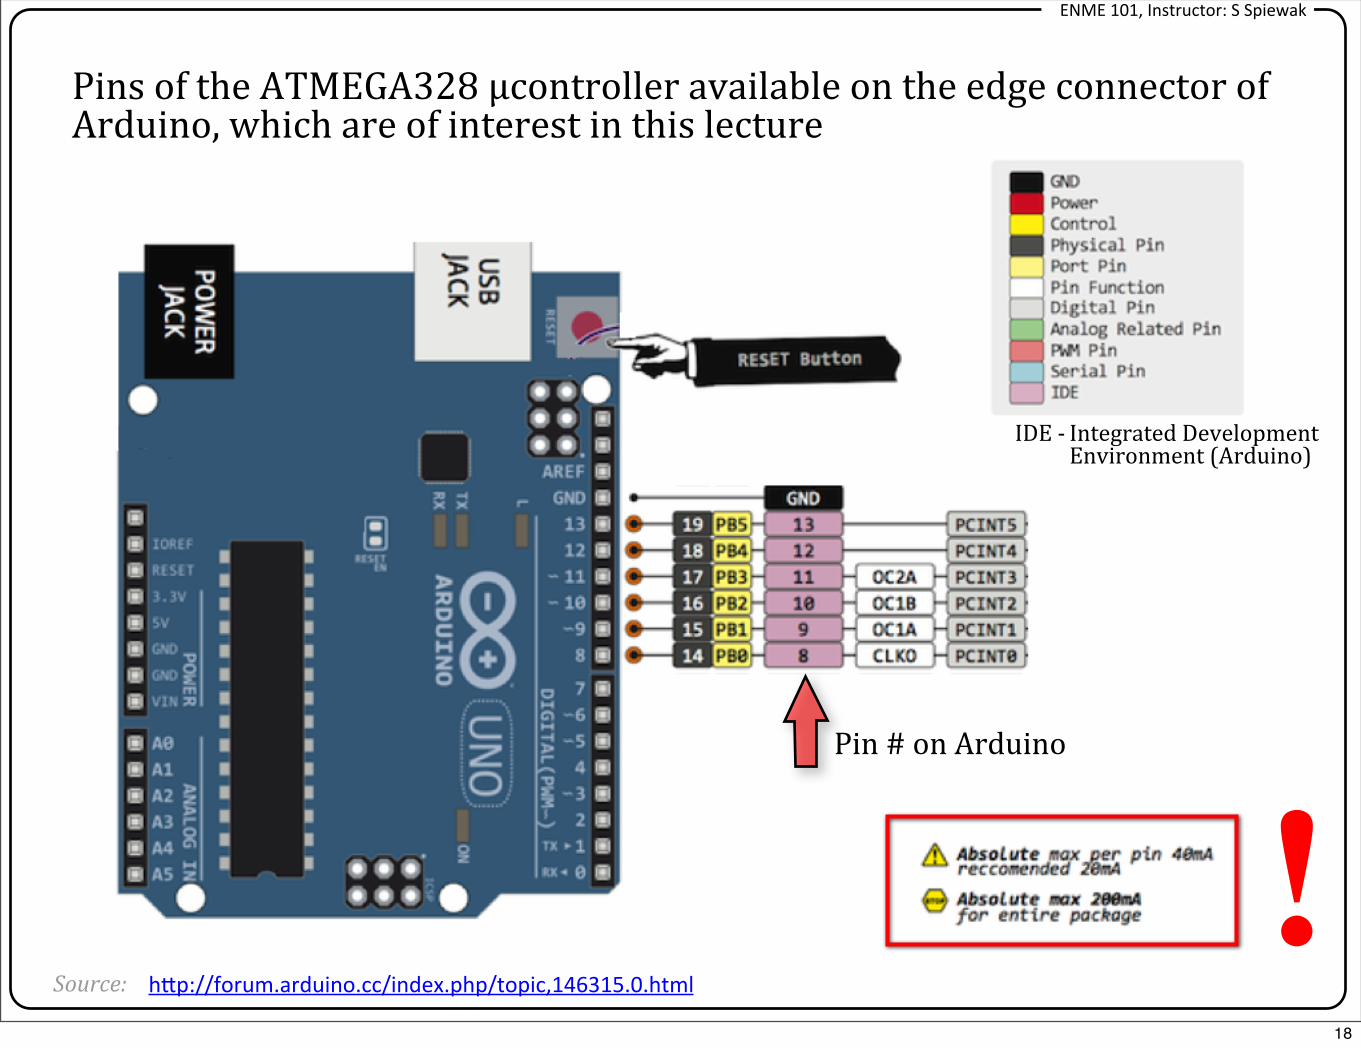
Pins of the ATMEGA328 μcontroller available on the edge connector of Arduino, which are of interest in this lecture
!Source: h>p://forum.arduino.cc/index.php/topic,146315.0.html
IDE -‐ Integrated Development Environment (Arduino)
Pin # on Arduino
18
ENME 101, Instructor: S Spiewak
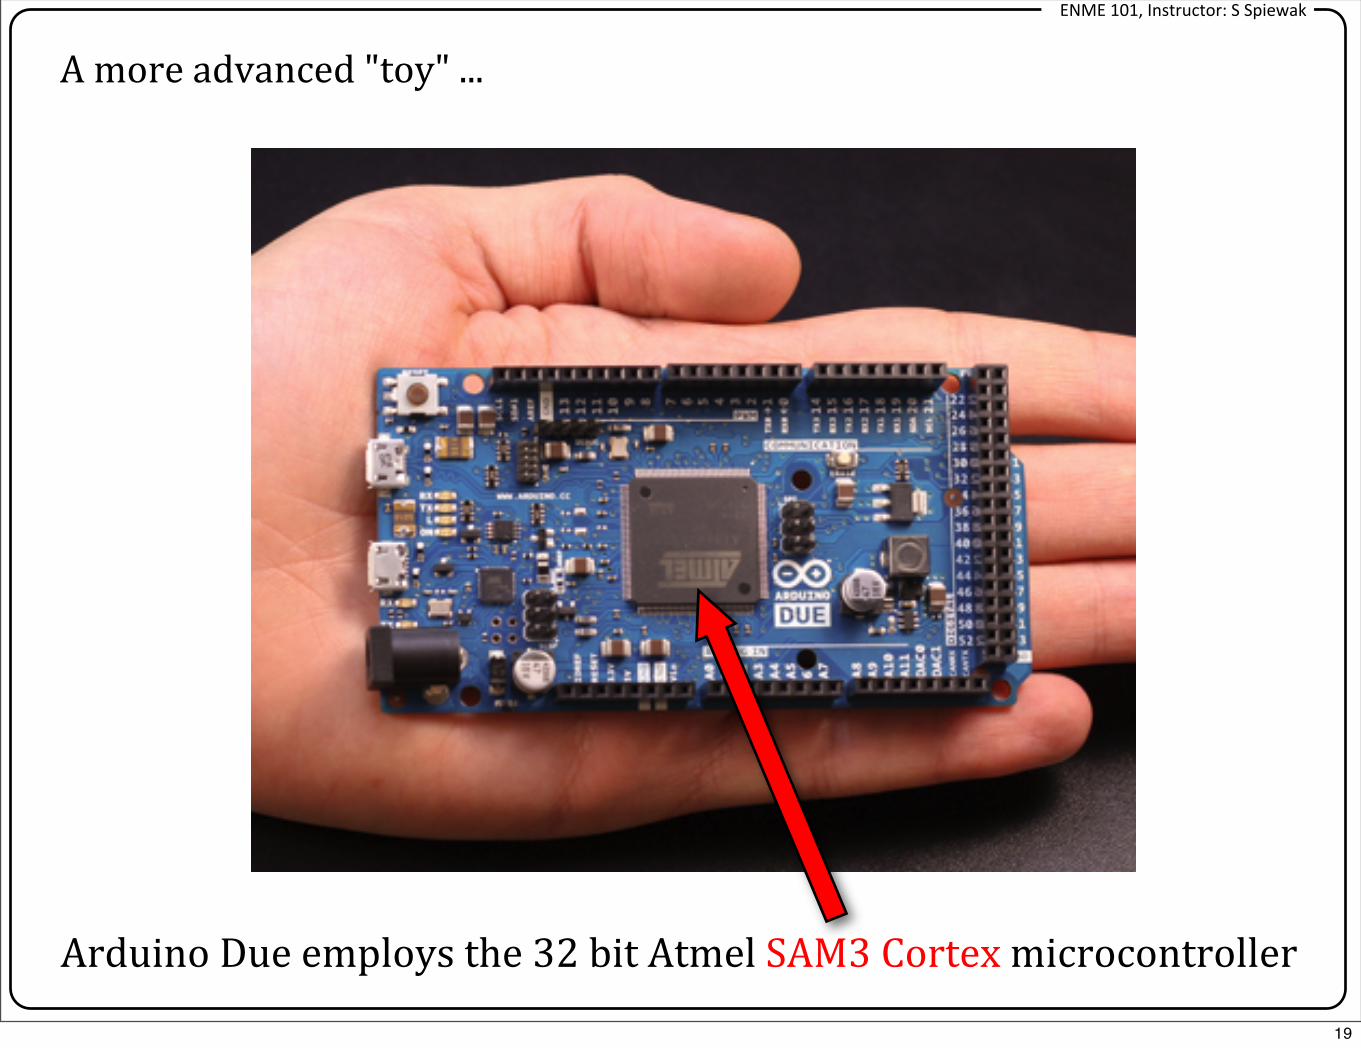
Arduino Due employs the 32 bit Atmel SAM3 Cortex microcontroller
A more advanced "toy" ...
19
ENME 101, Instructor: S Spiewak
Installing the Programming Environment of Arduino
and Writing the First Program
Part 3
20
ENME 101, Instructor: S Spiewak
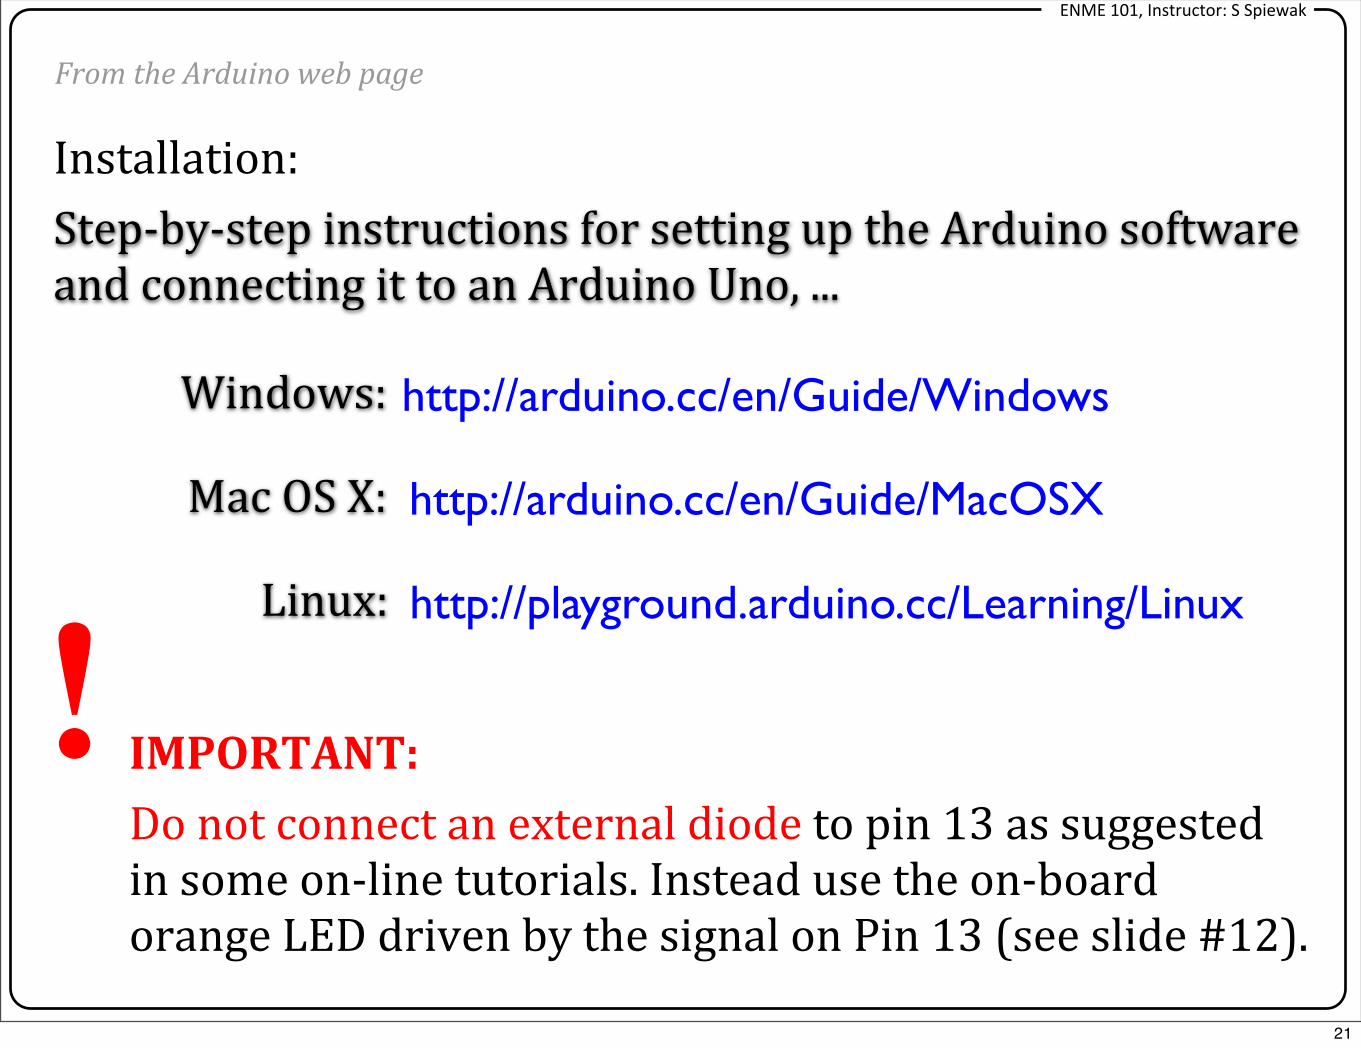
Installation: Step-‐by-‐step instructions for setting up the Arduino software and connecting it to an Arduino Uno, ...
From the Arduino web page
http://arduino.cc/en/Guide/WindowsWindows:
http://arduino.cc/en/Guide/MacOSXMac OS X:
http://playground.arduino.cc/Learning/LinuxLinux:
IMPORTANT: Do not connect an external diode to pin 13 as suggested in some on-‐line tutorials. Instead use the on-‐board orange LED driven by the signal on Pin 13 (see slide #12).
!21
ENME 101, Instructor: S Spiewak
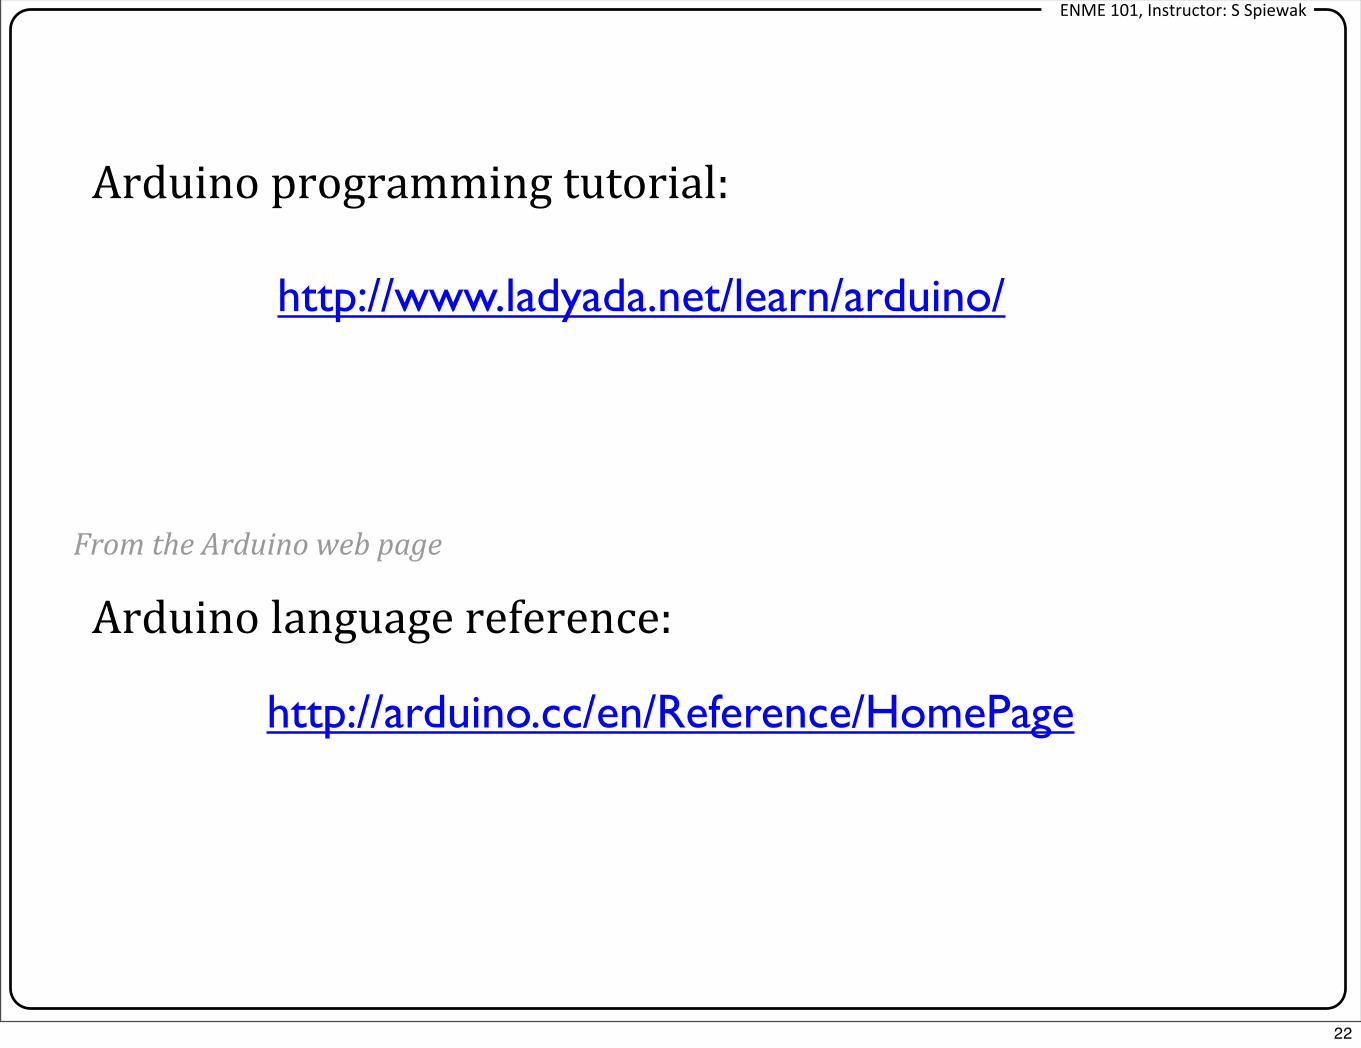
Arduino programming tutorial:
From the Arduino web page
http://arduino.cc/en/Reference/HomePage
Arduino language reference:
http://www.ladyada.net/learn/arduino/
22
ENME 101, Instructor: S Spiewak
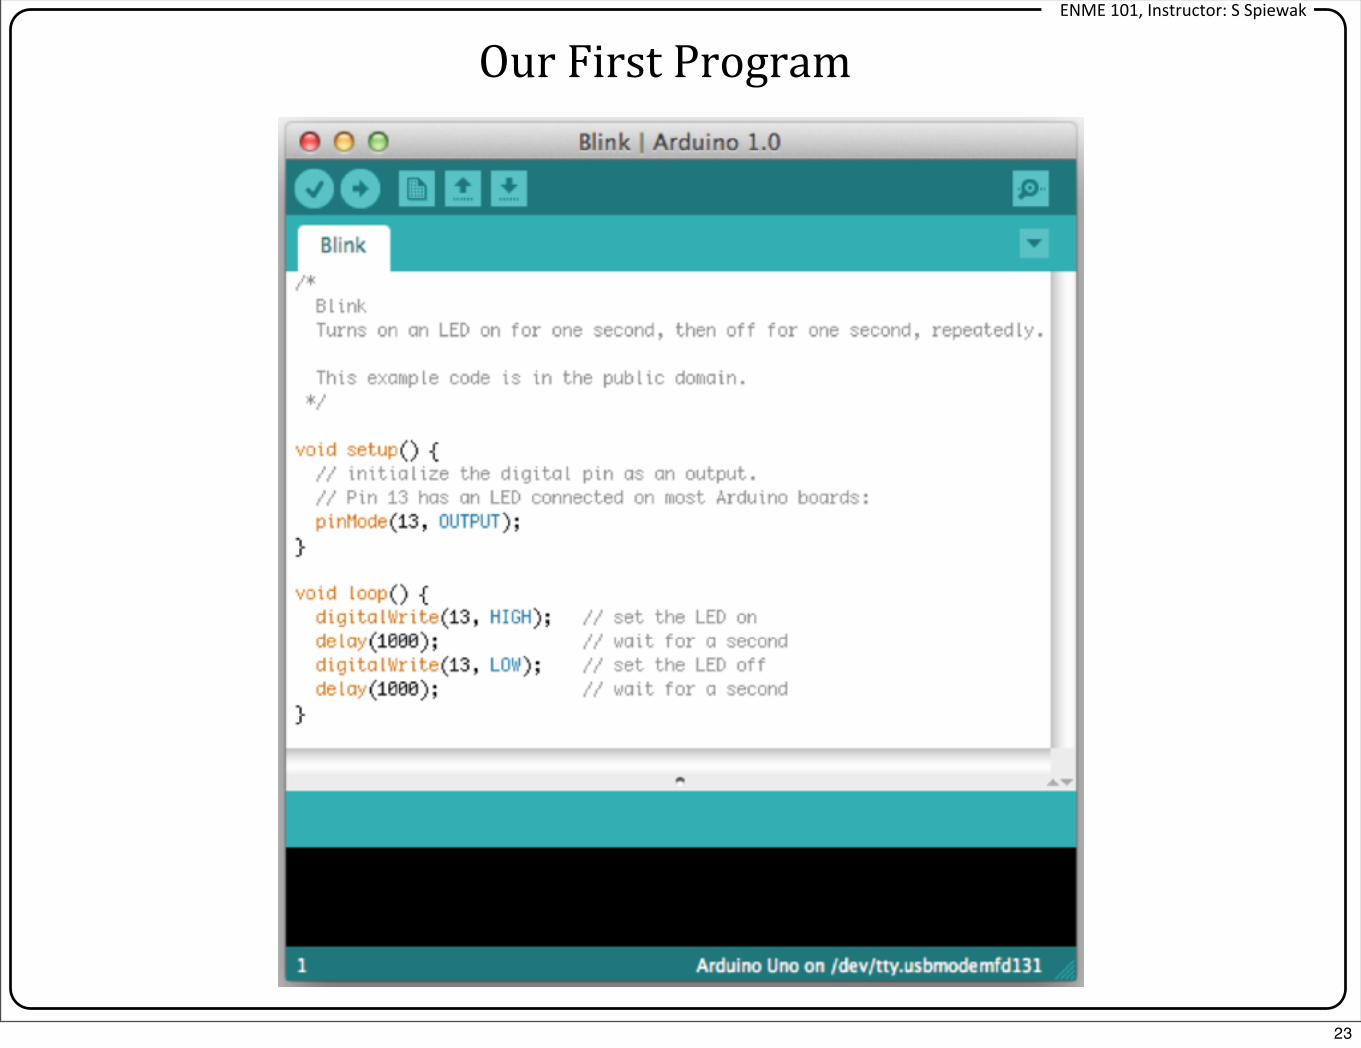
Our First Program
23

ENME 101, Instructor: S Spiewak
/* Blink -‐ Turns on an LED on for one second, then off for one second, repeatedly. -‐ This example code is in the public domain. */ // Pin 13 has an LED connected on most Arduino boards.// give it a name:int led = 13;
// the setup rouOne runs once when you press reset:void setup() { // iniOalize the digital pin as an output. pinMode(led, OUTPUT); }
// the loop rouOne runs over and over again forever:void loop() { digitalWrite(led, HIGH); // turn the LED on (HIGH is the voltage level) delay(1000); // wait for a second digitalWrite(led, LOW); // turn the LED off by making the voltage LOW delay(1000); // wait for a second}
24