1 CA201 Word Application Arranging and Printing Documents Week # 4 By Tariq Ibn Aziz Dammam...
32
1 CA201 Word Application Arranging and Printing Documents Week # 4 By Tariq Ibn Aziz Dammam Community college
-
Upload
jasper-nelson -
Category
Documents
-
view
223 -
download
0
Transcript of 1 CA201 Word Application Arranging and Printing Documents Week # 4 By Tariq Ibn Aziz Dammam...

1
CA201Word Application
Arranging and Printing Documents
Week # 4
ByTariq Ibn Aziz
Dammam Community college

Tariq Aziz, Dammam Community College
2
Objectives
• In this chapter you will learn to:– Control a document’s design with a template.– Change a document’s background.– Change a document’s theme.– Preview and print a document.– Control what appears on each page.

Tariq Aziz, Dammam Community College
3
Control a Document’s Design with a Template
• A template is a file that stores text– character and paragraph styles, – page formatting, and – macros for use as a pattern in creating other
documents.
Tariq Aziz, Dammam Community College
4
Using Template
• Click Ctrl + F1 or View Task Pane
• Select New Document
• Click On my computer
• Select the template you need to work on

Tariq Aziz, Dammam Community College
5
Applying a New Template to an Existing Document
• A quick and easy way to change the look of an existing document is to apply a new template to it.
• You can use the Find and Replace command to find particular style and replace it with one you want

Tariq Aziz, Dammam Community College
6
Changing a Document’s Background
• You can make document to be published on web look better by adding a background color or pattern.
• This type of background is displayed only in Web Layout view
• Faint background images are called watermarks.

Tariq Aziz, Dammam Community College
7
Using a Picture as a Watermark
• You can add graphic watermark in your document without distracting attention from the main text.– On the Format menu, – point to Background, – click Printed Watermark and then,– click the Select Picture button.

Tariq Aziz, Dammam Community College
8
Changing a Document’s Theme
• You can change the entire look of a document by applying one of Word’s pre-defined themes.
• A theme is a unified look that incorporates:– heading styles, – text styles formatted with font effects, – lists with specially designed bullet characters,– background colors, – fill effects, and – images.

Tariq Aziz, Dammam Community College
9
Changing a Document’s Theme
• On the Format menu, – click Theme.– Scroll the Choose a Theme list until the
Layers theme appears, and then – click Layers.

Tariq Aziz, Dammam Community College
10
Previewing and Printing a Document
• Before printing a document, you should verify (preview) it. – Print Preview shows you exactly how your text
will be printed on each page. – It saves time, money, and paper by avoiding
duplicate printing. – This is essential for multi-page documents.– This is helpful even for one-page documents.

Tariq Aziz, Dammam Community College
11
Previewing and Printing a Document
• The way a page is laid out in a printed document is called the Page Orientation– The default orientation in Word is portrait.– You can also set the orientation to
landscape.
• On the Standard toolbar, – click the Print Preview button.
Tariq Aziz, Dammam Community College
12
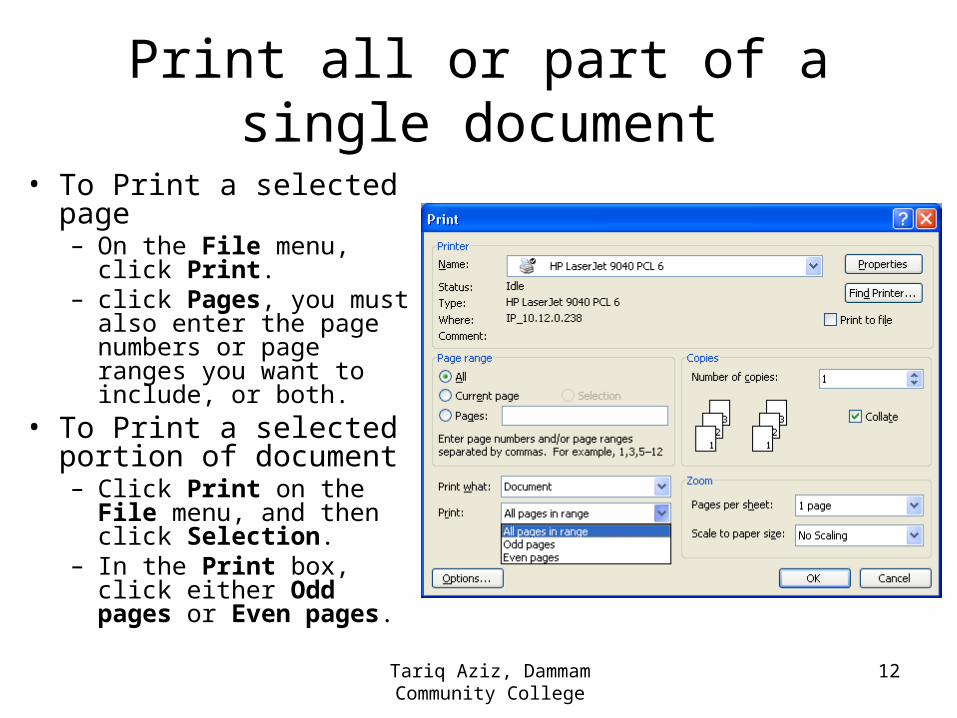
Print all or part of a single document
• To Print a selected page– On the File menu, click
Print.– click Pages, you must
also enter the page numbers or page ranges you want to include, or both.
• To Print a selected portion of document– Click Print on the File
menu, and then click Selection.
– In the Print box, click either Odd pages or Even pages.

Tariq Aziz, Dammam Community College
13
Print Noncontiguous Pages
• Type the page numbers with commas between them. Type the range of pages with a hyphen between the starting and ending numbers in the range.
• For example, to print pages 2, 4, 5, 6, and 8, type 2,4-6,

Tariq Aziz, Dammam Community College
14
Print a document in a different format
• Print a draft– When you print a document in draft quality, Microsoft
Word does not print formatting or most graphics. Some printers don't support this option.
– On the Tools menu, click Options, and then click the Print tab.
– Under Printing options, select the Draft output check box.

Tariq Aziz, Dammam Community College
15
Print in Reverse Order
• Microsoft Word can print a document in reverse order, beginning with the last page. – Don't select this option if you're printing an
envelope.– On the Tools menu, – click Options, and then click the Print tab. – Under Printing options, select the Reverse
print order check box.
Tariq Aziz, Dammam Community College
16
Print Multiple Pages on One Sheet of Paper
• To better see the layout of a multiple-page document,
• You can print multiple pages on one sheet of paper.
• On the File menu, click Print. • Under Zoom, click the option you want in the
Pages per sheet box. For example, to print a four-page document on one sheet, click 4 pages.

Tariq Aziz, Dammam Community College
17
Print Several Documents at Once
• Open the folder that contains the documents you want to print.
• Select the documents you want to print.
• Click File, and then click Print.

Tariq Aziz, Dammam Community College
18
Printing options
• An entire section– Type s section number. – For example, type s3
• Noncontiguous sections– Type the section numbers with commas
between them. – For example, type s3,s5

Tariq Aziz, Dammam Community College
19
Printing options
• A range of pages within a section– Type p page number s section number. – For example, to print pages 5 through 7 in
section 3, type p5s3-p7s3
• A range of pages across sections– Type a range of page numbers and the
sections that contain them with a hyphen between the starting and ending numbers in the range.
– For example, type p2s2-p3s5
Tariq Aziz, Dammam Community College
20
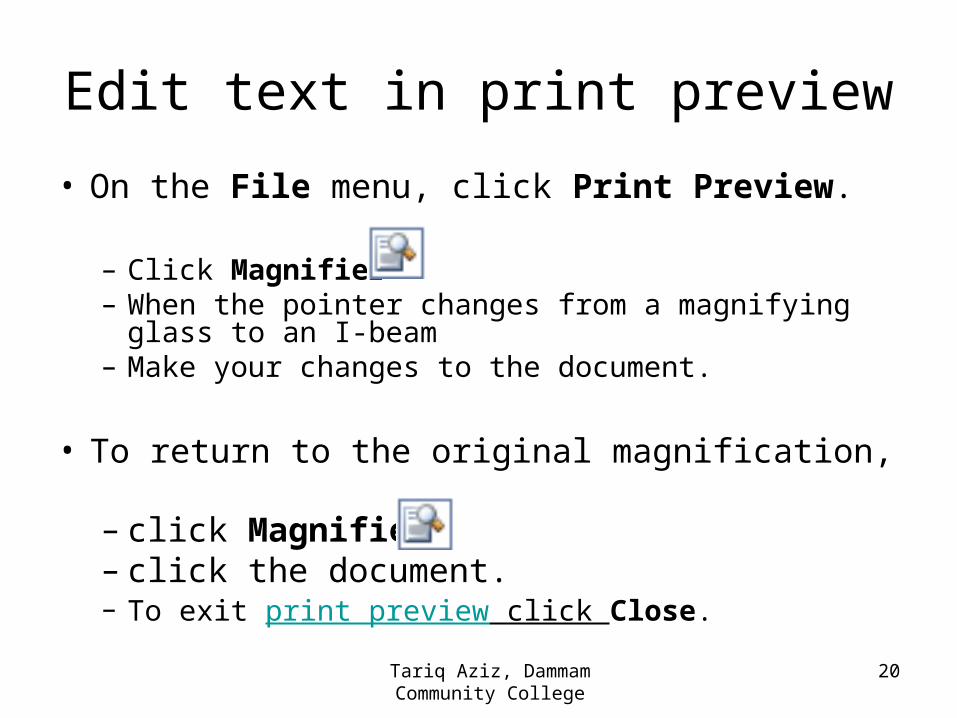
Edit text in print preview
• On the File menu, click Print Preview.
– Click Magnifier – When the pointer changes from a magnifying glass to
an I-beam– Make your changes to the document.
• To return to the original magnification,
– click Magnifier– click the document. – To exit print preview click Close.
Tariq Aziz, Dammam Community College
21
Printing Envelopes and Labels
• You can print envelopes and labels using addresses that you have entered in a document.
• To do this: – You select the text for envelope or label, – Click Tools Letters and Mailings – Click Envelopes and Labels to open the Envelopes
and Labels dialog box
Tariq Aziz, Dammam Community College
22
Controlling What Appears on Each Page
• When you create a document that contains more than one page, – Word paginates your document by inserting
soft page breaks. – A soft page break produces separate pages
in Print Layout view, – It appears as a dotted line across the page in
Normal view.

Tariq Aziz, Dammam Community College
23
Windows and Orphan
• The “Widow/Orphan control” options:– prevents printing the last line of a paragraph
on top of a new page (widow) – Prevents the first line of a paragraph by itself
at the bottom of a page (orphan).
Tariq Aziz, Dammam Community College
24
Windows and Orphan
• The “Keep lines together” option prevents a page break within a paragraph.
• The “Keep with next” option prevents a page break between the selected paragraph and the following paragraph.
• The “Page break before” option inserts a page break before the selected paragraph.

Tariq Aziz, Dammam Community College
25
Section Break
• In addition to page breaks, you can insert section breaks in your documents.
• A section break identifies a part of the document to which you can apply page settings, such as orientation or margins, that are different from those of the rest of the document.

Tariq Aziz, Dammam Community College
26
Type of Section Break
• Several types of section breaks are available:– The “Next page” option starts the following
text on the next page.– The “Continuous” option creates a section
break without affecting page breaks.– The “Even page” option forces a break to the
next even-numbered page.– The “Odd page” option forces a break to the
next odd-numbered page.

Tariq Aziz, Dammam Community College
27
Types of section break you can insert
• The following examples show the types of section breaks you can insert. (double dotted line represents a section break).
• Next page inserts a section break and starts the new section on the next page.
• Continuous inserts a section break and starts the new section on the same page.
Tariq Aziz, Dammam Community College
28
Types of section break you can insert
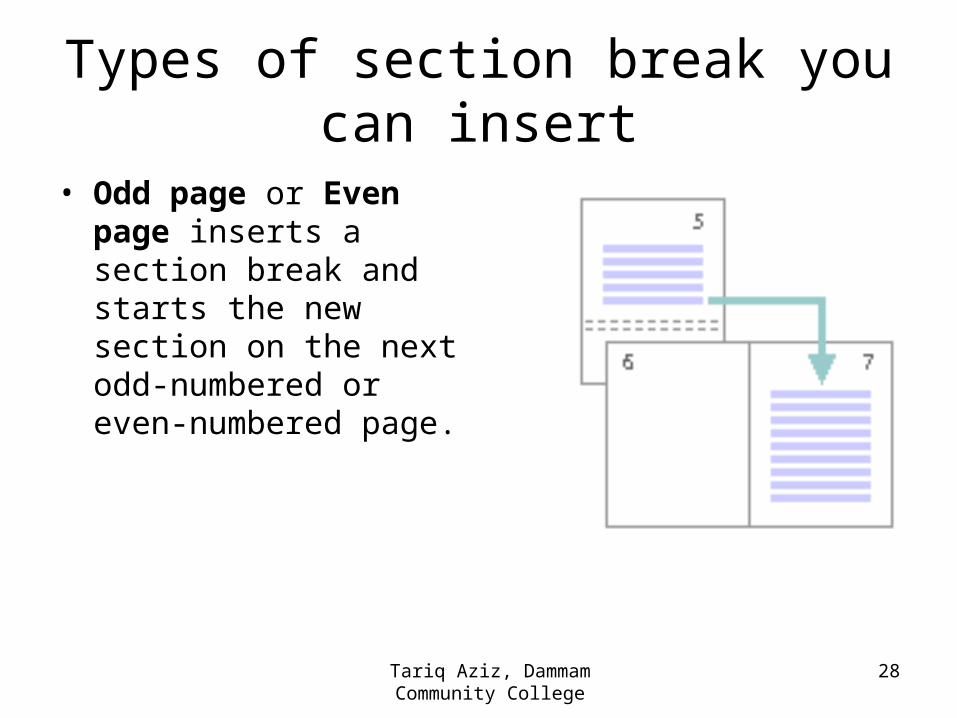
• Odd page or Even page inserts a section break and starts the new section on the next odd-numbered or even-numbered page.

Tariq Aziz, Dammam Community College
29
Types of formats you can set for section
• You can change the following section formats:– Margins– Paper size or orientation– Paper source for a printer– Page borders– Vertical alignment– Header and Footer– Columns– Page numbering– Line numbering– Footnotes and endnotes

Tariq Aziz, Dammam Community College
30
Change the type of section break
• Click in the section you want to change.
• On the File menu, click Page Setup, and then click the Layout tab.
• In the Section start box, click the option that describes where you want the current section to begin.

Tariq Aziz, Dammam Community College
31
Formatting Page Numbers
• You insert page numbers in headers or footers
• You can format them directly using buttons on the Formatting toolbar as long as the header and footer areas are active.
• On the Insert menu, click Page Numbers.
Tariq Aziz, Dammam Community College
32
Chapter Key Points• You can
– create document from templates– create your own templates– apply background color or pattern to a document– apply you can add a text or picture watermark– apply predefined theme to a document– see a document in Print Preview– apply different margins and formatting to different
sections– add information in header and footer– specify elements be kept together on a page