kidtools.netkidtools.net/uploads/Linked_Alphabet_Lessons_P-T.docx · Web viewHave them put a smiley...
54
P- COMMUNICATION- UN-MASKING MY FEELINGS (paper plate) GOAL: Students will be able to name different feelings and attitudes, and to act out those feelings so that others can guess them. MATERIALS: Paper plates (1 per student) markers, list of attitudes/feelings PROCEDURES: 1. Lightly write each of the following on the back of a paper plate- depressed, exhausted, frustrated, worried, jealous, lonely, frightened, confused, excited, disgusted, thrilled, energized, friendly, and so on. You may need to tailor the feelings to the age of the students, and you may repeat them if the class is large. 2. Instruct students to read the word on the back of the plate, then, use the marker to draw the feeling/attitude on the front of the plate while they hold the plate in front of their faces like masks. 3. After they have finished the mask, have students individually stand in front of the group and ask the group to try to guess the feeling. Then, have the student act out the feeling while keeping the mask over their faces. 4. Discuss how much easier it is to “read” the mask when the body language is added. This can lead to a
Transcript of kidtools.netkidtools.net/uploads/Linked_Alphabet_Lessons_P-T.docx · Web viewHave them put a smiley...
P- COMMUNICATION- UN-MASKING MY FEELINGS (paper plate)GOAL: Students will be able to name different feelings and attitudes, and to act out those feelings so that others can guess them.
MATERIALS:
Paper plates (1 per student) markers, list of attitudes/feelings
PROCEDURES:
1. Lightly write each of the following on the back of a paper plate- depressed, exhausted, frustrated, worried, jealous, lonely, frightened, confused, excited, disgusted, thrilled, energized, friendly, and so on. You may need to tailor the feelings to the age of the students, and you may repeat them if the class is large.
2. Instruct students to read the word on the back of the plate, then, use the marker to draw the feeling/attitude on the front of the plate while they hold the plate in front of their faces like masks.
3. After they have finished the mask, have students individually stand in front of the group and ask the group to try to guess the feeling. Then, have the student act out the feeling while keeping the mask over their faces.
4. Discuss how much easier it is to “read” the mask when the body language is added. This can lead to a discussion about how we show others how we feel: using our faces, using our bodies, using our actions, and using words.
5. Further discussion can include talking about how, when people’s actions and words do not match, or when their faces and words do not match, it is confusing to others.
6. Another approach to this activity is to have students write or draw a positive attitude or feeling on one side of the plate, then write a situation on the back that might change that attitude. For example, one side might say, Attentive, while the other side might say, “When the kid sitting near me makes a lot of noise.” This can lead to a discussion about how we are in charge of our attitudes, and how we can allow others to influence them.
P-RESPONSIBILITY-DON’T LET IT SNOWBALL (paper)
GOALS: Students will understand what responsibility is, be able to list some of their responsibilities, and explain what would happen if they did not fulfill their responsibilities
MATERIALS: Sheets of white paper pencils, snow man pictures
PROCEDURE:
1. Have the students look at the pictures of snowmen. Ask them what they think it means when someone says, “IF you don’t take care of that, it will really snowball on you.” This should lead to a discussion about responsibility (taking care of the things you are supposed to take care of) and why responsibilities are important. Then, lead the students to think about things they are responsible for on a daily basis.
2. For older students, have them write down one important daily responsibility on a sheet of white paper, wad it up, say, “I am not responsible anymore!”, and throw it snowball style into the center of the room or other designated area. For younger students, you can have them dictate it, write it down for them, then have them wad it up and throw it.
3. After all the snowballs have been thrown, open them one at a time. Read them aloud, and talk about what would happen if that responsibility was not done. For example, if I do not feed the cat, the cat could become sick. If I do not clean my room, it could get so dirty I could not find anything.
4. Finish the discussion by reminding students that when they do not carry out their responsibilities, it can “snowball” and become a much bigger problem.
P-BLOCKING OUT BULLIES (plexiglass)CONTENT AREA: Responsible Behavior
OBJECTIVE: Students will recognize some of the reasons people bully with words and gain a visual picture of how those things prevent them from interacting in a positive way with others.
MATERIALS: Sheet of plexiglass about 18 inches by 24 inches Chalk markers like those used to mark car windshields Put-Ups not Put-Downs worksheet
PROCEDURES:
1. Tell the class, “I am sure that many of you have had someone say something to you that was hurtful. We sometimes call people who call names, make fun of, and put down other people bullies. A bully is someone who says or does things to others to try to hurt them and make them feel bad. “
2. Pass out index cards (to older kids) and have them write down something someone has said to them that could be a bullying or hurtful remark. For younger students, have them call out statements (WITHOUT telling you who said it!) and write them on the board.
3. Have a student volunteer (one with lots of stamina) come forward. Hand him or her the plexiglass sheet and say, “This is your perception. This is how you see your life and the people in it. The more clear your perception is, the easier it will be for you to see what is going on around you and to choose what you wish to take part in. Can you see pretty well?”
4. Now, read each statement aloud and have a student come forward and write it on the plexiglass using the chalk marker. (Alternatively, have students read and you write, or read and write the statements yourself.) As each statement is made, have a student come forward and write it on the plexiglass using the marker.
5. Periodically ask the holder-“How are you seeing now?”6. Soon, the writers will have to mark over previous markings. When the screen is
nearly completely obscured, ask the question, “Can you see the person behind the screen?” Ask the person behind the screen, “How well can you see others?” Make the point that not only does bullying behavior prevent the bully from seeing others clearly and participating in life, they also prevent others from clearly seeing the true personality of the bully.
7. Have students complete the “Put-Ups not Put-Downs” worksheet. Discuss answers. Have them fold it up and keep it in a safe place to look at if they are ever tempted to bully.
EXTENSIONS:1. Carry this one step further by trying to clean the window. It will be difficult, and
can be likened to quit bullying behavior once it has become a habit.

PUT-UPS NOT PUT-DOWNSSITUATION PUT-DOWN PUT-UP
Sally gets off the bus and trips on the last step. Her books go flying into the street.
“What a retard! Can’t you even walk?”
“Are you okay? Here, let me help you with that!”
Juana wears the same pair of jeans and the same hoodie to school every day.
Even with the teacher’s help, Jake misses most of his spelling words on the test. When he gets his test back, he starts crying.
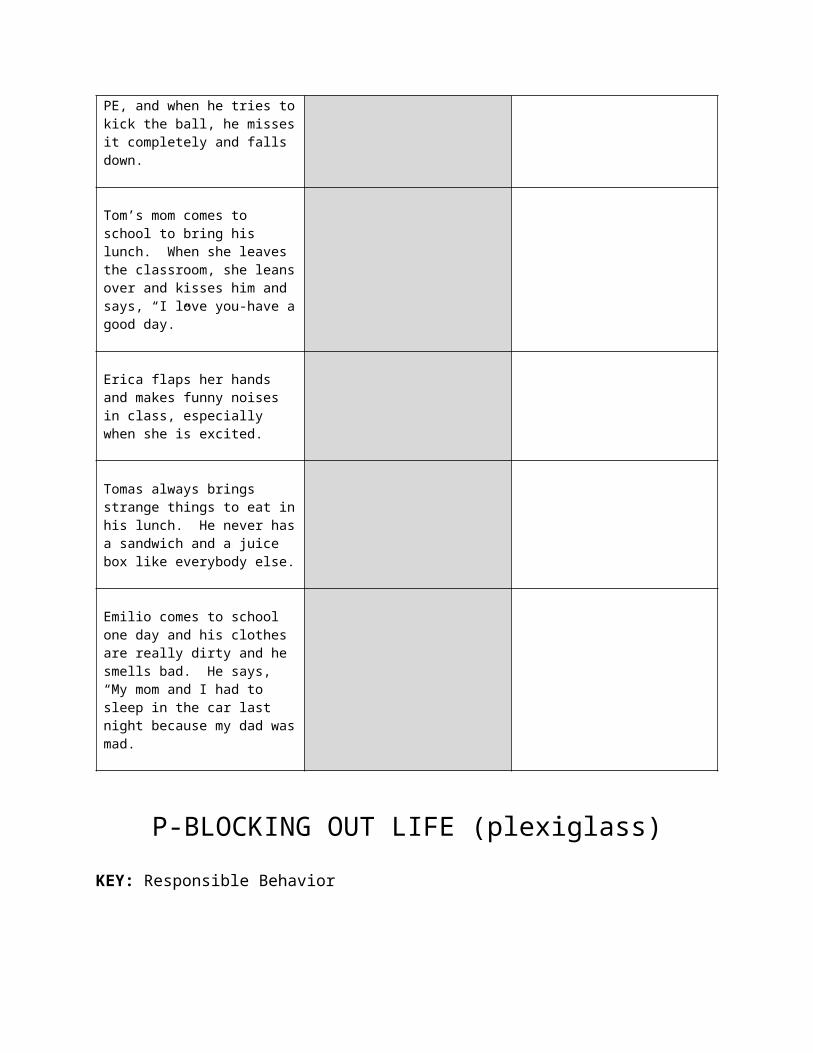
Jamail is up to kick in PE, and when he tries to kick the ball, he misses it completely and falls down.
Tom’s mom comes to school to bring his lunch. When she leaves the classroom, she leans over and kisses him and says, “I love you-have a good day.”
Erica flaps her hands and makes funny noises in class, especially when she is excited.
Tomas always brings strange things to eat in his lunch. He never has a sandwich and a juice box like everybody else.
Emilio comes to school one day and his clothes are really dirty and he smells bad. He says, “My mom and I had to sleep in the car last night because my dad was mad.

P-BLOCKING OUT LIFE (plexiglass)KEY: Responsible Behavior
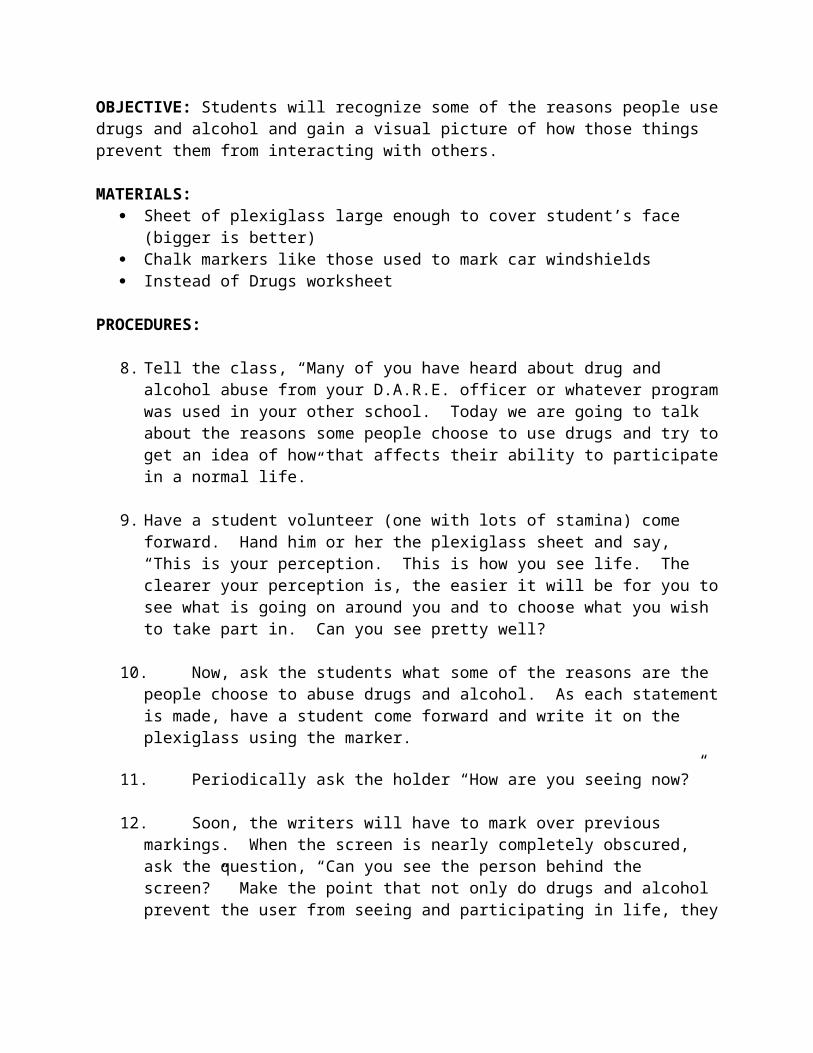
OBJECTIVE: Students will recognize some of the reasons people use drugs and alcohol and gain a visual picture of how those things prevent them from interacting with others.
MATERIALS: Sheet of plexiglass large enough to cover student’s face (bigger is better) Chalk markers like those used to mark car windshields Instead of Drugs worksheet
PROCEDURES:
8. Tell the class, “Many of you have heard about drug and alcohol abuse from your D.A.R.E. officer or whatever program was used in your other school. Today we are going to talk about the reasons some people choose to use drugs and try to get an idea of how that affects their ability to participate in a normal life.”
9. Have a student volunteer (one with lots of stamina) come forward. Hand him or her the plexiglass sheet and say, “This is your perception. This is how you see life. The clearer your perception is, the easier it will be for you to see what is going on around you and to choose what you wish to take part in. Can you see pretty well?”
10.Now, ask the students what some of the reasons are the people choose to abuse drugs and alcohol. As each statement is made, have a student come forward and write it on the plexiglass using the marker.
11.Periodically ask the holder “How are you seeing now?”
12.Soon, the writers will have to mark over previous markings. When the screen is nearly completely obscured, ask the question, “Can you see the person behind the screen?” Make the point that not only do drugs and alcohol prevent the user from seeing and participating in life, they also prevent others from clearly seeing the true personality of the user.
13.Have students complete the “Instead of Drugs” worksheet. Ask that they fold it up and keep it someplace so that they can refer to it if they are ever tempted to experiment with alcohol and drugs.
EXTENSIONS:2. Carry this one step further by trying to clean the window. It will be difficult, and
can be likened to trying to quit using drugs and alcohol.
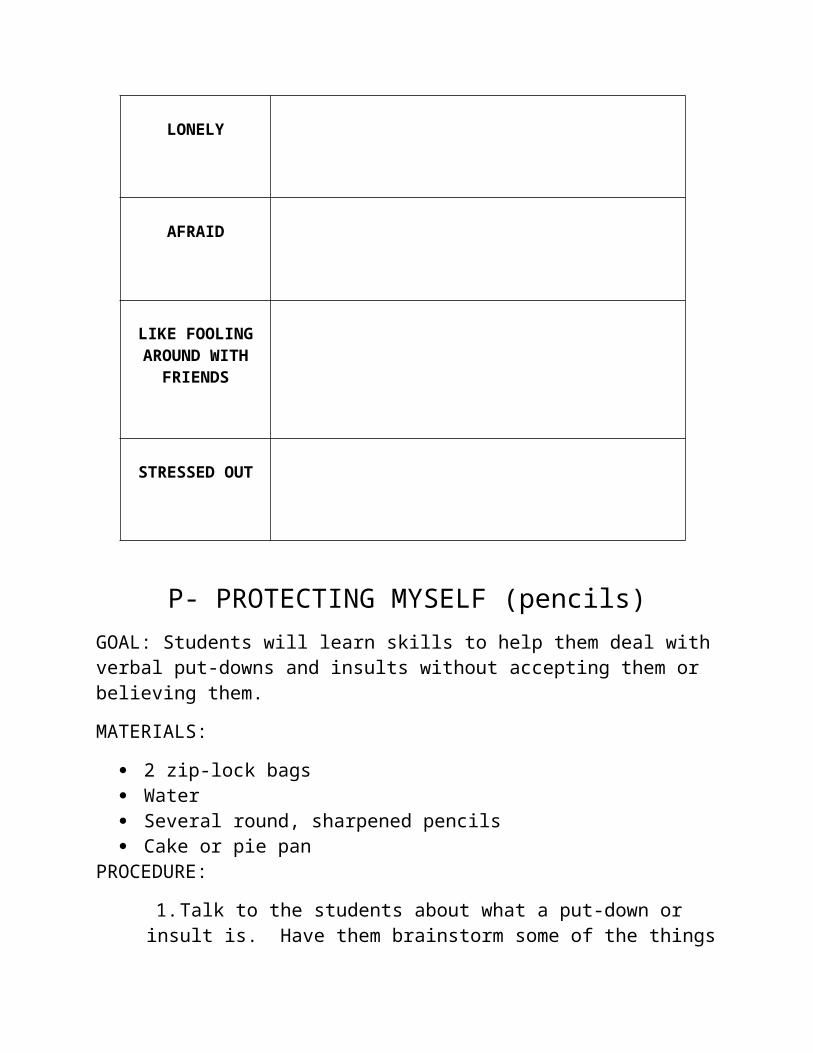
INSTEAD OF DRUGS OR ALCOHOL
WHEN I FEEL: I WILL:
SAD
LEFT OUT
LIKE HAVING A GOOD TIME
LONELY
AFRAID
LIKE FOOLING AROUND WITH
FRIENDS
STRESSED OUT
P- PROTECTING MYSELF (pencils)GOAL: Students will learn skills to help them deal with verbal put-downs and insults without accepting them or believing them.
MATERIALS:
2 zip-lock bags Water Several round, sharpened pencils Cake or pie pan
PROCEDURE:
1. Talk to the students about what a put-down or insult is. Have them brainstorm some of the things they have heard people say that make
others feel bad. Remind them that they are not to use any names or tell where they have heard these things. Talk about how you feel when you
hear these things and how it hurts if you believe them.
2. Hold up the plastic bag-say, “This bag represents you. Inside are all of your feelings. “Fill the bag with water and seal it. Then, say, “All of us hear
things that hurt our feelings. These things can let all of our good feelings out if we let them “ Stab the bag several times with the pencil and let the
water run out into the bowl. “Soon, there are no good feelings left inside.”
3. Then, fill another bag with water. Say, “When we hear things that are designed to hurt our feelings, we can let them ‘pass through” by thinking to
ourselves, ‘That is not true. I will not believe that.’” Stab the pencils completely through the bag, allowing them to extend through the bag.
4. Talk to the students about this skill. Then, go back to the list of put-downs they have put on the board and have them generate a “pass through” for
each of them. For example, “Your mother needs plastic surgery…..I love my mom and she is beautiful” or “You’re stupid…….I do fine in school.”

P- COOPERATION AND TEAMWORK-(pencils)GOAL: Students will be able to define teamwork and will perform a simple team work activityMATERIALS: (per 2 students)
6 canning rings or plastic bracelets 1 unsharpened pencil Masking tape to mark lines
PROCEDURE:
1. Explain, “Today, we are going to do an activity that involves teamwork. In order to do that, we have to divide into teams.”
2. Mark 2 masking tape lines about 6-8 feet apart) depending upon the age fo the students
3. Have the class number off (1-2-1-2..) 4. Have all 1’s line up on one line, 2’s on the other, facing each other5. Give each of the 1’s an unsharpened pencil, and each of the 2’s 6 rings.6. Tell the students, “Today, your goal is to get all 6 rings over the pencil in the shortest
period of time. If your ring fails to land over the pencil, you will pick it up and try again. The first team to get all 6 rings on the pencil will be the winner.”
7. Explain the rules: “The person with the pencil must keep both toes on the line, and hold the pencil in front of them with the eraser touching their stomach (demonstrate). That person is not allowed to move the pencil. The “tosser” must keep both toes on the line, and toss the ring with a two-handed toss (demonstrate) so that it lands on the ring. If anyone steps over the line, that toss is invalid. The “tosser” must pick up the ring and return to the line to try again.”
8. Have the team attempt the toss for a few minutes. Then, explain, “That’s how it works without teamwork. Now, let’s try it with teamwork. “This time, have the pencil holders actively move their pencils, still keeping their toes on the line.
9. Discuss the differences that teamwork made, and have the class brainstorm situations in which teamwork improves the outcome of a situation or endeavor.
P-DEMONSTRATING FAIRNESS (pencils)
GOAL: Students will explore and discuss issues related to fairness, and brainstorm how one can show fairness to others.
MATERIALS:
New sharpened pencils Old, unsharpened pencils 2 paper circles for each student Art materials
PROCEDURE:
1. Before students enter the room, divide them into two groups by the month they were born or by last names. Then, without explaining anything, direct them to sit in two different spaces in the room.
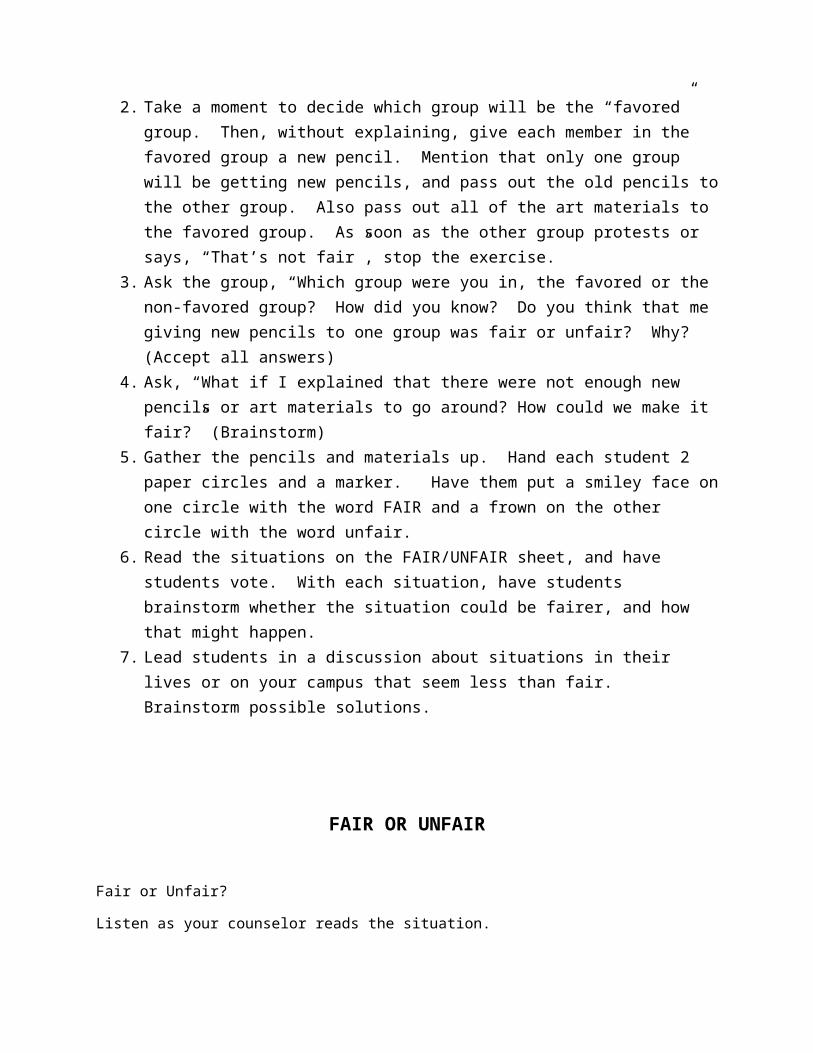
2. Take a moment to decide which group will be the “favored” group. Then, without explaining, give each member in the favored group a new pencil. Mention that only one group will be getting new pencils, and pass out the old pencils to the other group. Also pass out all of the art materials to the favored group. As soon as the other group protests or says, “That’s not fair”, stop the exercise.
3. Ask the group, “Which group were you in, the favored or the non-favored group? How did you know? Do you think that me giving new pencils to one group was fair or unfair? Why? (Accept all answers)
4. Ask, “What if I explained that there were not enough new pencils or art materials to go around? How could we make it fair?” (Brainstorm)
5. Gather the pencils and materials up. Hand each student 2 paper circles and a marker. Have them put a smiley face on one circle with the word FAIR and a frown on the other circle with the word unfair.
6. Read the situations on the FAIR/UNFAIR sheet, and have students vote. With each situation, have students brainstorm whether the situation could be fairer, and how that might happen.
7. Lead students in a discussion about situations in their lives or on your campus that seem less than fair. Brainstorm possible solutions.

FAIR OR UNFAIR
Fair or Unfair?
Listen as your counselor reads the situation.
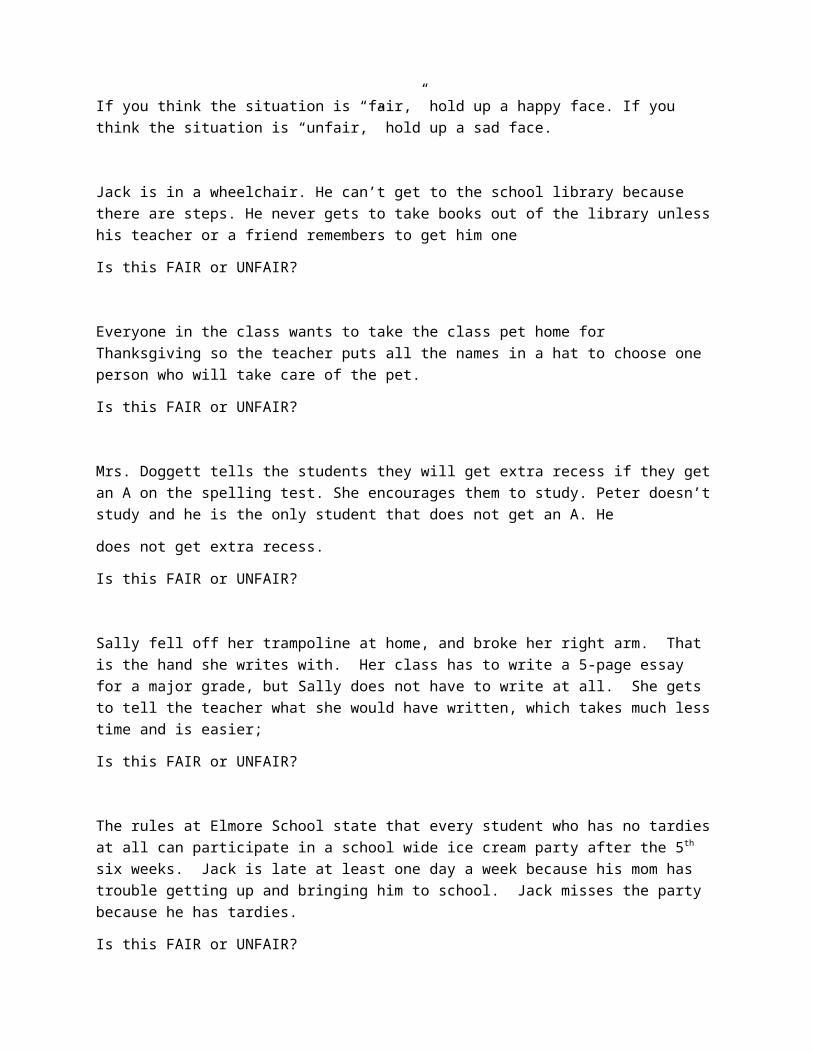
If you think the situation is “fair,” hold up a happy face. If you think the situation is “unfair,” hold up a sad face.
Jack is in a wheelchair. He can’t get to the school library because there are steps. He never gets to take books out of the library unless his teacher or a friend remembers to get him one
Is this FAIR or UNFAIR?
Everyone in the class wants to take the class pet home for Thanksgiving so the teacher puts all the names in a hat to choose one person who will take care of the pet.
Is this FAIR or UNFAIR?
Mrs. Doggett tells the students they will get extra recess if they get an A on the spelling test. She encourages them to study. Peter doesn’t study and he is the only student that does not get an A. He
does not get extra recess.
Is this FAIR or UNFAIR?
Sally fell off her trampoline at home, and broke her right arm. That is the hand she writes with. Her class has to write a 5-page essay for a major grade, but Sally does not have to write at all. She gets to tell the teacher what she would have written, which takes much less time and is easier;
Is this FAIR or UNFAIR?
The rules at Elmore School state that every student who has no tardies at all can participate in a school wide ice cream party after the 5th six weeks. Jack is late at least one day a week because his mom has trouble getting up and bringing him to school. Jack misses the party because he has tardies.
Is this FAIR or UNFAIR?

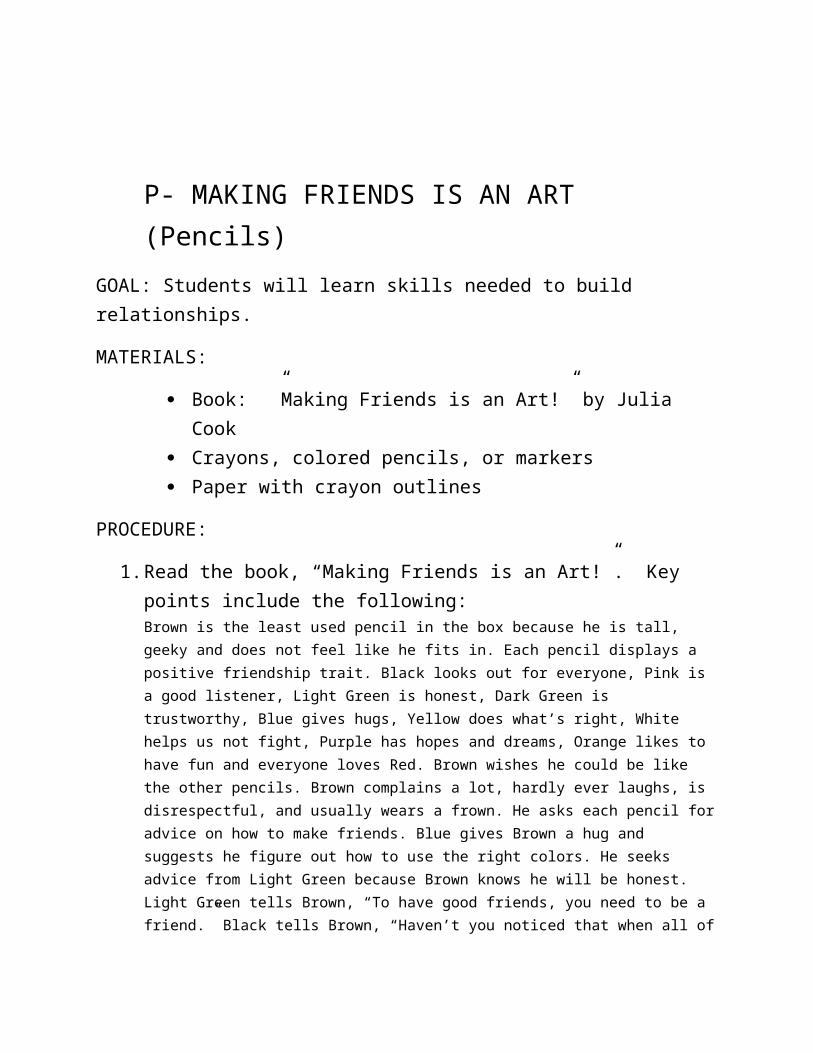
P- MAKING FRIENDS IS AN ART (Pencils)
GOAL: Students will learn skills needed to build relationships.
MATERIALS:
Book: ”Making Friends is an Art!” by Julia Cook Crayons, colored pencils, or markers Paper with crayon outlines
PROCEDURE:
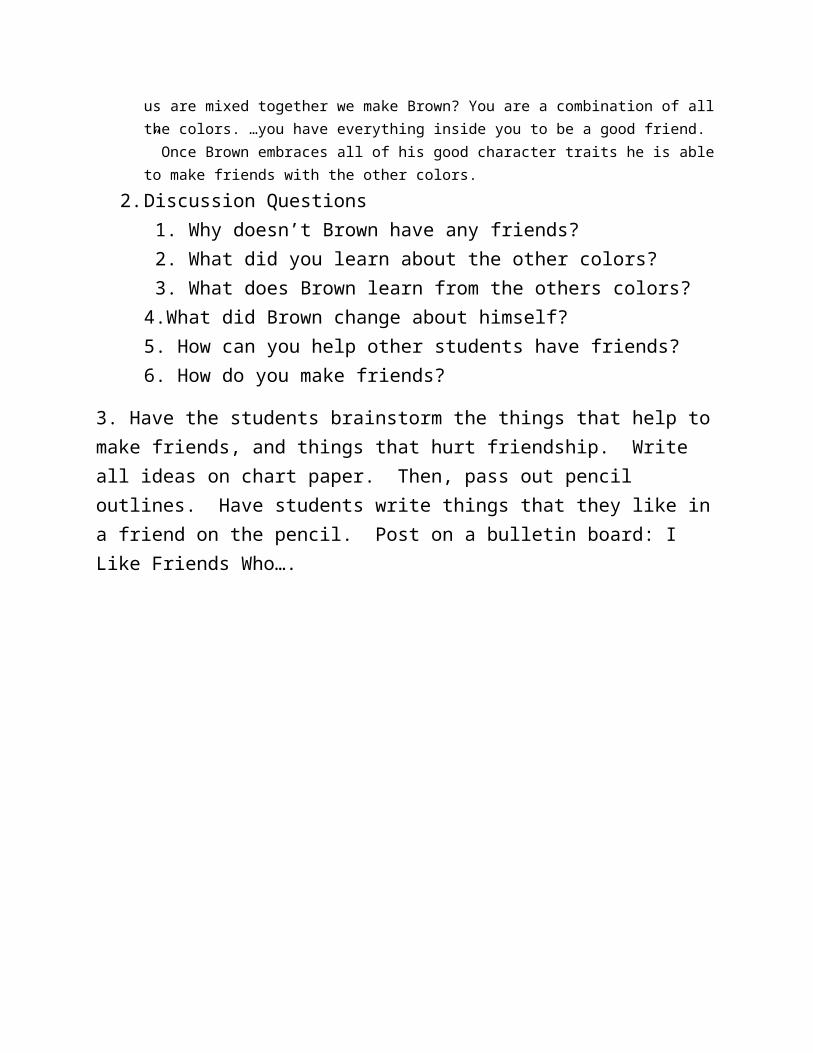
1. Read the book, “Making Friends is an Art!”. Key points include the following:Brown is the least used pencil in the box because he is tall, geeky and does not feel like he fits in. Each pencil displays a positive friendship trait. Black looks out for everyone, Pink is a good listener, Light Green is honest, Dark Green is trustworthy, Blue gives hugs, Yellow does what’s right, White helps us not fight, Purple has hopes and dreams, Orange likes to have fun and everyone loves Red. Brown wishes he could be like the other pencils. Brown complains a lot, hardly ever laughs, is disrespectful, and usually wears a frown. He asks each pencil for advice on how to make friends. Blue gives Brown a hug and suggests he figure out how to use the right colors. He seeks advice from Light Green because Brown knows he will be honest. Light Green tells Brown, “To have good friends, you need to be a friend.” Black tells Brown, “Haven’t you noticed that when all of us are mixed together we make Brown? You are a combination of all the colors. …you have everything inside you to be a good friend. ” Once Brown embraces all of his good character traits he is able to make friends with the other colors.
2. Discussion Questions 1. Why doesn’t Brown have any friends? 2. What did you learn about the other colors? 3. What does Brown learn from the others colors? 4.What did Brown change about himself? 5. How can you help other students have friends? 6. How do you make friends?
3. Have the students brainstorm the things that help to make friends, and things that hurt friendship. Write all ideas on chart paper. Then, pass out pencil outlines. Have students write things that they like in a friend on the pencil. Post on a bulletin board: I Like Friends Who….

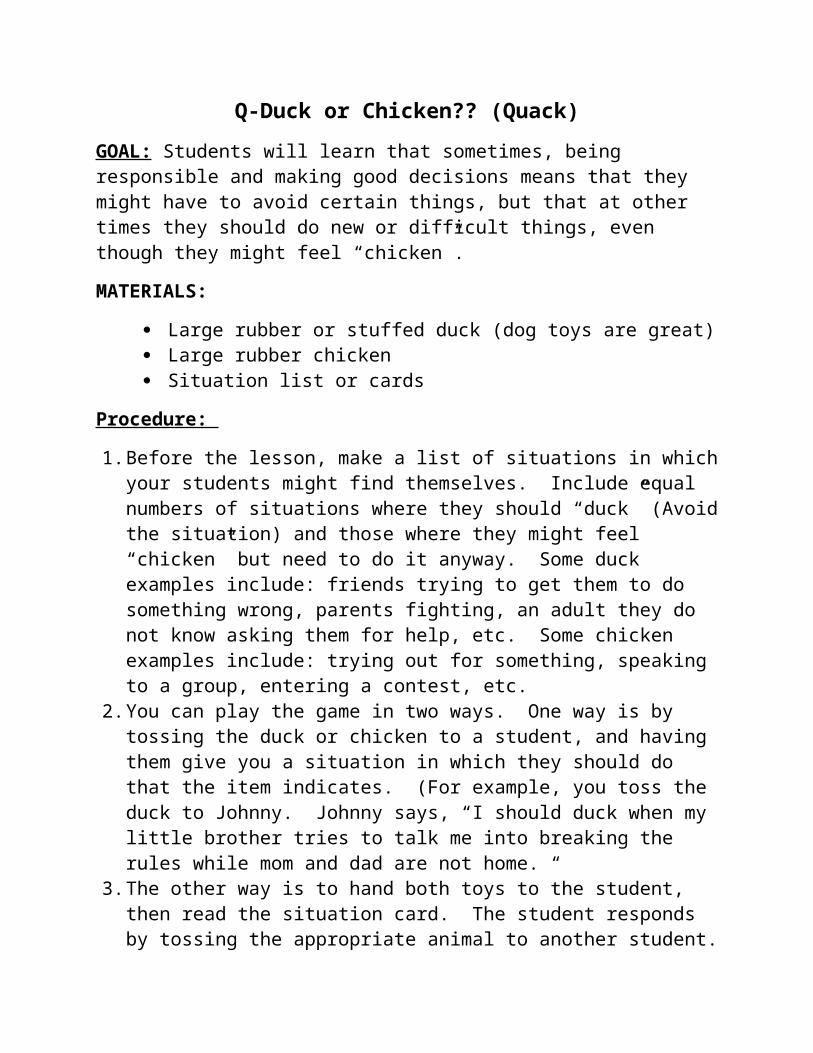
Q-Duck or Chicken?? (Quack)
GOAL: Students will learn that sometimes, being responsible and making good decisions means that they might have to avoid certain things, but that at other times they should do new or difficult things, even though they might feel “chicken”.
MATERIALS:
Large rubber or stuffed duck (dog toys are great) Large rubber chicken Situation list or cards
Procedure:
1. Before the lesson, make a list of situations in which your students might find themselves. Include equal numbers of situations where they should “duck” (Avoid the situation) and those where they might feel “chicken” but need to do it anyway. Some duck examples include: friends trying to get them to do something wrong, parents fighting, an adult they do not know asking them for help, etc. Some chicken examples include: trying out for something, speaking to a group, entering a contest, etc.
2. You can play the game in two ways. One way is by tossing the duck or chicken to a student, and having them give you a situation in which they should do that the item indicates. (For example, you toss the duck to Johnny. Johnny says, “I should duck when my little brother tries to talk me into breaking the rules while mom and dad are not home. “
3. The other way is to hand both toys to the student, then read the situation card. The student responds by tossing the appropriate animal to another student. You then retrieve the other animal, hand it to the chosen student, and start over.
4. The activity lends itself well to making a bulletin board with a duck and a chicken and listing the situations the kids have brainstormed in the appropriate column.
5. To conclude this lesson, provide students with some “refusal” skills for when they are trying to “duck out”, and some relaxation skills for when they are trying not to “chicken out”.
Q-Water off a Duck’s Back (quack)
Objective: Students will learn that sometimes, using self-control and self-talk to ignore or deflect hurtful comments will help them avoid conflict and feel better about themselves.
Materials:
Rubber Duck, washcloth water in a basin a measuring cup or pitcher to pour the water on the duck and to wring the
washcloth out teardrop shaped pieces of blue construction paper large enough to write on,
Procedure:
1. Open with a discussion with the students about things people say that could make someone feel bad. Explain that people used to say, “Don’t let them rain on your parade”, meaning, “Don’t let them discourage you or get you down.” There is another saying, “Just let it roll off like water off a duck’s back.” Tell them, “Today, we are going to learn a little about these two saying and how one of you can help you.
2. Have the students give you examples of things that people could say that would be hurtful. Write down the examples on the paper raindrops. Post these and talk to the students about how bad it feels when someone “rains on their parade”.
3. Then, do a demonstration with the washcloth and the duck. You can even demonstrate how much water the washcloth soaks up. Once it soaks up the water it cannot do its job, and it is just limp and drippy. The duck, on the other hand, is still able to float because the water did not stick.
4. Finish with a discussion of some of the things they can say and do to be ducks rather than washcloths.
Follow up: You can continue to use this metaphor when the kids are struggling-“Are you being a duck, or a washcloth??”
Q- Point of View: Duck! Rabbit! (quack)GOAL: Students will understand that different people have different perspectives or points of view, and that people can agree to disagree and to accept different opinions as just being different, not wrong
MATERIALS:
Duck! Rabbit! Book by Amy Krouse Rosenthal and Tom Lichtenheld Duck or Rabbit Worksheet Pencils/crayons
PROCECURE:
1. Show the students the cover of the book. Ask, “Is this a duck or a rabbit? “ You can tabulate votes for these predictions, if you wish.
2. Begin to read the book. Halfway through, ask the students to predict, “Is this a duck or a rabbit?” This time, ask them to explain their prediction.
3. Finish reading the story, then ask students if they can say for sure whether the drawing is a duck or a rabbit. Explain the concept of perception, or point of view. An easy definition of perception is: the way you think about or understand someone or something.
4. Provide some examples of how we might perceive things in different ways. For example, if a student sees two others looking over at him and laughing, what might he think? Is that necessarily correct? What else might be happening? (during this time, use common examples from your experience and your student population, such as: the student who passes you in the hall and does not speak, the friend who sits with someone else at lunch, the person who bumps you in the hall).
5. Finally, have the students color the template to turn it into a duck or a rabbit.
6. Allow students to show pictures, and ask the group, “Are any of these wrong?” Explain that although students disagree about whether it is a duck or a rabbit, no one is wrong and everyone can “agree to disagree”.

Q-WATER YOU COVERING UP-TRUTHFULNESS (quarter)
GOAL: To demonstrate the negative ripple effect lies can have.
MATERIALS:
Quarter Roll of pennies Bucket or bowl of water
PROCEDURE:
1. Fill a bucket or a metal bowl with water, and place it on a table where students can see down into the bucket. (for smaller kids, you may need to put the bucket on the floor)
2. Tell the students that the quarter represents a lie. Ask students for examples of a lie that students their age might tell. Then, drop the quarter into the water from a height, so that the water splashes.
3. Ask the students to tell about what they observed. (the water splashed, it got on people, it made a mess, the quarter is heavy, it made ripples, it is harder to see clearly, etc.) Equate some of these to lies (lies affect those around them, lies are less clear than the truth, when you tell a lie it is heavy (weight on you), the effects of a lie spread like ripples)
4. Tell the students that the pennies represent other, sometimes smaller lies that people will tell to try to cover up a lie. Have the students drop the pennies from above the water to try to cover up the quarter. Stress how difficult it is to completely cover up a lie. You might ask students to predict how many pennies (lies) will be needed to cover up the original lie (quarter)
5. IF you wish, you can make a T chart comparing the advantages and disadvantages of lying to cover up a lie. You can have older students write about honesty and trustworthiness and their relationship to one another. For very young students, a simple discussion of the problems of lying can emphasize the point.
Q-KEEPING IT TOGETHER-SELF-CONTROL (quicksand)
GOAL: Students will learn that skills are needed for them to manage their emotions and “keep it together”
MATERIALS:
Fine white sand or play sand Cornstarch Water Dish soap Food Coloring (optional) Small molds, such as those used in sand boxes, for each pair of students Paper plates or foil pans for each pair of students
PROCEDURE:
1. Explain to the students, “Today, I want you to make something with sand. I will give you a mold and some sand, and you can make that shape.” Pass out dry sand and molds, and allow some time for them to mold their sand. They will fail.
2. Discuss what went wrong. “It looks like something was missing. That dry sand needs something else if it is going to stick together and keep its shape. That is kind of like us. If we are going to keep it together and not let our feelings get too big to handle, we need some skills to help keep our feelings small enough to handle and help us keep it together.”
3. Write emotions on the board-angry, sad, scared, happy. Talk to students about how these emotions are all okay, but when they get “too big”, we can sometimes act in ways that cause us problems. Brainstorm with students what might happen if feelings of anger, sadness, or fear get too big. Examples- anger-hit or kick, fear-run away or hide, sadness-hide, run away, withdraw
4. Next, brainstorm how to manage these emotions. Work with students to develop some coping skills for each emotion (ex-anger-deep breathing, counting, sadness-talk to a trusted adult, remember happy times, fear-talk to an adult, ask questions). As you talk, add cornstarch to the sand, then ass the water detergent mixture until it is damp.
5. Pass the sand out again, and have students mold the sand. This time, the molds will stand. 6. Explain, “When you have skills to help your emotions from getting too big, you can control them
and “keep it together”.
Recipe: 3 cups of sand, 2 TBS Corn starch (mix well). Then, mix one cup of water and one tsp Dawn dish soap (add food coloring if desired) Add water mixture slowly to sand mixture to desired consistency (damp enough to cling without being soupy)

R-Ready, Aim, Fire!!!- Goals and Teamwork (rubber band)GOAL: Students will work in teams to accomplish a goal. They will be able to explain why each team member was important, what each team member contributed to the effort, and why the team would have been unable to accomplish the goal alone.
MATERIALS:
Oversized rubber band or fitness band small plush toy fishing net (bath towel, trash bucket) for each team
PROCEDURE:
1.Mask 2 lines on the floor, about ten feet apart
2. Divide the class into 2-4 even sized teams, with at least 5 team members each. Give each team a rubber band and a toy.
3. Have 2 members of each team line up on the opposite side holding the fishing net (or towel or trash bucket)
4.Have 2 team members hold the rubber band while a third team member launches the toy towards the net. Each team will continue until they have gotten the toy in the net 5 times.
5.Discuss what the teams discovered as they attempted to accomplish the goal:a. How did each team member contribute?b. What did each team member do?c. What would have happened if one member did not do his or her job?
a. What if one of the holders let go of the band?b. What if the “netters” dropped the net? What if the “puller” did
not pull the band back far enough? Too far?2. How did team members contribute to the success of the team?
Could this have been accomplished without a team? Why or why not?

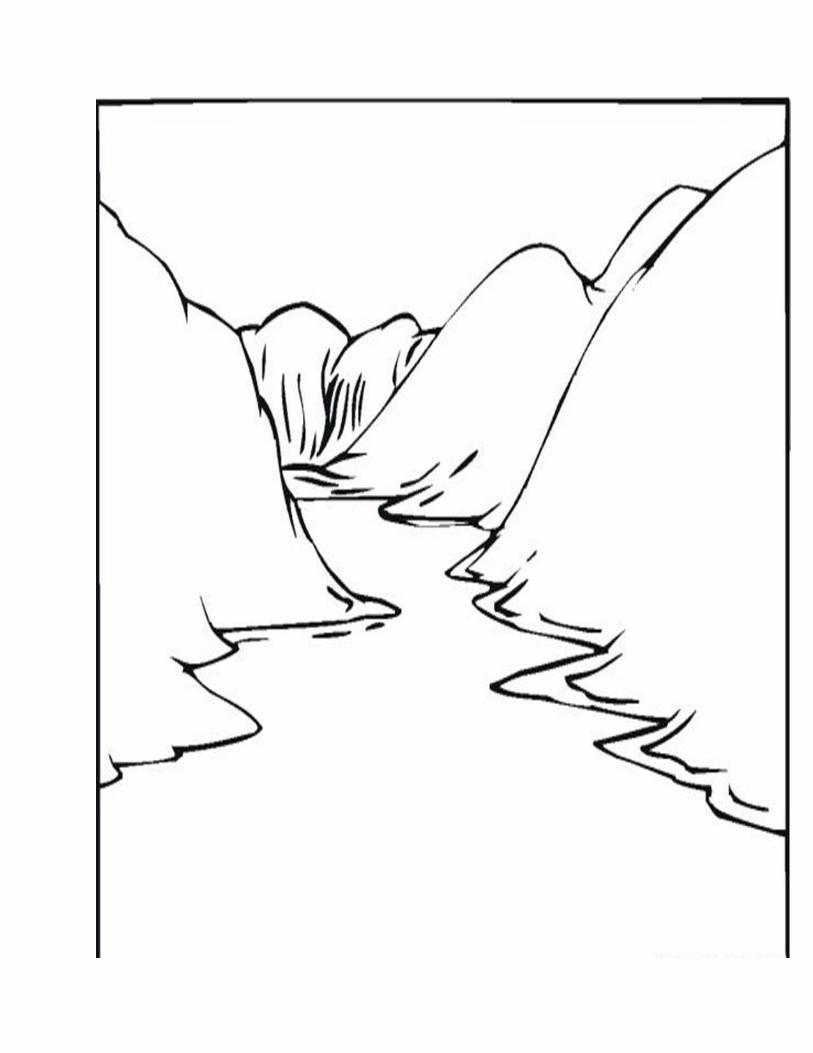
R-THE ROCKS IN YOUR RIVER (rocks, river)GOAL: Students will learn to identify patterns in their lives, obstacles, and difficulties, and discuss ways to manage these obstacles. This lesson provides a jumping off place for future sessions to address individual difficulties.
MATERIALS:
Large laminated picture of a river flowing through the mountains, with visible rapids and rocks (or projected picture of same)
River drawing handout for each child
PROCEDURE:
1. Begin by placing the river picture on an easel or a projected picture. Talk about rivers in general-a river starts high in the mountains, some are gentle, some are rocky, some move swiftly, some are slower, in some places the bottom is rocky, in others it is smooth, sometimes the water is clear, sometimes it is muddy, etc. Ask questions about what causes the ripples in the water, why there are rapids, what the river does to the bottom and to the banks, what causes the river to bend, what might make a river change course, etc.
2. Continue the discussion by relating the river to life. “Life is a lot like a river. It starts here (point) with your birth, then goes through your life until it ends. (pass out river picture handouts). IF your life was like this river, where would you be right now? (have students mark an x on the river). What are the rocks in your river? Draw them in.
3. Then, lead a discussion about the other aspects of the projected picture: “What causes this shadow here? What caused this disturbance in the water? And so on. Encourage students add to their pictures, and to share, but do not insist that they all share.
4. As an alternative to this discussion, you can use the river to delineate a specific time frame. For example, if your group has just entered intermediate school, you might have the river represent elementary school. IF your group is about to leave intermediate, you might use the river to represent their time at intermediate. You can also use the river as a projective exercise: “If this river represents the next _____ years of my life….”

R- You Rock! CELEBRATING OUR SUPPORTS (rocks)
GOAL: Students will recognize that everyone needs support, and that they have individuals in their lives that support them. They will celebrate one of their supports (rocks) by decorating and giving them a rockMATERIALS:
Small rocks Acrylic paint Googly eyes, gems, feathers, etc. Paint brushes Sharpie markers
PROCEDURE:1. Before beginning the lesson, have students paint a small rock and set it
aside to dry. (Alternative-paint a large number or rocks and have them available for students to choose from.)
2. Discuss with students what a support system is. Talk about how we all have people and institutions that support us and help us to be successful. Use some examples from your own life to illustrate this.
3. Explain, “Often, when we have a person we can really count on to support us, we call them our “rock”. Why would we do that?” Discuss with students the quality of rock-accept all answers. You will probably land on some ideas like a rock is always there, it is steady, you can lean on it, it does not wear down easily, etc.
4. Allow students to talk about the qualities that make someone a good support person. From this discussion, develop a list of these qualities.
5. Now, extend the discussion. Explain to students that when someone does a really good job, we often compliment them by saying, “You rock!” Discuss what this means. Tell students, “Today, we are going to let one of your “rocks” know that he or she “rocks”.
6. Have students brainstorm some of their “rocks”. Have them name their “rocks” and tell why they appreciate them.
7. Allow students to decorate a rock for their “rock”, and let them take it with them to deliver it, with instructions for them to tell the person why they appreciate them. Follow up with discussion about that process.

R- THERE’S ONLY ONE YOU (rocks)GOAL: Students will recognize and appreciate individual differences and their own uniquenessMATERIALS:
Smooth, small rocks (like river stones) Acrylic paint Paintbrushes Sharpie markers Book: “Only One You” by Linda Kranz
PROCEDURE:1. Talk to students about what it meant to be unique. Talk about the
idea that as people, while we are all alike in many ways, we are all unique in many ways as well.
2. Read the book, “Only One You”. Have students share what they have learned about differences from the book.
3. Encourage each student to share one way in which they feel they are different from everybody else, or share what makes them unique.
4. Allow students to paint an individual rock to represent themselves.
5. After the rocks are dry, spray with acrylic and plan a display area somewhere around the school.
R- RESILIENCE ROCKS (rocks)
GOAL: Students will recognize what resiliency is, why it is important, and the factors that help us to be resilient
MATERIALS: Plastic Easter eggs (ideally, one per child, but this can be done as a demonstration) Small rocks that will fit into the eggs Terrycloth washcloth Glue dots or gummy tack Sharpie markers
PROCEDURE:1. Explain to students, “Today, we are going to learn about resiliency. Resilience is the skill
that helps you “bounce back” when there are problems or when you meet with difficulties. Let’s look at this egg. This egg needs to be able to stand up to whatever life may bring, just like you do. When everything is soft and easy, like this towel, standing up to life is pretty easy. “Set the egg on the folded washcloth, and it will stand up.
2. Then, say, “Sometimes, life gets harder. Have students share some things they have that are hard to deal with. Take the egg off the cloth and place it on a hard surface. “Watch what happens when this egg tries to stand up in harder times.” The egg will fall over.
3. Ask the students, “What might help the egg to stand up even in harder times? What helps you to make it in harder times?” At this point, you are guiding the students to recognize the things that lead to resilience: competence, confidence, connection, character, contribution, coping, and control
4. Explain, “All of the things that help the egg to stand up to harder times make up something called resilience. Let’s give the egg a little resilience and see what happens. “Glue a small rock in the bottom of the egg, then stand it on the hard surface again. Push it with your finger, and it will bounce back. “See…resilience lets the egg bounce back even in difficulties.”
5. Pass out eggs and rocks. Brainstorm with students about the trait that helps them most with being resilient. (Examples: my mom and I are really close, I have good friends, I feel good about myself, I know I can do it, I can calm myself down, I am strong, etc.) Have them write that trait on the rock, and glue it into the egg.
6. You can incorporate the egg idea in to displays or bulletin boards to reinforce the concept.
S-INTEGRITY-HONESTY: LINGERING LIES (soap)
GOALS: Students will understand what honesty and integrity are, what a lie is, and how telling lies causes lasting damage to relationships
MATERIALS: bar of soap, nails
PROCEDURE:
1. Ask students what Honesty is. (Telling the truth). Then discuss Integrity (having a lifestyle of truth-following through, doing what you said you would do). Talk about why this is important.
2. Discuss types of lies: lies of omission, lies to keep from hurting feelings, lies to try to fit in, lies to avoid trouble, etc. Talk about the effect that these lies have on a relationship.
3. Bring out the bar of soap and the nail. Have students tell you examples of lies they have told or lies that have been told to them. As each statement is made, push a nail into the bar of soap.
4. After you have enough nails to be impressive, have the students explain how they “make it up” to someone they have lied to. As they explain, pull out each nail.
5. Hold up the bar of soap and show that even when apologies have been made, the effects of the lies still lingers. Damage has been done, and it is difficult to undo it. (If you use a bar of brittle soap, like Ivory or cheap, small hotel soaps, the nails will break the soap and you can discuss how relationships can be shattered because of lies.)

S-INTEGRITY/HONESTY- CHEATER, CHEATER LESSON (Shaving cream)
GOALS: To understand what integrity is, and how cheating undermines your own integrity and the trust others have in your integrity.
MATERIALS:
Cookies-I buy $1.00 per packet molasses cookies from HEB or Walmart
Shaving cream mixed with white glue
Paper and markersPROCEDURE:
1. Begin by holding up the plate of cookies and telling them a little about how you made them. Stress the delicious ingredients you put into the cookies, how you lovingly baked them, etc. Then ask, “Who wants a cookie?” Lots of hands will go up. Then say, “Wait a minute, there’s something I forgot to tell you. I was out of sugar for the icing of my cookies, so I just mixed up some laundry soap (or Elmer’s glue and shaving cream) and water and used it instead. Now, who still wants a cookie?”
2. Ask the class if they know what integrity is. Then, ask about cheating. How does cheating show a lack of integrity? What are the effects of dishonesty? How do they feel about a friend who has cheated or been dishonest? Who does cheating at school hurt? Why is honesty with parents so important?
3. Have the students break into small groups. Ask them to come up with a list of all the ways people can cheat, then the results of the cheating. (Example-someone copies homework. They cheat themselves because they do not learn the material. They cheat the one who did the work by taking advantage of them.)
4. After they have come up with the lists, have them share with the class. Then, discuss and compile a master list of ways to promote honesty and integrity at school.

S-T-R-E-T-C-H-I-N-G O-U-T (slime)
GOALS: Students will be able to describe the characteristics of a good goal, tell how setting goals help people to “stretch themselves”, and set one short term (1 week) goal.
MATERIALS: (per group of students): EQUAL PARTS OF WHITE GLUE AND WATER MIXED WELL, A SOLUTION MADE OT 1 1/3 CUPS WARM WATER AND 4 TSP BORAX, A LARGE CUP, A CRAFT STICK FOR STIRRING, PAPER TOWELS (alternatively, demonstrate with a large bowl and divide up afterwards) (There are also many slime recipes online that do not require Borax)
PROCEDURE:
1. Ask the students to explain what a goal is. At this point, a sports metaphor works well. Once they have agreed upon a definition of a goal (Something you want to do or to be), tell them that there are some qualities that make up a good goal. Help them through discussion to come to understand that a good goal is measurable, has a time limit, is achievable (with effort), is very specific, and is personal and important to them.
2. Explain to the students, “A goal is like a map that helps you to get to where you want to be. A good goal “stretches you” and helps you to become better and better.”
3. Tell the students, “Today, we are going to make “GOAL GOOP”. This goop will help you to remember that a good goal stretches you and helps you achieve more and more. While we work on our good, I want you to think of 2 goals for yourself that you want to achieve in the next week, one for school and one for yourself. For example, you might want to improve you Math test grade by 5 points over your last test, and you might want to exercise for at least 30 minutes per day. Both of these goals meet all the requirements of being good goals.”
4. You can either have the glue and water mixed beforehand or have the students mix equal parts themselves. The Borax solution will accommodate up to 2 cups of the mixture. You should mix the Borax solution ahead of time, as it is sometimes slow to dissolve in the water.
5. Students should slowly pour the glue solution into the Borax solution, then roll it around in
the solution using a craft stick until it firms up.
6. Lift the goop out of the solution and knead it for 2-3 minutes until it is stretchy. As students stretch and play with the goop, have them tell you what their goals are.
S- Encouragement- Spotlight!! (spotlight)
GOALS: Students will use a tangible symbol (light) to show encouragement or to discourage team members. Students will gain an understanding of how important encouragement is to performance and how easily someone can be discouraged.
MATERIALS: 2 flashlights, one with a cellophane cover that causes the beam to be
colored
PROCEDURE:
1. Talk to the students about what encouragement is. Lead into how encouragement helps people to perform better, to feel better, and to do their best. Try to elicit specific examples of how they have felt encouraged and done better because of it. Talk also about discouragement and how it can limit performance and make others feel worse.
2. Explain that today, you are going to have student use tangible symbols of encouragement and discouragement. Show them the flashlights. Tell them that the uncovered flashlight will go to one team, and the colored flashlight will go to the other team. Divide the class into two equal teams. One team member will be an encourager, and the others will be the performers. The rules are: while the light from the corresponding team is on the performer, he is to move forward. If the other team’s light is on him, he must move backward. If both lights are on him, he can move forward. Without light, he is to stand still.
3. Dim the lights and begin. (This activity can become chaotic. You may need to referee.)
4. When (if) the teams finish, talk about how it felt to have no encouragement (be in the dark)? How did it feel to have encouragement? How did it feel when you were discouraged and had to move back?
5. After the activity, you can discuss ways students can encourage one another.

S-Fairness- Shoe Me the Way (shoes)
GOALS: Students will gain understanding of the concept of fairness (everyone following the same rules, being treated the same way) and a deeper understanding of the concept of fairness (every person gets their needs met). They will also gain and understanding that there is no such thing as total fairness
MATERIALS: Students with shoes on
PROCEDURE:
2. Explain to students that today, we are going to do a teamwork activity based on the principle of fairness. Talk about what the class thinks fairness means. They will usually indicate that fairness is that everyone is treated the same.
3. Choose 2 groups of 4-5 students each. Carefully choose one group so that most of the students are wearing slip-on shoes, flip flops, or sandals. Choose the other group to have mostly shoes that tie. Try to balance groups as to gender. Have the students take off their shoes and put them in one big pile. Then, line them up in 2 lines.
4. Say, “The teams are equally balanced, so this will be a fair race. The goal is for the first person in the line to run to the pile of shoes, put on their shoe, then run back and touch the next person in line. Continue until the whole line has shoes on. The first line to be “re-shoed” will be the winner.”
5. Of course, the team without laces will win. Students will figure out pretty quickly that the race was not fair. This leads into a discussion about why it was not fair, when teams were equal in number and gender and were treated exactly the same.
6. You can use a variety of examples to introduce the idea that fairness may not mean exactly that. For example, they get to stay up later than their younger siblings, fifth graders have more homework that kindergarteners, a kid with a broken leg does not have to run in PE, and so on. This allows the introduction of the concept that at school, what is fair is that everyone gets what they need.
S-Cooperation-Towering Teamwork (spaghetti)
GOAL: Students will be able to define teamwork and will perform a simple team work activity
MATERIALS: Marshmallows for each group, uncooled spaghetti noodles or toothpicks for each group,
PROCEDURES: 1. Form the class into teams of 4-6 students. Give each group
marshmallows and noodles and challenge them to build a tower using the materials.
2. Allow an adequate amount of time for the building-something around 3-5 minutes. Then call time. Measure to see whose tower is highest.
3. Discuss:a. What was the hardest about working with a team?b. What was the easiest part of working with a team?c. What could have made your work as a team easier?d. Could you have built a better tower by yourself? Why or
why not?e. What are some of the advantages of teamwork?
Disadvantages?4. As an added challenge with older students, you can have the first
challenge require that they do not talk to each other. This can lead to a discussion about how words help in communication.
T-Caterpillar (tape)Goal: Students will be able to define cooperation and teamwork, and demonstrate these skills utilizing a fun activity.
Materials:
Duct Tape
Procedure:
1. Lay out parallel strips of duct tape on the floor, sticky sides up, about 18 inches apart (2 strips per 4-6 students, depending upon age)
2. Divide students into teams.3. Have teams line up on the tape, one behind the other, and place their feet
on the tape like they are on skis.4. Have the teams race over a particular distance. If a team member becomes
unstuck, the team must start over.5. Debrief by asking questions such as: What was the hardest part of being on
a team? How did your team cooperate to make this task easier? Would the task work if one team member did not cooperate? Was communication between team members important as you tried to work this task out?
6. Finish with a brainstorm session to define cooperation and teamwork. Do they mean the same thing? How are they different. (You might want to utilize a dictionary to look at the definitions.) You can also follow up with examples of times in their lives where teamwork and/or cooperation are necessary.

T-A KNOTTY PROBLEM (tape)GOAL: Students will attempt problem solving together by attempting to unravel a knot of duct tape, and relate this to “knotty” problems in their own lives
MATERIAL:
Duct Tape
PROCEDURE:
1. Without much explanation, divide the class into groups of two. Place a strip of duct tape about 3 feet long in front of each group.
2. Give the following instructions: “Each of you is to grab one end of the strip. Without turning loose of the strip, tie the largest, meanest, most complicated knot you can within one minute. Ready, set, go! “
3. After the partners have ties their knots, they exchange knots with another group. Give the following instructions, “Now, you need to untie the knot you have received, without breaking the tape.” Watch for progress and stop the group at a logical point, or when everyone has untied their knot.
4. Use the following questions to help debrief the group:a. What sorts of knots (problems) do students often tie(create_ in
their lives?b. What sorts of knots have you tied in your life?c. How would it have been easier for you and your partner if you had
been allowed to untie your own knots?d. How have others tied knots in your life that you have had to try to
untangle?e. When was the last time you successfully untied one of your own
knots? What did you do?5. End with a discussion of untying (problem solving) strategies.
T-WE ARE IN THIS TOGETHER (tape)
GOAL: Students will learn skills required to communicate, plan, coordinate, and implement a plan
MATERIALS:
Duct tape Marker for every 4 students Large sheet of paper for each team Masking tape to secure paper to floor or table
PROCEDURE: BEFORE THE LESSON
1. Cut 4 fool lengths of duct tape, one for each student. Fold the tape, sticky side in, in half lengthwise, leaving about a 6-inch strip at the end unfolded.
2. Secure 4 strips of the tape to the marker, using the unfolded end. The pieces should fan around the pen like an “x”.
3. Select your task-it can be a simple shape, or a more complicated task like writing a series of words. Draw or writs it on a sheet of paper the same size as that provided, then cover it.
FOR THE LESSON
1. Explain to the students: “One of the most important things you will do in life is work with others to accomplish a common goal. Today, we will get a little practice in that. “Divide the class into groups of 4. Each team will need a flat surface (table or floor). If you have extra students, have them serve as monitors.
2. Pass out the paper, and have students secure the paper to the flat surface with masking tape on the corners.
3. Then, pass out the markers. Explain, “Your team is going to work together today to reproduce something using the marker and paper provided. Each of you is to hold the end of one of the pieces of tape.

You are to be evenly spaced around the paper. When I say go, you can uncap the marker, lower the tip to the page, and begin to reproduce the drawing I will show you. After you have uncapped the parker, you are not allowed to touch the page. Are you ready?” Uncover the page, and say, “GO!”
4. Following the activity, ask the following questions to debrief:a. How did you accomplish the task?b. What seemed to work best?c. How did you and your team improve in working together?d. What steps were involved in accomplishing this task? What made it
easier? What made it harder?e. What or who in your life pulls you in different directions?f. Who works together with you in your life?g. How can you help manage the “pulls” in your life?
EXTENSION:
If time permits, do this lesson once with silence-do not allow students to talk, then repeat with them able to communicate. Compare the two efforts.

T-PITFALL (tape)GOAL: Students will be able to define trustworthiness and experience through a demonstration how it feels to trust another person and how it feels to not be able to trust another person
MATERIALS:
Duct tape Newspaper Masking tape Blindfolds
PROCEDURE:
1. Make several duct tape “balls” by wadding up newspaper and wrapping duct tape around each wad with the sticky side out.
2. Tape off a large area on the floor with masking tape, then place tape strips inside to create a maze. Randomly place the tape balls along the paths of the maze.
3. Pair students, and have one guide the other through the maze while standing outside of it. If the blind partner touches the tape, it is a pitfall, and the blind partner must be led back to the beginning and start over.
4. Once one partner has made it through the maze, switch places and repeat.5. Debrief by asking questions like: How did it feel to have to trust someone?
How did it feel to know that someone was trusting you? If your guide let you fail, how did it feel when they began guiding you again? Was it easy to trust them again?
6. Discuss the idea of trust, and of pitfalls. What are some pitfalls in life where we need to be able to trust someone to keep you safe?

T-NAVIGATING SUCCESS (tape)GOAL: Students will practice following the Golden Rule in dealing with others who have made mistakes, and will work together as a team to facilitate success for all team members
MATERIALS:
Duct tape or masking tape Clip board with blank paper Stopwatch or timer
PROCEDURE:
BEFORE THE LESSON
1. Mark out a 4x4 grid on the floor using duct tape or masking tape. The grid boxes should be no smaller than 1 ft by 1 ft and no bigger than 2 ft by 2 ft
2. Reproduce the grid on a sheet of paper, and mark a route through the grid. This is your “secret route”, and you will use it as a reference as students attempt the grid. Keep it out of sight.
FOR THE LESSON
1. Begin the lesson by reviewing the Golden Rule. Explain how important the Golden Rule is in our dealings with others. Then, let the students know that they will practice using the Golden Rule today to complete a teamwork challenge.
2. Then, give the following instructions: “The grid in front of you is a maze. I have drawn an invisible path through that your team must uncover. Your mission is to figure out the secret path and get all your team members out of the gridlock before time runs out. There is only one route through and I will compare your movements with my map. If you step on a correct square I will be silent, however if you step on an incorrect square, I will make a “BEEP” sound and you must step off the maze and let your next teammate try. You must remember The Golden Rule as you help your teammates navigate through the grid and you must follow all the guidelines.”
3. Present the Rules/Guidelines: 1. You must start and end the grid walk on the squares specified by the facilitator.

2. There is only one path through the grid. Your team must line up and keep the same order and sequence as you attempt to solve the challenge. After each person has had a turn, the sequence starts again.3. Only one person can step on to the maze at a time. 4. You can take some planning time before you begin, but once a player has stepped onto the maze, no talking can occur. You cannot talk to a teammate in the maze or talk to other group members once the first player steps into the grid. 5. You can only keep mental records of the grid, no writing or drawing is allowed. 6. The Grid cannot be altered in anyway. 7. If a player makes a correct move, there will be silence. If a player makes an incorrect move, the facilitator will “BEEP” sound. When a player hears a “BEEP” he or she must step off the grid and wait for their turn in the rotation. 8. Any violation of the rules will result in a penalty. IE: The player in violation has to wear a blindfold or time is subtracted from the clock. 9. Your team has ____ minutes to solve the challenge (Small groups of less than 10 people might start with 15 minutes depending on their age and ability. Large groups over 10 might need additional time. Set the timer and begin.
4. Debrief with the following questions:
1. How did we use the Golden Rule in this activity?
2. Who solved the puzzle? How?
3. Who made mistakes? Does making mistakes mean you are a failure?
4. Are mistakes good or bad?
5. What would have made this activity easier?
6. How did it feel when you heard the beep?
EXTENSIONS:
1. Make the grid more difficult by including diagonal movements or reverse movements.
2. Penalize a group if they step on an incorrect square more than once-this will force them to slow down and pay more attention.
3. To make the game easier, allow the team to talk and plan between players.