© Hairdressing-Training.com 2004 Female haircuts - Square bob.
30
© Hairdressing-Training.com 2004 Female haircuts - Square bob
-
Upload
karly-papworth -
Category
Documents
-
view
221 -
download
8
Transcript of © Hairdressing-Training.com 2004 Female haircuts - Square bob.
© Hairdressing-Training.com 2004
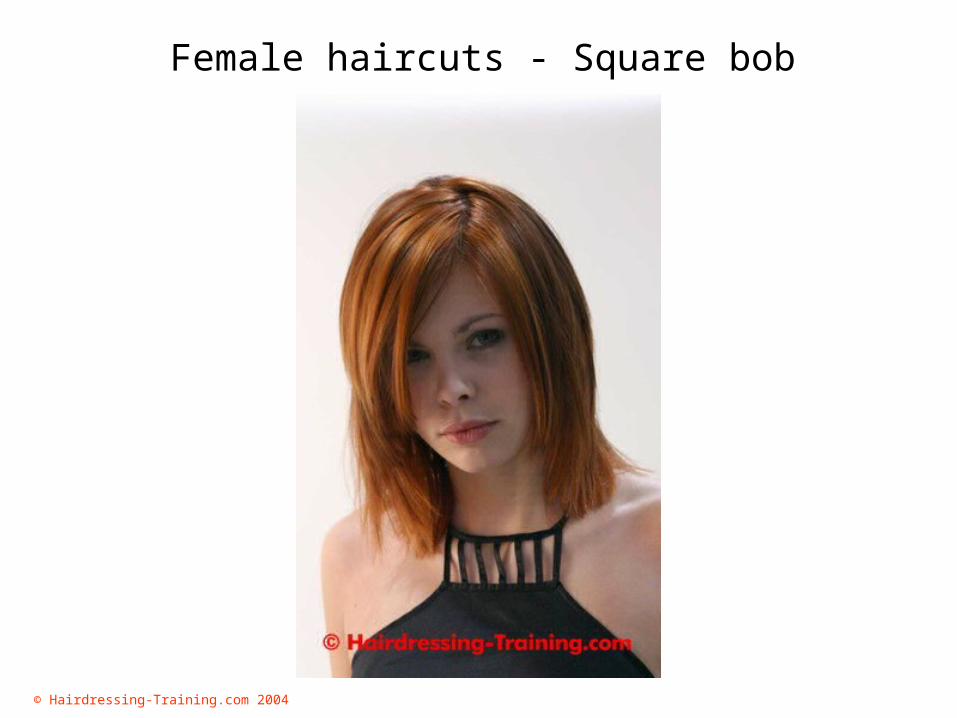
Female haircuts - Square bob
© Hairdressing-Training.com 2004
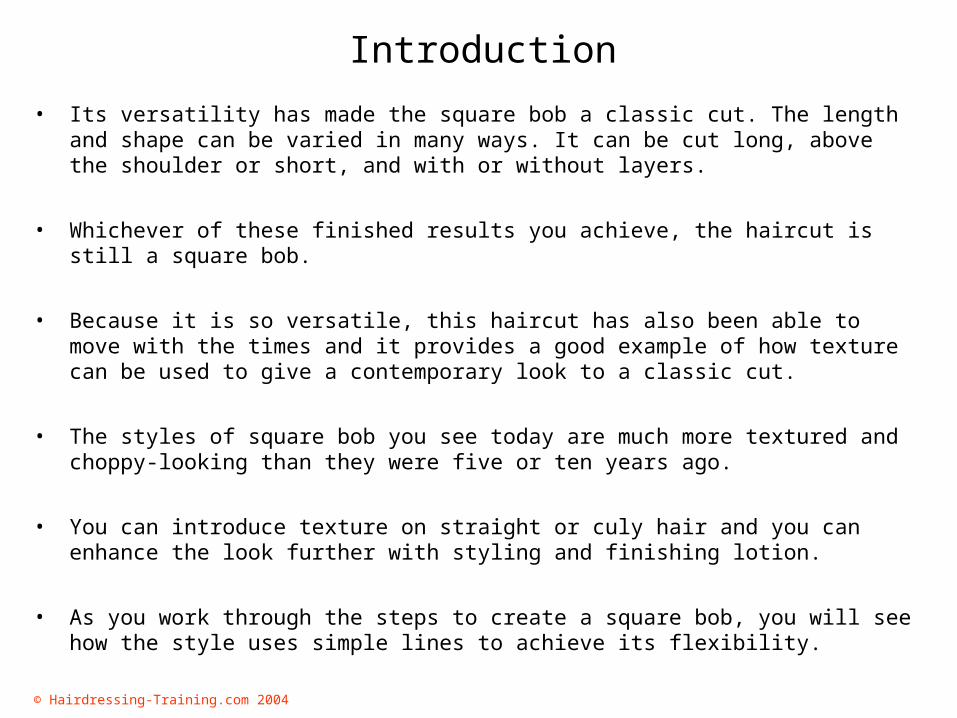
Introduction
• Its versatility has made the square bob a classic cut. The length and shape can be varied in many ways. It can be cut long, above the shoulder or short, and with or without layers.
• Whichever of these finished results you achieve, the haircut is still a square bob.
• Because it is so versatile, this haircut has also been able to move with the times and it provides a good example of how texture can be used to give a contemporary look to a classic cut.
• The styles of square bob you see today are much more textured and choppy-looking than they were five or ten years ago.
• You can introduce texture on straight or culy hair and you can enhance the look further with styling and finishing lotion.
• As you work through the steps to create a square bob, you will see how the style uses simple lines to achieve its flexibility.
© Hairdressing-Training.com 2004
Step 1 of 28 - Before you cut
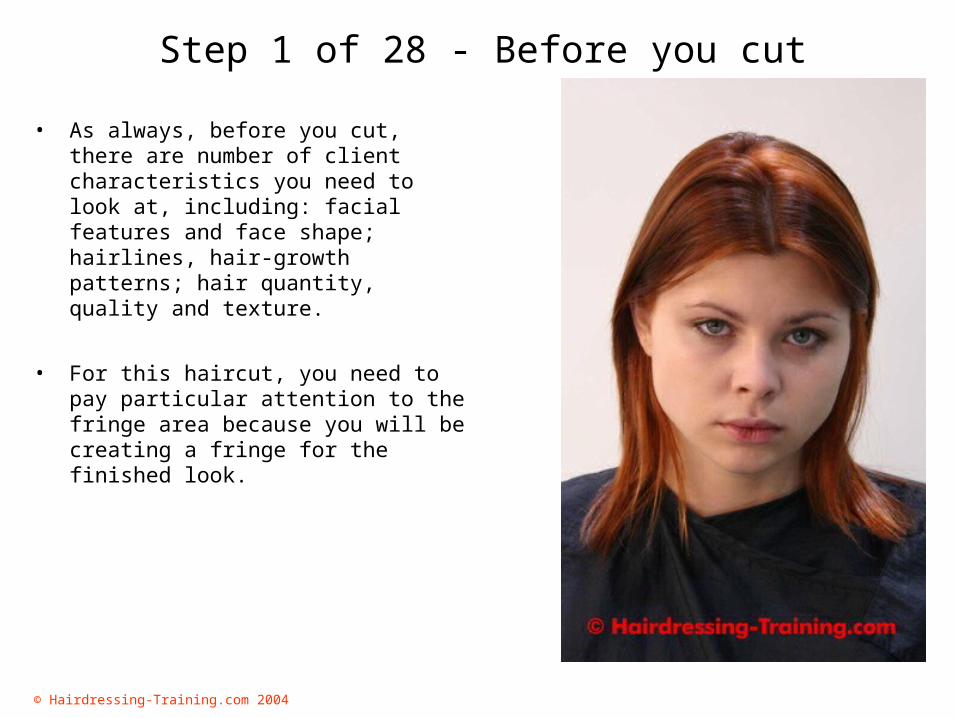
• As always, before you cut, there are number of client characteristics you need to look at, including: facial features and face shape; hairlines, hair-growth patterns; hair quantity, quality and texture.
• For this haircut, you need to pay particular attention to the fringe area because you will be creating a fringe for the finished look.

© Hairdressing-Training.com 2004
Step 2 of 28 - Hairlines• As part of your client consultation, and before you
start your haircut, it is also important to check your client's hairlines.
• You should do this when the hair is dry and again when the hair is wet after shampooing. Your client may have used mousse or gel on their hair, which may disguise the real hairline.
• Not everyone has a perfect hairline so make sure you check for uneven growth and awkward, moving shapes.
• There are four areas to look at:
Side temple Front Crown Nape
• Take out a fine section of hair and, using the wide part of your cutting comb, gently comb the hair. You will be able to see clearly the hairlines and growth patterns of the hair.
© Hairdressing-Training.com 2004
Step 3 of 28 - Hairline, side temple
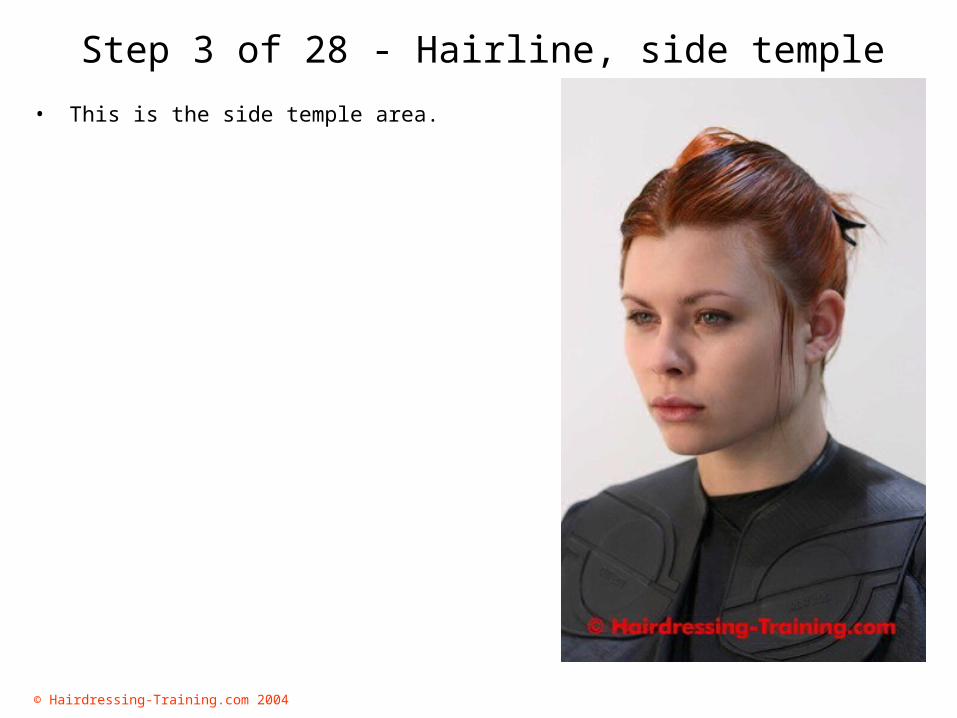
• This is the side temple area.
© Hairdressing-Training.com 2004
Step 4 of 28 - Front hairline
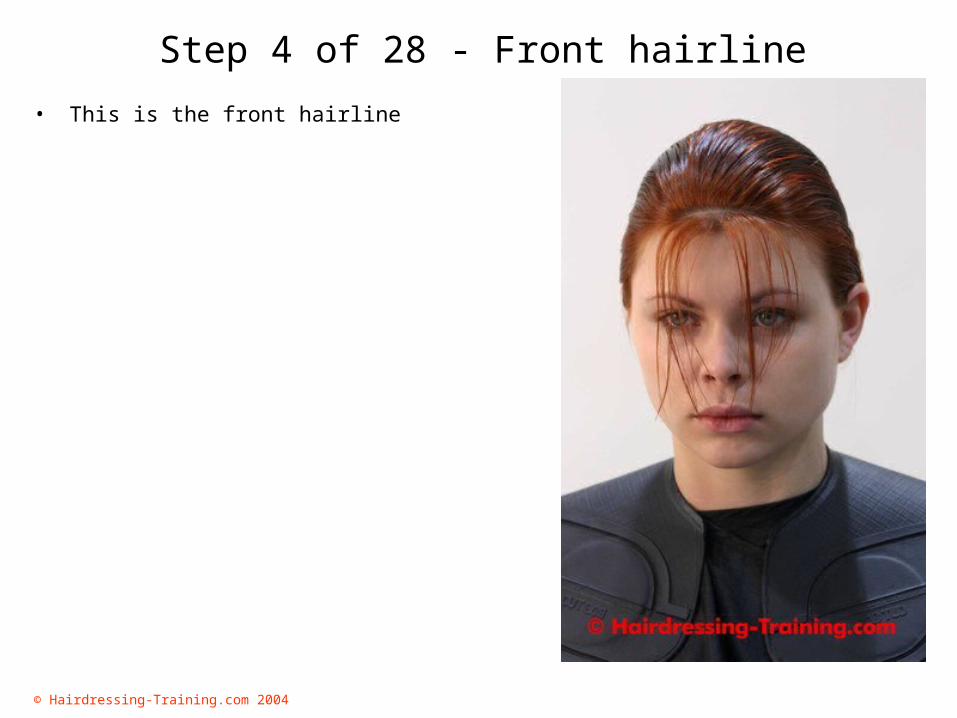
• This is the front hairline
© Hairdressing-Training.com 2004
Step 5 of 28 - Crown area
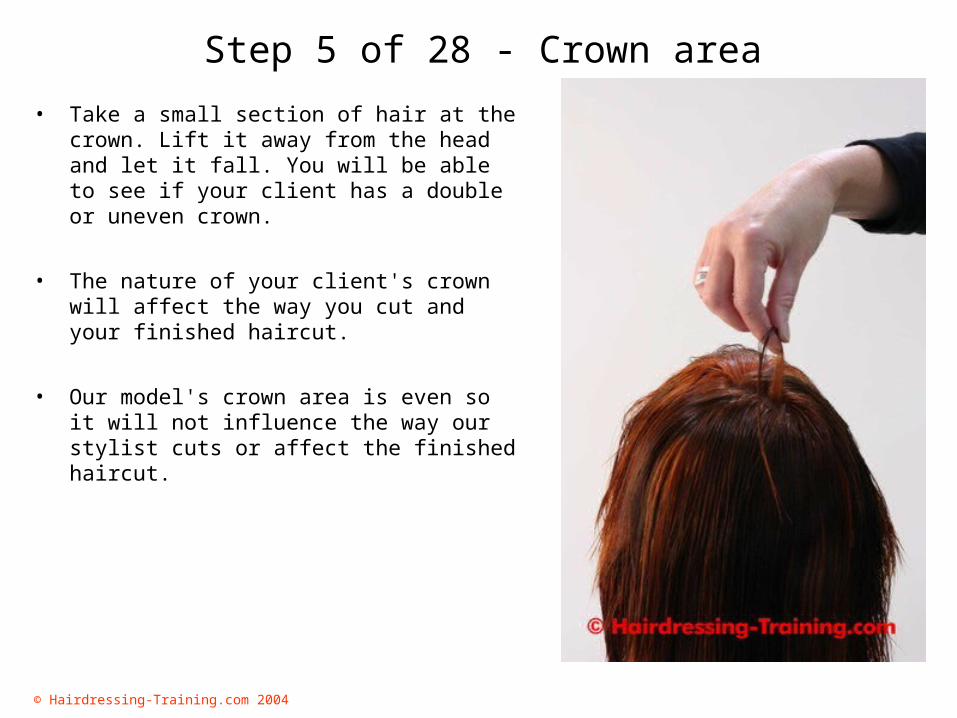
• Take a small section of hair at the crown. Lift it away from the head and let it fall. You will be able to see if your client has a double or uneven crown.
• The nature of your client's crown will affect the way you cut and your finished haircut.
• Our model's crown area is even so it will not influence the way our stylist cuts or affect the finished haircut.
© Hairdressing-Training.com 2004
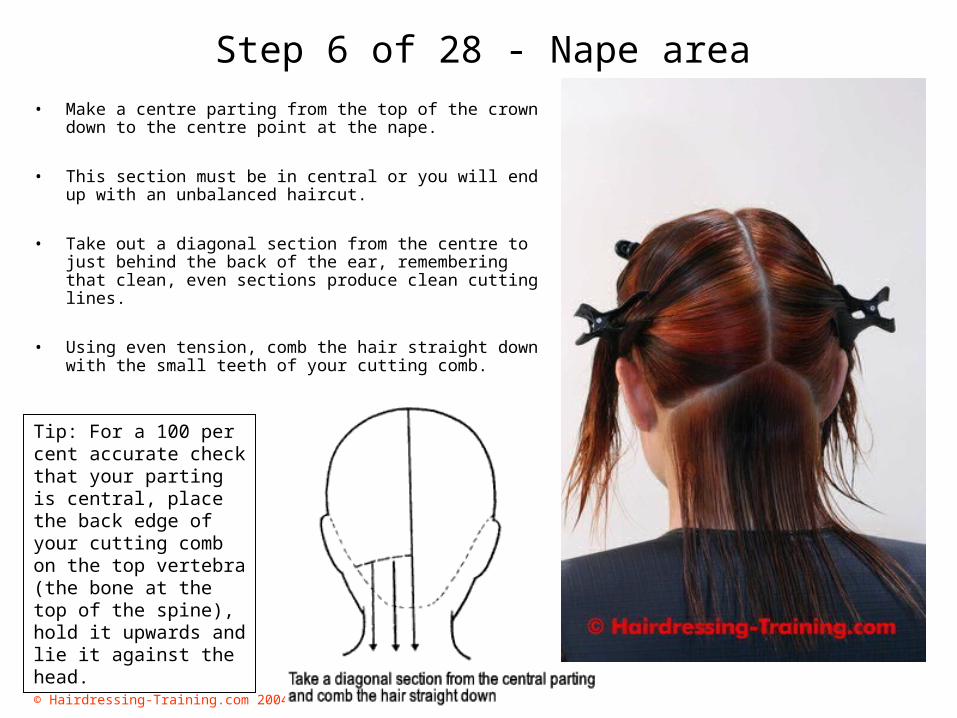
Step 6 of 28 - Nape area• Make a centre parting from the top of the crown
down to the centre point at the nape.
• This section must be in central or you will end up with an unbalanced haircut.
• Take out a diagonal section from the centre to just behind the back of the ear, remembering that clean, even sections produce clean cutting lines.
• Using even tension, comb the hair straight down with the small teeth of your cutting comb.
Tip: For a 100 per cent accurate check that your parting is central, place the back edge of your cutting comb on the top vertebra (the bone at the top of the spine), hold it upwards and lie it against the head.
© Hairdressing-Training.com 2004
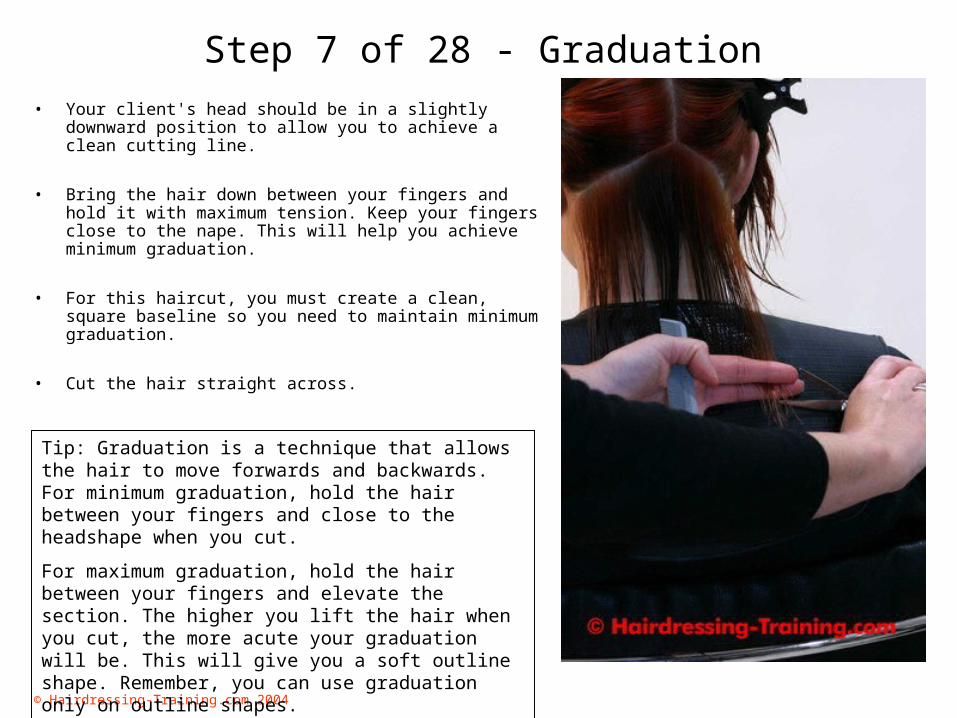
Step 7 of 28 - Graduation• Your client's head should be in a slightly downward
position to allow you to achieve a clean cutting line.
• Bring the hair down between your fingers and hold it with maximum tension. Keep your fingers close to the nape. This will help you achieve minimum graduation.
• For this haircut, you must create a clean, square baseline so you need to maintain minimum graduation.
• Cut the hair straight across.
Tip: Graduation is a technique that allows the hair to move forwards and backwards. For minimum graduation, hold the hair between your fingers and close to the headshape when you cut.
For maximum graduation, hold the hair between your fingers and elevate the section. The higher you lift the hair when you cut, the more acute your graduation will be. This will give you a soft outline shape. Remember, you can use graduation only on outline shapes.
© Hairdressing-Training.com 2004
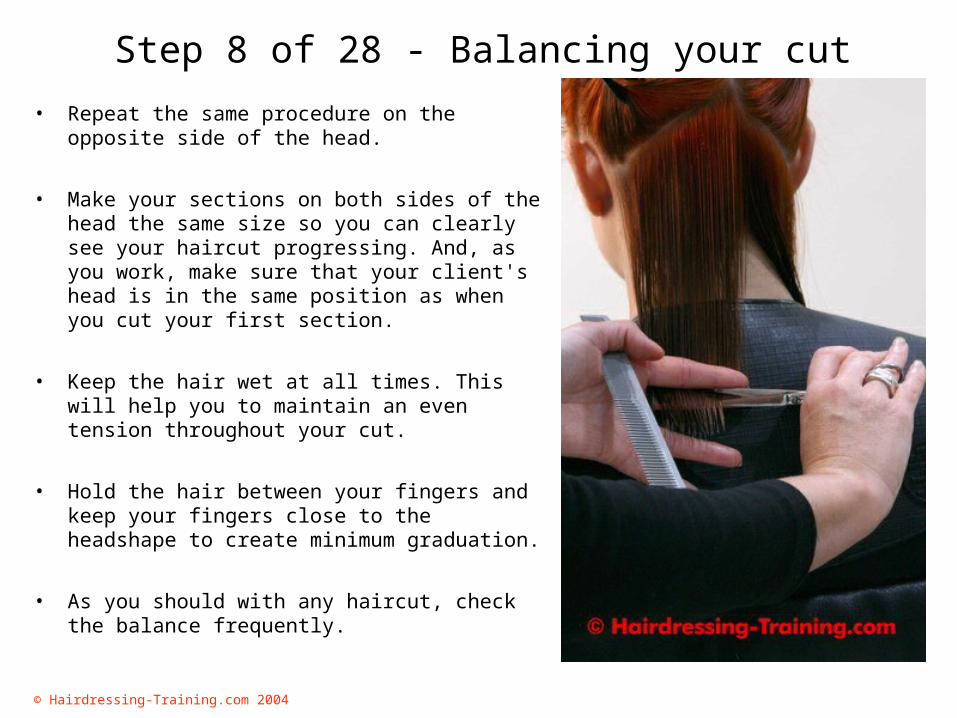
Step 8 of 28 - Balancing your cut
• Repeat the same procedure on the opposite side of the head.
• Make your sections on both sides of the head the same size so you can clearly see your haircut progressing. And, as you work, make sure that your client's head is in the same position as when you cut your first section.
• Keep the hair wet at all times. This will help you to maintain an even tension throughout your cut.
• Hold the hair between your fingers and keep your fingers close to the headshape to create minimum graduation.
• As you should with any haircut, check the balance frequently.
© Hairdressing-Training.com 2004
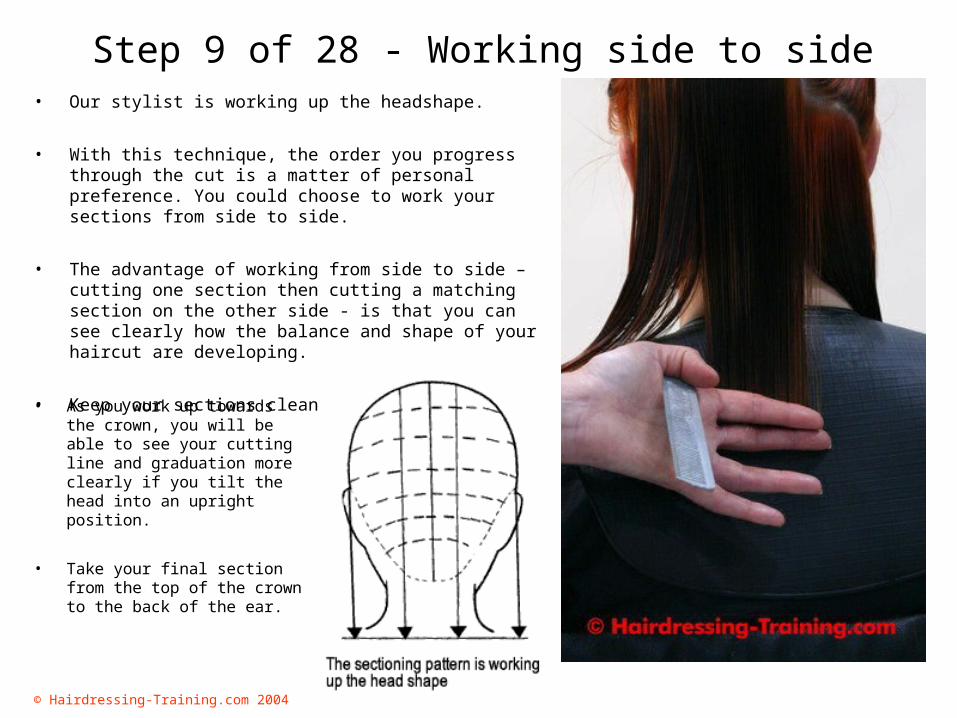
Step 9 of 28 - Working side to side• Our stylist is working up the headshape.
• With this technique, the order you progress through the cut is a matter of personal preference. You could choose to work your sections from side to side.
• The advantage of working from side to side – cutting one section then cutting a matching section on the other side - is that you can see clearly how the balance and shape of your haircut are developing.
• Keep your sections clean and the hair wet.
• As you work up towards the crown, you will be able to see your cutting line and graduation more clearly if you tilt the head into an upright position.
• Take your final section from the top of the crown to the back of the ear.
© Hairdressing-Training.com 2004
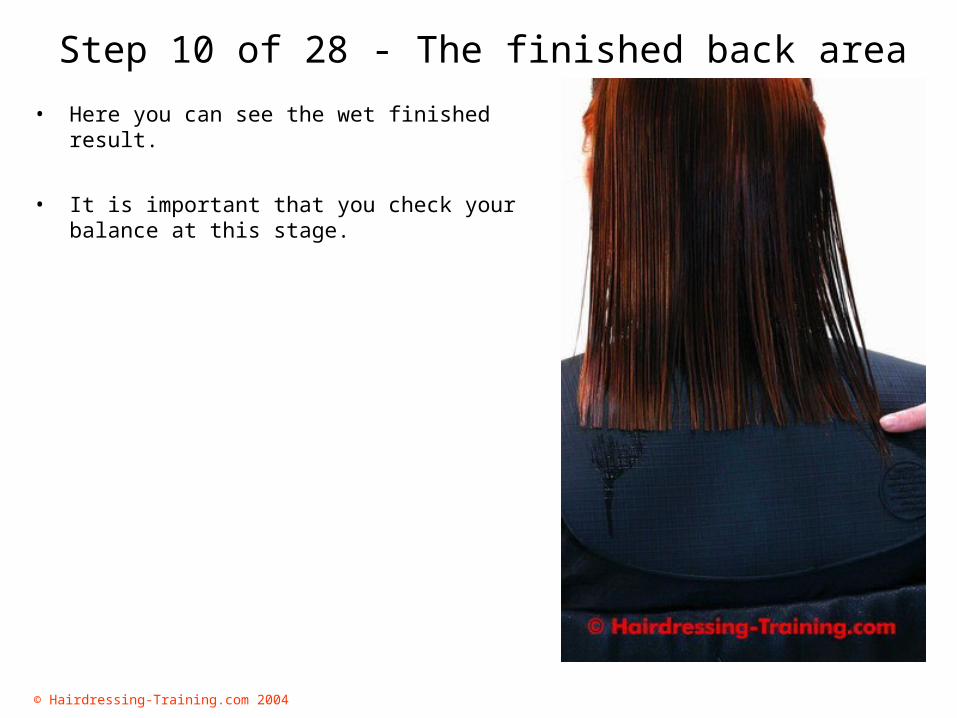
Step 10 of 28 - The finished back area
• Here you can see the wet finished result.
• It is important that you check your balance at this stage.
© Hairdressing-Training.com 2004
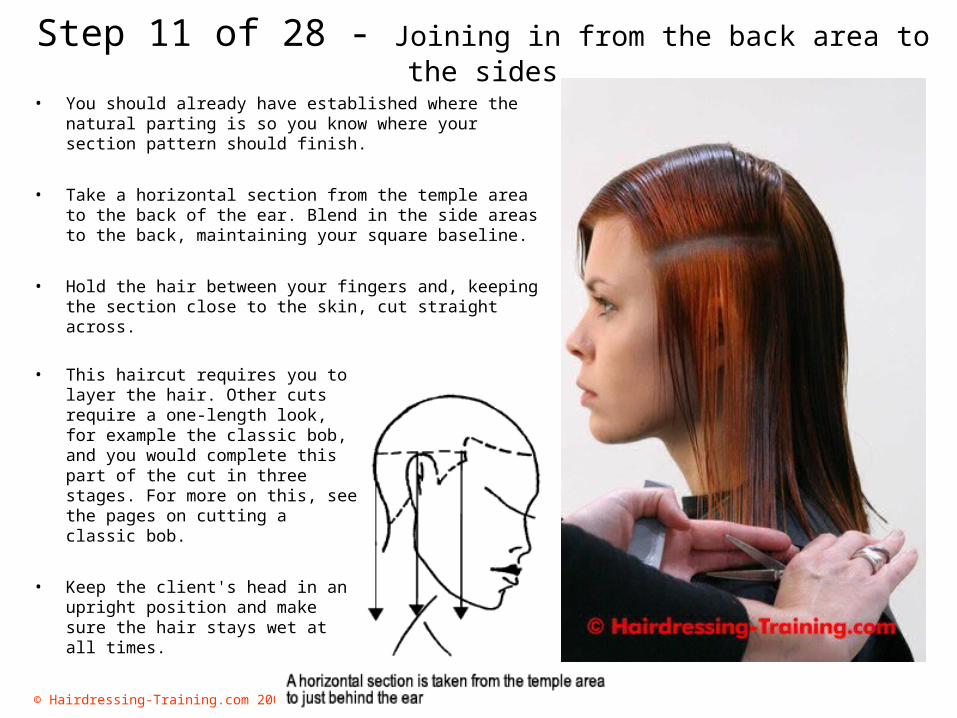
Step 11 of 28 - Joining in from the back area to the sides
• You should already have established where the natural parting is so you know where your section pattern should finish.
• Take a horizontal section from the temple area to the back of the ear. Blend in the side areas to the back, maintaining your square baseline.
• Hold the hair between your fingers and, keeping the section close to the skin, cut straight across.
• This haircut requires you to layer the hair. Other cuts require a one-length look, for example the classic bob, and you would complete this part of the cut in three stages. For more on this, see the pages on cutting a classic bob.
• Keep the client's head in an upright position and make sure the hair stays wet at all times.
© Hairdressing-Training.com 2004
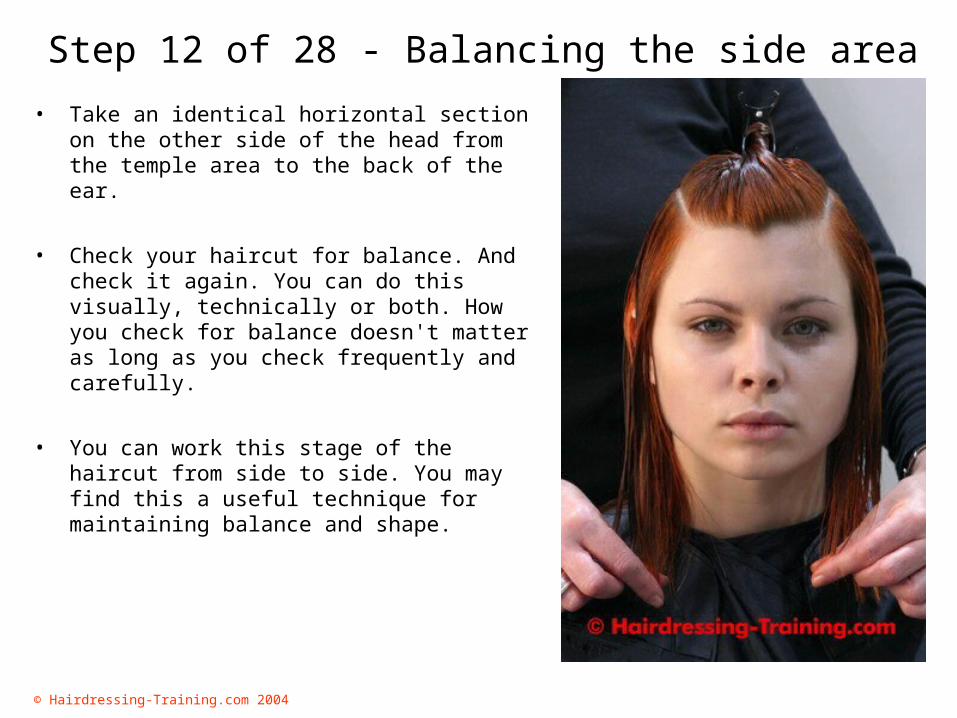
Step 12 of 28 - Balancing the side area
• Take an identical horizontal section on the other side of the head from the temple area to the back of the ear.
• Check your haircut for balance. And check it again. You can do this visually, technically or both. How you check for balance doesn't matter as long as you check frequently and carefully.
• You can work this stage of the haircut from side to side. You may find this a useful technique for maintaining balance and shape.
© Hairdressing-Training.com 2004
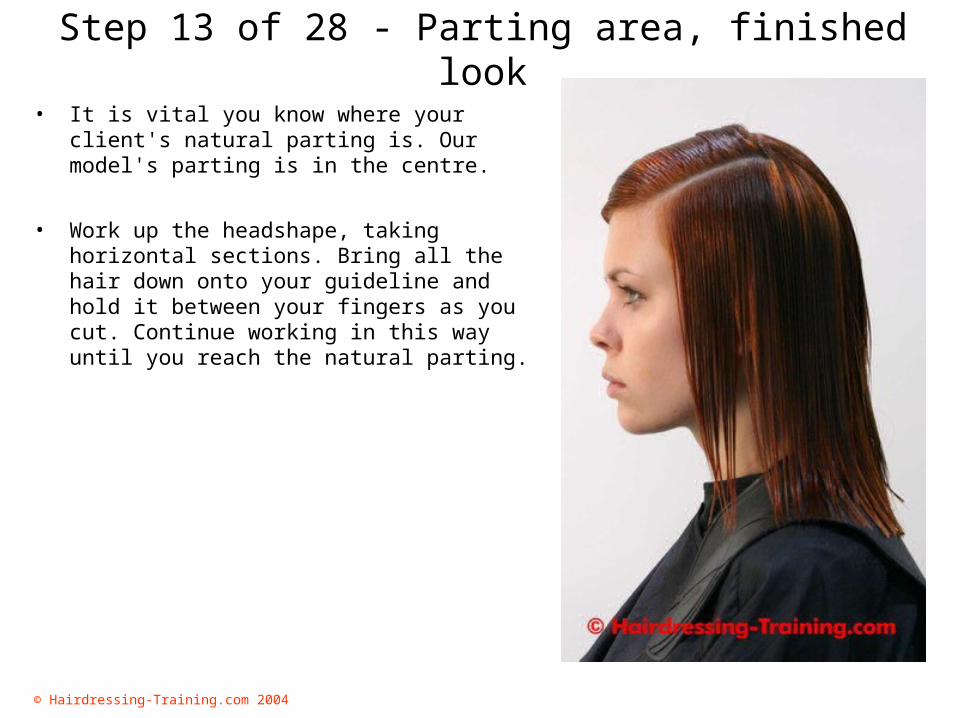
Step 13 of 28 - Parting area, finished look
• It is vital you know where your client's natural parting is. Our model's parting is in the centre.
• Work up the headshape, taking horizontal sections. Bring all the hair down onto your guideline and hold it between your fingers as you cut. Continue working in this way until you reach the natural parting.
© Hairdressing-Training.com 2004
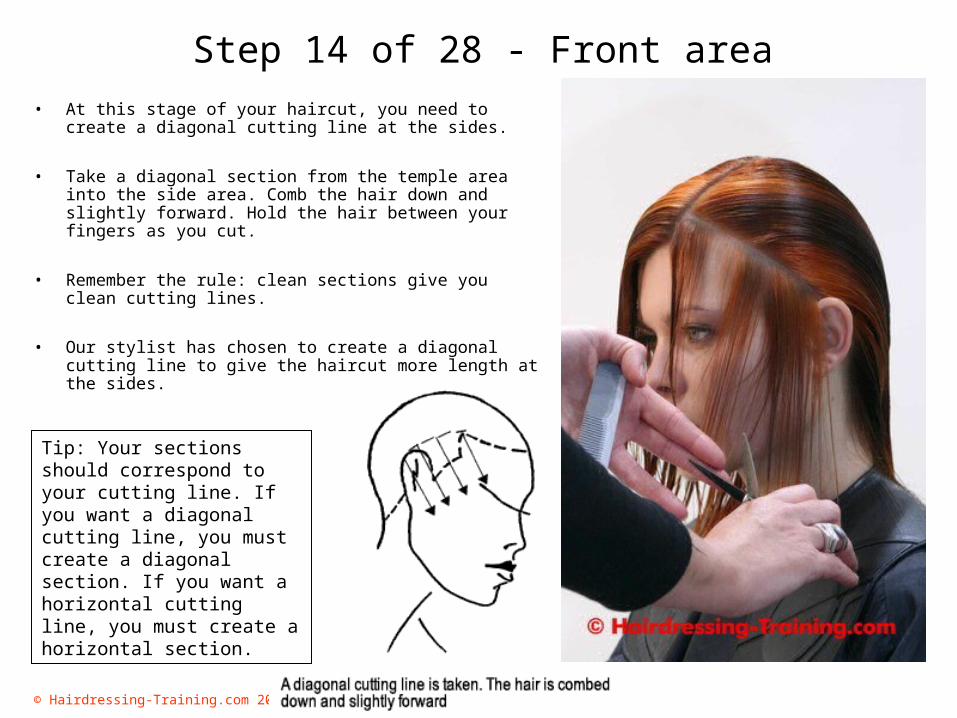
Step 14 of 28 - Front area• At this stage of your haircut, you need to create a
diagonal cutting line at the sides.
• Take a diagonal section from the temple area into the side area. Comb the hair down and slightly forward. Hold the hair between your fingers as you cut.
• Remember the rule: clean sections give you clean cutting lines.
• Our stylist has chosen to create a diagonal cutting line to give the haircut more length at the sides.
Tip: Your sections should correspond to your cutting line. If you want a diagonal cutting line, you must create a diagonal section. If you want a horizontal cutting line, you must create a horizontal section.
© Hairdressing-Training.com 2004
Step 15 of 28 - Achieving balance
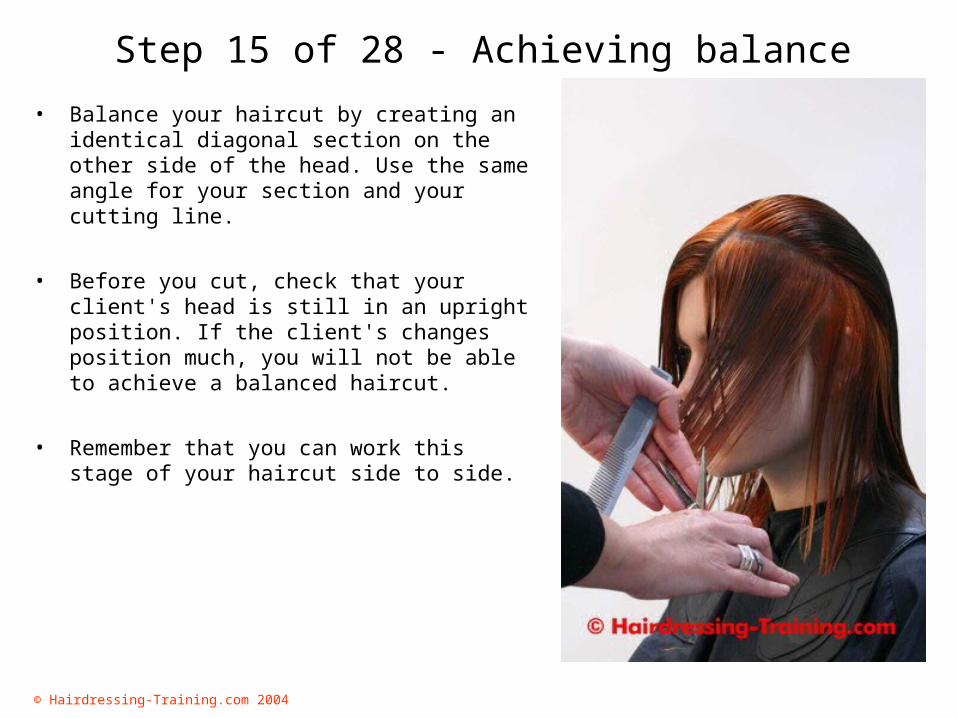
• Balance your haircut by creating an identical diagonal section on the other side of the head. Use the same angle for your section and your cutting line.
• Before you cut, check that your client's head is still in an upright position. If the client's changes position much, you will not be able to achieve a balanced haircut.
• Remember that you can work this stage of your haircut side to side.
© Hairdressing-Training.com 2004
Step 16 of 28 - Working in the side areas
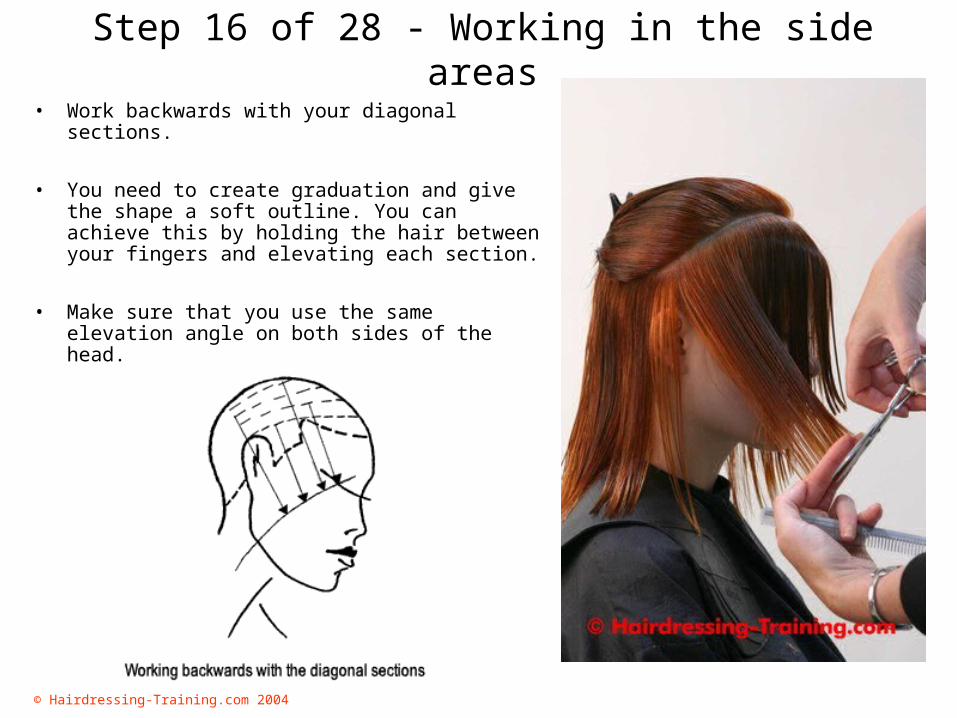
• Work backwards with your diagonal sections.
• You need to create graduation and give the shape a soft outline. You can achieve this by holding the hair between your fingers and elevating each section.
• Make sure that you use the same elevation angle on both sides of the head.
© Hairdressing-Training.com 2004
Step 17 of 28 - Blending in the fringe area
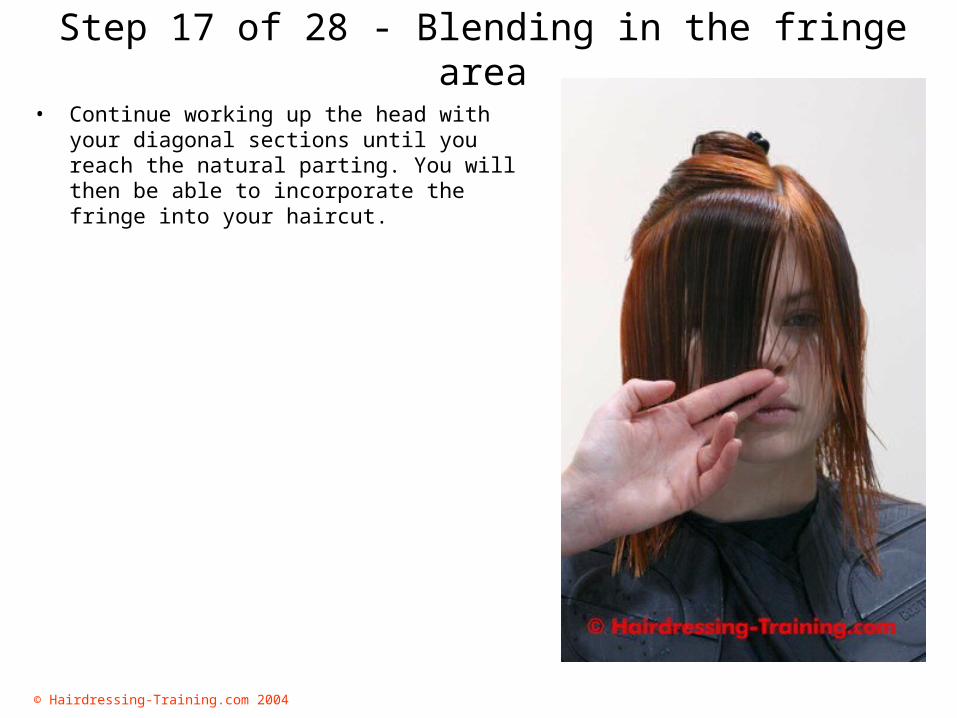
• Continue working up the head with your diagonal sections until you reach the natural parting. You will then be able to incorporate the fringe into your haircut.
© Hairdressing-Training.com 2004
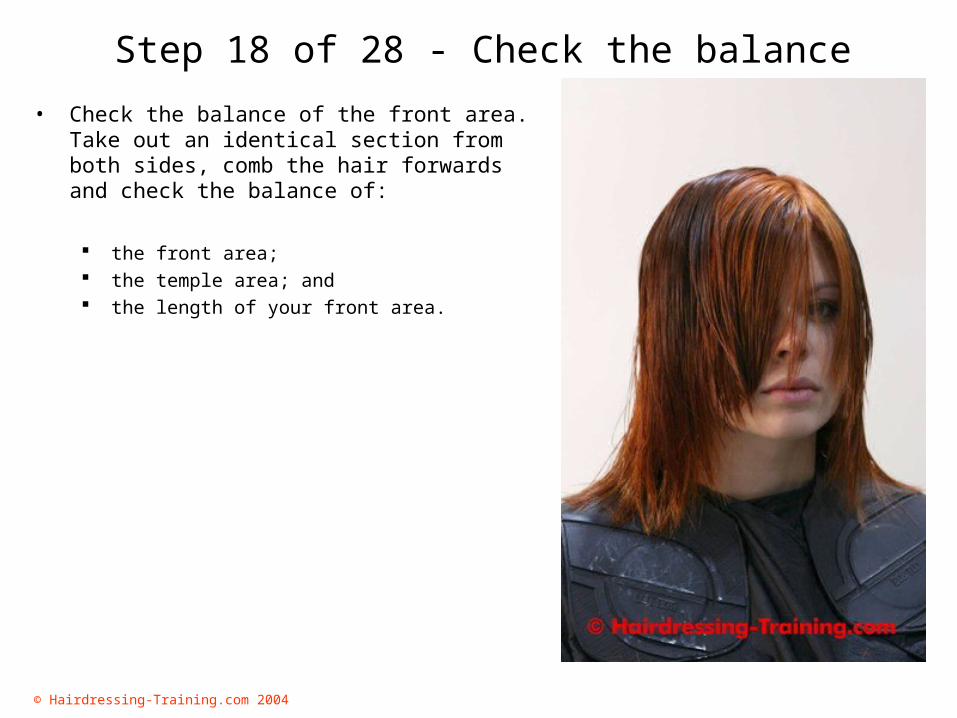
Step 18 of 28 - Check the balance
• Check the balance of the front area. Take out an identical section from both sides, comb the hair forwards and check the balance of:
the front area; the temple area; and the length of your front area.
© Hairdressing-Training.com 2004
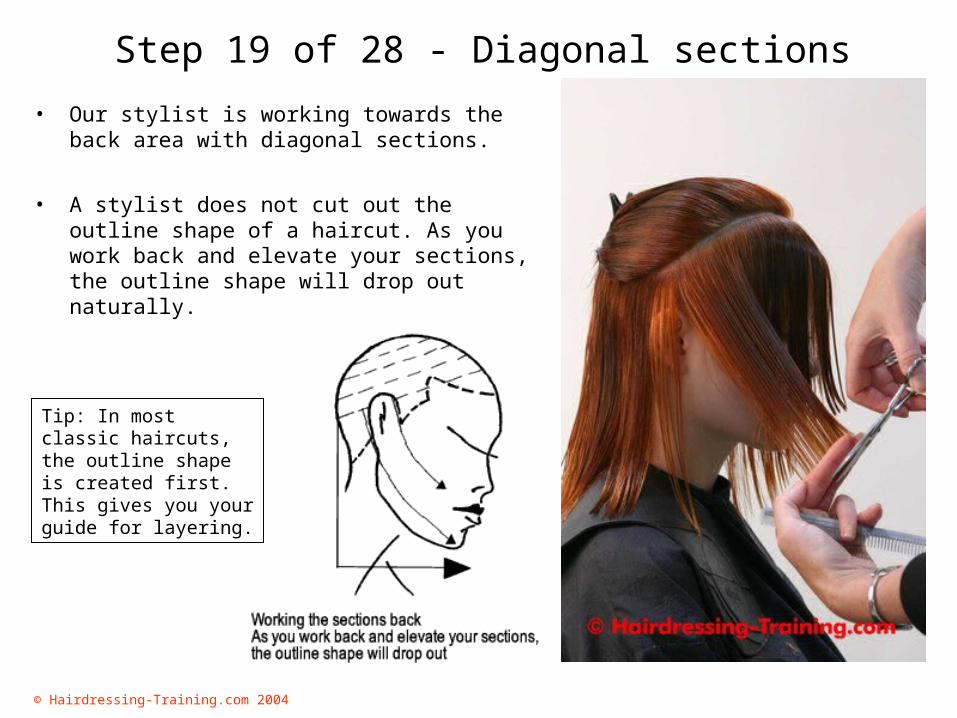
Step 19 of 28 - Diagonal sections
• Our stylist is working towards the back area with diagonal sections.
• A stylist does not cut out the outline shape of a haircut. As you work back and elevate your sections, the outline shape will drop out naturally.
Tip: In most classic haircuts, the outline shape is created first. This gives you your guide for layering.
© Hairdressing-Training.com 2004
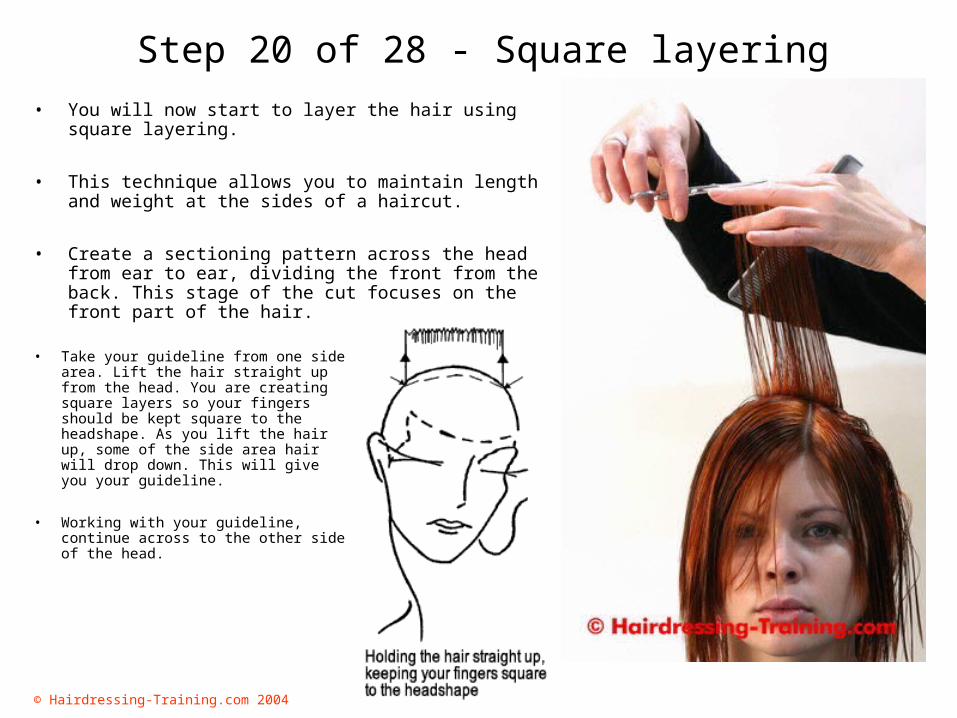
Step 20 of 28 - Square layering• You will now start to layer the hair using square
layering.
• This technique allows you to maintain length and weight at the sides of a haircut.
• Create a sectioning pattern across the head from ear to ear, dividing the front from the back. This stage of the cut focuses on the front part of the hair.
• Take your guideline from one side area. Lift the hair straight up from the head. You are creating square layers so your fingers should be kept square to the headshape. As you lift the hair up, some of the side area hair will drop down. This will give you your guideline.
• Working with your guideline, continue across to the other side of the head.

© Hairdressing-Training.com 2004
Step 21 of 28 - Square layering
• Note the position of our stylist's fingers. To create square layering, you must keep your fingers square to the headshape at all times.
Tip: Square layering allows you to maintain weight and length in your haircut. It can be used on long or short hair. As you become more confident, you will be able to use this technique in many different haircuts.
© Hairdressing-Training.com 2004
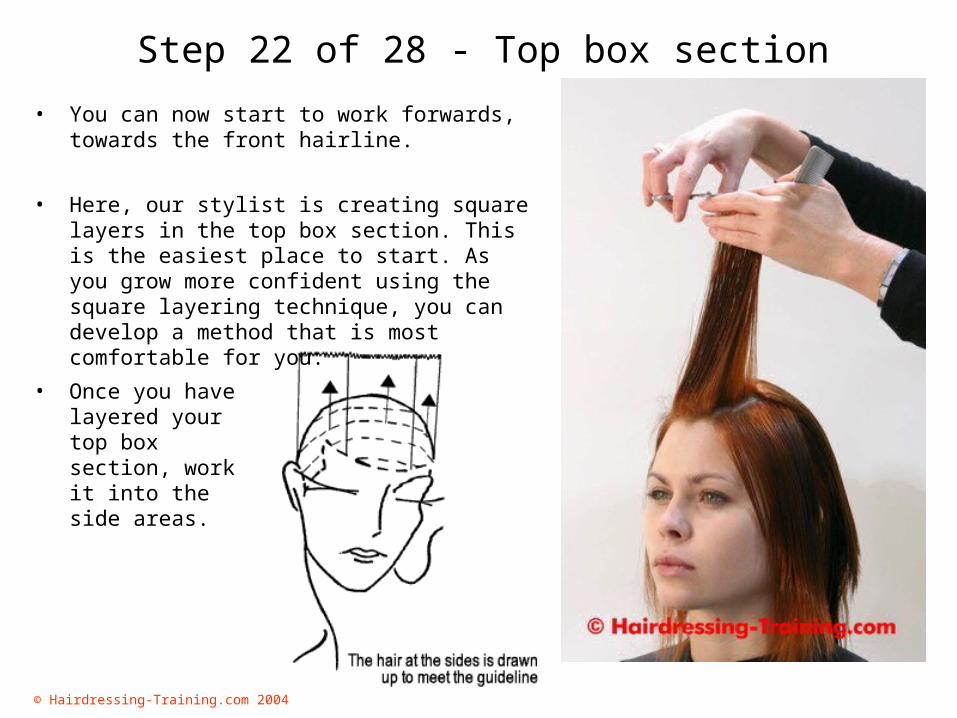
Step 22 of 28 - Top box section
• You can now start to work forwards, towards the front hairline.
• Here, our stylist is creating square layers in the top box section. This is the easiest place to start. As you grow more confident using the square layering technique, you can develop a method that is most comfortable for you.
• Once you have layered your top box section, work it into the side areas.
© Hairdressing-Training.com 2004
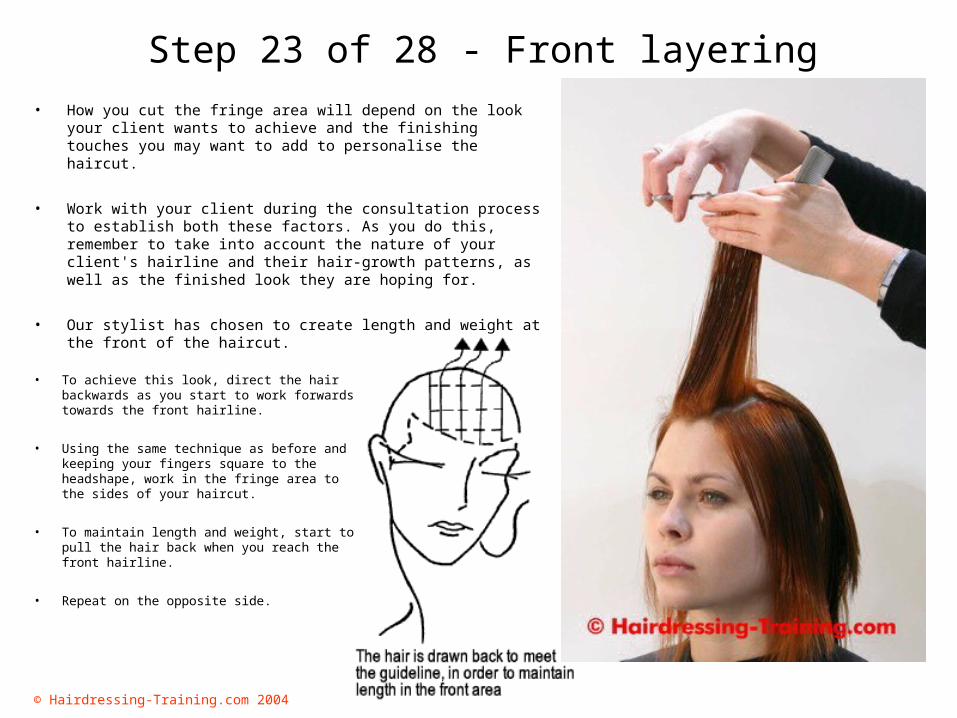
Step 23 of 28 - Front layering• How you cut the fringe area will depend on the look your
client wants to achieve and the finishing touches you may want to add to personalise the haircut.
• Work with your client during the consultation process to establish both these factors. As you do this, remember to take into account the nature of your client's hairline and their hair-growth patterns, as well as the finished look they are hoping for.
• Our stylist has chosen to create length and weight at the front of the haircut.
• To achieve this look, direct the hair backwards as you start to work forwards towards the front hairline.
• Using the same technique as before and keeping your fingers square to the headshape, work in the fringe area to the sides of your haircut.
• To maintain length and weight, start to pull the hair back when you reach the front hairline.
• Repeat on the opposite side.
© Hairdressing-Training.com 2004
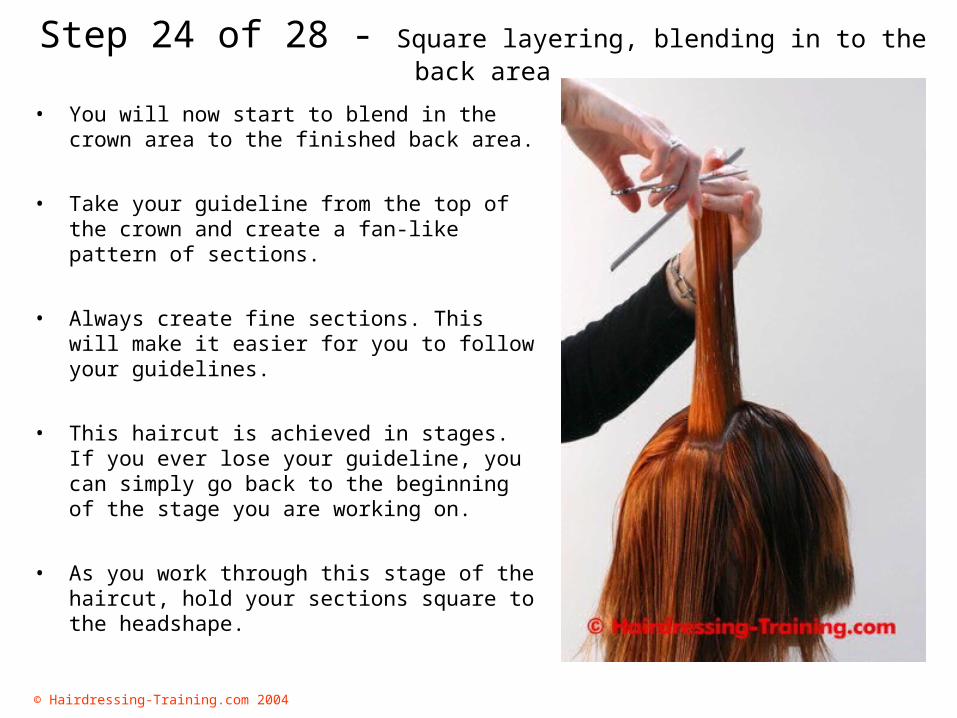
Step 24 of 28 - Square layering, blending in to the back area
• You will now start to blend in the crown area to the finished back area.
• Take your guideline from the top of the crown and create a fan-like pattern of sections.
• Always create fine sections. This will make it easier for you to follow your guidelines.
• This haircut is achieved in stages. If you ever lose your guideline, you can simply go back to the beginning of the stage you are working on.
• As you work through this stage of the haircut, hold your sections square to the headshape.
© Hairdressing-Training.com 2004
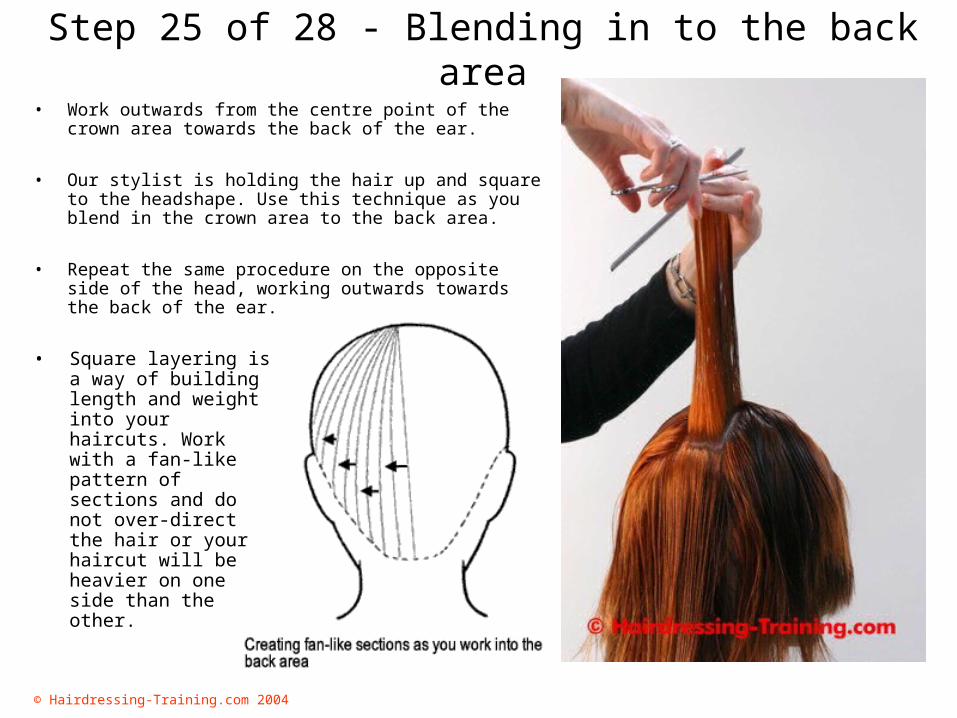
Step 25 of 28 - Blending in to the back area• Work outwards from the centre point of the crown
area towards the back of the ear.
• Our stylist is holding the hair up and square to the headshape. Use this technique as you blend in the crown area to the back area.
• Repeat the same procedure on the opposite side of the head, working outwards towards the back of the ear.
• Square layering is a way of building length and weight into your haircuts. Work with a fan-like pattern of sections and do not over-direct the hair or your haircut will be heavier on one side than the other.

© Hairdressing-Training.com 2004
Step 26 of 28 - Cross-checking front and back• When you have finished layering, you must cross-
check all the areas of your haircut.
• You should not have to remove much hair when you are cross-checking. If you find you are cutting off a lot of hair from one area, go back and check that area against your original guideline.
• Remember to cross-check the hair in the opposite direction to your cutting angle:
if you cut the hair horizontally, cross-check vertically; or
if you cut the hair vertically, cross-check horizontally.
• Whatever haircut you are creating, you should always keep a mental note of the techniques and cutting angles you are using. This will get easier with practice.
© Hairdressing-Training.com 2004
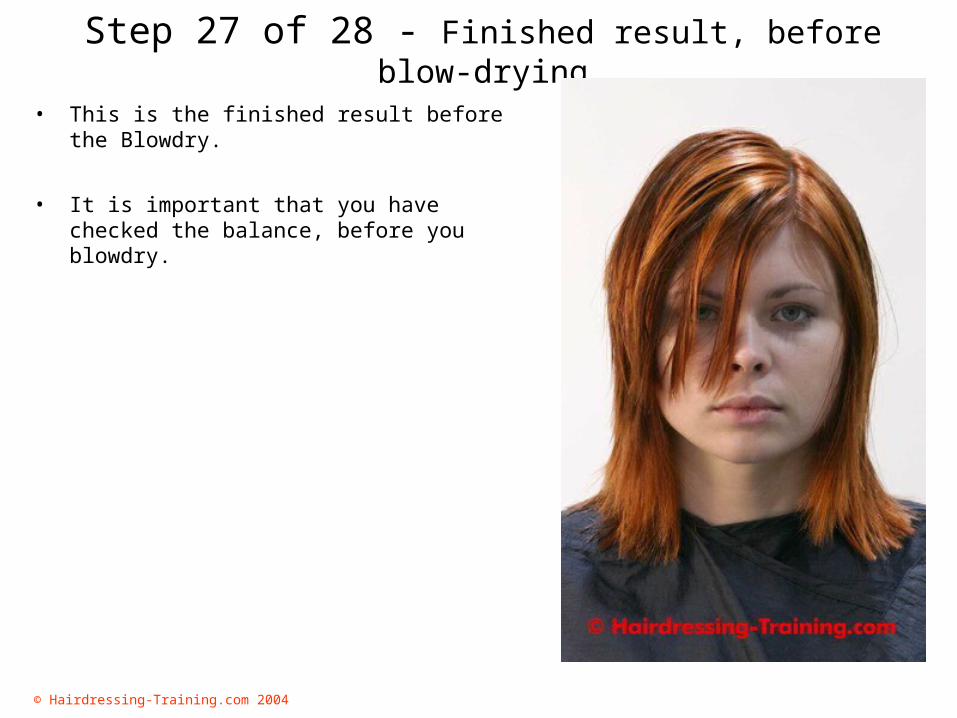
Step 27 of 28 - Finished result, before blow-drying
• This is the finished result before the Blowdry.
• It is important that you have checked the balance, before you blowdry.
© Hairdressing-Training.com 2004
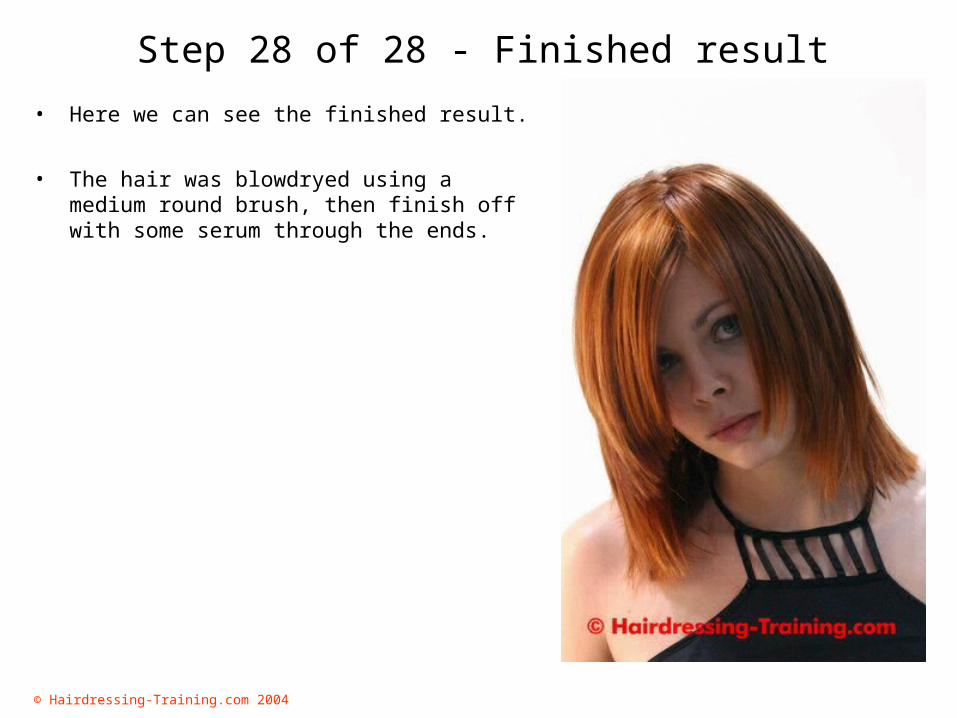
Step 28 of 28 - Finished result
• Here we can see the finished result.
• The hair was blowdryed using a medium round brush, then finish off with some serum through the ends.